Mount Wood, Zig Zag Peak and Buck Mountain
October 20, 2026
2296m
Squamish, BC
“Mt. Wood”, “Zig Zag Peak” and “Buck Mountain” are the unofficial names of the three southernmost peaks on Ashlu-Elaho Divide. These peaks were almost exclusively tagged as part of the Ashlu-Elaho traverse on skis but since the deactivation of Ashlu Creek FSR circa 15 years ago the area had become quieter. Even 5 years ago I was able to drive the Tacoma a few kilometers in for Chimai Mtn. but these days the barrier had been put right in front of the bridge crossing Ashlu Falls, and the Ashlu Creek FSR had more or less become a “BW2” bushwhack already. Thankfully the access to these southern peaks hasn’t changed much as one ascends straight up the forest within 1 or 2 km after crossing the bridge. Among the three peaks Mt. Wood is the highest and the most prominent and the only one that requires substantial amount of glacier travel. I wanted to prioritize getting this one done.
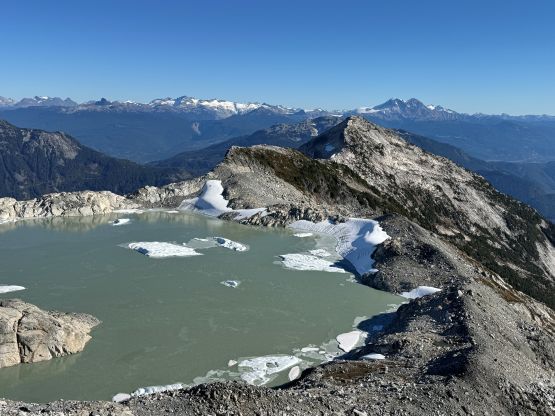
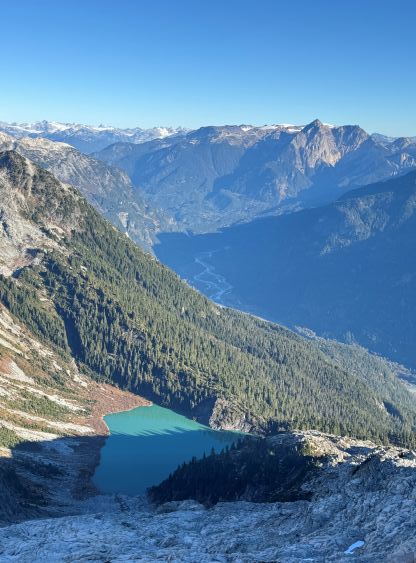
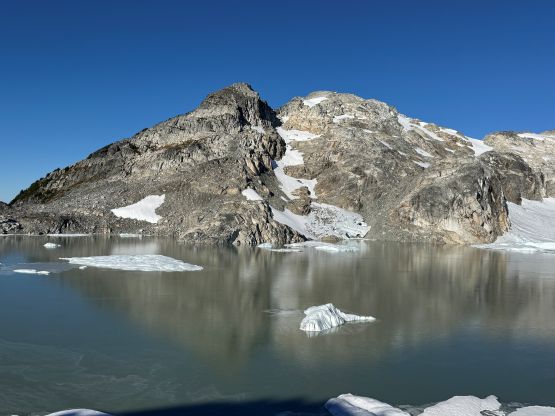
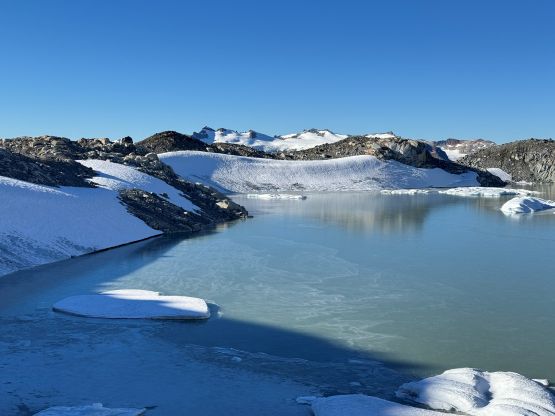
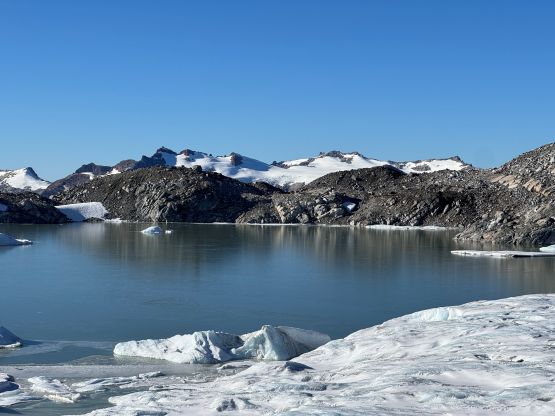
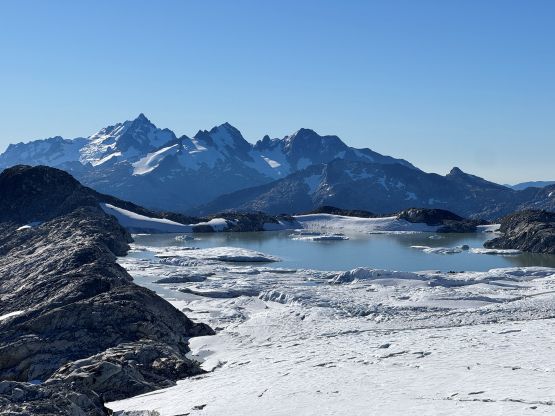
My original plan for these peaks was to combine with Mt. Charlie-Charlie and Pykett Peak to make an overnight snowshoe trip in spring but then the mega influencer William F. came from the U.S. and completely blew up this quiet zone this year. Notably a gigantic glacial lake had formed underneath Zig Zag Peak and that had drawn significant attention from the masses. Within a couple months 140 people had downloaded William’s GPX track and a footbed had even started to form in parts of the forest that was otherwise a total bushwhack in the past. The bushwhacking was not as terrible as I thought it’d be. That “Zig Zag Lake” would be very much frozen and covered in snow in spring and most of the summer until August so fine, I decided to skip the two peaks farther back on the divide in order to focus getting the three closer ones in a single day in the summer. Most importantly I too wanted to see this lake at least once. That perfect oppourtunity never came until mid-October. The weather was still good and the condition was still dry, and Tanja was keen on getting out. Not a lot of folks in this “SWBC Peak Baggers” group could pull off these 3 peaks in a single day in October but Tanja would be one of them, so we pulled the trigger. Knowing it had taken Tiger L. and Oleg K. 16 hours C2C for just Mt. Wood and Zig Zag Peak we anticipated a demanding outing no matter what, and the decision was made to meet up in Squamish at 5:15 am in order to start hiking no later than 6 am. I knew we would be faster than most people out there but I didn’t expect to finish the round trip in only 10 hours.
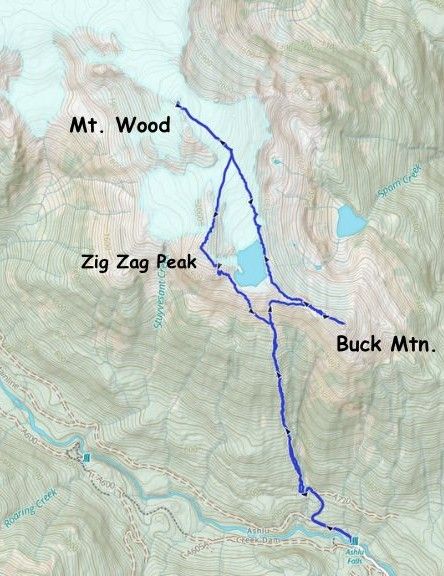
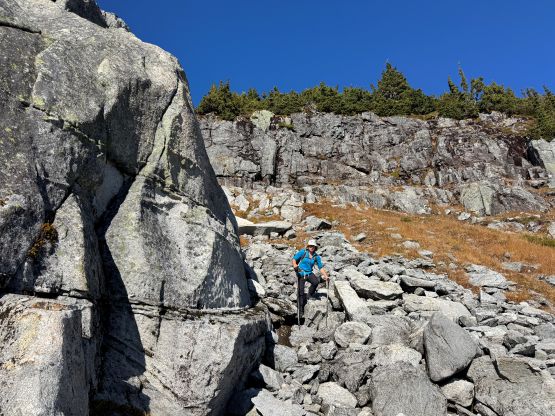
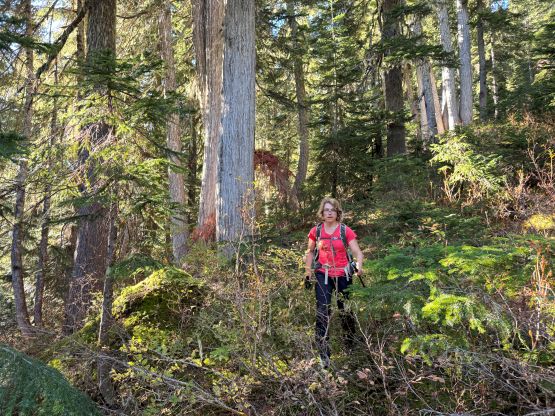
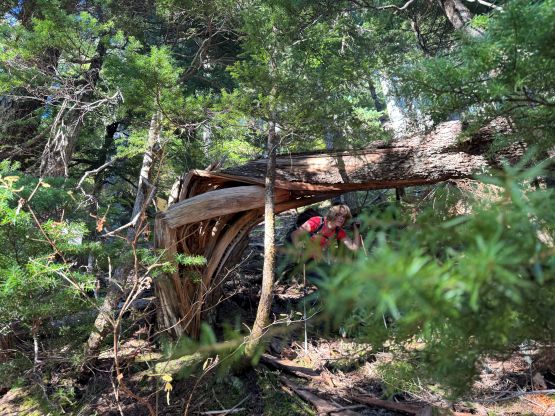
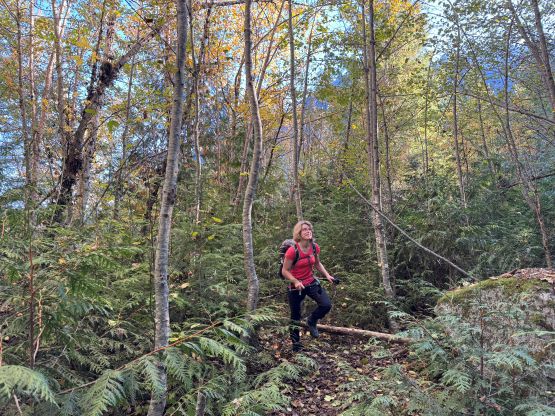
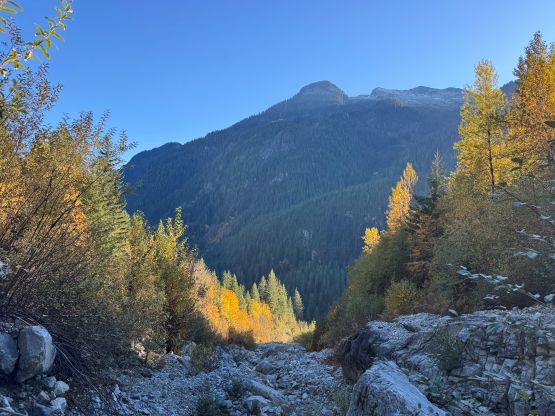
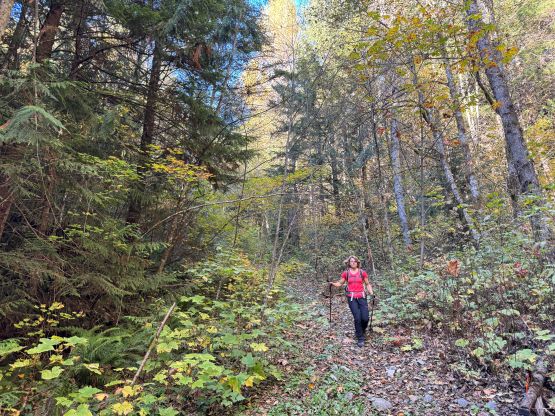
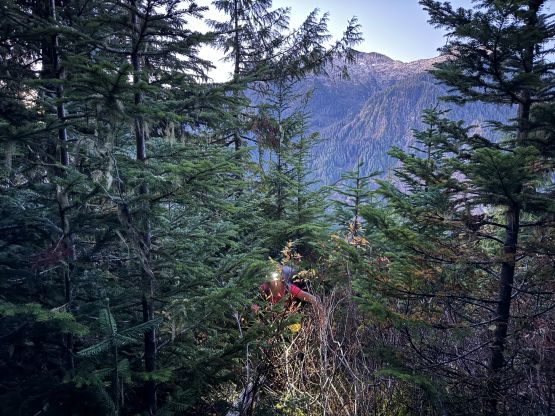
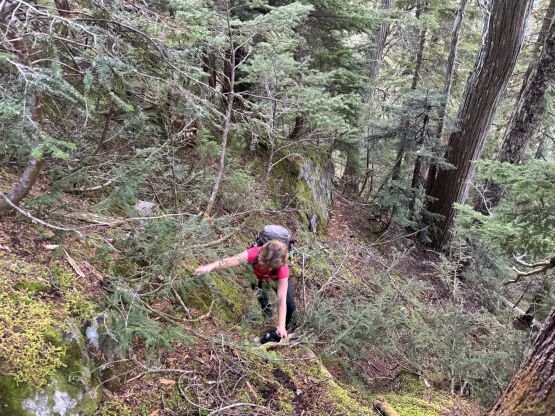
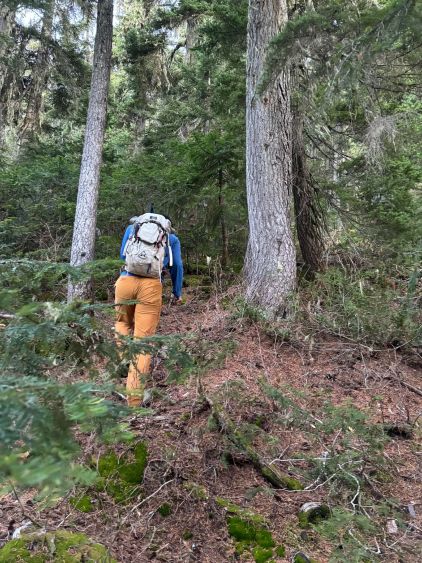
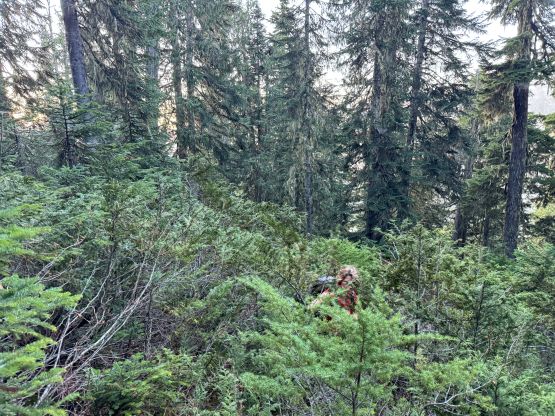
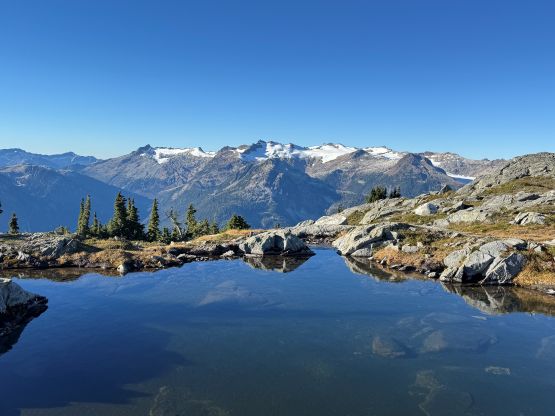
The downside for not doing Mt. Charlie-Charlie and Pykett Peak is perhaps I’ll never come back for them, as they don’t look particularly “interesting”, and I had already done the rest of the peaks farther back on the divide, but that’s okay. Maybe I’ll change my mind at some point. For the gear we opted to travel light-and-fast carrying only aluminum ice axe and crampons. I had also decided that if Oleg could manage his trip in only microspikes (albeit, barely) then I would have no issue in wearing trail-runners with the strap-on crampons so I left the boots at home. I was definitely correct. The glacier would be mostly “dry” at this time of a year so there’s no need to bring a rope nor the harnesses. The morning routine went by mostly as expected, and we did manage to start hiking at around 6 am. A simple dash about a kilometer up Ashlu Main followed by a short but steep spur road we came to the minor creek crossing (on boulders) and then dived into the forest. We had William’s GPX as well as the many tracks on Gaia’s public database to follow and the bearing was straightforward. The micro-terrain could be navigated one way or another. The bushwhacking was not “nothing” but definitely not terribly by this area’s standards. At around 1000 m elevation we could finally turn off the head-lamps. We encountered a few thicker bands as well as some very steep and slick stretches but again, nothing’s too overly worth mentioning. The bushes were entirely dry and we appreciated that. After gaining 1400 m elevation we finally emerged out of the forest and found that tiny stream mentioned in Oleg’s comments. We loaded up the water bottles and resumed. In retrospect there were plenty of water sources along the ridge heading towards “Buck Mtn.” but this stream was the only source of running water, and I did not bring a filter this time in order to conserve weight.
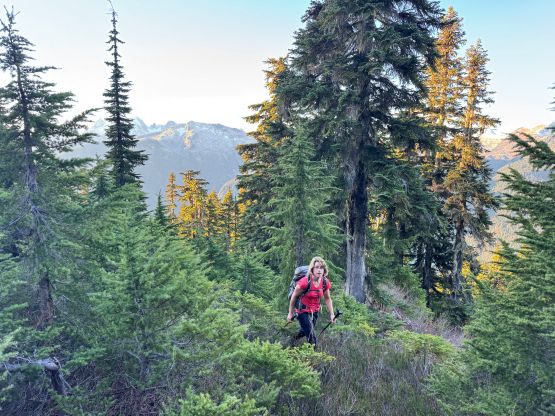
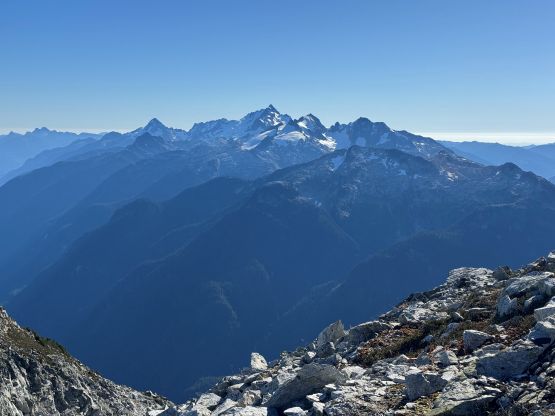
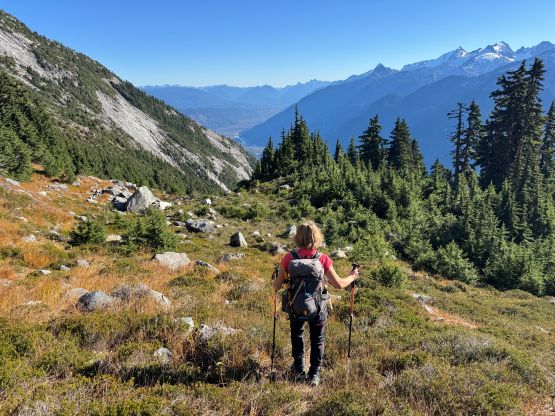
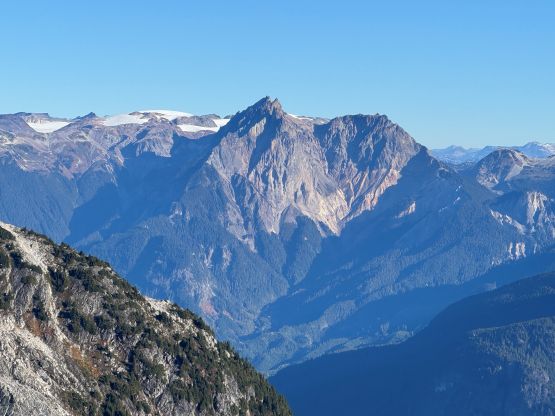
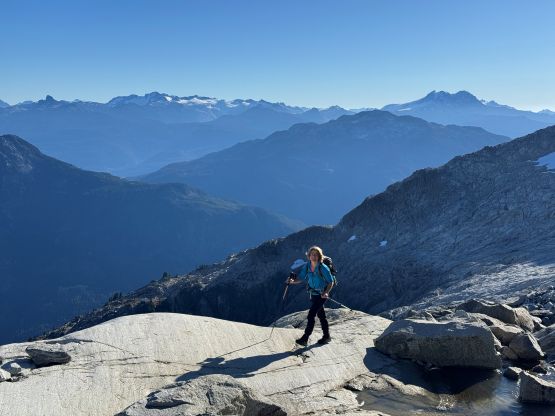
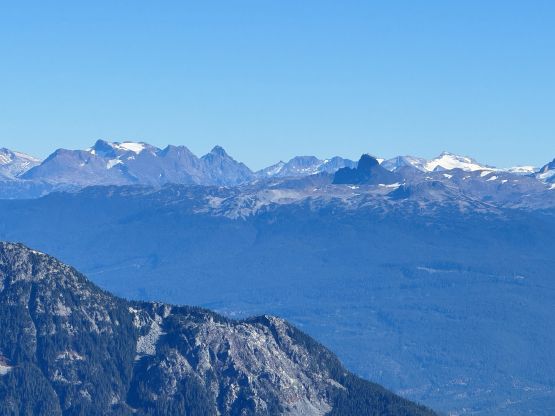
We then ascended the obvious gully and the original plan was to hit “Zig Zag Lake” next, but Tanja proposed that we should probably aim to do “Buck Mtn.” first and I agreed. I looked at the maps and the terrain and made the in situ decision to start traversing to the right aiming to bypass the subsidiary bump. The trade off was fair amount of side-hilling on steep heather but the idea of maintaining elevation worked. We only needed to deal with minor amount of elevation loss and regain near the saddle. I also ditched the backpack before dropping down to the low point in order to conserve energy. The ascent of “Buck Mountain” via the west ridge was longer than expected with some micro-terrain and some scrambling. It definitely felt to have more than 100 m elevation gain so I checked the maps, and sure enough this peak boasts over 100 m prominence. I emailed Greg Slayden afterwards and got the prominence saddle corrected. The view was excellent especially looking down past Spam Lake towards the upper Squamish River Valley.
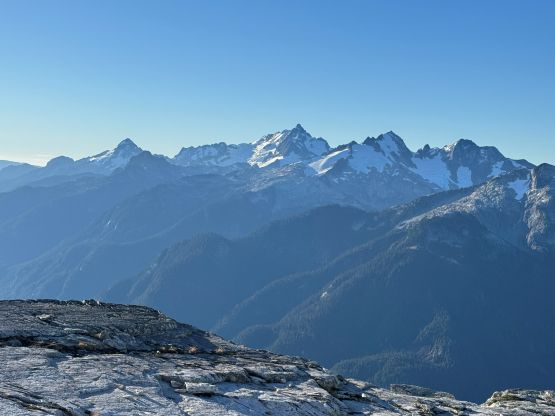
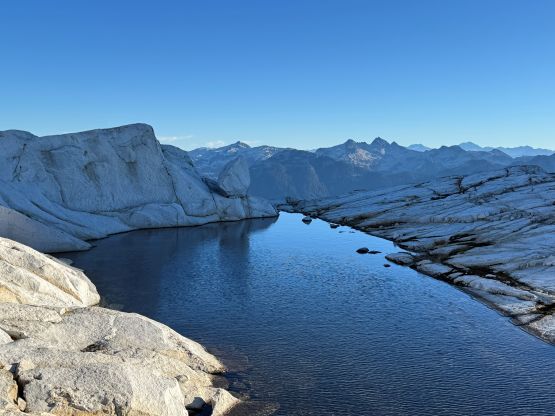
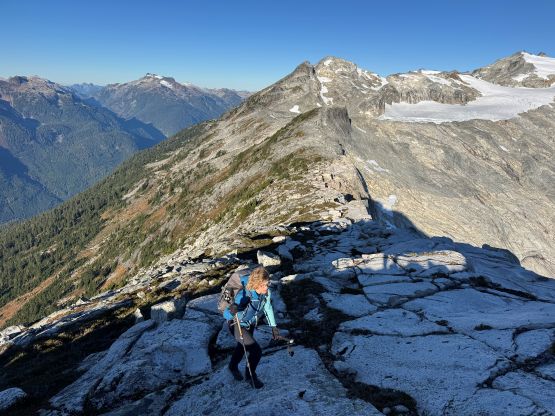
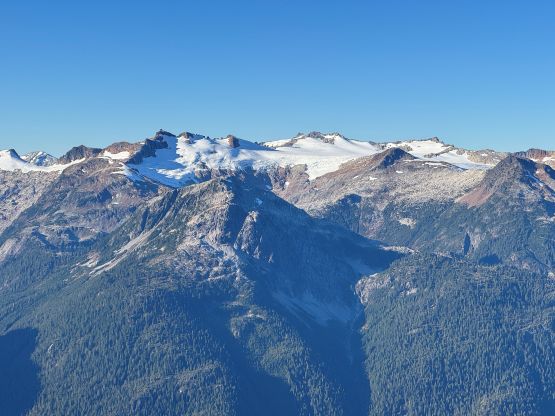
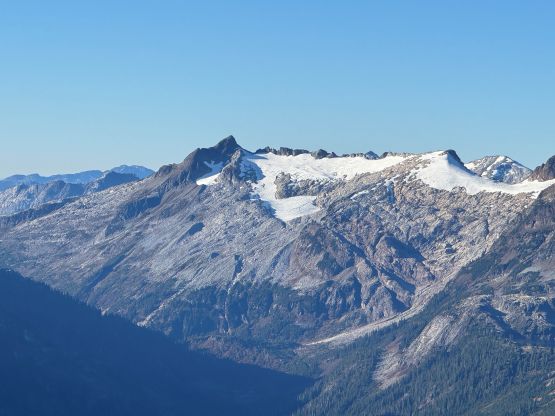
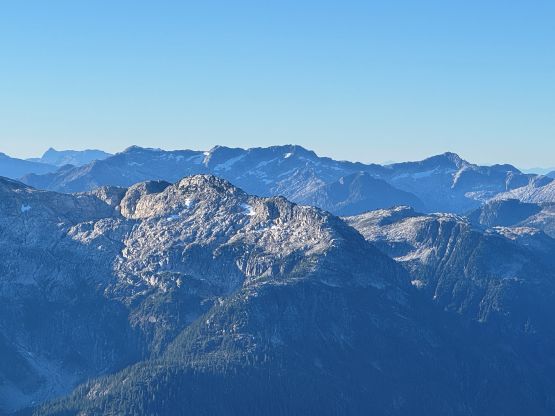
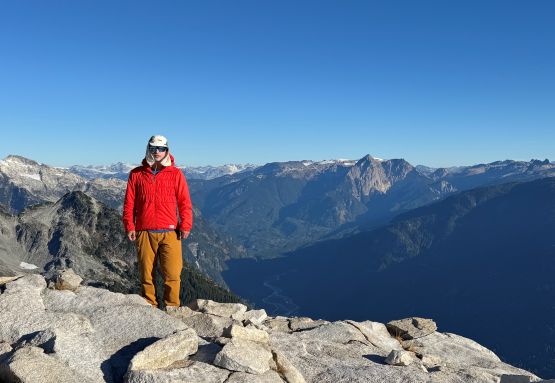
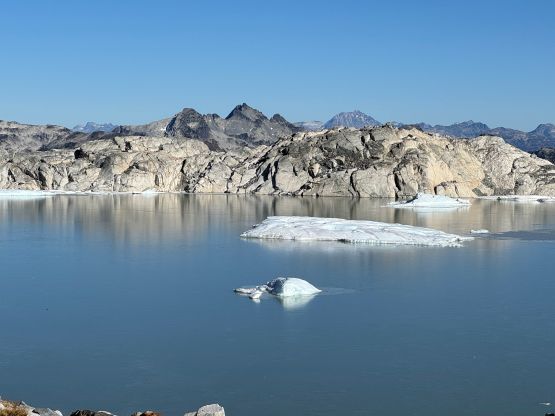
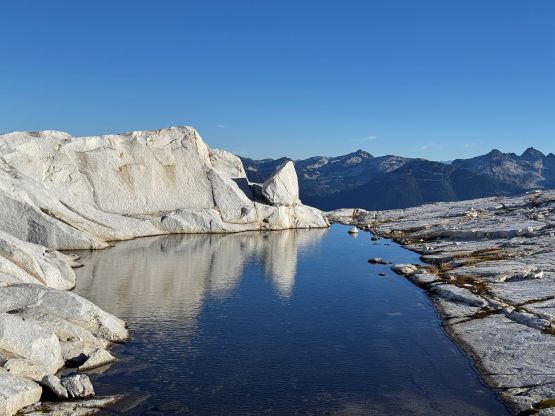
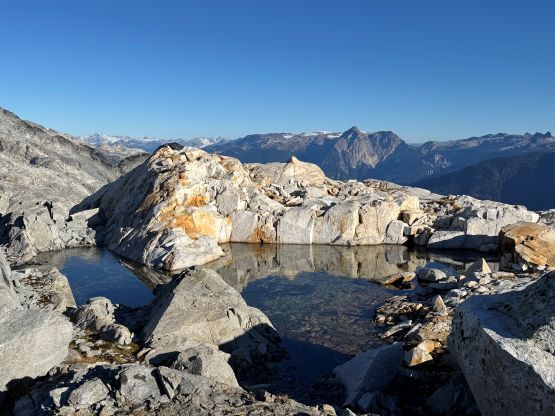
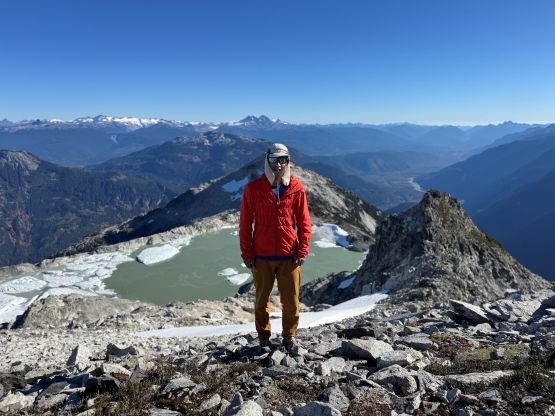
Not doing much lingering we quickly descended back to where I ditched the backpack. The morning was quite chilly so glad I had brought a jacket with me. We then plodded up and over the subsidiary bump before descending towards the outflow of “Zig Zag Lake”. This stretch had a ton of micro-terrain and up-and-downs and the navigation was much trickier than suggested by the maps. A few bumps around the lakeshore were substantial and involved some interesting scrambling and/or detouring. Meanwhile we also took our time taking pictures as this lake was definitely cool and lived up to the hype. Logistically it made sense to hit “Mt. Wood” next so we continued traversing and ascending the broken and slabby terrain beside the glacier. It didn’t make sense to hop onto the glacier yet as there were lots of crevasses at this stage, but working our way beside the glacier was also tedious and contrived due to the micro-terrain. Being able to nail the route-finding in situ without much “beta” was the key to move efficiently through this section and I think we did mostly excellently. We found one stream for water but it was very dirty.
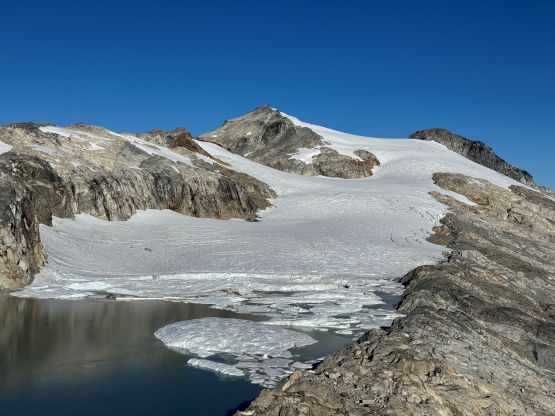
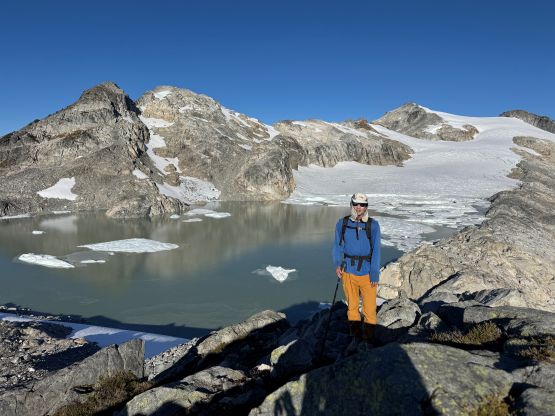
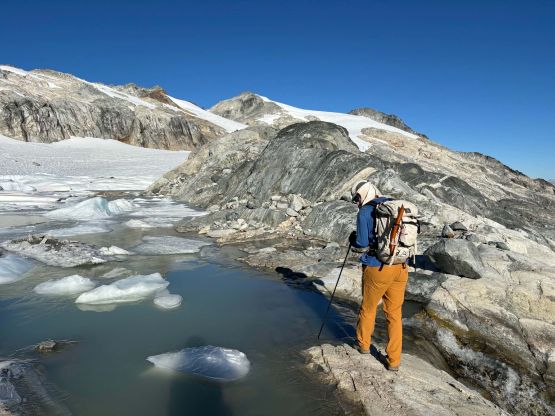
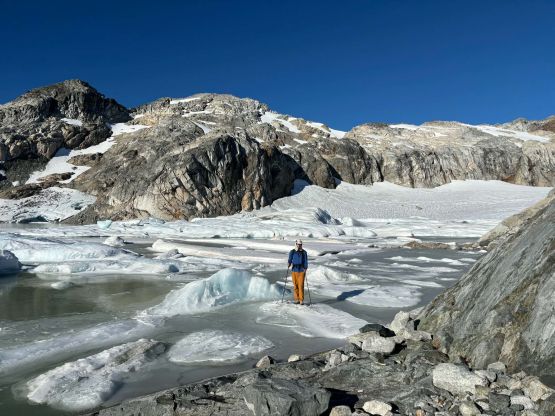
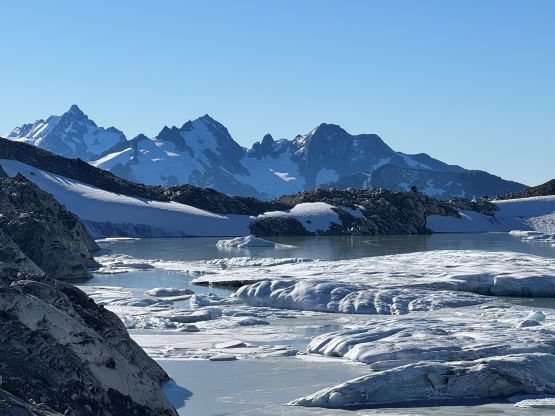
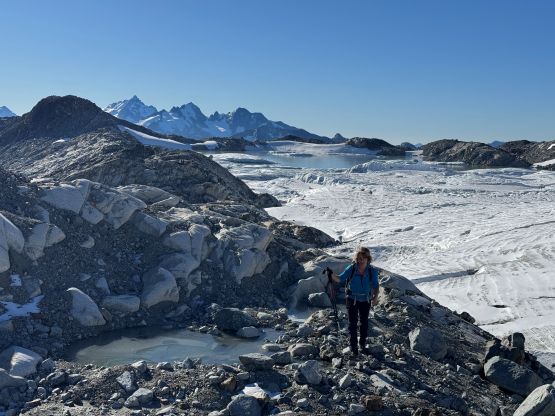
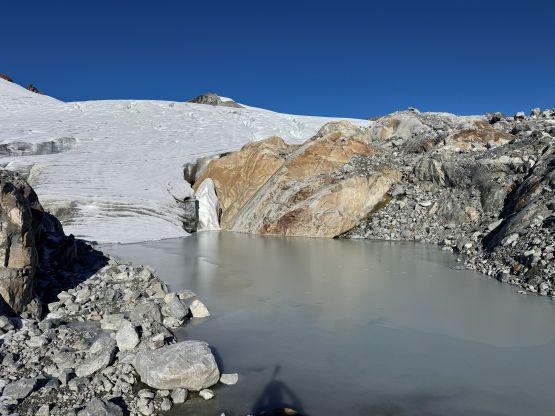
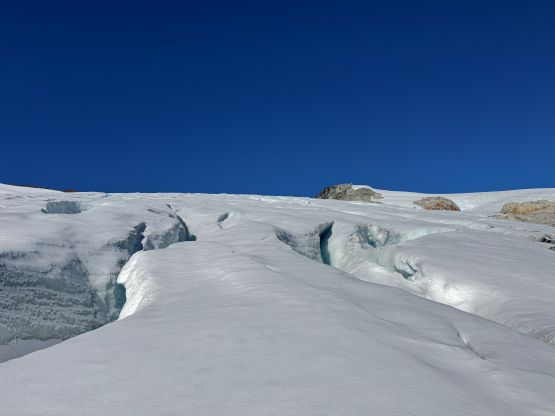
Higher up we merged onto the glacier earlier than Oleg/Tiger’s GPX track and it started to make sense to aim for a more direct roue. We strapped the crampons on and donned a ton of sun protection. There was about 5 cm of fresh snow covering the ice so some careful probing was required, but the crevasses were still very obvious and the navigation was straightforward. I led us veering climber’s left onto the obvious steeper part of the glacier and more or less ascended the middle of it, further deviating from the reference GPX track. We then turned left and aimed directly towards the summit block of Mt. Wood and the glacier travel was mostly okay. There were a few open crevasses but they were easily avoidable. After what seemed like a very foreshortened ascent we were at the base of the south ridge. We had to remove the crampons for the short but very loose 3rd class scramble to gain the summit. I wasn’t anticipating a scrambling finish but this summit block was decently tricky.
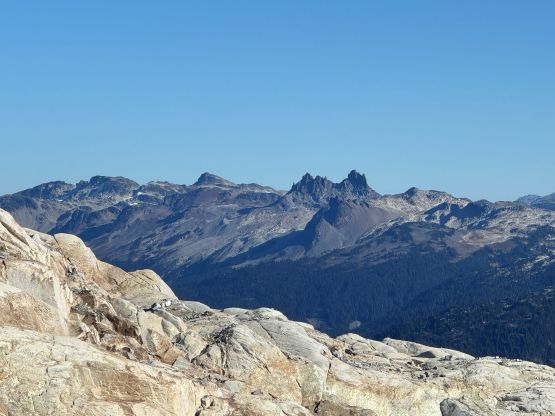
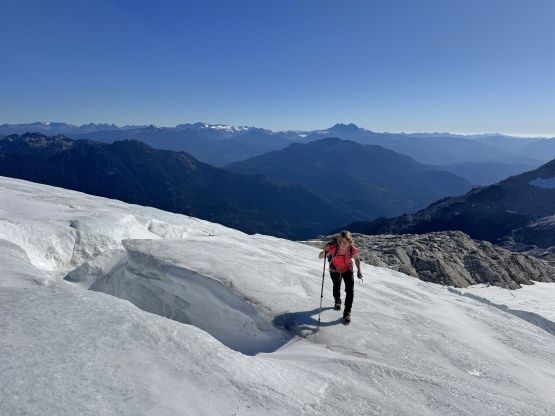
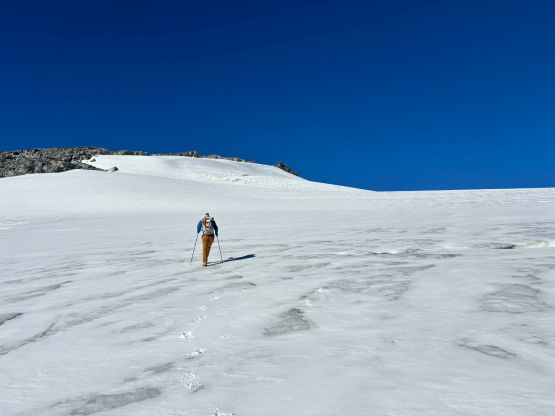
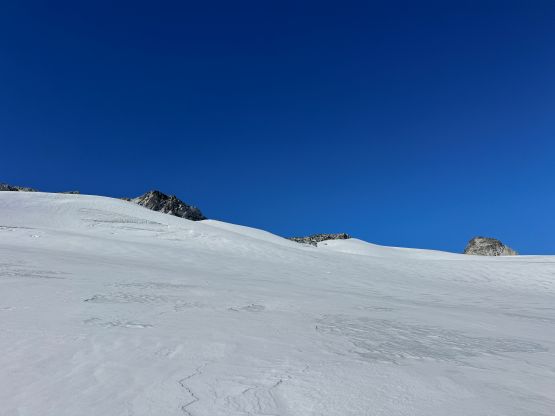
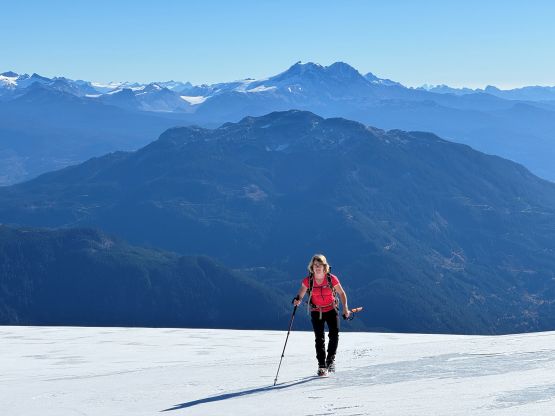
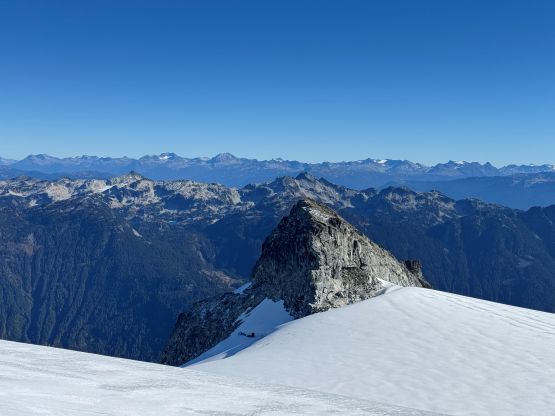
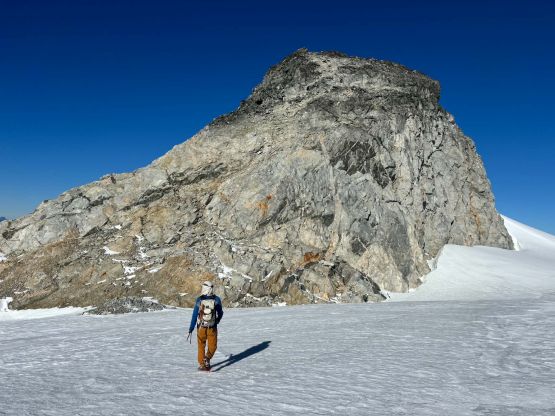
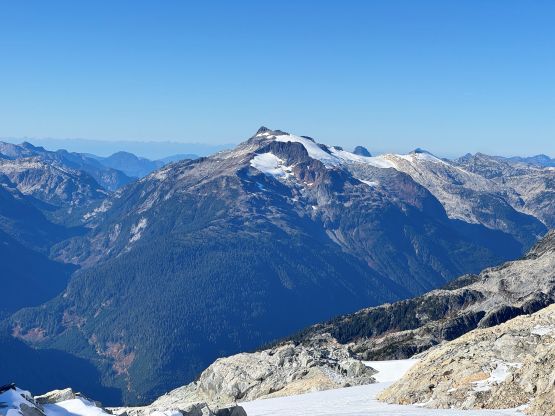
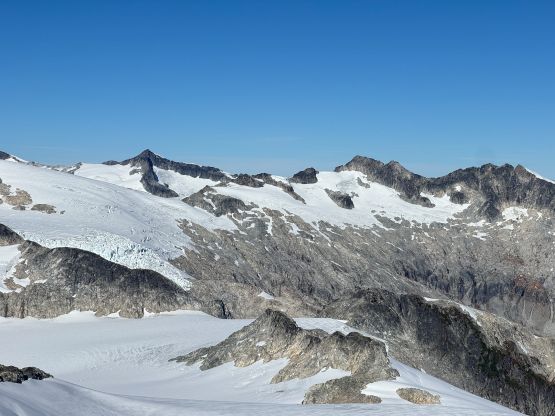
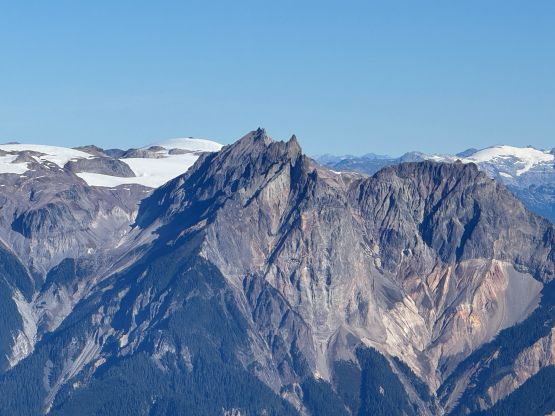
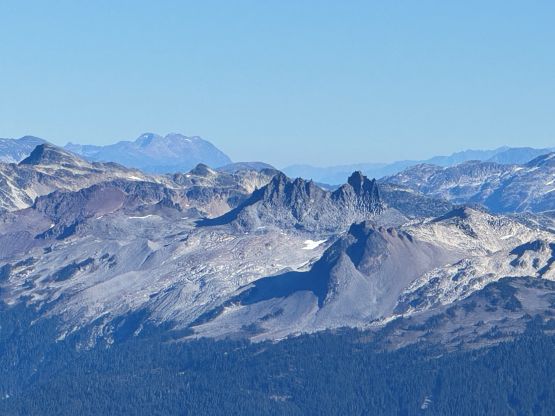
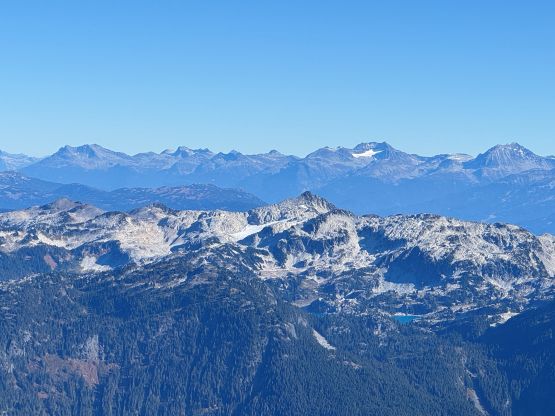
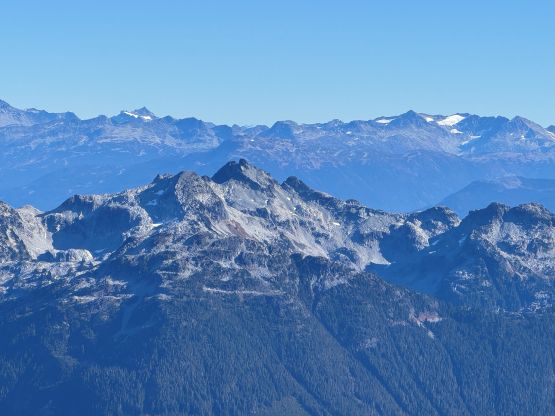
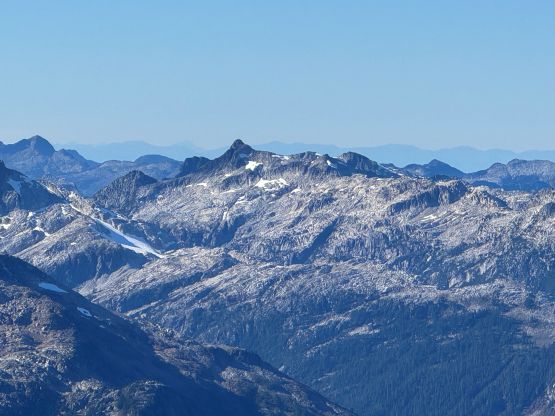
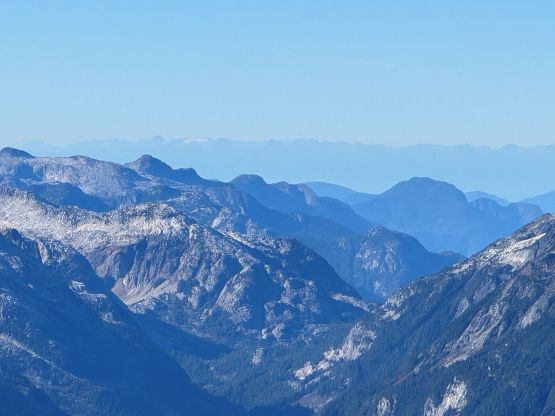
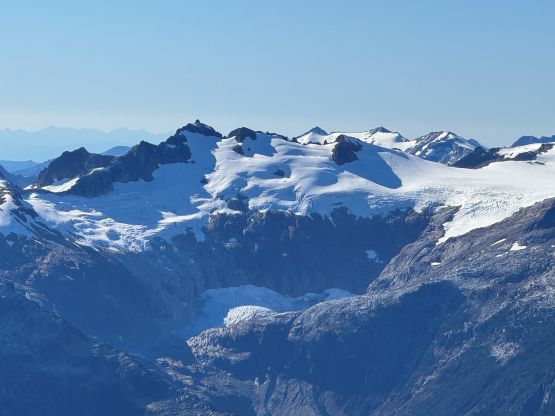
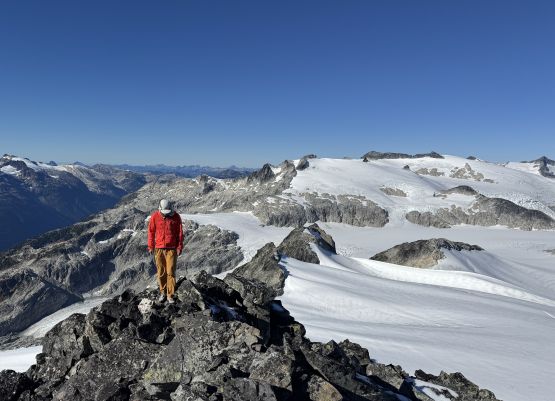
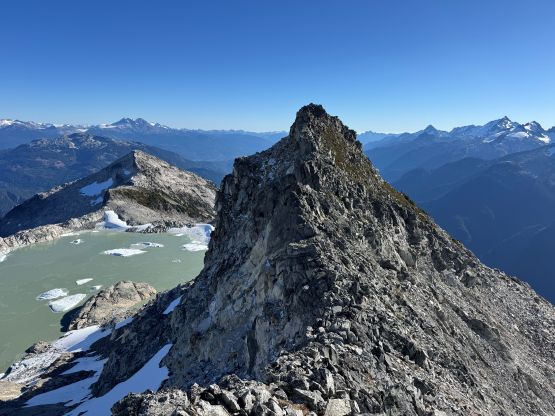
We took a long break on the summit of “Mt. Wood” but eventually it’s time to move on. Descending the summit block required some care but plunging down the glacier was fast and furious. In short time we were back down to the flat part of the glacier and then I led us deviating from our tracks aiming directly towards what seemed like “scramble terrain” to the north of “Zig Zag Peak”. To get off the glacier we had to traverse another stretch with some crevasses. We then removed the crampons and were mostly able to bypass the subsidiary bump by maintaining the elevation. There were consistent scrambling involved. Then up the NE Ridge of “Zig Zag Peak” the going was fairly tricky on a few places. It seemed like Tiger and Oleg had taken some bypasses but none seemed obvious, and we also disliked having to do a lot of transitions. Instead, we tried to stick to the ridge crest. One 5th class step forced us to scramble leftwards squeezing through a moat, and another exposed 4th class step was attacked head-on by using a down-sloping ledge traversing to the left. The scrambling was quite involved but again, we were able to cruise up terrain like this and didn’t spend too much time to tag the summit of “Zig Zag Peak” where we took another lengthy break. The view of the lake was the best from this peak. Meanwhile we took out the beta to study the route ahead, as it wasn’t obvious.
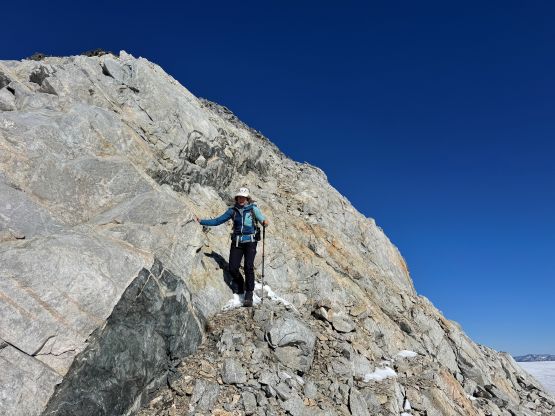
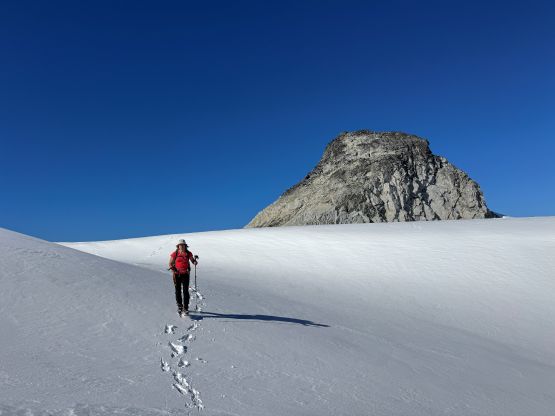
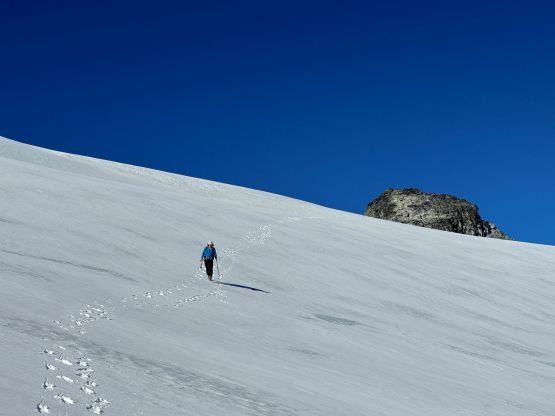
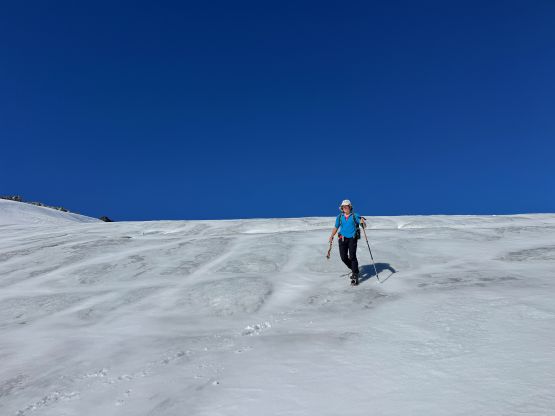
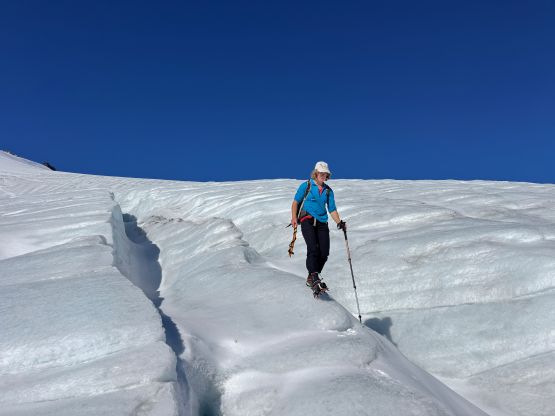
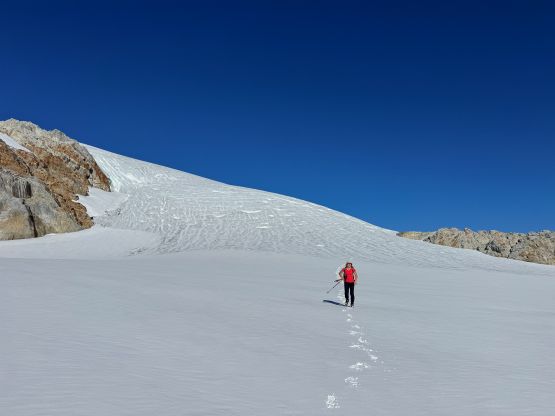
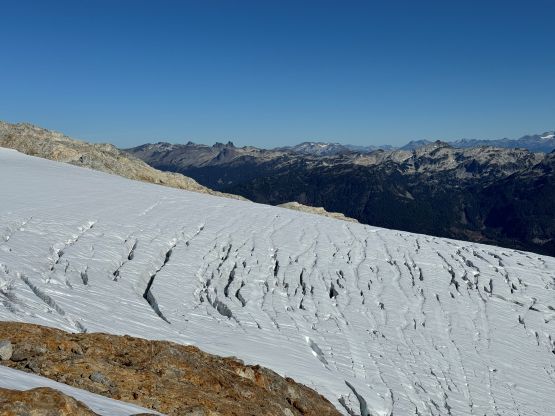
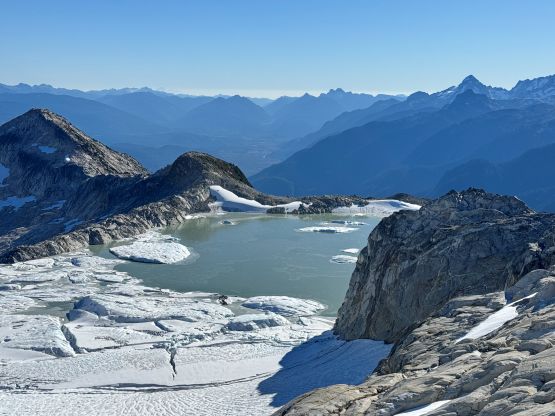
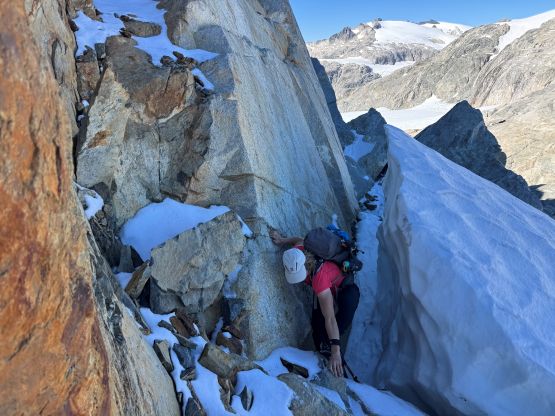
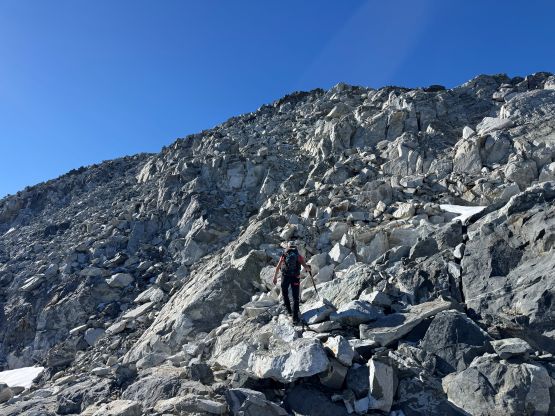
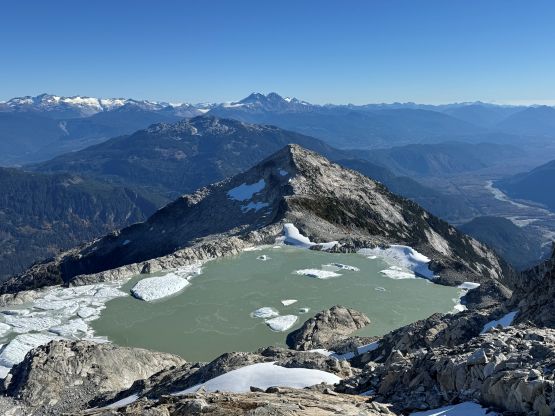
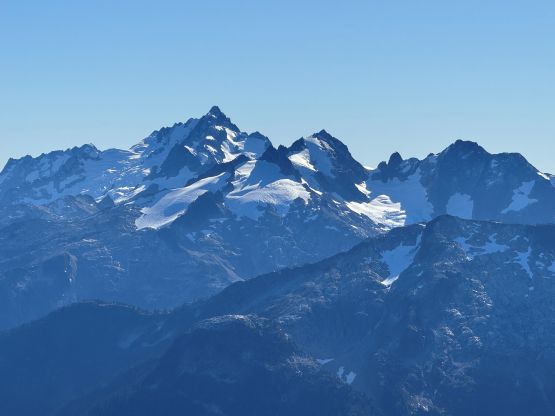
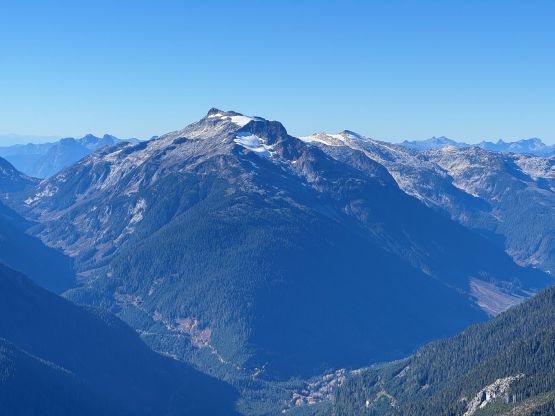
To descend “Zig Zag Peak” it seemed like most parties had opted to scramble up and over that obvious pinnacle on the SW Ridge so fine, we would do the same. The scrambling was easier than expected, but to get off the SW Ridge of that pinnacle we encountered a few bluffs and were forced to do some minor backtracking. The scrambling never exceeded 3rd class but the terrain required route-finding. Lower down Tanja proposed that we could take a traversing short-cut to get back to that tiny stream at the bottom of the ascending gully. I wasn’t too keen on a lot of side-hilling on heather but reluctantly agreed. It turned out that we indeed had to deal with some heather slopes but this probably still beats dealing with the micro-terrain around the lake. After loading up the water bottles we dashed down into the forest. The GPS had to be checked a million times to make sure we stayed on course, but I was mostly able to maintain a fast pace. After losing 1200 m elevation we got back to the FSRs and then jogged the last few kilometers back to the vehicle, losing another 200 m elevation. Our round trip time was just over 10 hours which meant I would get back home by dinner time. Fine, I might as well book an hour of work afterwards for the simple reason of why-not.