Mount Habrich
September 28, 2015
1780m
Squamish, BC
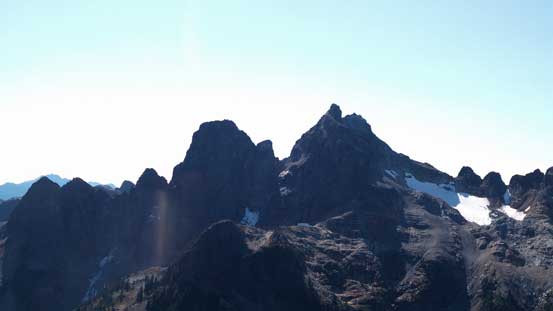
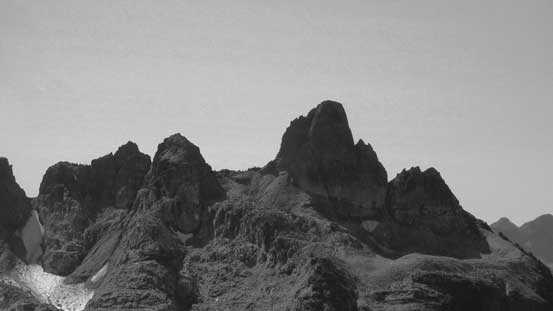
Upon seeing a high pressure system building up over the province Vlad and I had been talking about making an ascent of a “harder” objective. It was a little bit difficult to finalize the choice but eventually we decided to downgrade our ambition and picked Mt. Habrich. This is the lowest among the three peaks accessible from the upper Sea-to-Sky Gondola station, but considered as the biggest prize by many parties. The least technical route is the NE Ridge (Class 3-4), but relatively hard to access and involves fair a bit of bush thrashing. Our inspiration mostly came from Simon’s excellent trip report, an “old school Class 4” route on the “NNW Face”. Having already ascended the nearby Sky Pilot Mountain and The Copilot earlier this month I was excited to make an attempt at this harder neighbour.
On my last trip to this area I hiked the entire way up via Sea-to-Summit trail and it was pretty miserable. This time we decided to let my 4×4 Jeep do the job, so up the Mamquam, Stawamus-Indian and then Shannon Creek FSR following the direction in the Matt Gunn’s scramble guide. There was not a lot of water bars nor cross-ditches, but extremely rough and fairly steep throughout… It felt like driving on a rock field, but oh well. After some careful driving we made to the uppermost parking lot by a gate, and within 20 minutes walking we arrived at the Gondola station.
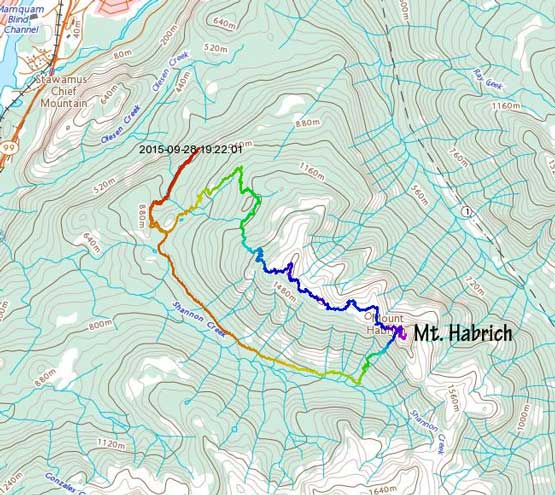
Mt. Habrich NNW Face loop. GPX DL
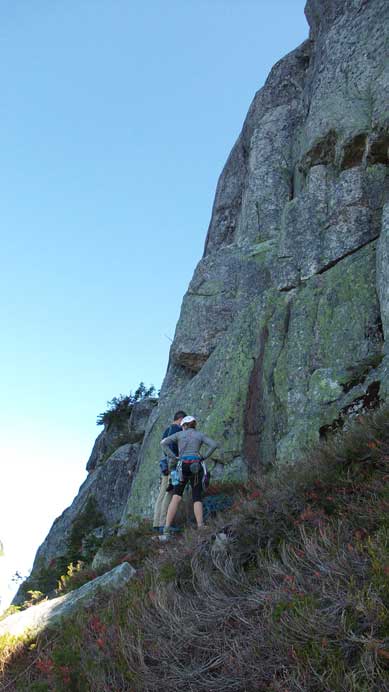
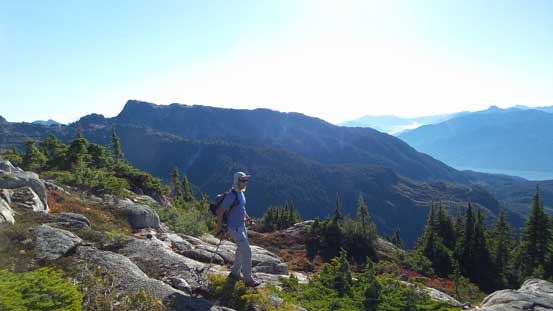
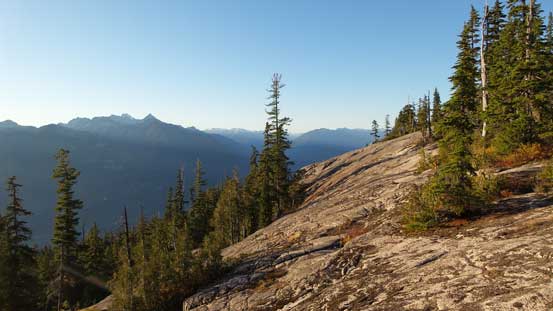
From here we continued along the old forestry road, picked the Sky Pilot Valley trail (really it’s just another old logging road), then near the end of this marked “trail” we correctly located the Habrich’s climber access trail which branched off up the left hand side forest. This trail was well marked and easy to follow, but got very steep at sections. But at least that meant we’d gain elevation quickly so that’s a good thing. There’s even a ladder somewhere about 2/3 of the way up helping out on a trickier spot, but my thought was if you can’t climb that step there’s no way you can climb Habrich anyway… In any case, we made good time arriving at “Habrich’s west col” – the start of this route.

Ascending steeply up Habrich’s climber access trail

Via Ferrata!!

Almost at the col

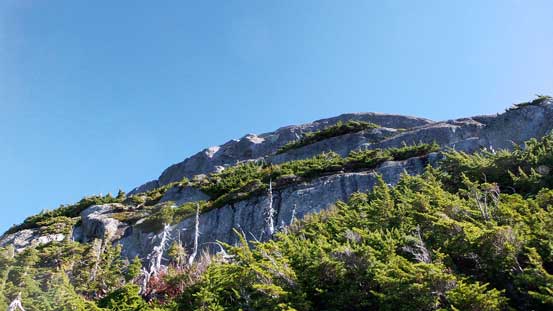
Our rough route up the lower half of the NNW Face
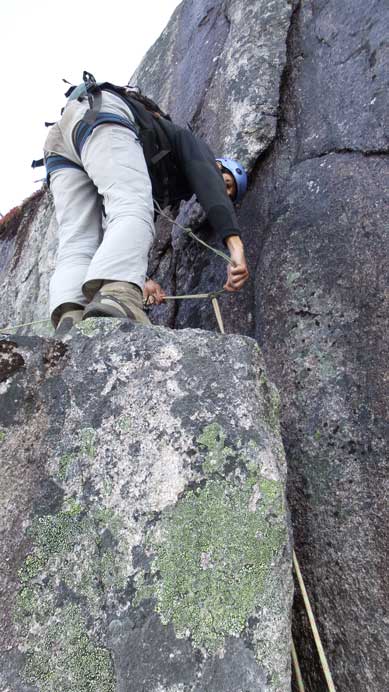
Despite the sunny weather for the past two days the rock was still damp, unfortunately. But oh well, we took a short break studying Simon’s route, put harness on and up we went. Right at the start we encountered a very difficult 3-meter step. I knew Simon and Doug thrashed up the vertical bush to the left. We gave it a half-hearted try but couldn’t quite figure out the sequence unless wrapping some slings around for some aiding. Vlad even went down and around to the left but still, there’s no easy way up. The climber’s right side though looked easy, would be the “wrong route” (that eventually would lead to a 5.7 slab pitch), so the only possibility would be straight up and over this rock band. I went up a bit to a small ledge with a high-angled slab to my left, and looking up guess what I saw? Two bolts… Alright then, that’s indeed the way to go. With Vlad giving me a belay and the two bolts (so two draws) as handholds I gingerly made it through. We both agreed that this was actually the crux of the entire route.
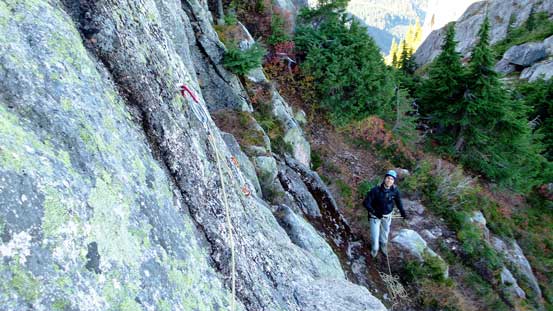
Vlad ready to climb up the crux (also the Pitch 1 of Escape Velocity route)
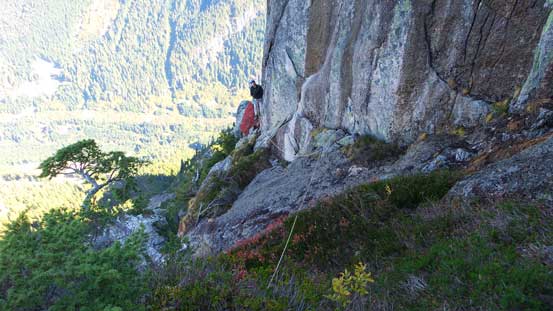
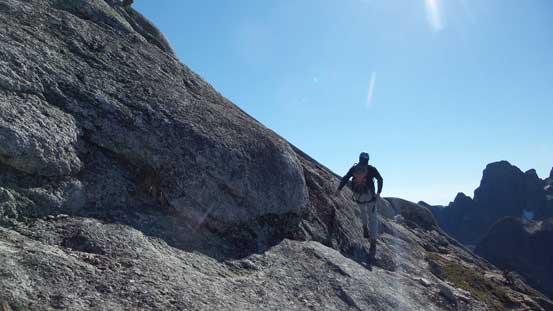
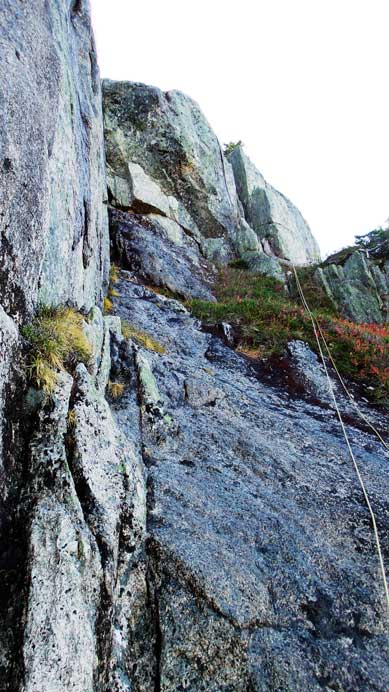
Now moving to the left there came the two bouldary steps… I found the first one was more awkward (needed some thinking) but the second one requiring some pure arm strength to power it up. There’s no feet at all for the second step but the handhold was bomber. After these two steps I was surprised there’s another tricky step ahead. This was was more of a short, but vertical face climbing with again, minimal foot hold, and after that I made to the narrow ledge and belayed Vlad up. The ledge traverse back to climber’s right was easy, but very exposed, and around a corner here came that wet slab corner. Based on the trip reports I’ve read and the condition we got, I think that slab corner is wet for pretty much everyday except for the driest period. I think I brought wrong sized cams for this trip but still, managed to get one or two pieces in. Then came the next obstacle – a vertical chimney. This one wasn’t as difficult as the previous few steps, but still not trivial.
Here’s a view of that wet slab pitch…
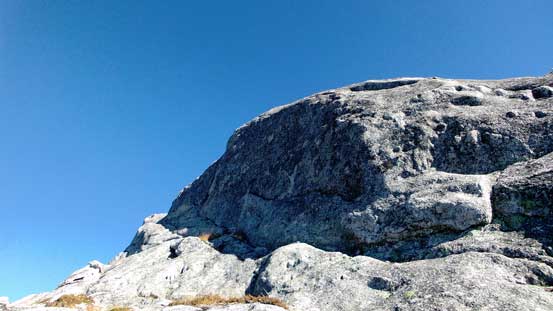
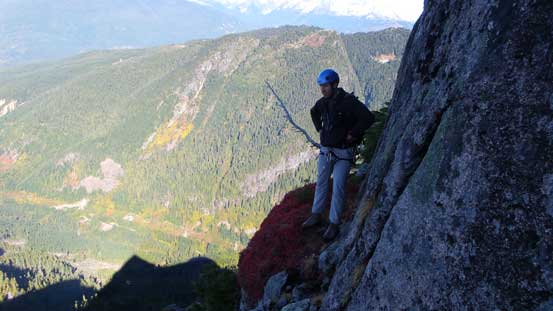
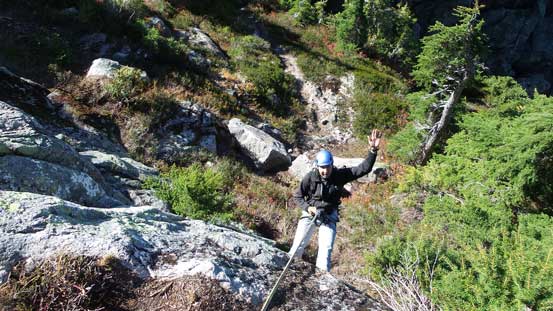
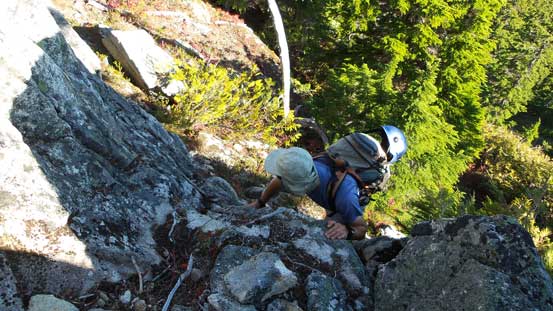
This concluded the lower half of this climb, and looking ahead we could see the terrain started to get easier. There’d be multiple ways to overcome the next section but the general direction was to ascend way over to the climber’s right along a rising traverse ledge. I went up initially to the left and then cut back over to the right. There’s a batman rope aiding a line straight up rather than going to the left, but we didn’t see it during the ascent. And once the ledge traverse was done we entered some Class 3-4 terrain that terminated at another batman rope. We used it (my first time batman up a rope) and then the hard stuff was finally over. In short time it’s the summit celebration.
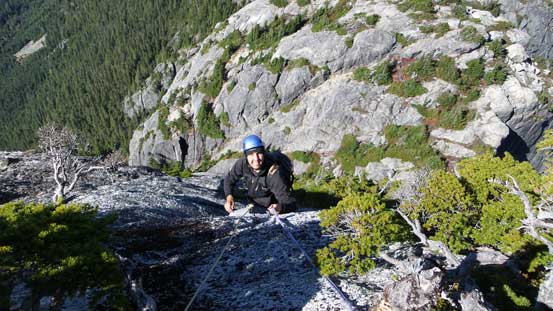
Vlad ascending the upper batman rope
Almost there!
Traversing to the right
The last bit

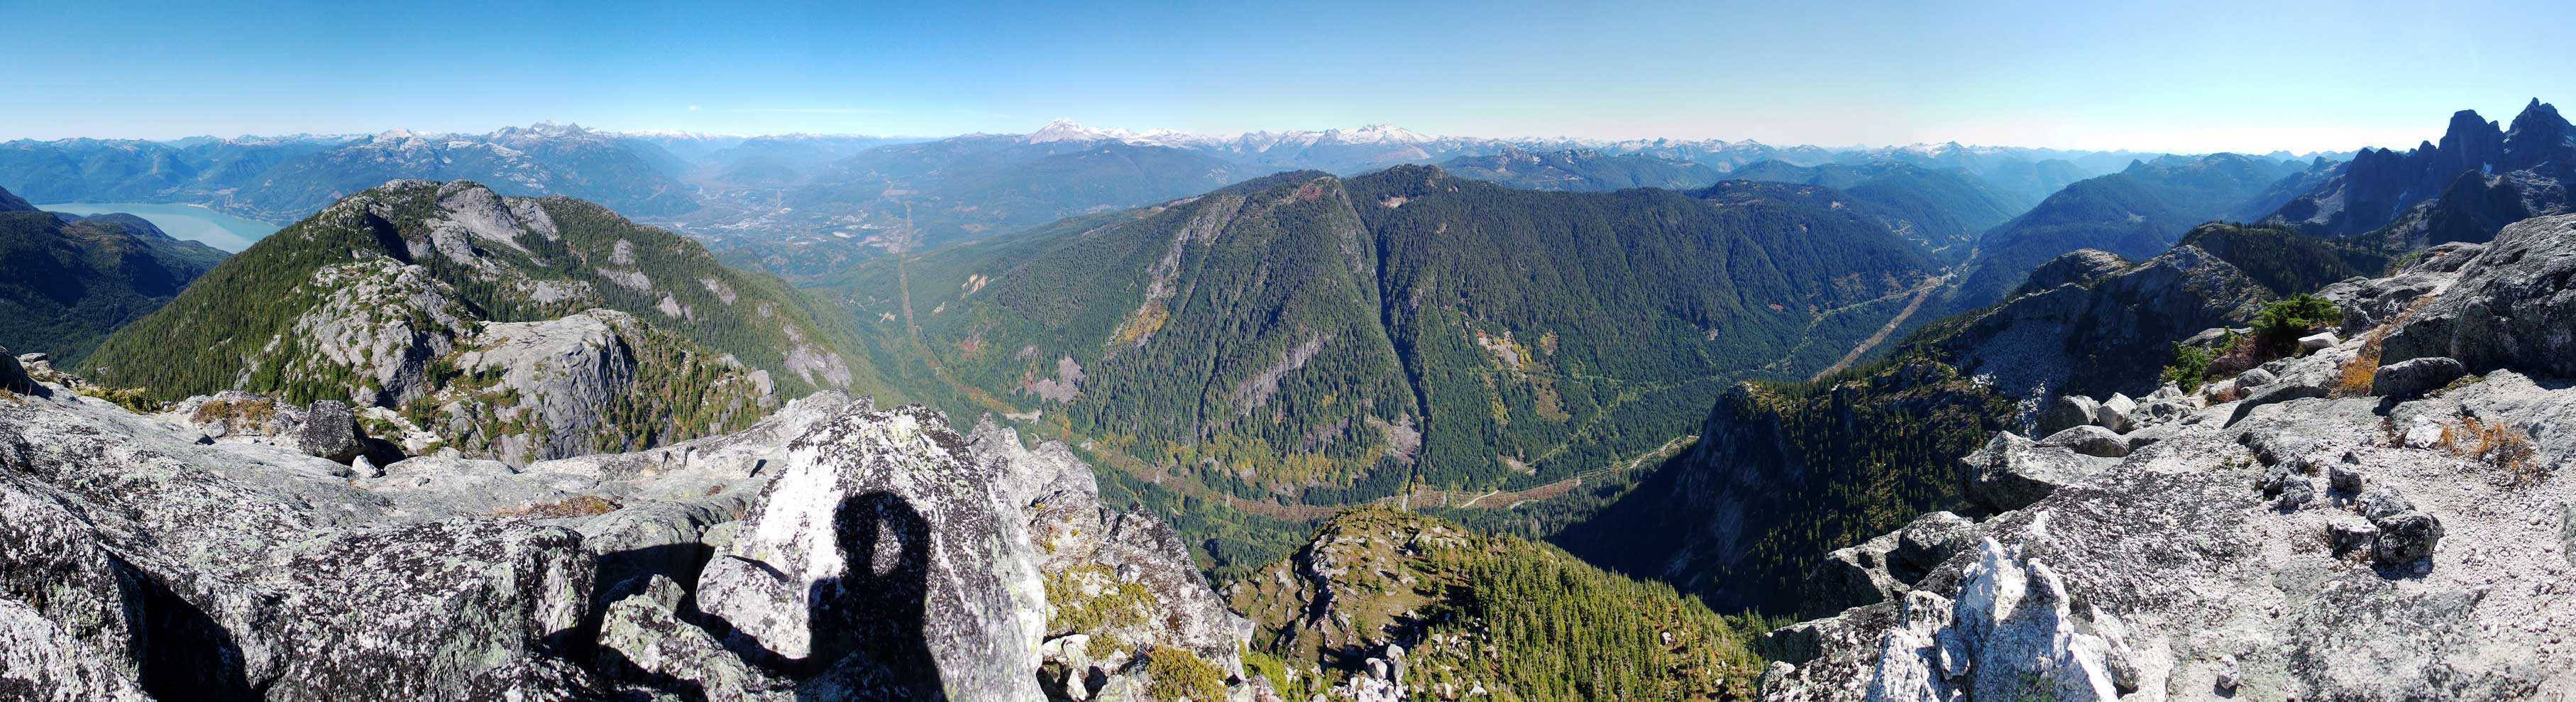
Summit Panorama. Click to view large size.

Meslilloet Mountain in the foreground. Judge Holway behind to the left

Mamquam Mountain, my next objective…

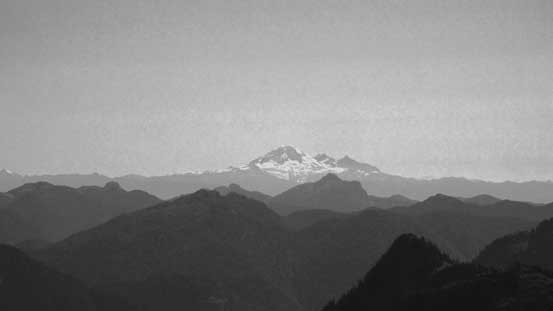
The obligatory shot of Mt. Garibaldi
Mt. Baker in the distance
Ledge Mountain and Sky Pilot Mountain
The Copilot looks very impressive

The Squamish Valley
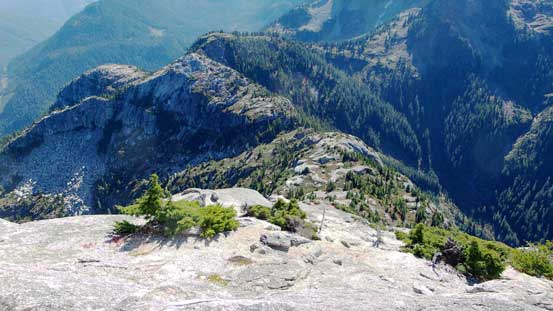
Looking down the steep SE Ridge, and the connecting ridge towards Sky Pilot
Vlad on the summit

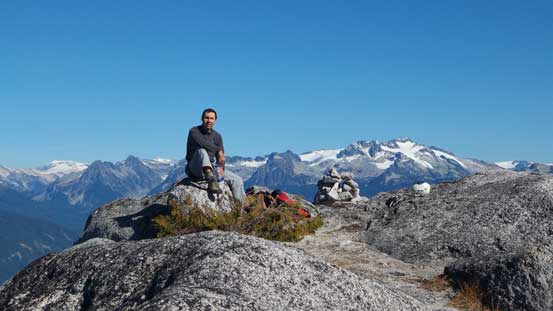
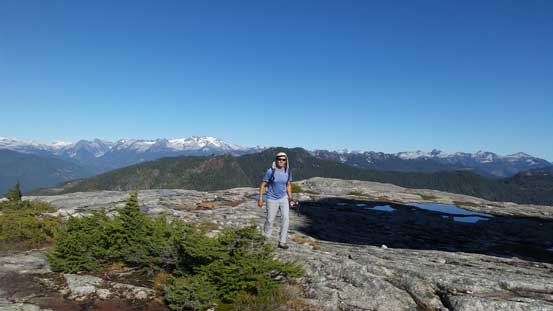
Me on the summit
Another panorama. Click to view large size.
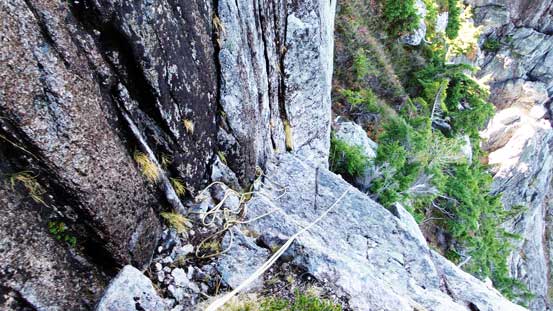
After soaking in the views it’s time to start going down as we were quite a bit slower than expected. For the upper batman rope we opted to rappel followed by some down-climbing. Then Vlad led our way traversing back to down-climber’s right and he found that lower batman rope. Vlad went down the rope while I didn’t have much experience with batman style and given the exposure and I opted for another rappel. Then came to the chimney. We both could have down-climbed this one but given a bomber tree anchor above we rapped again. Then it’s the wet slab corner… Rappelling would be very tricky since it’d be a diagonal one, and given the fact we only brought one 30-meter rope there’s no way to do the long rap down Escape Velocity route. Our solution was to use our rope as a hand line to assist down-climbing, and using a prussik as protection. It worked well. Then we both down-climbed the vertical step followed by the two bouldary steps which proved to be quite fun actually, then finally rapped off the crux near the end using a 2-bolt anchor. Now the climb was done, but time to make a critical decision.

Starting the descent

Vlad on the first rappel (beside the upper batman rope)

Our rope wasn’t long enough, so we down-climbed this

Then it’s the lower batman rope

Now came the chimney

And, the wet slab corner

Another shot of Vlad down-climbing the slab corner
Looking up
This ledge traverse looks a tad exposed…
Looking down at the lower two bouldary steps
Vlad getting into the upper bouldary step

Finishing the lower bouldary step…
These two climbers just started the Escape Velocity route
Rappelling off the crux
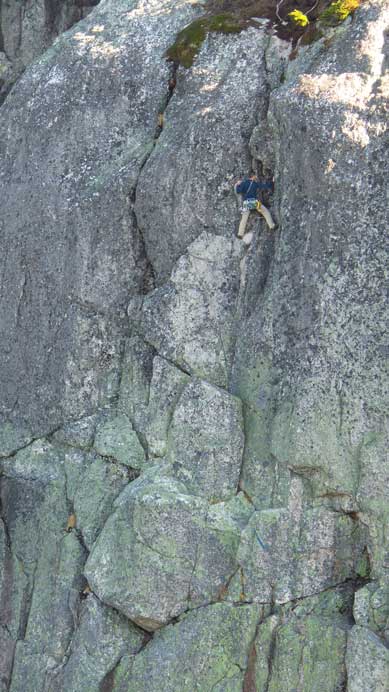
The other climber leading the P2 on Escape Velocity
Vlad was keen on going back along Al’s Habrich Ridge route while I wasn’t so impressed. I still had Mamquam Mountain planned for the day after and it’d be another day with 2000+ meters of height gain on mostly awkward terrain… But thinking again it’s “now or never” for me doing the Al’s Habrich Ridge. As a peak-bagger who pretty much never go up the same peak twice I’ll likely not gonna return to this area again despite it’s a beautiful one, so I was convinced to do the scenic, albeit much longer return. This turned out to be a classic “Type II fun”. I was cursing my decision throughout the entire descent, but now at home I’m very glad I pushed it through..
For the first bump we went up and over it and while descending the other side we started encountering difficulties here and there. There’s a bit of flaggings but not much of a path so from now on we pretty much had to find our own route. There’s some scrambling up to Class 3 occasionally mixed with bushwhacking and I had to say it wasn’t fun… For the second bump we went around to the right (north) and successfully bypassed it, and with that in mind we tried to do the same for the third one (a smaller bump). Here we almost cliffed out but managed to get back on track (not without difficulty though). There’s more flagging and more of a path coming up, but for the next few bumps we basically went straight up and over, on again, scrambly and bushwhacky terrain… Finally we made to the last major one, fully expecting a trail on the other side. But guess what? Nope… There’s no trail and we got lost again. Oh well… Back to the bushwhacking game we did manage to find a trail somewhere lower down, followed it for a while then lost it again at a tarn. We searched around and found another trail somewhere, and eventually joined the main Al’s Habrich trail. Now we were expecting a trouble-free stroll back to the Jeep, but guess what?! Nope again… This was one of the worst officially marked trail I’d ever hiked and we got lost at least 4 or 5 times. It also travelled extensively on slabs (thus, very hard to follow). But eventually we did clear it out and 20 more minutes later on the logging road we arrived back to the Jeep… It’s not over yet as I still had to carefully drive down the rough road…
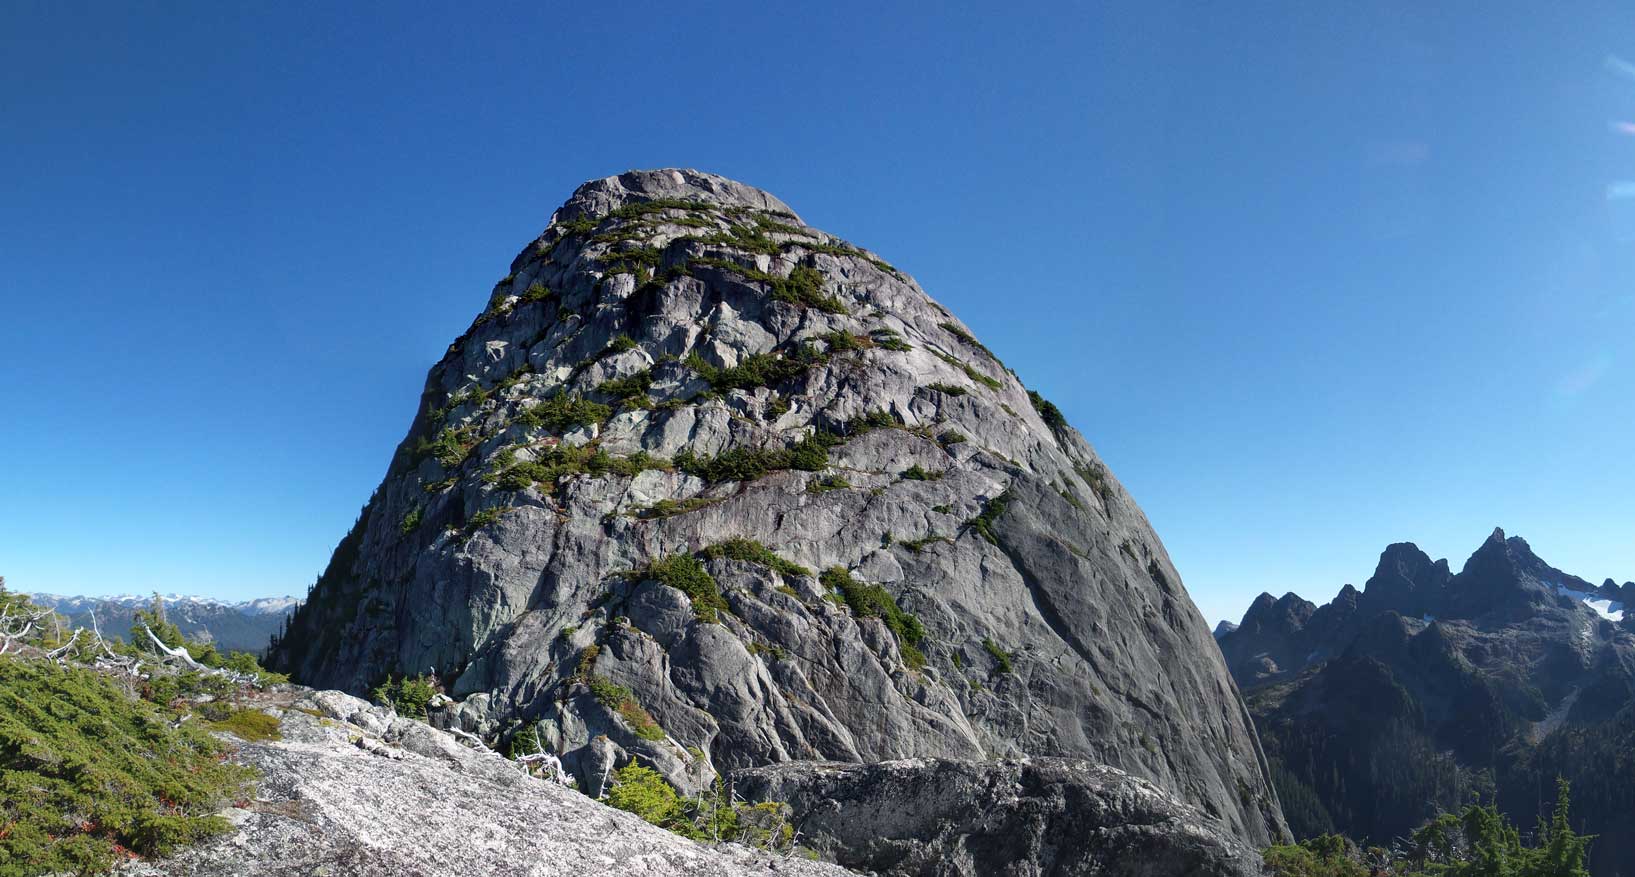
A wide panorama of the NW Face of Habrich. Click to view large size.
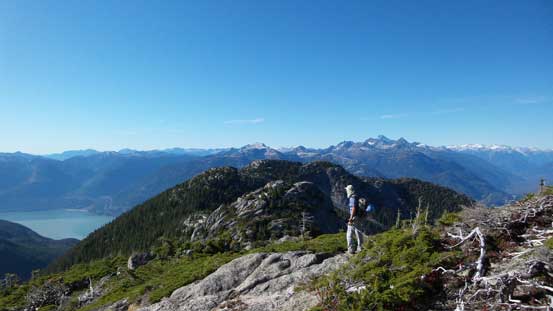
Looking ahead to the long descent

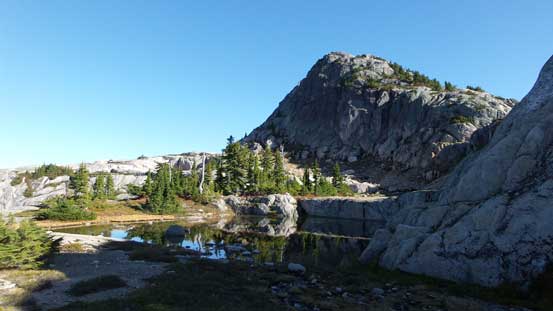
One of the many tarns we passed by

Down the first bump now, time to traverse around the second

More tarns to come
Looking back at the wide ledge/plateau below the second bump
Vlad traversing on this wide ledge/plateau

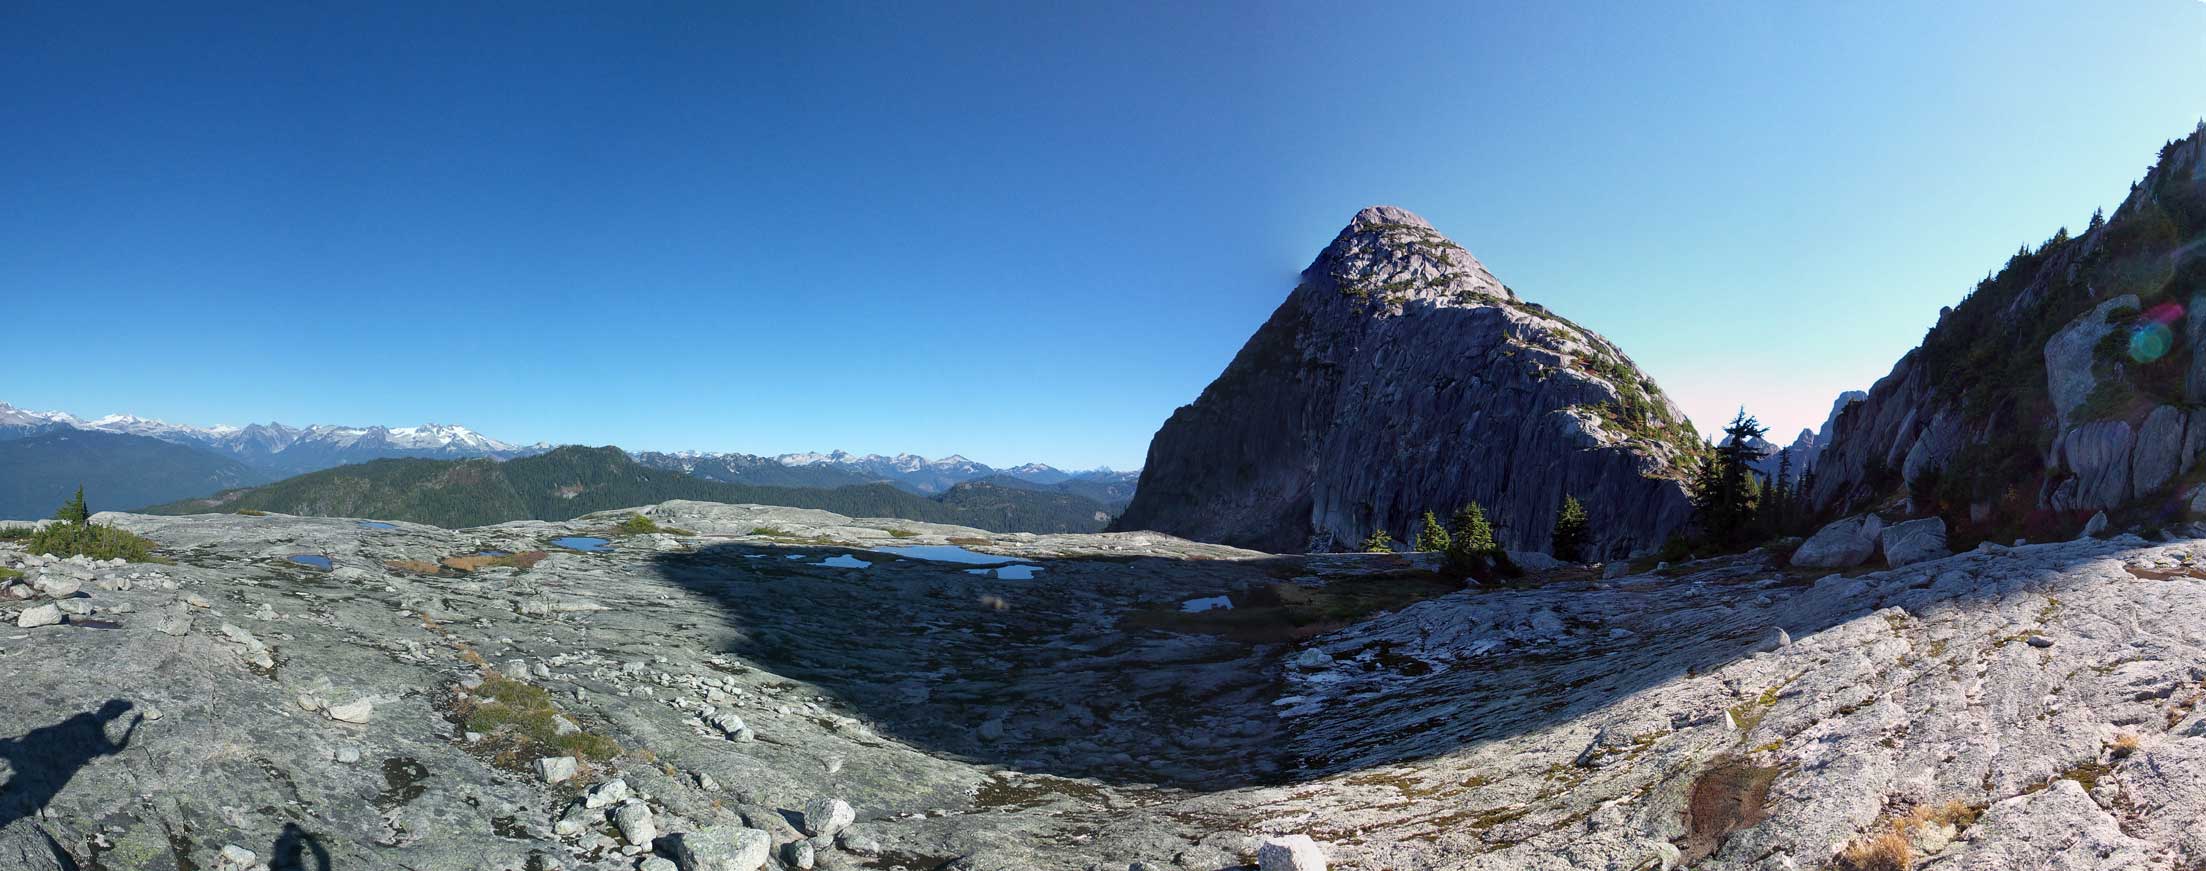
Here’s a bigger tarn. Click to view large size.

The same tarn, from a different angle

The reflection of the Sun in this tarn
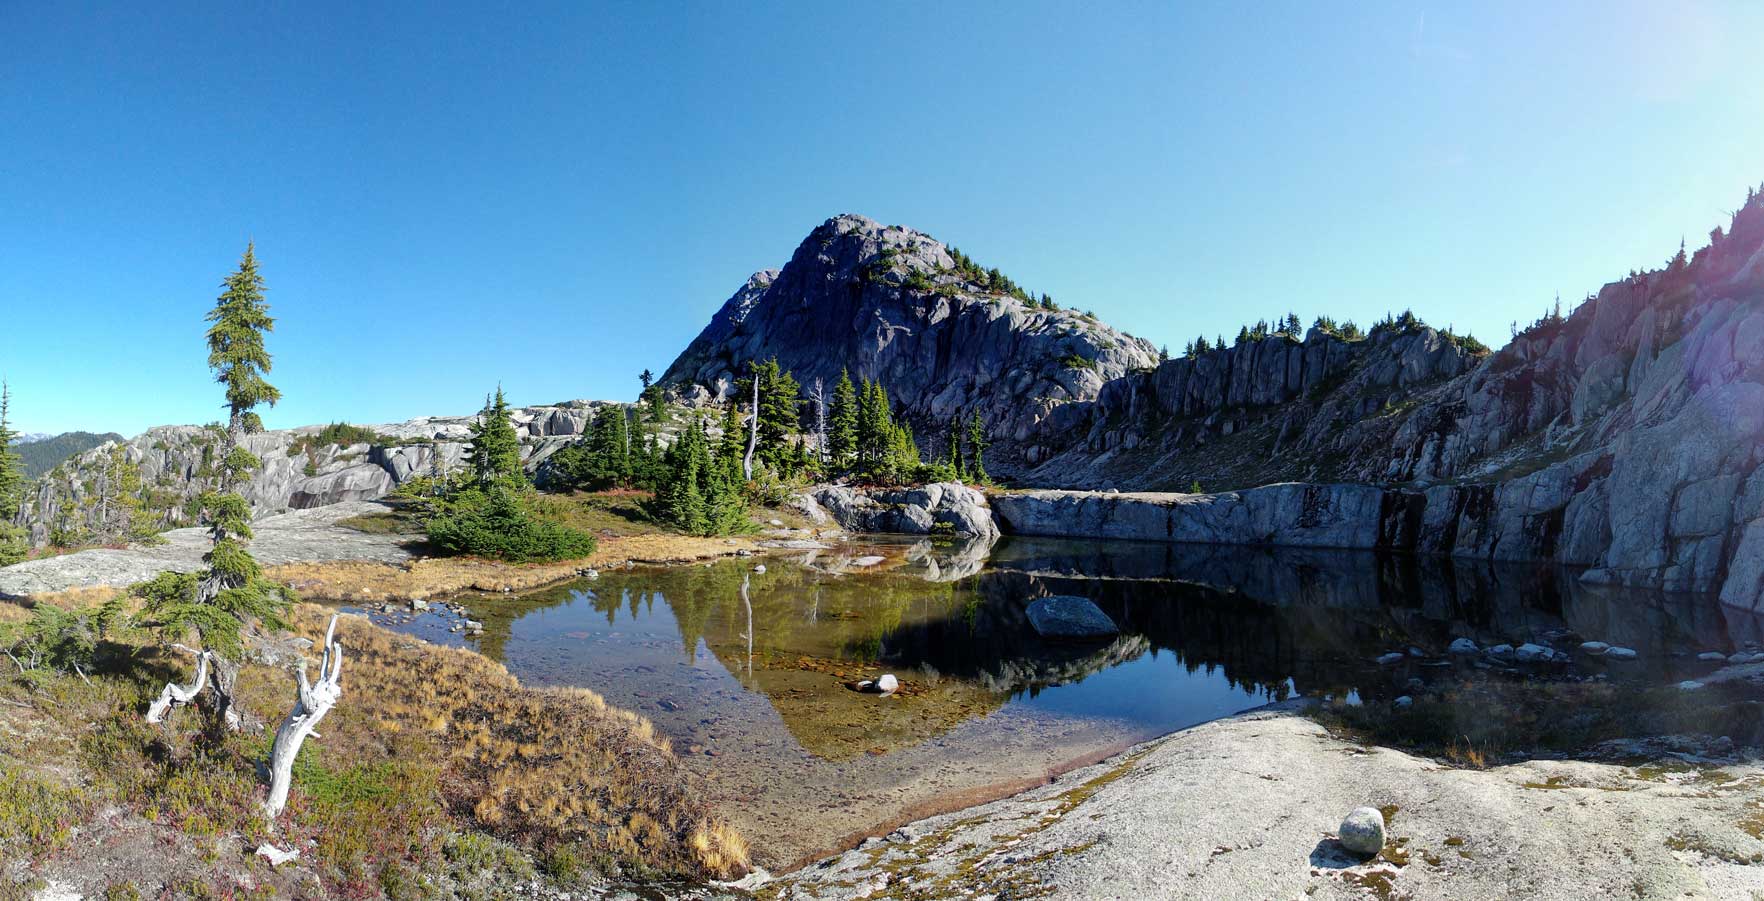
Another view of this tarn. Click to view large size.
One last view looking back

Where to go?!

Bush thrashing…

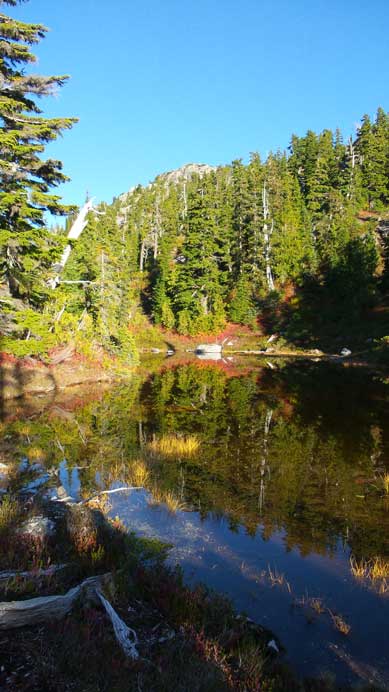
But now it’s the reward. Looking back towards our objective
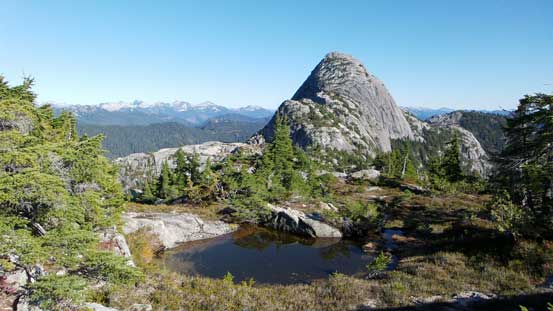
Another shot of Mt. Habrich with a tarn below
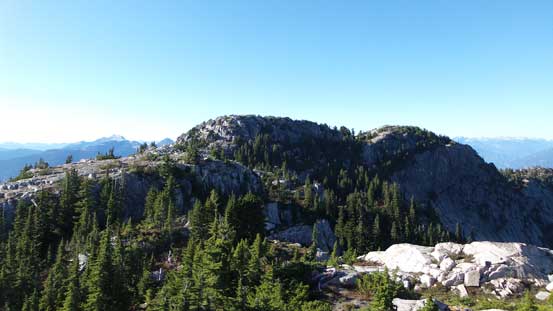
But more bumps to come…
Getting tired now…
One of the many scrambling steps

One last view of Mt. Habrich
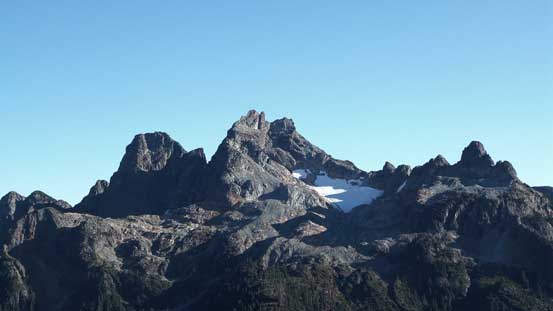
The Trio – Ledge, Sky Pilot and Copilot

Another tarn

The same tarn
Yep, another tarn
The trail goes down on these slabs making difficult route-finding
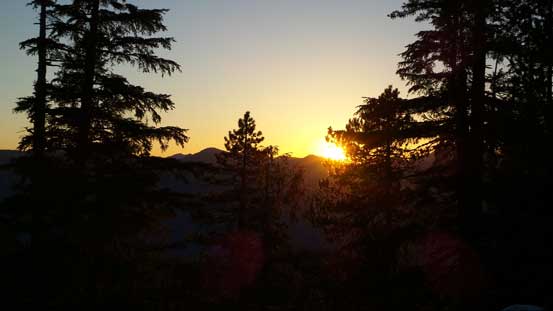
Sunset time… Long day…
Our round trip time was about 11.5 hours which was much longer than anticipated. I was tired but thankfully not exhausted so I still could keep the Mamquam’s plan so that’s good. Despite what others say, both Vlad and I found Mt. Habrich to be considerably harder than expected. It certainly made The Copilot or East Lion “easy” by comparison. From my experience, a “top end scrambler” by nowadays Rockies standard (that’s roughly Smuts, Northover, Edith Cavell with no rope) is not good enough to free solo this route and in my book it’s definitely a climb… But in any case, we were both very glad to have this satisfying summit ticked off. And then the next day…
