Mount Murchison (Squamish, BC)
June 28, 2020
1731m
Squamish, BC
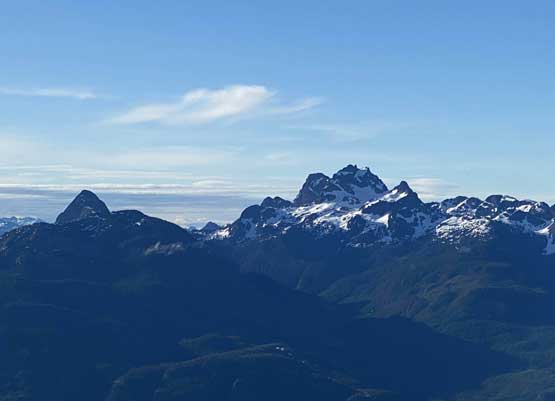
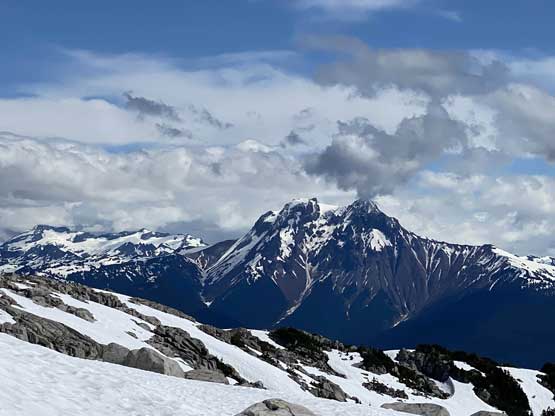
Not to be confused with the majestic Mt. Murchison in the Canadian Rockies, this one is much less iconic, on the west side of Squamish River overlooking the Woodfibre pulp mill. From a local perspective this is still a sizeable peak with multiple summits and more than one vertical mile of relief above Squamish River and Howe Sound, and is rarely ascended due to the access difficulties. Apparently parties had attempted this peak from Woodfibre mill in the past but the south side approach involves considerable amount of bushwhacking. The ferry to the mill is now shut down so it’s even worse. The summit routes are a bit obscured too but with some thorough digging I still managed to put all the pieces together. I thought the much-better access would be from Mt. Lapworth as the connecting ridge appeared straightforward. There are three summits on Mt. Murchison massif with two of them roughly at the same height. One photo essay on bivouac says the more obscured south summit is likely slightly lower in elevation so that’s a good news for us.
To get to the summit of Mt. Lapworth traditionally one needs to canoe or packraft across Squamish River and hike up Echo Lake trail. It’s not an easy task but at least there’s a trail to access the treeline and from there it’s an easy scramble to the summit. For Alex, Vlad, Marius and myself the task was even easier as we simply just flew to the summit of Mt. Lapworth from Squamish airport. The plan was definitely not to just bag Mt. Lapworth and Mt. Murchison by this fashion. In fact, we had a bigger plan to traverse a bunch of peaks including the elusive Mt. Sedgwick in a single day, and taking a helicopter ride was the most practical way.
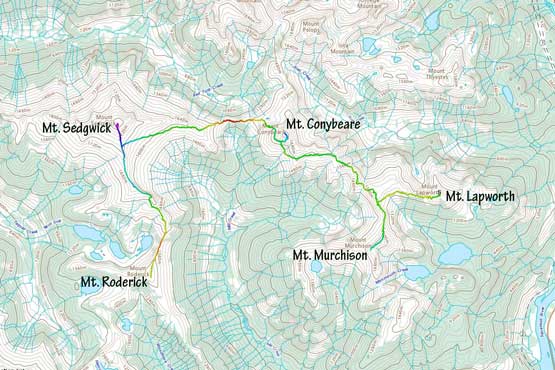
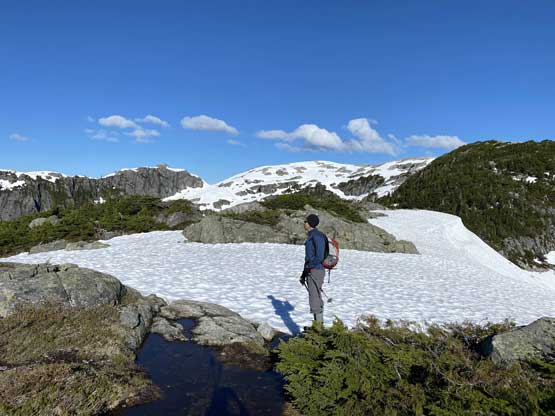
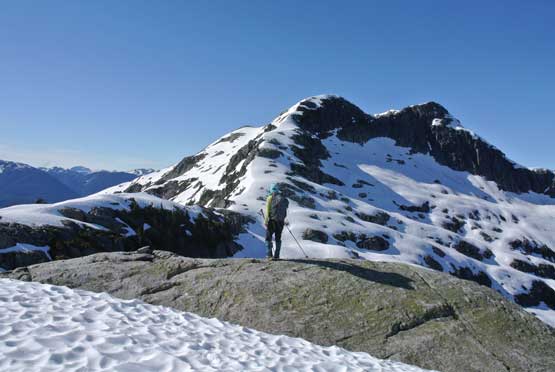
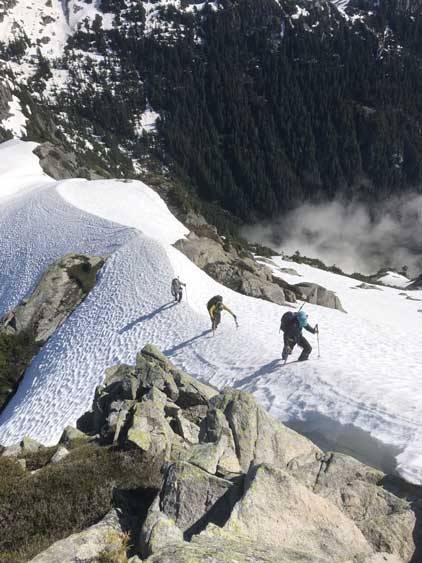
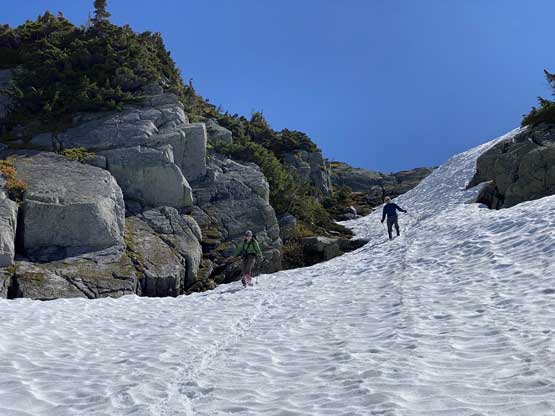
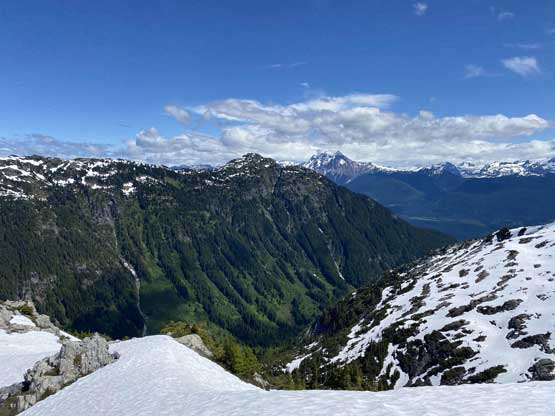
After snapping the “victory shots” on Mt. Lapworth we started the descent towards the bump between Mt. Lapworth and Mt. Murchison. We encountered steep and bluffy terrain that forced us to do some back-tracking. We bypassed on steep bluff by dropping onto snow on the north side and then easily plunged down to the col. We opted to bypass the bump by short-cutting on the south side. It appeared that we could have stayed on snow and indeed, other than a bit of bushwhacking and annoying side-hilling we did manage to stay mostly on snow. We ascended a nice gully feature full on snow to the north ridge of Mt. Murchison.


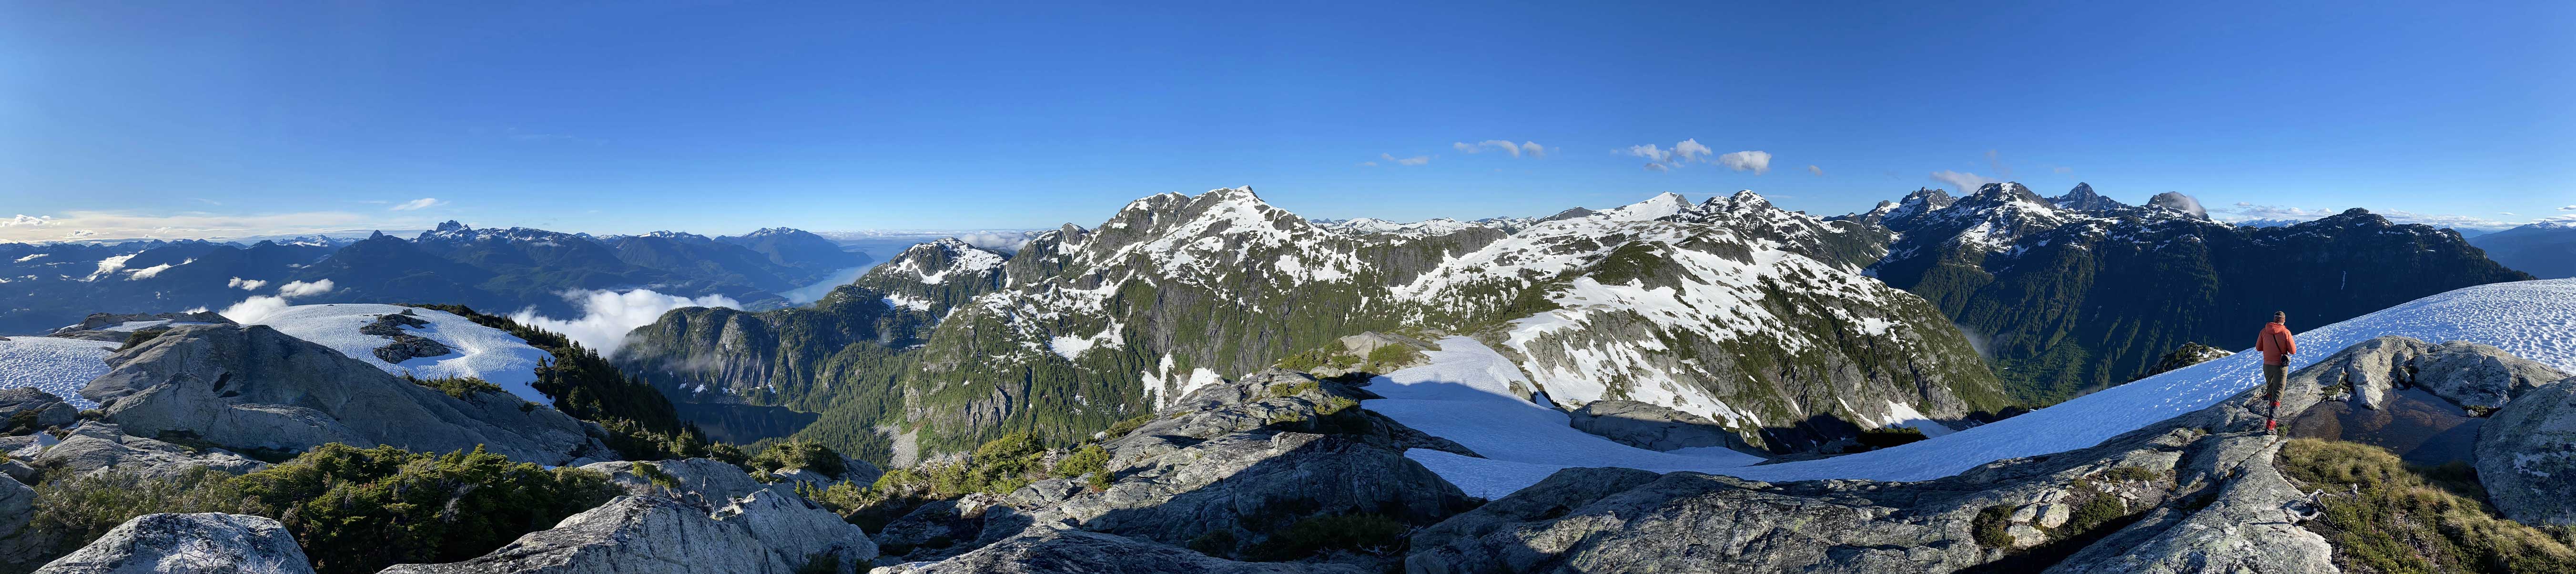


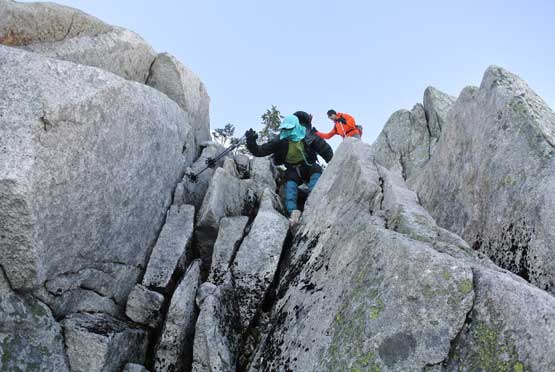


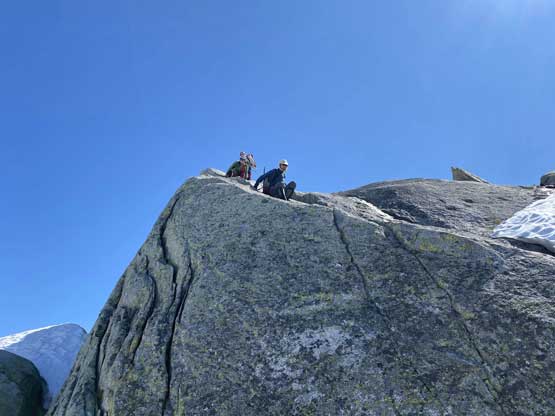
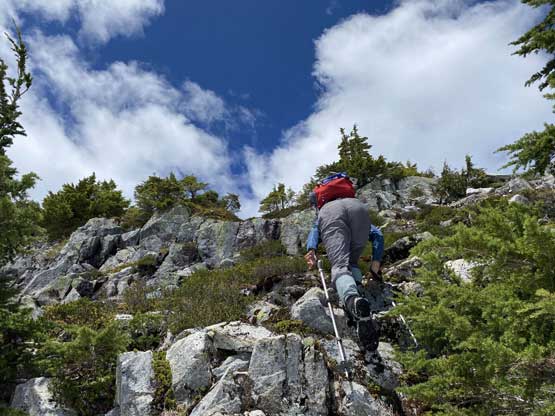
The north ridge of Mt. Murchison had fair a bit of unknown but our worrisome proved to be unnecessary. The first step was attacked head-on (one move of stiff 3rd class) but on the descent we found an easy bypass on snow. We then traversed up and over a few subsidiary bumps to just below the first of the three major summits. Vlad opted for a bushy bypass while I strapped crampons on, and climbed the snow arete head-on. Alex and Marius followed without even using crampons.
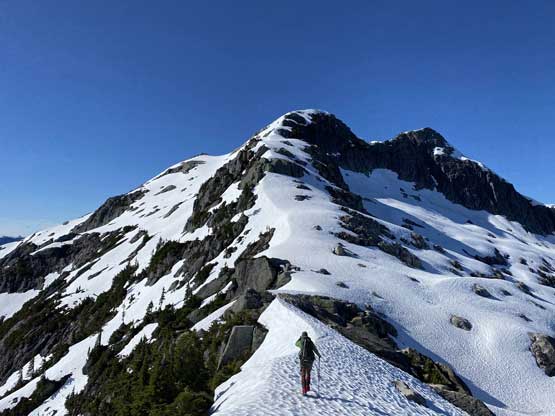


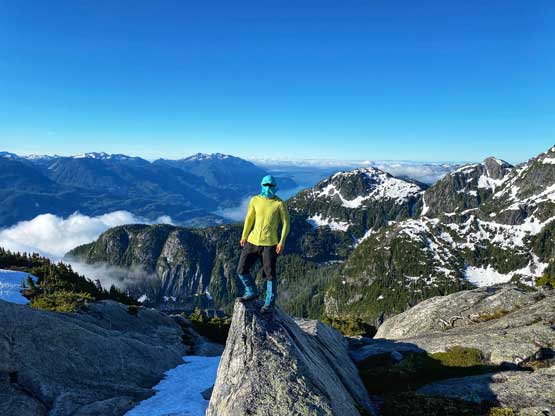
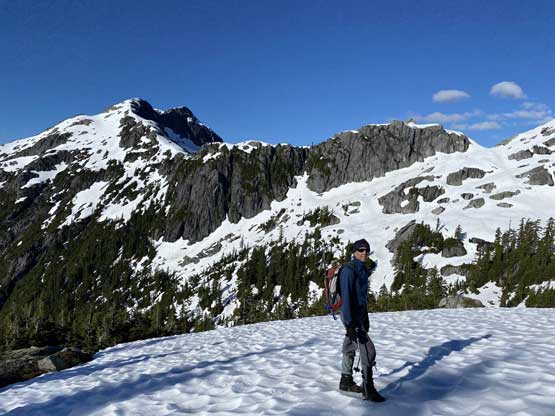
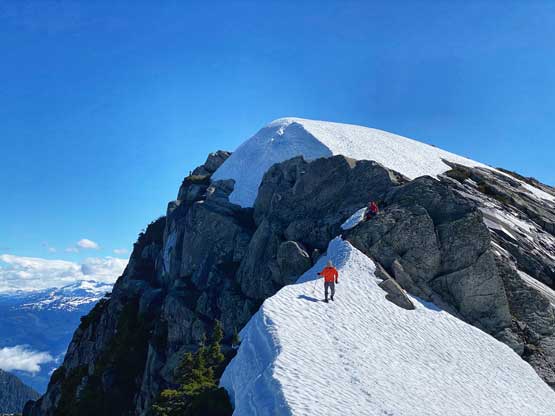
The traverse from the first peak to the north (true) summit appeared narrow but actually not. There was some transitions between rock and snow but the terrain never became exposed and the scrambling never exceeded “easy 3rd class” that in short time we were on the summit. It seemed like traversing further to the south peak would be straightforward but since it has either the same, or slightly lower elevation we didn’t want to waste time here. The weather was clear but windy so after taking some photos we soon retreated.


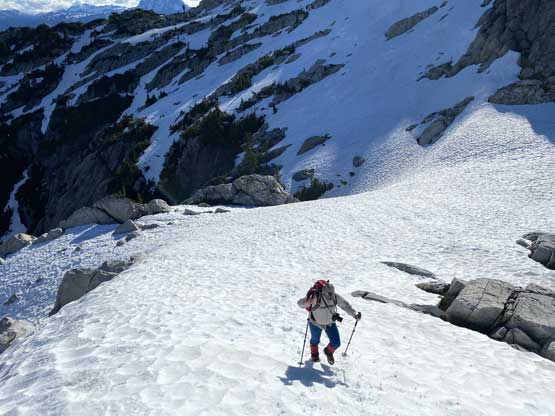
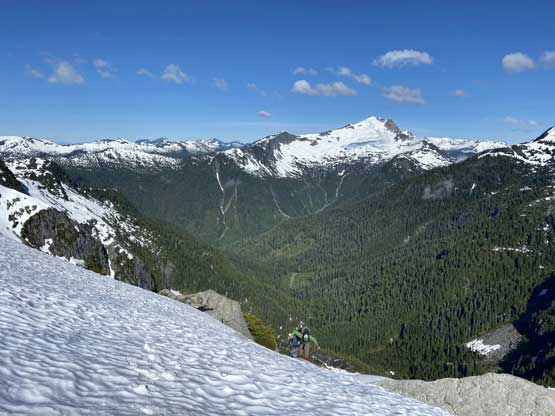
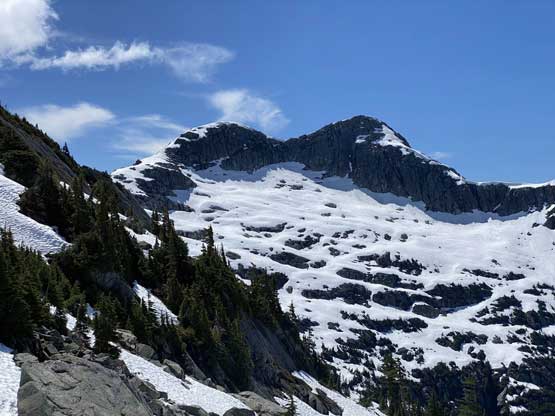
We all put crampons on and down-climbed the snow arete on the way back and then followed our own tracks traversing up and over the few bumps. Vlad led us down a snowy bypass to avoid the lower tricky step and then we ascended another few bumps with some snow, a bit of bushwhacking and a bit of route-finding. The aim was a snowy ledge on the south slopes of Mt. Conybeare but we knew it’s still a long ways to the summit of Mt. Conybeare.


After a few more bumps Marius decided to call the day there and let Vlad, Alex and myself to carry on. We found a nice and flat spot for him so that we could pick him up on the way back, and continued onward towards Mt. Conybeare.
