Icecap Peak
June 11, 2017
2435m
Squamish / Elaho Main FSR, BC
Sticking out in the middle section of the glaciated Ashlu-Elaho Divide the nunatak Icecap Peak is a rather remote objective. The tradition of accessing this area is a multi-day trek from Ashlu Main FSR and the deactivation of that logging road doesn’t help on the approach neither. This was no longer the case until this past winter when a fairly direct route was “published” via E-200 spur branching off Elaho Main FSR from the north. This has significantly shortened Icecap Peak to a mere day-trip for strong parties but don’t get me wrong as it’s still a fairly difficult project. The HC 4×4 road access, the coastal bushwhack approach, cumulative elevation gain of 2200 m, a heavily-crevassed traverse and a tricky summit block guarantees to defeat those who aren’t giving it enough respect. The credit of exploring this route goes to Ryan Allderman on bivouac.com and about half-a-dozen parties had made attempts in the last month.
I wasn’t super excited about Icecap Peak for simple reason that my plan to bag those peaks was by a 4-day traverse across the whole Ashlu-Elaho Divide so that I don’t have to come back again and again, but I’m the type of person who just cannot make up his/her mind until actually during the trip (and even so, I’m not so sure). Putting the whole traverse down in one shot sounds splendid on paper, but requires lots of things to line up properly and once those factors did line up I ended up on bigger mountains (Mt. Shasta and then Mt. King Edward), and now it’s June already and the traverse had past its prime time. This past Sunday saw me joining Michelle and Brian on Icecap Peak’s day-trip for simple reason of “why-not”. It’s good to meet up with friends and see the north approach anyway.
An “alpine-start” wasn’t necessary and by 6 am we were cruising down Sea-to-Sky Highway in Michelle’s Jeep Wrangler. At Squamish we turned left onto Squamish Valley Road and it’s worth noting that it’s actually my first time travelling down that way. After a while the road turned gravel and another long bumpy ride later we reached the junction with Elaho Main FSR. A couple kilometers down that way we turned left onto the E-200 and as warned by other friends this road was indeed very rough. There were a few spots right off the bat that we had to squeeze beside some big boulders rolling off from the hillside and then the grade became steep. The road bed was loose and there were at least 20 huge water bars/ditches. Nothing beats a Jeep Wrangler geared down to “4 Low” when it comes to this type of terrain and with Brian’s excellent driving skills we crushed it with no problem. The transmission line did went hot which shows this road is pushing the upper limit even for a Wrangler so I’m not so sure about other types of vehicles…
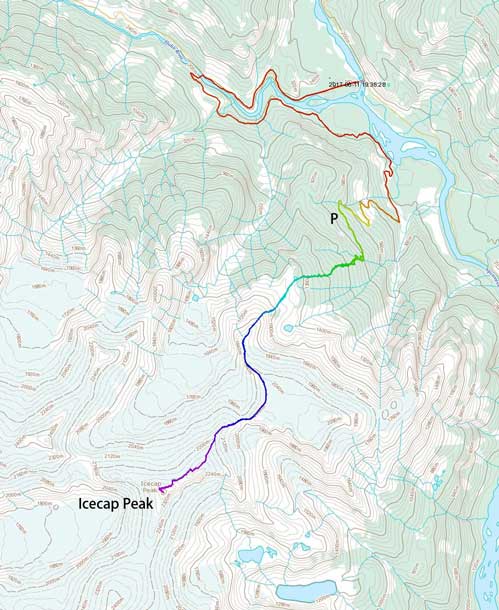
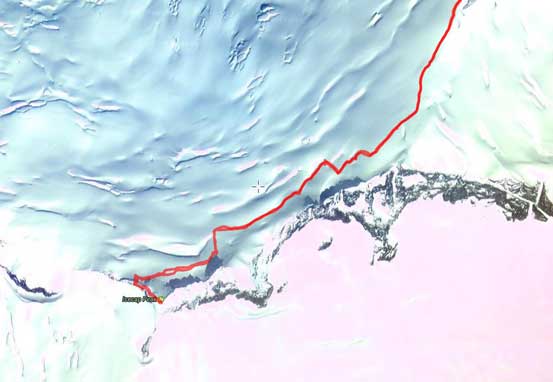
Icecap Peak north approach and ascent route. GPX DL
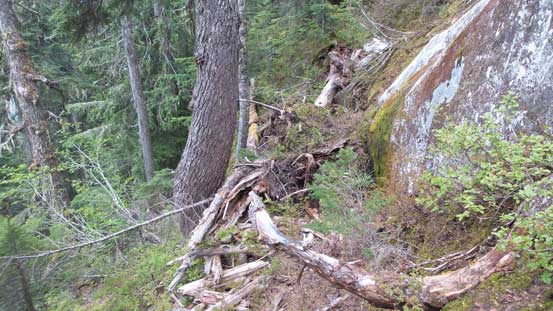
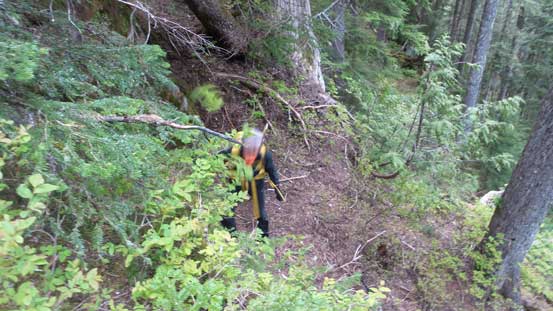
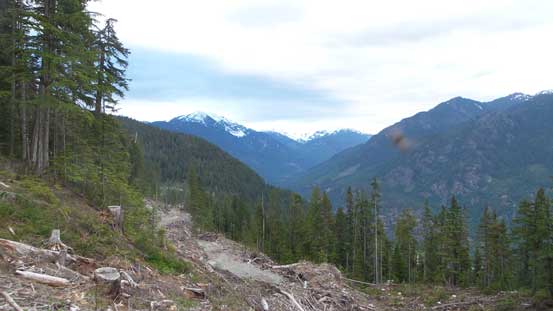
The driving on E-200 had dispatched about 500 meters of elevation gain right off the bat but as much as a typical west coast adventure goes we had to face the next stage of challenges – the bushwhack. I did not do much digging and the only beta I came prepared with was a pre-loaded GPS track which itself worth a thousand words to be fair, but I did vaguely remember someone commented on Facebook about a “flagged route” (but we all know how that’s gonna work)… After easily walking up the remaining stretch of this logging road to its end we bashed out way into a large cut-block. A few minutes later we were facing at a shear bluff and after consulting with the GPS multiple times we backtracked a bit and found the break on climber’s left side. Scrambling on slippery boulders, logs and some moderate bushwhacking was required but soon enough we had cleared this first obstacle. Brian realized he’d just lost his sunglasses and went back to find it. Michelle and I waited for at least 15 minutes and the bugs were eating us alive so not sure what to do we just went ahead on our own, albeit at a slower pace hoping Brian could catch up.
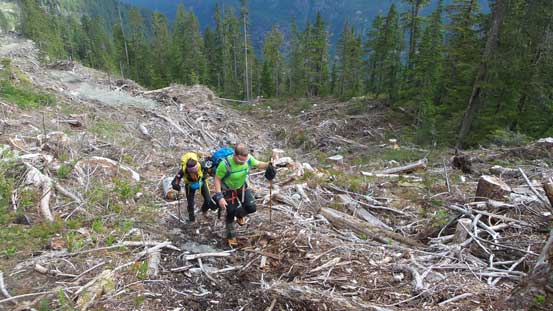
Ascending the cut-block beyond the end of E-200

As much as a “flagged route” goes in SW BC
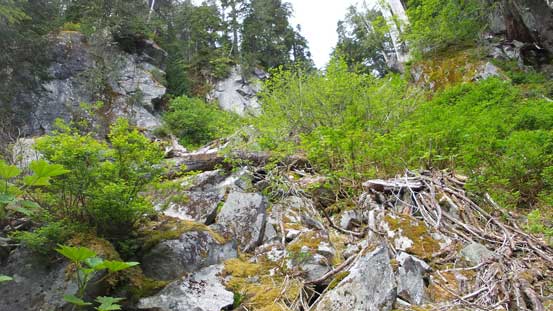
This is from the break through the first cliff band right above the cut-block
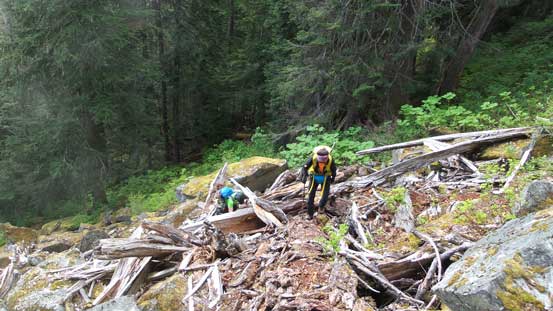
Michelle and Brian working their way up.
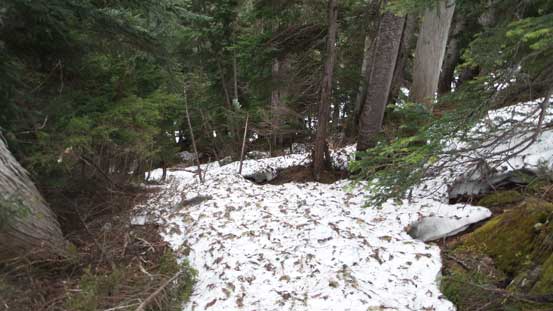
Unfortunately this never happened on this day as later we knew Brian’s GPS had gone off. Too bad. The bushwhacking on Michelle and I’s route wasn’t terrible (BW2+ on a scale factor of 5) but the challenges came at the two bluffs that we must find a way through. Both required some creative route-finding and 3rd class “bush scrambling” but once through we were not far from the snow line. Once the snow became continuous the travelling difficulty eased dramatically although the grade was still steep overall. There’s some running streams where we filled up the water bottles and then upwards and onwards we plodded into the treeline country where we joined the broad “NE Ridge”.
Our only view of Mt. Cayley and Pyroclastic Peak on this day.
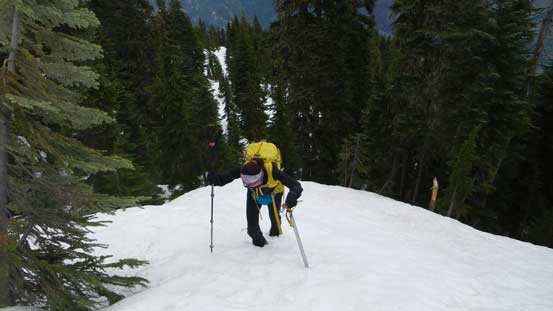
Michelle hiking up steep snow in the forest
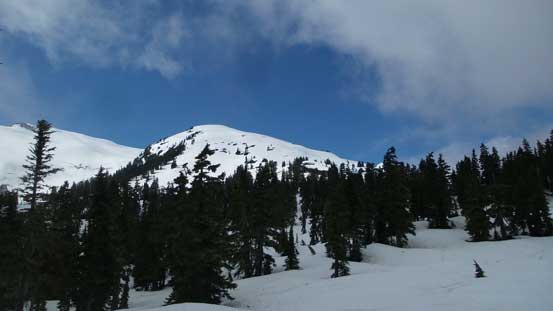
The first level spot on the route.. Still a long ways to go…
It appeared like we still had a long ways to go and it sure was… The next stage was a long mundane plod up onto the NE Ridge proper and apart from putting one foot in front of another I don’t have much else to say. The trail-breaking was quite average and thank to a whole season of “hiking on snow” I was surely in a great shape. Michelle did excellently too and never fell behind. Once hitting the alpine the broad sense of route-finding was simple but there’s quite some micro-terrain to pick from too. First of all we went up and over a smaller (snowy) bump, took a lunch break and then up and over a rocky “peak” before dropping down onto the glaciated terrain. This rocky peak could be bypassed earlier in the year but not for us. The next peak ahead could also be bypassed and we did so, traversing diagonally downwards into a saddle and here had the most significant elevation loss of the trip.

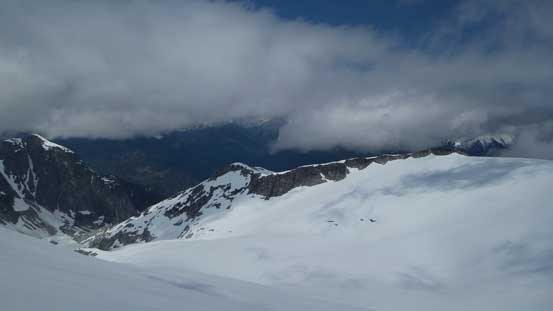
Some elusive ridges and icefields start to show up..

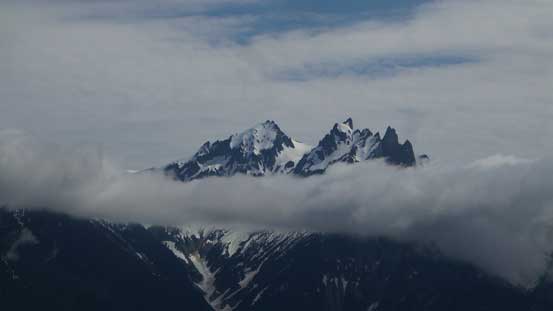
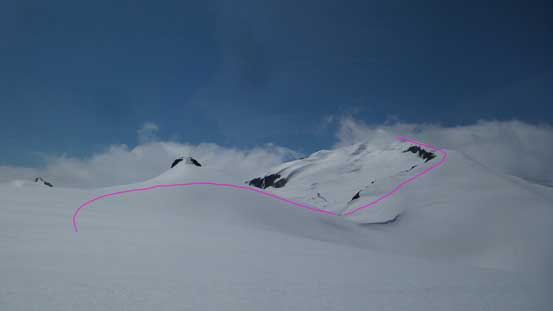
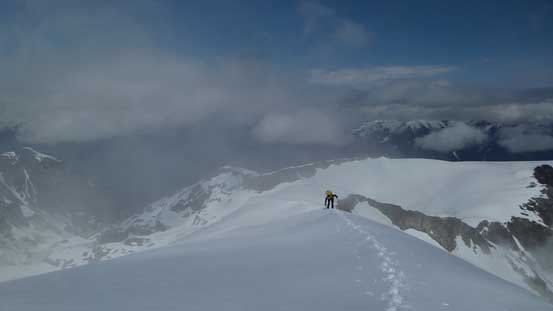
Icecap Peak ahead – the false summit at center and true summit on far right.

Amicus Mountain is the taller neighbour of Icecap Peak

Another view of Amicus Mountain and the glacier running down from it.
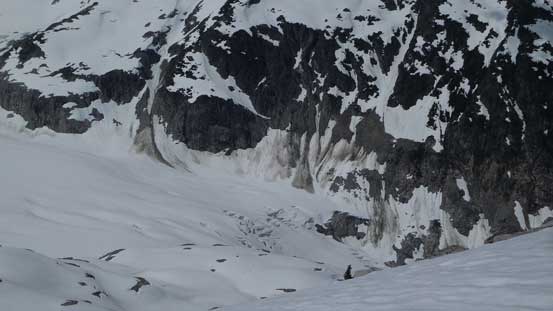
The lower reach of this glacier.

Looking back from one of the bumps along our ridge.
From the top of the “rocky peak” looking ahead. Lots of up-and-downs…

Michelle descending onto the glacier now.

Down-climbing into the low saddle.
From the saddle onwards I could see a few saggings near the ridge crest so to avoid them we traversed farther on climber’s right and ascended the face. It’s not as steep as it looked and I still didn’t have to take the axe out and the snow was soft enough that crampons weren’t necessary yet. And once this section of the grunt was over we followed the ridgeline trending left aiming for the distant false summit. Lots of post-holing had to be done thank to the wind-drifts and the rolling mist created some alpine feeling. Not farther up we were in a complete white-out and then it’s time to take the GPS out for some navigation. Earlier in the day I did get some glimpses of the traverse underneath false summit and it looked like we had to be careful about crevasses, but in terms of the broad route selection I’d simply trace the previous party’s GPS track. About 100 m into the traverse we took the axe and crampons out.
Looking back towards the ridge we came up from.
The typical plod…
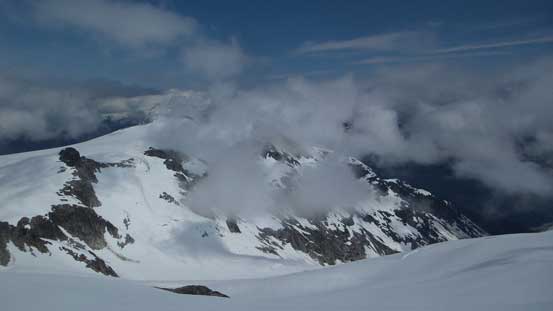
Clouds were building up all over the places.

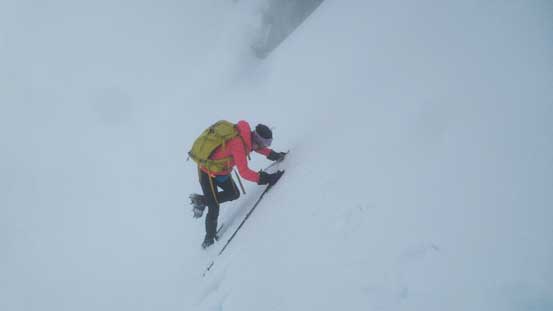
Me charging up. Photo by Michelle Hyun
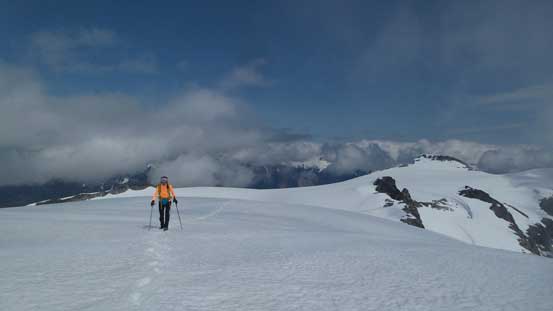
Michelle plodding into the mist. High up on NE Ridge now.
Our GPS track showing some decent white-out navigation skills… Looks intense…
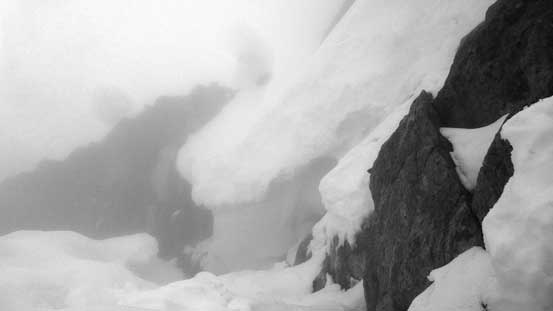
It surely felt better with the aid of those traction devices considering the increasingly steep grade. Meanwhile we were in a total white-out and the less-than-20-meter visibility felt exactly like what’s like being inside a ping pong ball or an egg shell.. This is not something I’d do often, but I did have experience navigating this type of conditions plus I did can see at least 10 meters in front, so kept pushing on. At one point I saw the slope angle increasing dramatically and my experience told me that it’s probably a crevasse or bergschrund in front, so led the way descending to a bench lower. I was totally right as the previous bearing was aiming directly at a gigantic crevasse. Traversing along this bench wasn’t too bad with another couple crevasses to avoid along with one or two crossings of avalanche debris. It’s slow going but we were getting there, and once past the false summit I followed the GPS track diagonally ascending to the base of the true summit and then traversed for another 200 m looking for a break through the moat.
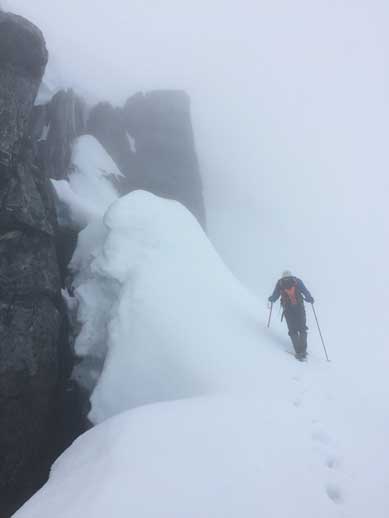
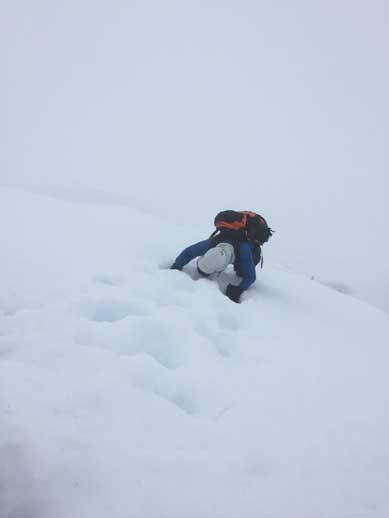
Me searching for a way up. Photo by Michelle Hyun
This is what’s like mountaineering inside a ping pong ball…
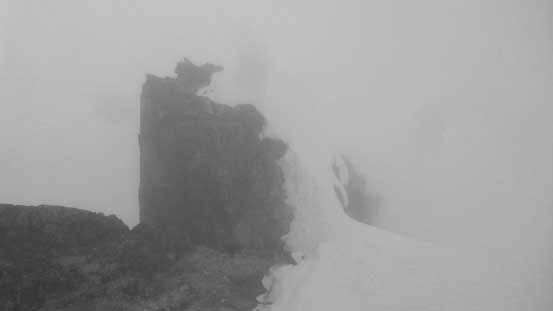
The whole traverse was very mentally taxing thank to the visibility but the fun had just started. Looking around we could not see an easy way to gain the NW Ridge and the moat was completely open leaving at least 3 meters of overhanging snow. The only possibility existed on the far climber’s right side so we traversed further to check it out. It didn’t look good but at this point I was determined to at least give it a try. I told Michelle to make her own call here and then up I went. The lower lip of the moat was easily crossed and then a couple mixed moves later saw me looking at the upper lip. I tried two routes and the conclusion was the upper one being “no way” but the lower one was “possible” with some creativity. It would be easier had we brought a shovel but for the sake of “light-and-fast” style an axe and crampons (aluminum) was all we brought in terms of technical gears.

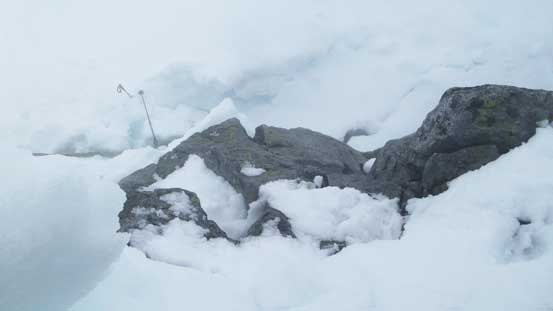
Me above the lower lip ascending some mixed terrain.
The crux was more of a corner with an overhanging snow wall (the lip of the moat) to my left. I spent at least 5 to 10 minutes breaking the snow wall using my fist so that I could at least squeeze through, and meanwhile I used the snow to add a bit of extra materials to the foot steps, and then guess what. A bit of stemming and it worked. Now onto an unsupported snow slope I climbed up as fast as possible with the angle pushing towards 60 degrees near the top, then merging onto the rock, another mixed move across a slab and then another steep snow slope later saw me hitting the NW Ridge proper. The “fun” wasn’t over yet as an unexpected notch presented itself and to cross it I had to get pretty close to the edge with some dedicated down-climbing, but at this point I was determined to make the summit. The final push to the true summit felt like a drag but at least the cairn wasn’t far away now. I was impressed that Michelle actually pushed on to finish this last bit of climbing with me as to be honest I wasn’t expecting that. Good for her. There’s no view from the summit but at least there’s a cairn for a couple obligatory photos.
This is looking back at the notch high on NW Ridge
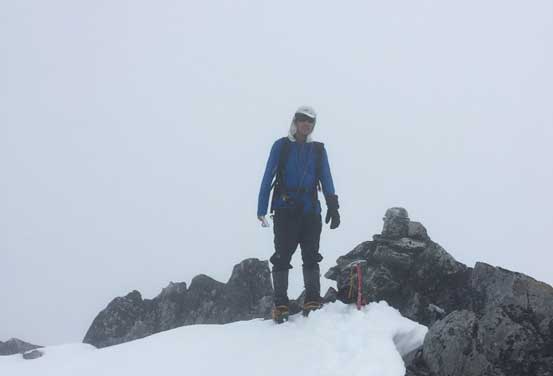
Me on the summit of Icecap Peak. Photo by M. Hyun
The summit celebration was short as I didn’t even bother to fire an inReach message as what I would typically do. We had to get off this mountain and that’s the top priority now. I wasn’t worrying too much about it as all we needed was reversing our tracks which is always easier than you might think. The few mixed moves could be interesting but I had done the same on Mt. Fee N. Tower on much more exposed situation, so.. Down we went. My only concern was that unsupported slope which we down-climbed one-at-a-time and apart from that, the whole reverse was very fluent and quite fun to be honest. Given the fact we missed the summit views I was more than happy to have done some climbing here. We might not have picked the easiest route but hey it worked (for both of us) so I’m not complaining. And then it came that long, long traverse underneath the north face of Icecap Peak which just kept dragging on and on and on. The post-holing took over as now I was sinking on top of my own tracks creating some very tedious and frustrating work. Eventually I ran out of gas or motivation and called a food break before even finishing this traverse. I knew we had to keep going as fast as possible but at that point I was mentally done.
Me dropping down the 50-60 degree slope.
Looking down from the crux above the mixed steps

Down-climbing…
The moat is gigantic…
Resuming the descent there’s more post-holing on top of our own tracks so despite the downhill grade we couldn’t go too fast. The uphill grunt back out from the saddle was exceptionally painful but did add a bit of variation to this otherwise, disorienting white-out. We were still in the clouds as we descended to that rocky peak and just as I said, “it’s very difficult to keep your motivation positive in this weather” and this is especially true for fair-weather hikers like myself. But the descent is mandatory so pushing on, and down we went. The plunge down into treeline was fast but then descending the top part of the forest required lots of careful work again. Thank to the now-slushy snow we all punched through some holes and the steep forest meant we could not afford a slip neither. The snow dried off lower down, then some bushwhacking later saw us staring down from above the upper bluff. This was a tricky one and we had to find the exact route we came up. The GPS skills came handy again and I successfully led us down the exactly same line through the two bluffs, then more bushwhacking and boulder-hopping with 50 mosquitoes flying around we made back to the loggging road. Ten more minutes later we were back to the Jeep where Brian was patiently waiting.
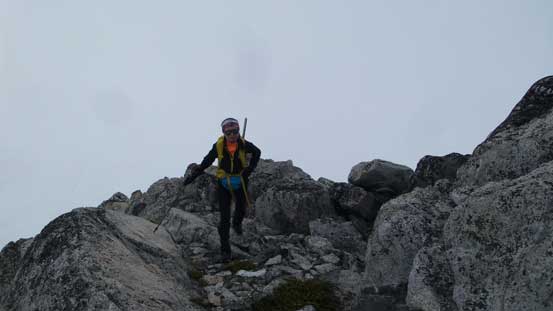
Back onto the “rocky peak” and still in a white-out…
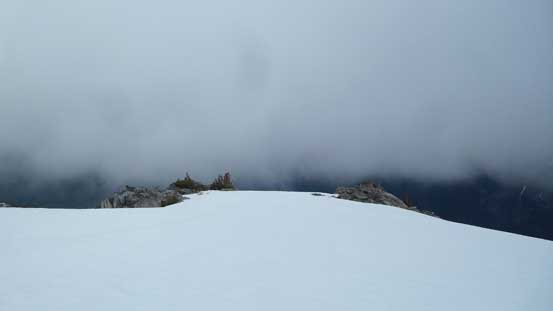
Finally descended below the ceiling

A bit of views, but not much…
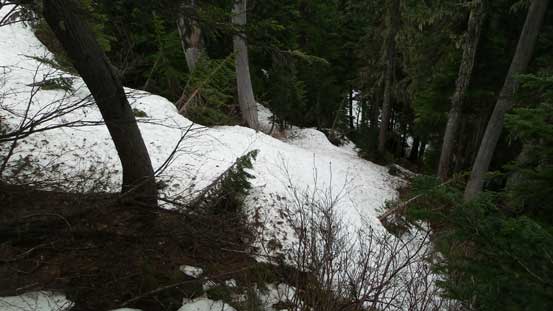
Into the forest.
Not much snow now.
What a mess…
Descending one of the bluffs.

Classic 3rd class bush scramble. Type II fun at its finest.
Finally back to the logging road.
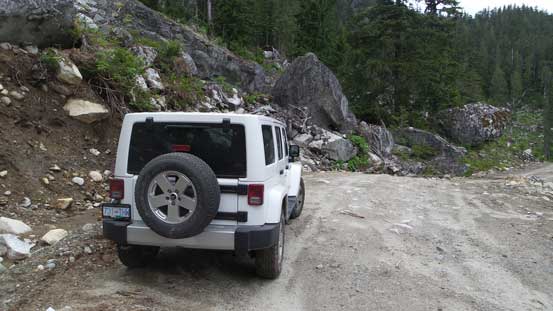
It’s Jeep time!!
The adventure hasn’t ended yet as we still had a long bumpy ride before going back into civilization. Thankfully there’s no big boulder rolling onto the road to block our exit and Michelle’s Jeep held nicely. A long while later the road became paved and then the cell phone signals were back so that we could update the Facebook status and meanwhile, see what’s been going on in the world on this day. Overall this was another trip that I’m glad I’ve made the summit, but not the type of push that I would like to do on a regular basis. Well, I think I said the same thing after Whitehorse Mtn. and then I said the same thing again after Mt. King Edward.. You get the pattern.. Oh well..
