Mount Habel
March 25, 2013
3087m
Wapta Icefield, AB/BC
As we slowly progressing into glaciated terrain Ben and I figured it’s time to (finally) hire a guide for a one-day crevasse rescue course on this past Sunday through Yamuska school. As the day came closer, we noticed a high pressure system building up over the weekend for 5-6 days and we had to take full advantage of that. Ben had a work commitment on Saturday but I could easily skip Monday so that’s it. There’s a lot of stuff going on during the course and we both felt super tired (mentally) trying to memorize the essentials and I have to say that the crevasse rescue (especially in a 2-man team) is way more complicated than I thought.
We had some high hope on Mt. Hector but eventually picked Mt. Habel (aka. North Rhondda) instead. In Lake Louise hostel we did some last minute preparation and went through Vern’s trip report, and I could memorize all 3 routes up the summit block without carrying a route photo, as well as where to find the belay station, and also, there would be a rock horn on summit for anchor. We would bring pretty much all the gears we had, and we would use Ben’s climbing rope instead of my 8 mm glacier rope.

Mt. Habel standard ski/snowshoe ascent route. GPX DL
We woke up at 3:20 am in the hostel and started our day at exact 5 am. In just under 2 hours we made to Bow Hut which was exactly the same as last weekend when we did Mt. Rhondda and Mt. Thompson… The Wapta Icefield is one place that most people would opt to travel unroped (including myself) but thank to the course we decided to take it more cautiously this time. This morning was windy and cold, and we had to take out the balaclavas. Thankfully the wind eventually died off when we made to the base of Mt. Rhondda. But soon, the temperature suddenly rose up, and we had to strip off layers very quickly. The solar aspect would soon become a concern, but thankfully Habel isn’t too steep. Based on our observation from the previous weekend we knew there were a few big open crevasses on the slope just below Mt. Habel. We decided to go around them for as much as we could, but when we got closer we had no clue where they were, so we picked a like up Mt. Rhondda’s east slope. That did bring us further away from those holes, but we had to lose some elevation down to the base of our objective.
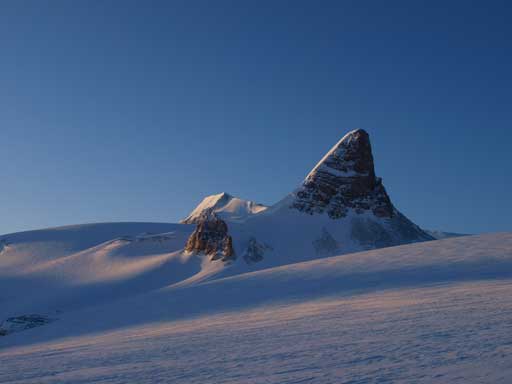
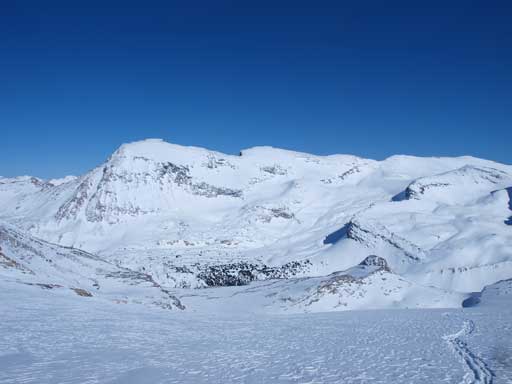
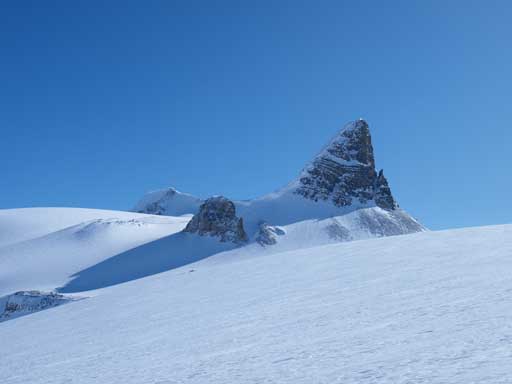
Morning view of St. Nicolas Peak

Morning view of Mt. Thompson and Portal Peak

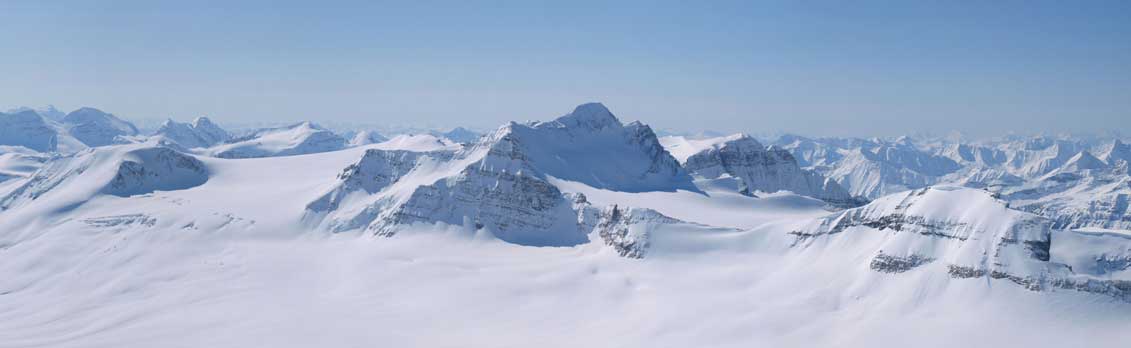
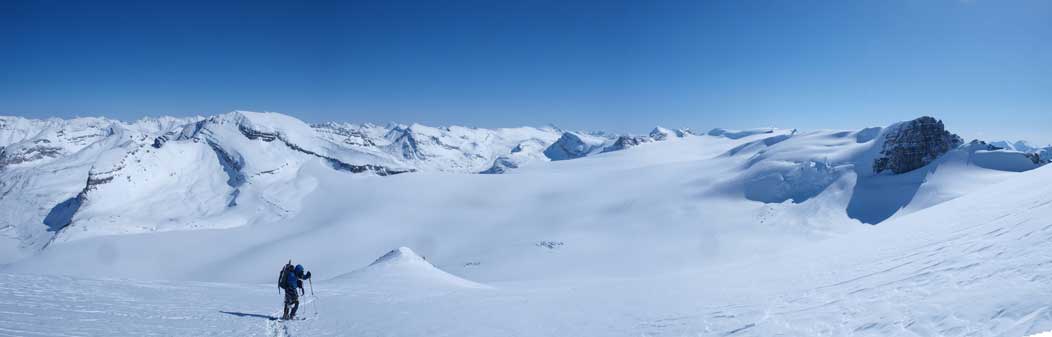
Wapta Icefield. Our objective left of center
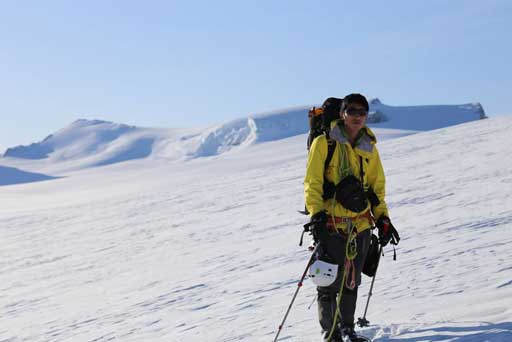
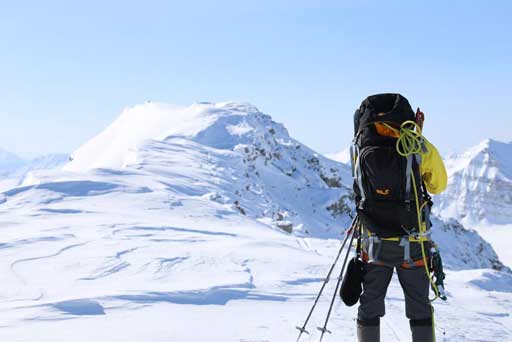
Me enjoying the Wapta Icefield again. Photo by Ben

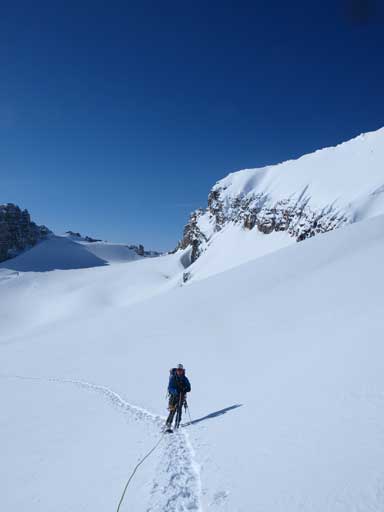
Marching across the Icefield. Photo by Ben
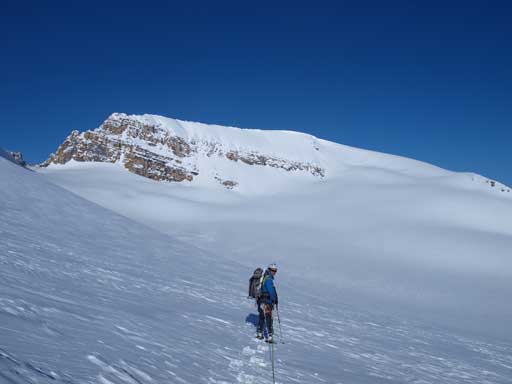
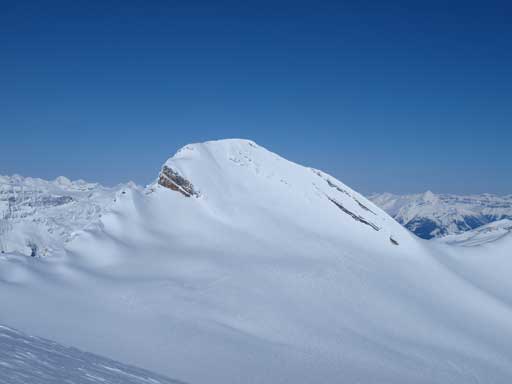
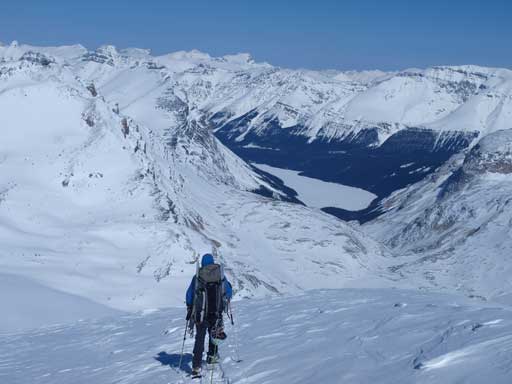
Ben with Mount Habel behind. Our route goes up straight, and then towards right, and then back towards left once on summit ridge.

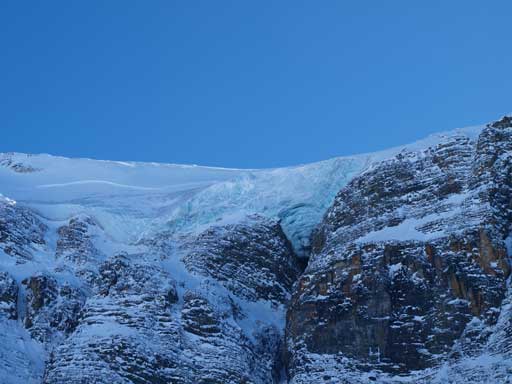
Impressive seracs coming from Mount Rhondda
The next stage was to ascend the (very foreshortened) south slope of Mt. Habel. We both reached a sort of energy barrier at this point, and our progress went slow. We were glad to reach the summit ridge eventually, but after that we still had quite a lot of elevation to go. We had to get higher than Rhondda and Thompson. The view opened up towards the north side, but given the fact we just went up the Wapta 2 weeks ago, we didn’t get impressed. Higher up the ridge became narrower and there were lots of big cornices on the left side. Over a couple bumps we reached the false summit, where we got our first glimpse of the crux. It looked to be quite intense, and after examining closely, I found that we got a worse condition than when Vern did. All of the routes involved rock, and it looked like there wasn’t enough snow to kick-step, and I was right… We took off snowshoes on the false summit and clipped all the gears we potentially needed to our harness, and ditched everything we didn’t need on the false summit.
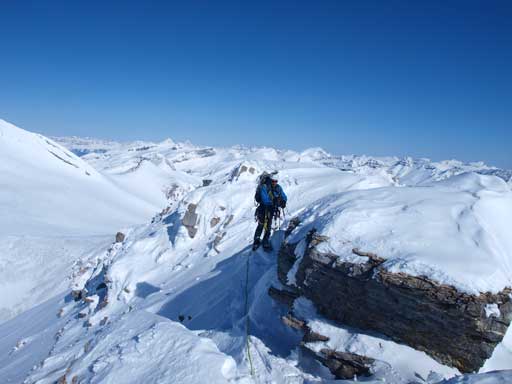
Ben just before topping on summit ridge. As you can see, there’s still quite a lot of elevation to go.
Me on the summit ridge. Photo by Ben
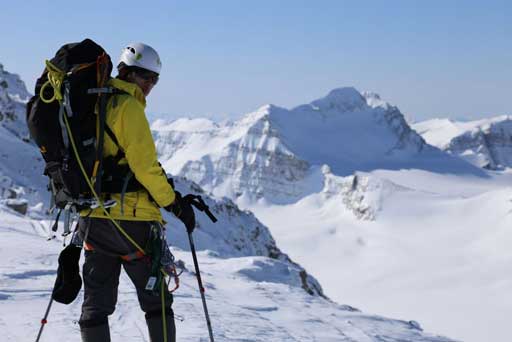
Me with Mt. Collie in the background. Photo by Ben
Mount Baker from summit ridge
The ridge narrows higher up. This is near the false summit
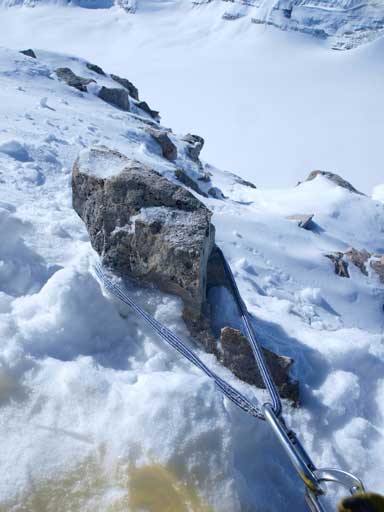
The belay station was an obvious rock horn and getting there was fairly easy with crampons on. While waiting for Ben to build the station I decided to check things out first. I firstly tried Golden Scrambler’s route. The rock was a bit down-sloping and covered by a thin layer of snow. I cleaned the snow off, but it offered no grip unless I could stem the side of the rock chimney. With crampons on it felt awful so I backed off. Then I went for the other two. Traversing to TJ and JW’s route involved squeezing and traversing some exposed snow, but when I got there, I found the rock to be down-sloping as well. The rock section was also much longer than expected. There was some snow on the right hand side of this gully but it offered no step kicking. It was too shallow. Then I started to look for Vern’s route which involved traversing to the next gully/chimney. The exposure suddenly increased significantly if I kept moving that way. His route was completely out on this day because there wasn’t enough snow to hold my weight, but there was enough snow to make the down-sloping rock slippery. After evaluating I figured the route TJ and JW took was the only possibility, so I went back to the station and clipped the rope on. I had figured out the sequence but still, there’s no room for error as I couldn’t put in any pro (we didn’t bring rock gears up). But nonetheless after a few dedicated moves I soon cleared the crux. The angle eased above the crux and I climbed up the snow and then I made to the summit. Thankfully I did manage to spot the “summit cairn” rock horn in Vern’s reference.

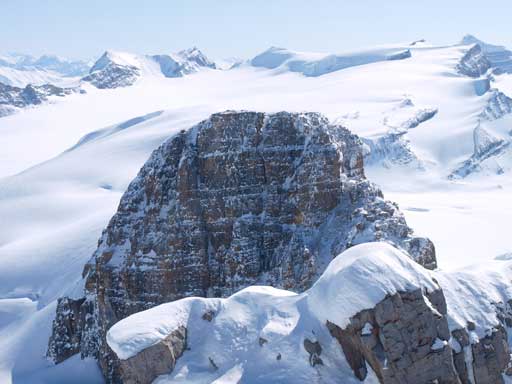
Me studying the summit block

Yellow circle: Belay station
Red: Golden Scrambler’s route
Green: TJ & JW’s route, also our route
Blue: Vern and Kevin’s route

Traversing towards the belay station. Ben needed to coil the rope so we can come closer and discuss about the belay station.
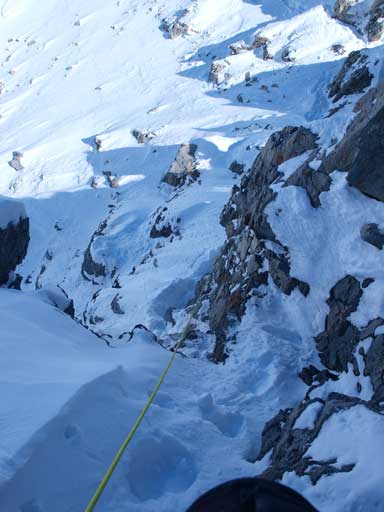
Looking back down the crux…
Now the game became simpler since I could offer a solid belay from above. It took a long time for Ben to get ready due to the rope being tangled on that end, and he had to clean up a knot as well. I was very cold sitting on the snow so I put the extra coils underneath which worked. Eventually he got ready, and with the belay from above, the danger was minimal and he quickly made to the summit. We took some obligatory summit photos. I was glad we did an alpine start. I lowered Ben down the same way, and then I rappelled off the summit. However, the rope got stuck and I had to go back to the base of the crux, and thankfully this time I could pull it down. It took us a while to get ready and climbed back up to the false summit.
The “summit cairn” rock horn. Not big, but very strong. and it’s shape is in perfect direction for our route, or Vern’s route.
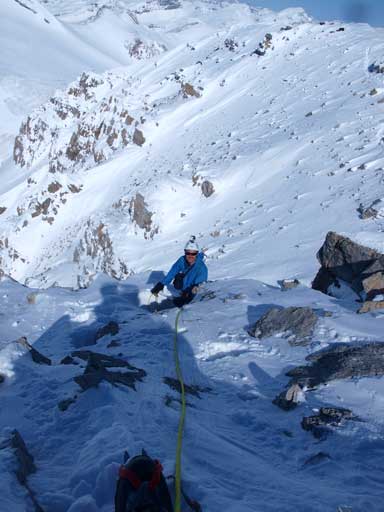
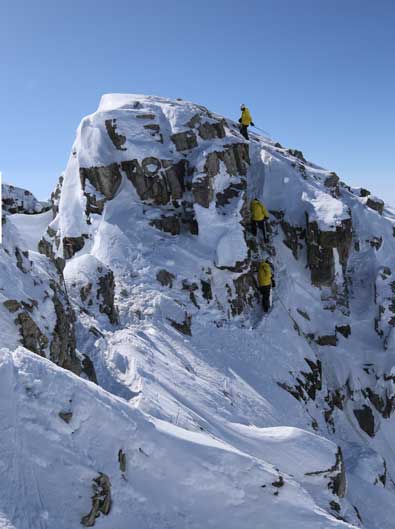
Ben just clearing the crux.

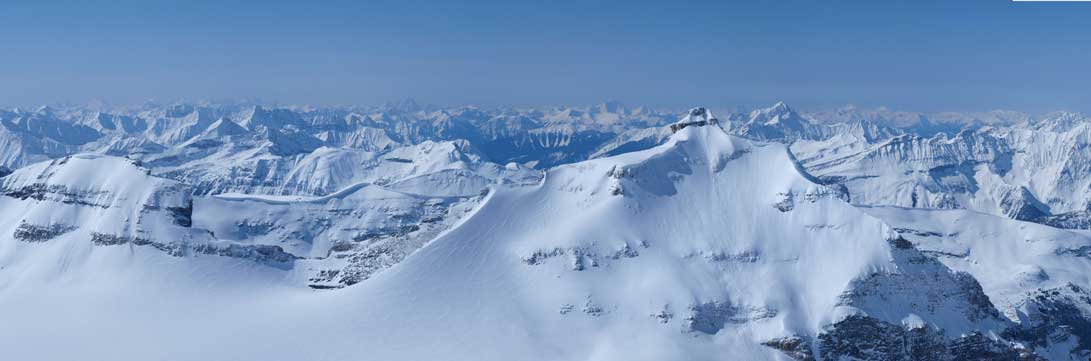
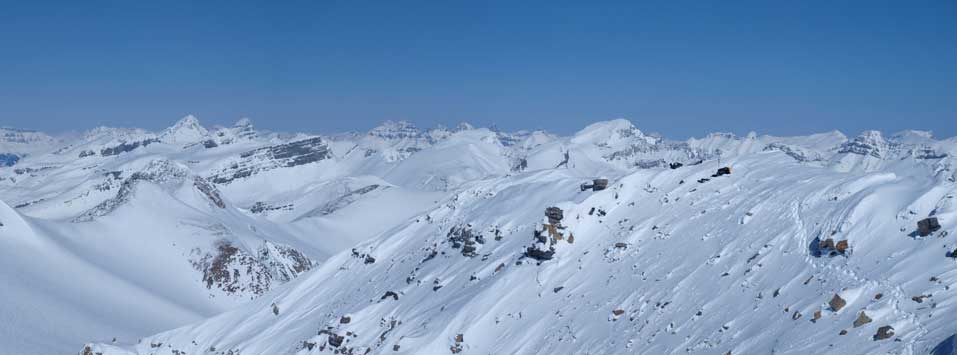
Summit Panorama. Click to view large size

Looking south over Mount Rhondda

Mount Collie and the west side of Continental Divide
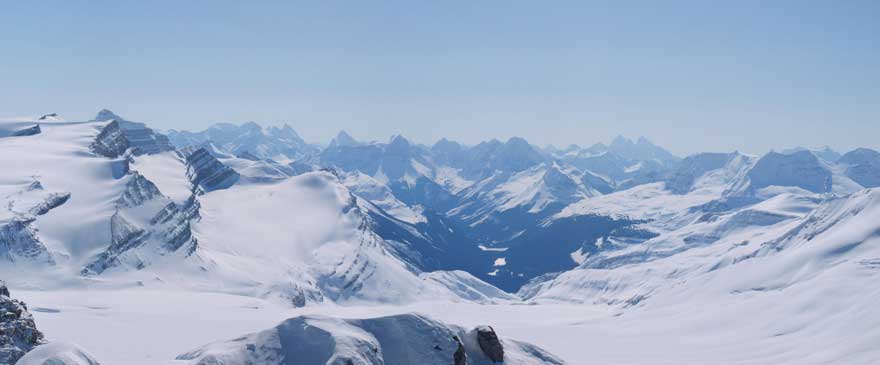
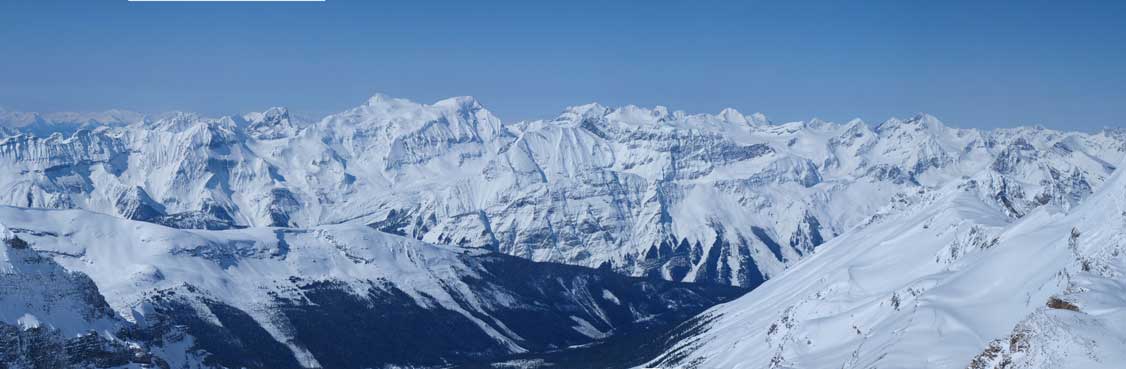
Looking deep into Yoho Valley. Distant giants like Cathedral and Stephen were visible. It was a bit hazy..
Mount Collie, such a good looking mountain
The peaks on East side. Dolomite is another good looking peak.

Mount Thompson, the true slog
Looking over Ayesha Peak. You can see Mt. Sir Donald in the far background
Mount Mummery and Freshfield Icefield

Mount Baker
Hawse/Chephren group on left. Patterson on right

It’s steep on the west side
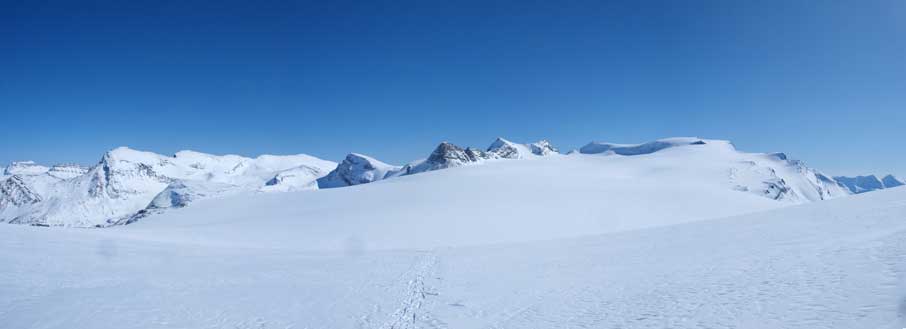
Mt. Rhondda looks like a rock poking through the massive Wapta Icefield.
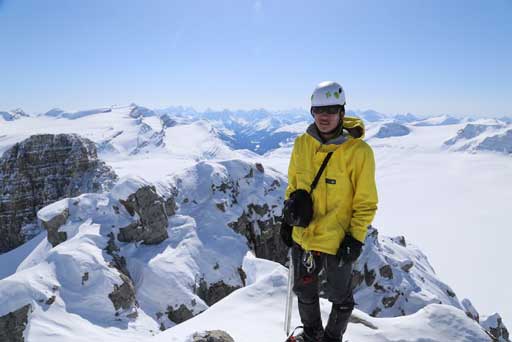
Me on the summit of Mt. Habel
A cool photo showing me rapping
Now the game became simple. A LONG slog back to car… There wasn’t much to describe here. The sky was bluebird the entire day so we didn’t get those cool clouds like last time. We didn’t go up The Onion neither.
- Descend the summit ridge
- Plundge step down the sun-baked south slope
- Up and over the East shoulder of Mt. Rhondda
- Up and over the broad col between Onion and St. Nick
- Descend the headwall to Bow Hut
- Food, drink, gears off, chat
- Down the last steep slope beneath Vulture Peak, and then cut left side-hill into the trees
- Use the left tracks (skier’s up tracks) to access the canyon
- A long walk back through this terrain trap
- Up and over the first hill
- Moraine walk
- Lake walk
Ben walking down the summit ridge. Peyto Lake in the background
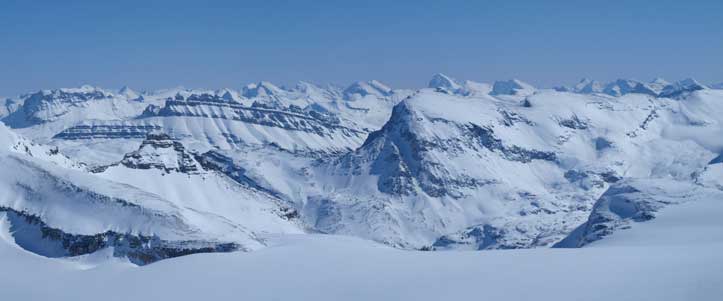
A panorama of Wapta Icefield
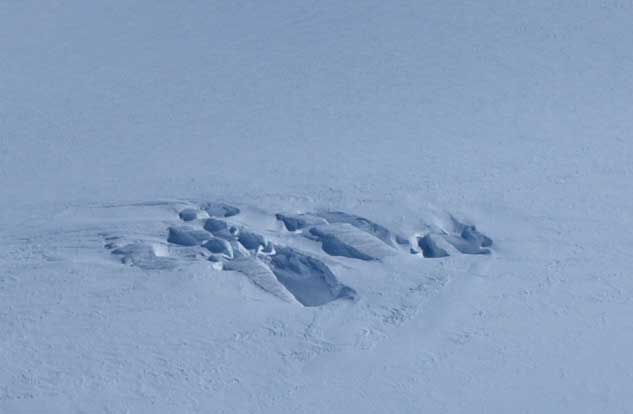
There are some monster holes

Zooming in towards Mount Olive, which will be my last summit near Bow Hut
Wapta Icefield again
Crowfoot Mountain

Vulture Peak
St. Nicolas Peak
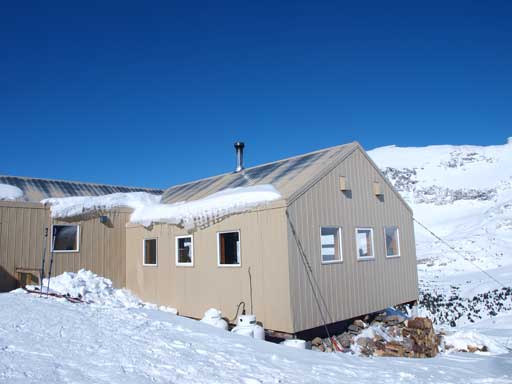
Bow Hut
Vulture Glacier. You also can see a slide fracture
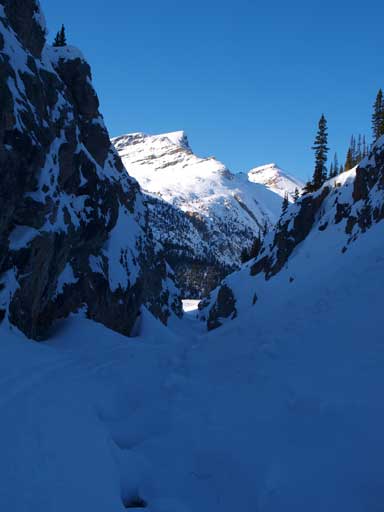
Through the canyon

Almost back to the lake
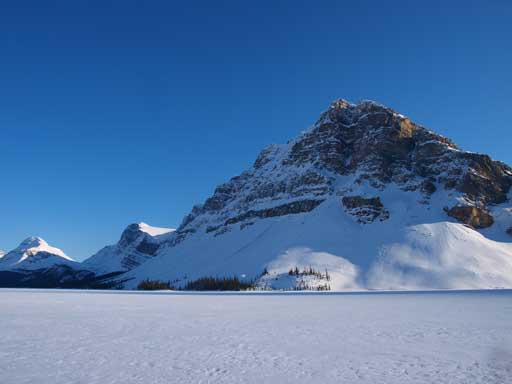
Crowfoot Mountain from Bow Lake

Andromache, Hector, and Bow Peak
We spent 13.5 hours car to car, 1.5 hours longer than our Rhondda to Thompson trip. The elevation gain wasn’t that significant, and the distance was a bit shorter too, but we spent a good amount of time studying the summit block. Mount Habel is shorter to access from Peyto Lake side, but none of us had done that approach, and we didn’t want to do a new route in dark. Mt. Habel is a challenging peak, and should not be taken lightly. It’s a 28km day, involving a long way across the Icefield, avalanche slopes on the approach, and on the ascent, and a difficult crux that will likely require rope work. The crux is also unpredictable. You won’t know its condition until you get there. Overall, an awesome day in the mountains again.
