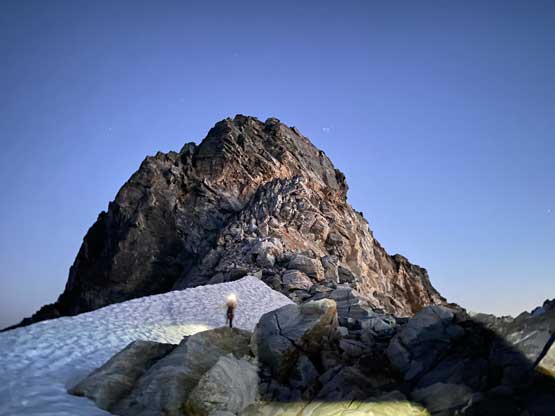
Mount Fury (East & West)
July 26-27, 2022
2524m
Ross Lake / North Cascades Highway, WA
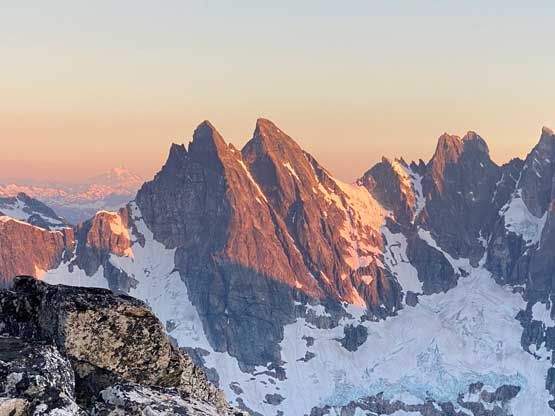
The Picket Range is famous for the notoriously difficult approach and technical climbing and the massif of Mt. Fury is by many considered as the grand daddy of this range. This peak boasts two summits with basically the same elevation but the official name is labelled on the (much harder) west summit, making this one of the hardest in the state of Washington. An unofficial list of the “10 hardest peaks by their respective easiest routes” had been compiled and West Fury is one of those. A rock tower on West Fury’s SW (Mongo) Ridge, namely “Pole of Remoteness” had also earned the reputation of being the single most inaccessible spot in the entire Lower 48 states. That tower had only seen 2 ascents to this date and unfortunately with my limited time to research I wasn’t even aware of such a tower until coming back home from the trip. The summit register of West Fury is basically a who-is-who of Washington’s mountaineering in the past 50 years and almost every trip registered has a report somewhere. I read through most of those report AFTER the trip and some of them are very fascinating and inspiring. The decision to add Mt. Fury East/West into Luna Peak’s agenda was made literally a few hours before departure. I solely used the late Jake Robinson’s beta along with Fletcher’s trip report on NWHikers.net and those were sufficient enough to get the job done.
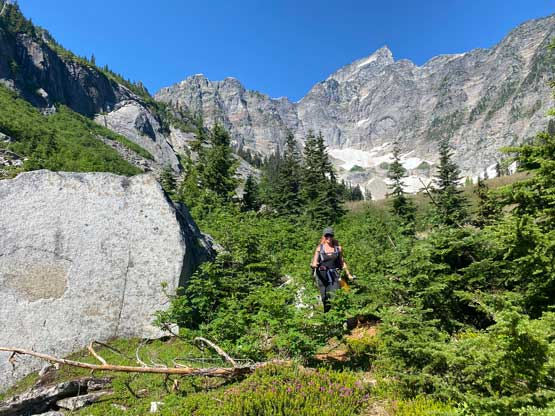
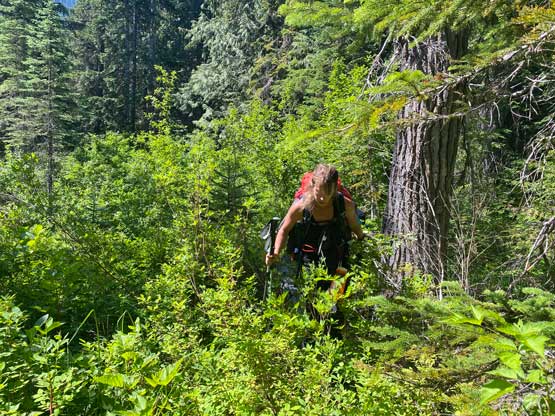
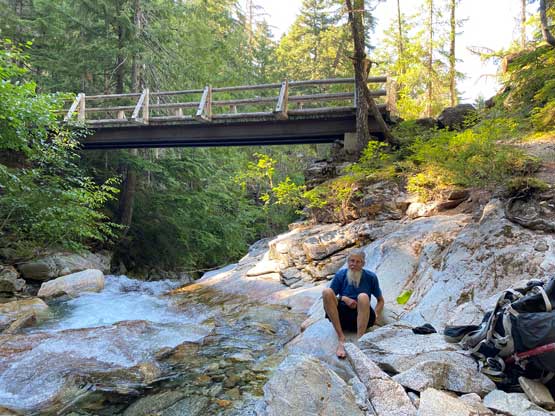
On the first day Elise and I drove down from Vancouver and met Dave Golias at Ross Dam Trail-head and we started the death march at 8 pm. That same night we marched to Big Beaver campground in dark and slept a few hours. We woke up at 3 am and resumed the plod in dark all the way past Luna Camp to the Big Beaver log crossing. And then there game the grueling grunt up Access Creek onto Luna Peak’s SE shoulder in the smoking heat. We traversed to Luna col, set up camp, dashed up Luna Peak in the evening and descended back to camp for sunset. The approach is all written in Luna Peak’s trip report as that is also a fascinating summit in the area and among the selected groups who dared to venture this deep into the Pickets, most only ended up summitting Luna Peak. The west summit of Mt. Fury is 10 times harder and requires an additional 16+ hour day with a possible forced bivouac, along with the added weight of a whole bunch of technical gears. The three of us were already beat after pushing the approach days but we must get up at 3:30 am again to (hopefully) summit Mt. Fury and get back to Luna col before dark. This would no doubt be Elise’s most difficult climb to date with terrain’s complexity far exceeding any of her previous trip but I assured her that the difficulty mostly comes from the route-finding challenges and managing loose rocks. I wasn’t very serious when I told Elise the night before that my objective for the following day was to nail the route-finding all the way to West Fury without a single step of backtracking and you know what, I think we pretty much succeeded this goal…

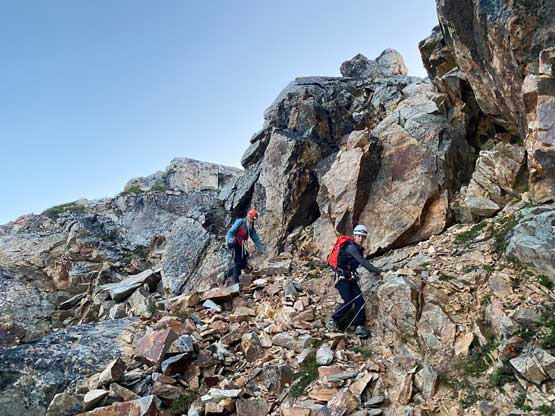
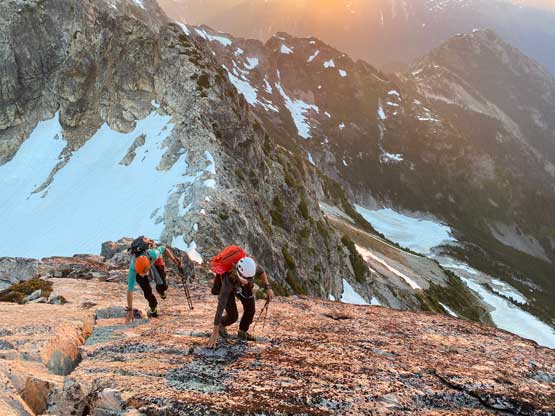
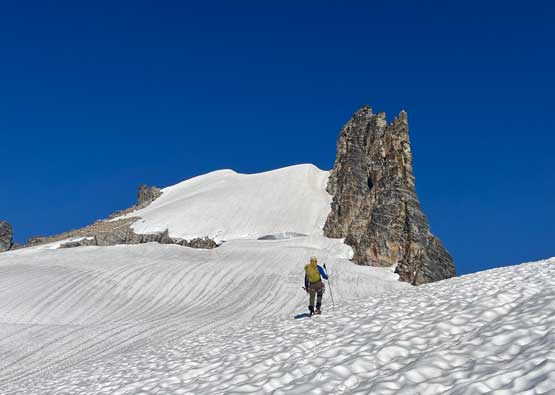
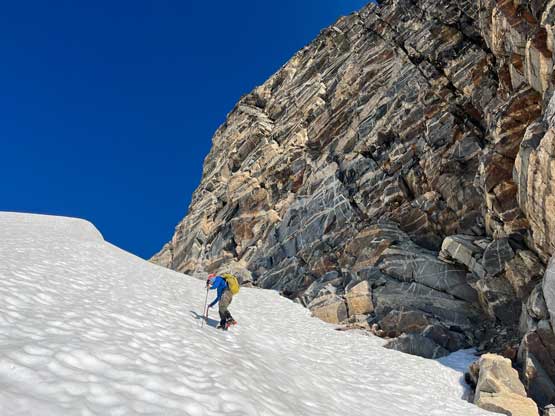
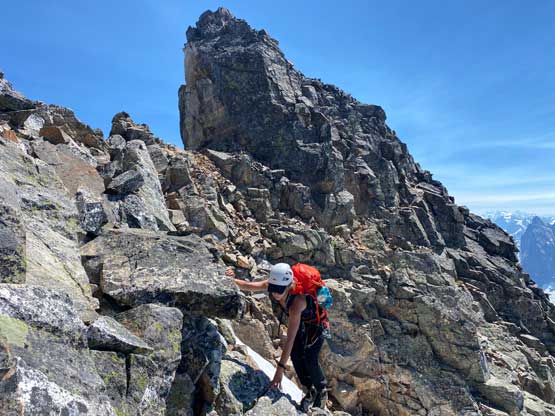
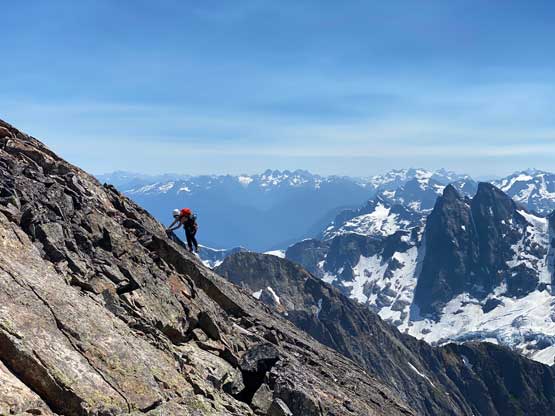
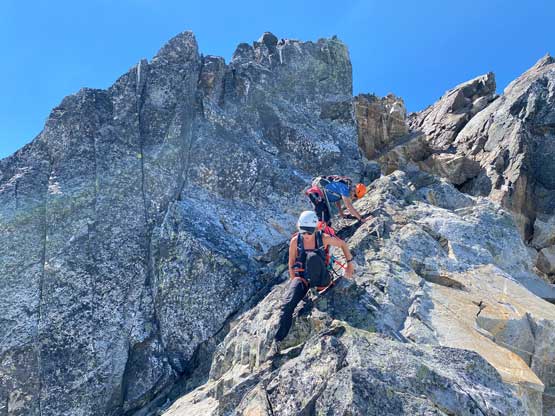
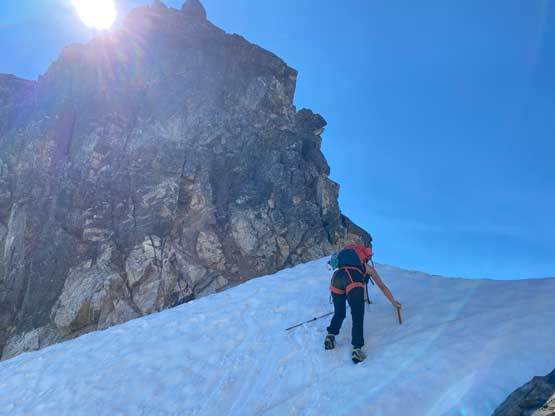
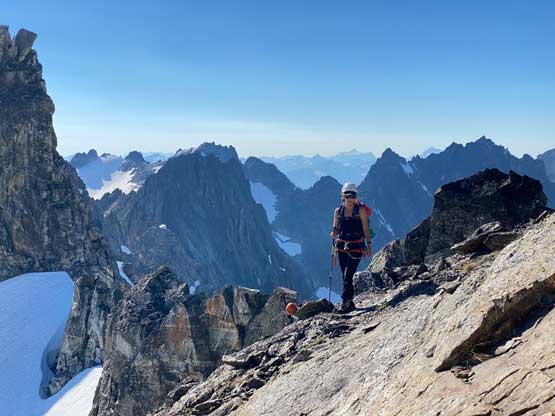
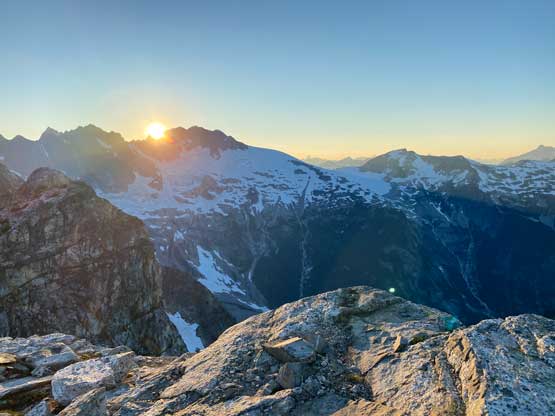
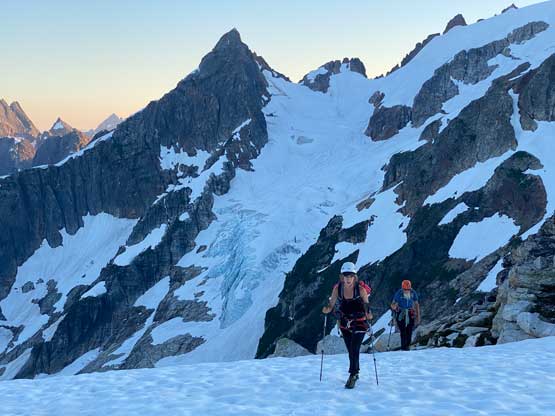
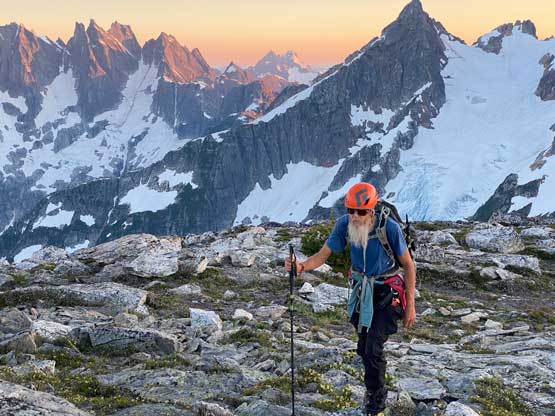
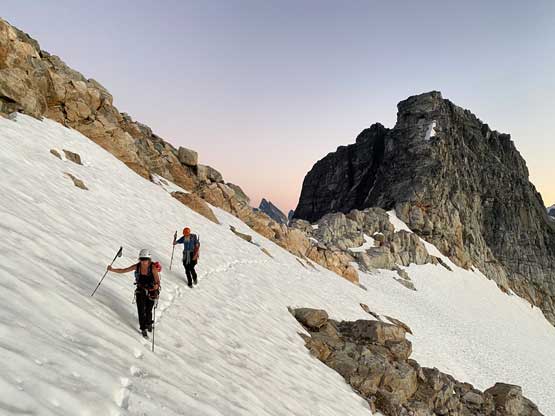
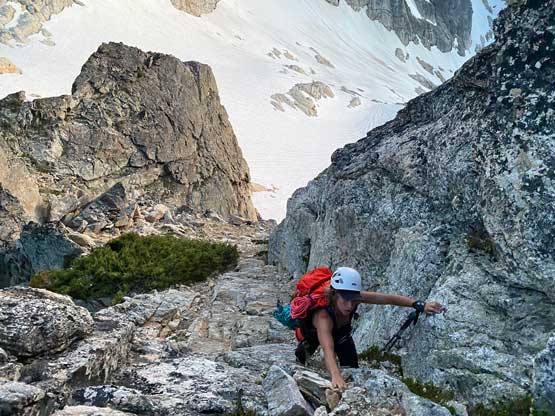
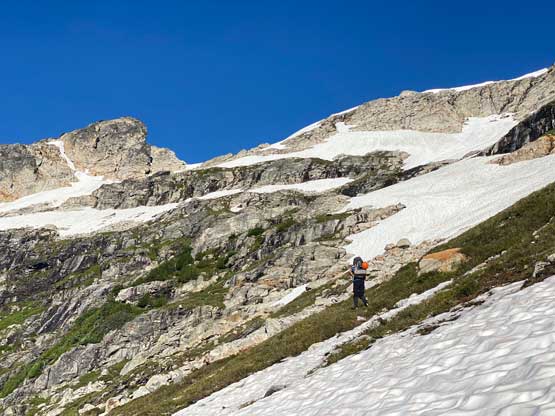
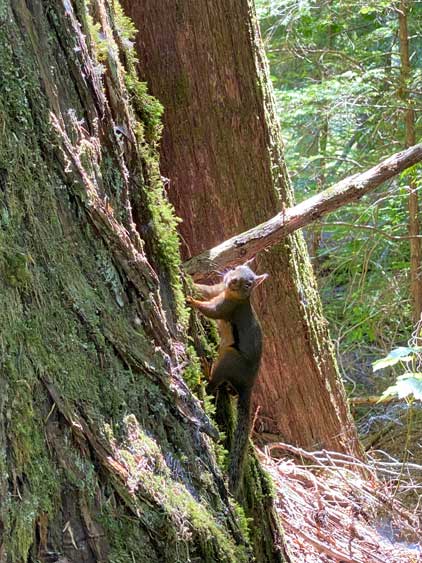
The morning routine took us a bit longer than planned as we all cooked some ramen breakfast. I then realized that my backpack’s waist strap got chewed by rodents but I quickly fixed it using a prussik. We eventually started the day at 4:40 am. The head-lamps were still required but the horizon was starting to brighten up. Scrambling up towards the “red ledge” bypassing the first hump we took a worse line than needed as we got sucked into a chossy gully. This line would have been technically easier than taking the ridge direct but in a group of three managing loose rocks was difficult. By contrary the ledge itself was rather a “highway” and in short time we had already bypassed the first hump. Going up to the second hump was mostly just plodding but descending into the next col had lots of unavoidable class 3 scrambling on choss. This section took us a while. We then traversed a snow slope and ascended blocky terrain up towards the third hump. About 2/3 of the way up we encountered a class 5 step that we all soloed and the sun rays finally caught us at this point. We continued scrambling to the top of this 3rd hump before taking a break donning sunscreen and sunglasses. The day’s shaping up to be another smoking hot one but let’s face it.


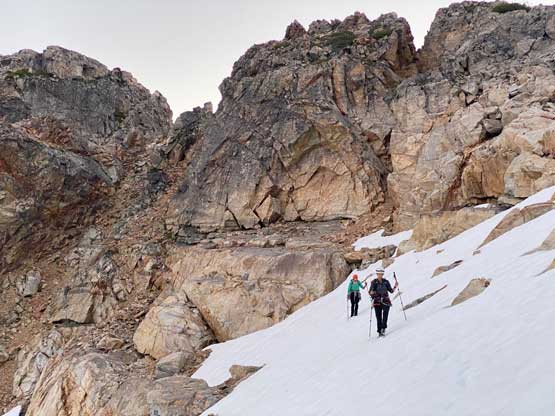


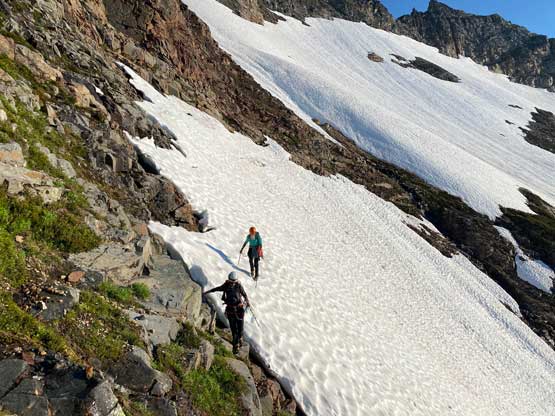
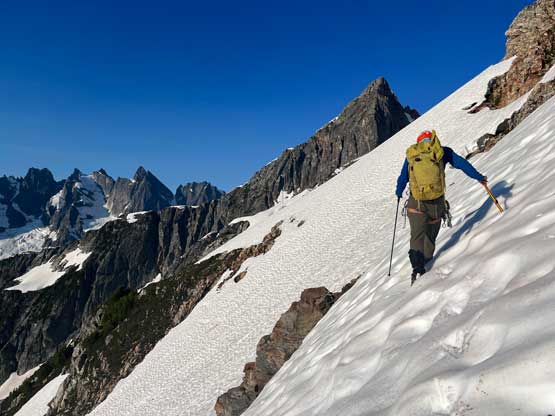
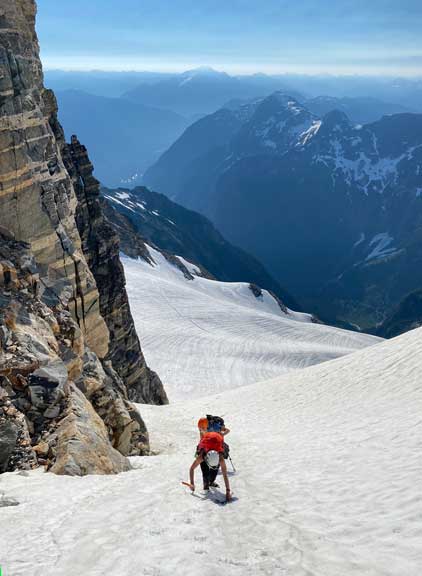
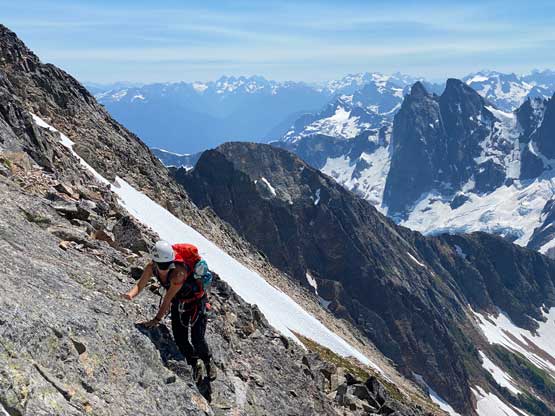
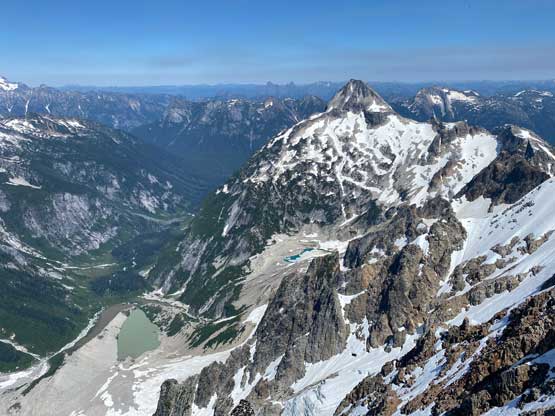
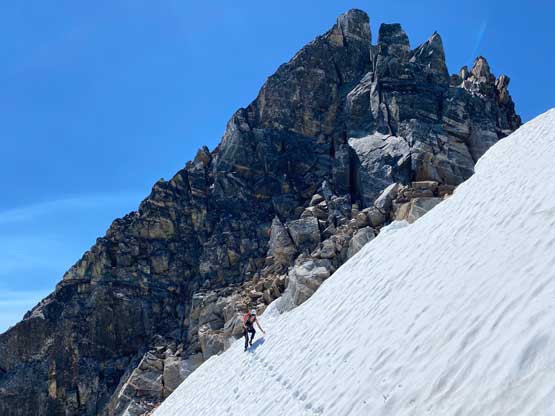
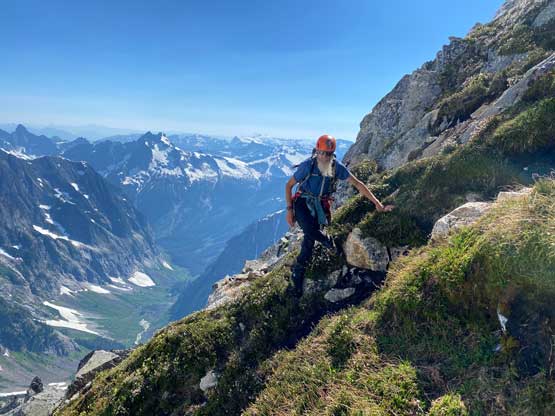
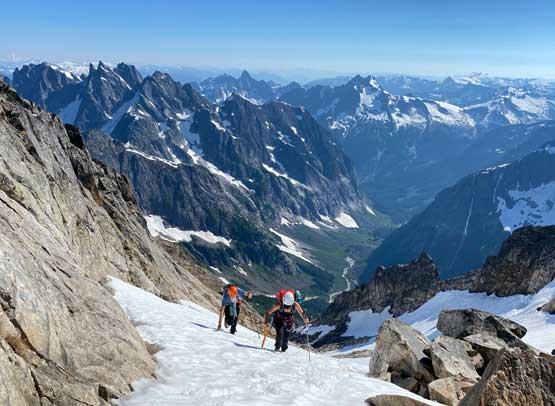
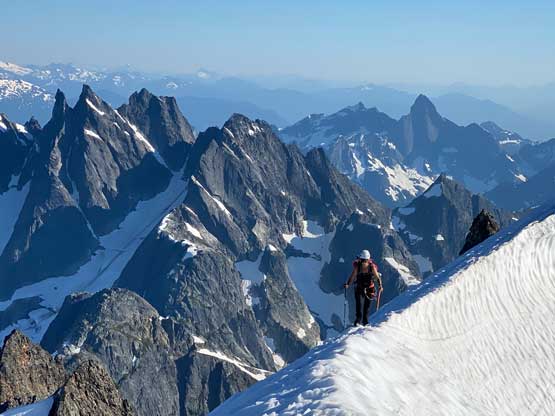
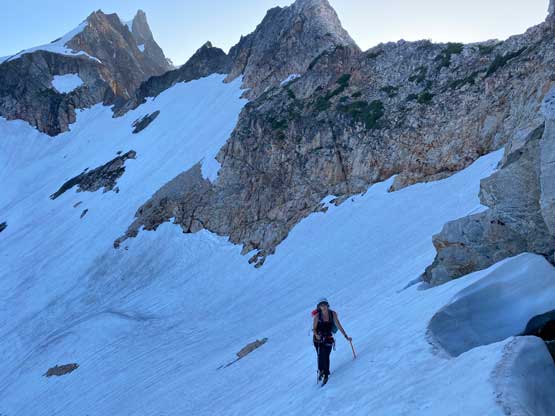
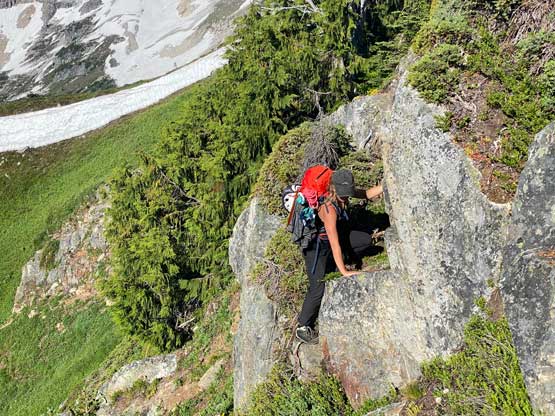
From the top of the third hump to the snow/heather ledge traverse under East Fury involved about 200 m elevation loss and more undulating terrain. We had a few more minor bumps to traverse over but a climber’s path had developed here and there helping us to find the best way. A few spots were quite confusing as we weren’t staying on the ridge crest. We descended onto snow a bit earlier than ideal such that we faced some 40+ degrees down-climbing and traversing. I only used crampons but wished to have taken the ice axe out as well. We then cruised across the wide and easy snow benches but on the far side of this long traverse we had to step off onto grassy and mossy rock ledges. Those ledges were short enough so that we just walked across with crampons on, which was actually not too terrible. We loaded up the water bottles as there were plenty of running streams. Around the corner we then had a few hundred meters of elevation gain on 35-40 degrees snow to top out on Easy Fury’s upper glacier. The glacier travel was straightforward with only one or two crevasses to avoid.


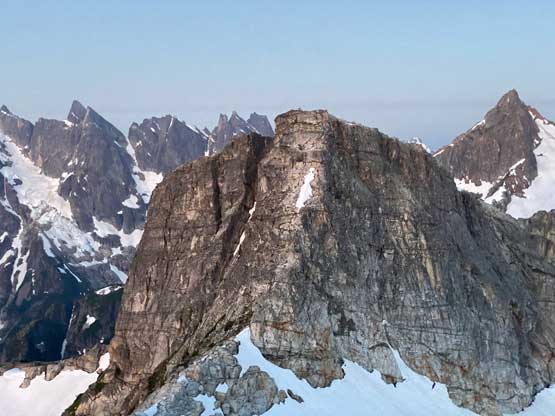
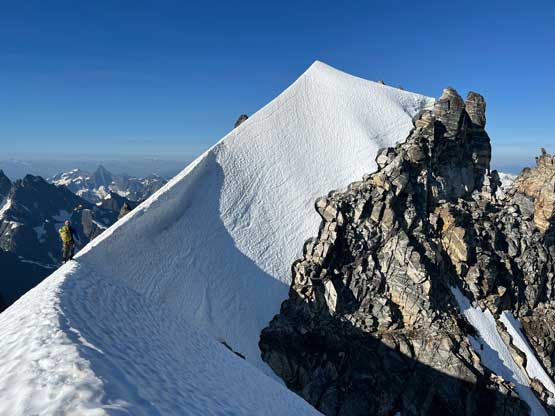
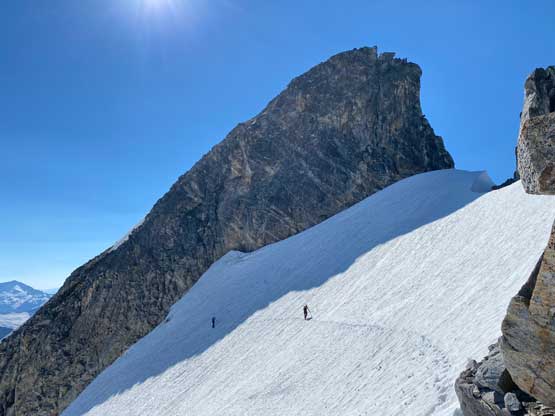
Dave and Elise pointed out a left side variation to ascend onto East Fury’s summit but the bergschrund on climber’s right didn’t look too terrible to me, so I insisted to take the “standard” climber’s right variation following the existing GPS track. This side was surely steeper, but more direct and more aesthetic. The snow gully was quite steep and then we had an exposed but aesthetic knife-edge to traverse onto Easy Fury’s snowy summit. The actual summit with a register was on a boulder so we hopped there to look for the mountaineering history. Apparently this peak gets far less ascents than Luna Peak and that made Dave and I even more curious about the register on West Fury’s summit.


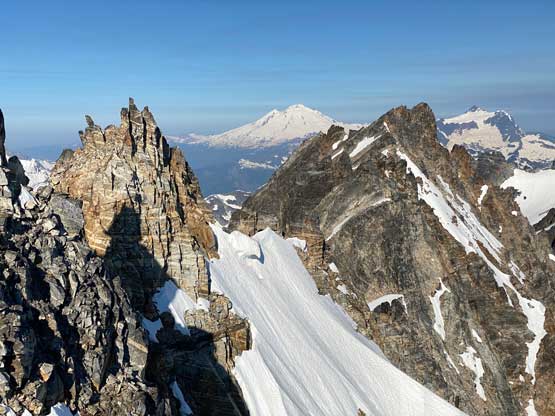


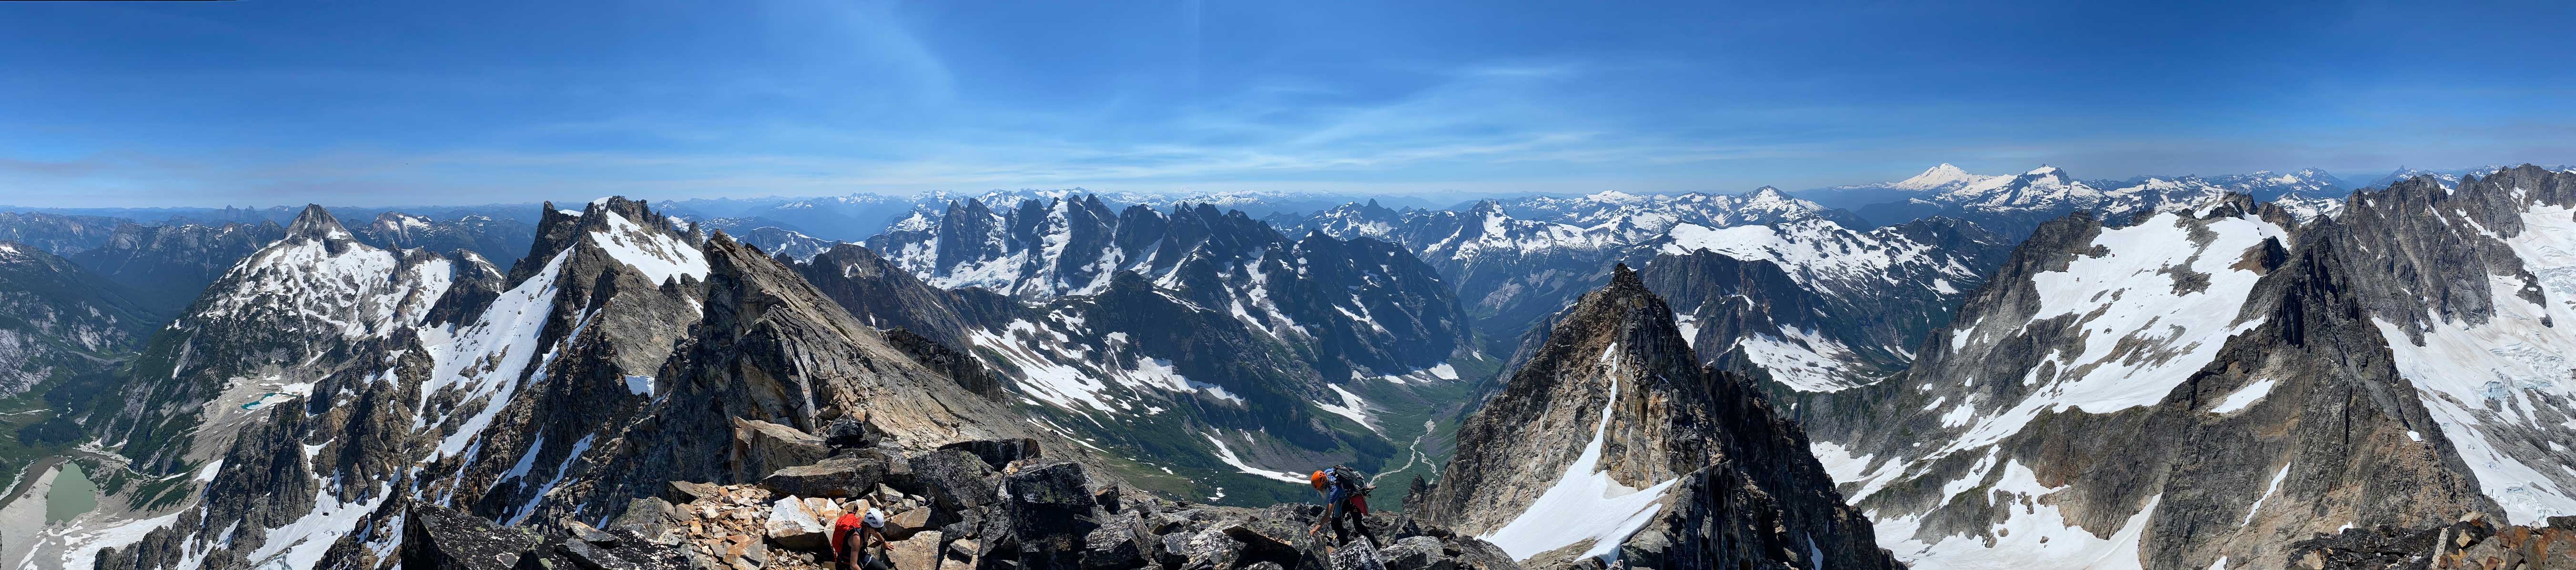
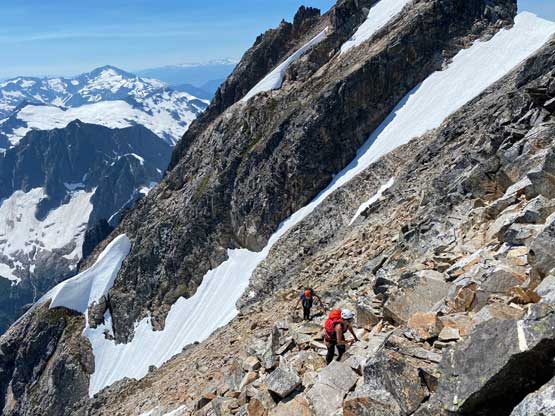
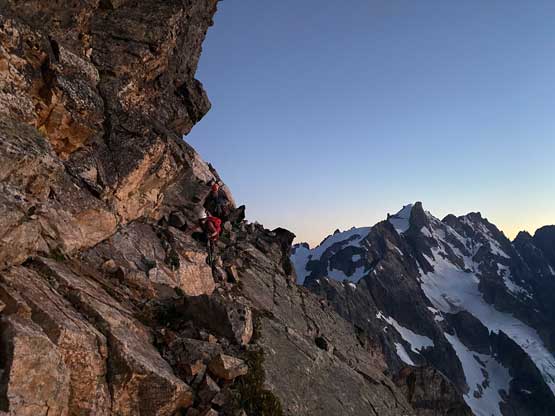
It had taken us 4 hours from Luna col to East Fury so we weren’t doing bad on time, so we took a lenghy break on the summit to soak in the experience. Meanwhile I peeked over the edge to study the next stage of the traverse. We descended the south ridge of East Fury very briefly before able to hop from snow back onto choss, and then descended a loose gully onto East Fury’s SW Face. We then traversed more choss and snow with at least 4 transitions from snow to rock or the reverse down to East Fury/Tower 1 saddle. The crampons were strapped on and removed at least two times. The section around Tower 1 was the most vaguely described in my reference but Dave had downloaded Eric Eames’ trip report and the beta was to descend ~100 feet (30m) to find 4th class ledges. This worked out nicely but to get onto those ledges involved more traversing on steep snow. This time we all had to face into the slope and down-climb. After another awkward crampons-to-boots transition we started the ledges which were actually quite straightforward. I agreed with Fletcher here that the rocks were rather solid. After wrapping to the south side of Tower 1 Dave and Elise/I did two different lines to near the summit of Tower 1. My route involved some class 3 scrambling on loose rocks but I think Dave’s line was more efficient. We did not have to actually summit this tower but rather immediately descended into Tower 1/2 saddle with another trickier step to down-climb at the bottom.


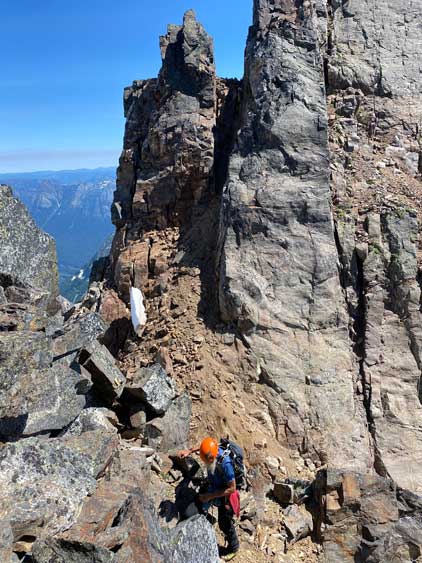
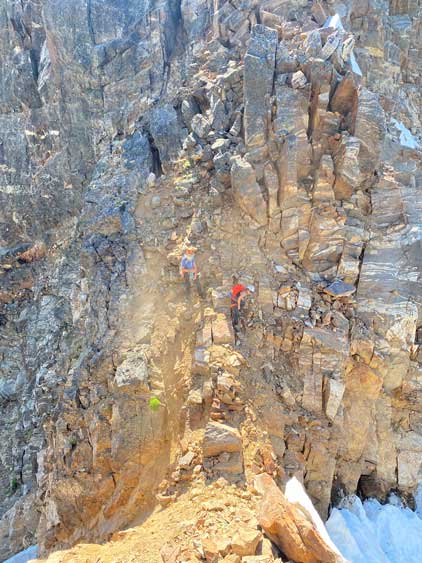
The ascent of Tower 2 was again, on 4th class “switchback” ledges but the rock quality was significantly worse than on Tower 1. Dave went ahead and scout out the route and informed Elise and I to take a slight variation lower down to avoid a dirty gully. This worked out nicely. We then traversed an exposed and outwards sloping ledge to get onto the main part of this “switchback ledge” and then Dave led all the way to the very top of this tower. The terrain’s starting to become sketchy at this point as we then immediately faced some exposed 4th class slabs to down-climb into the “class 3 dyke”. This dyke feature was very distinguishable from the other trip reports but none of us liked the part to get into the dyke. The down-climb of the dyke required great caution but wasn’t difficult. At this point Dave was still leading in front and went all the way to the bottom of the dyke and that’s Eames/Robinson route which would require one rappel for us. My thought was to check out their return variation through a small notch feature on down-climber’s right but it really didn’t matter that much as we had beta for both routes. E. Eames and J. Robinson had down-climbed the mid 5th class slabs at the bottom of the descent. Dave and I peeked over the edge and immediately decided against down-climbing. It took me a while to find a bomber pinch point anchor and meanwhile Elise had descended the dyke to our position. The plan was to use the 30m twin rope as a single strand to rappel into Tower 2/3 saddle and leave that rope to prussik up on the return. From the bottom of the rappel we had to re-ascend a chute with compact choss to the saddle.


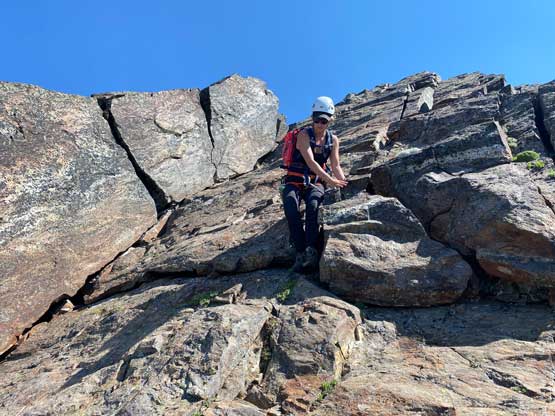

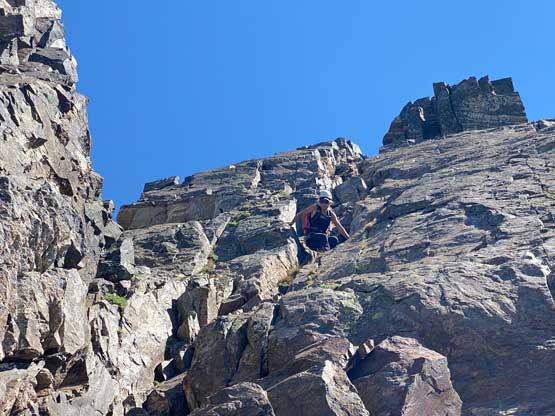

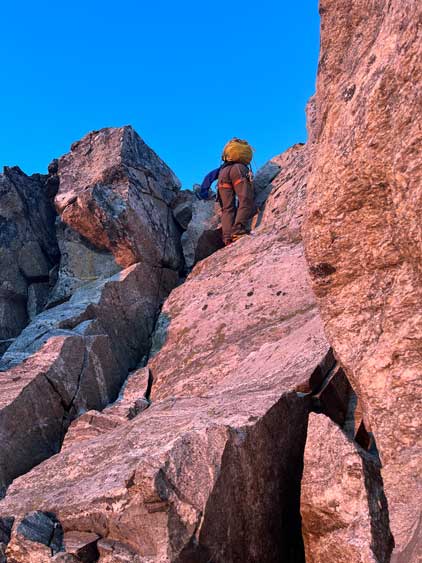
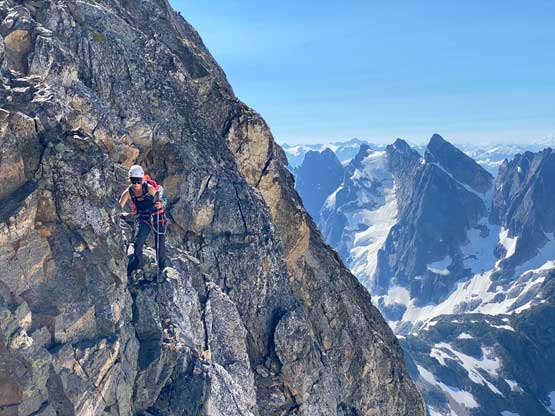
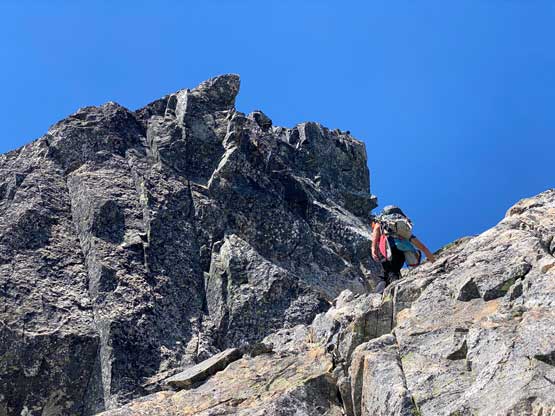
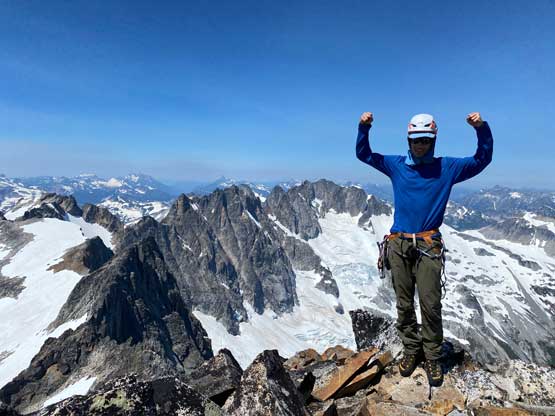
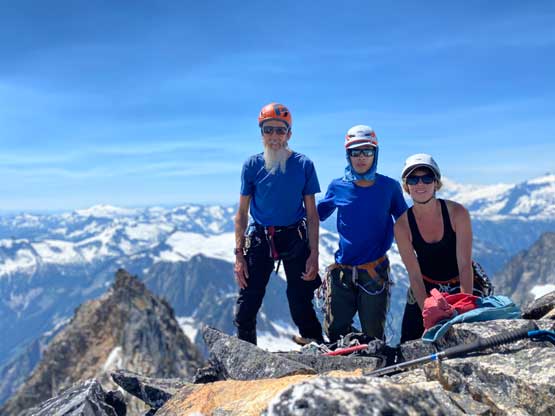
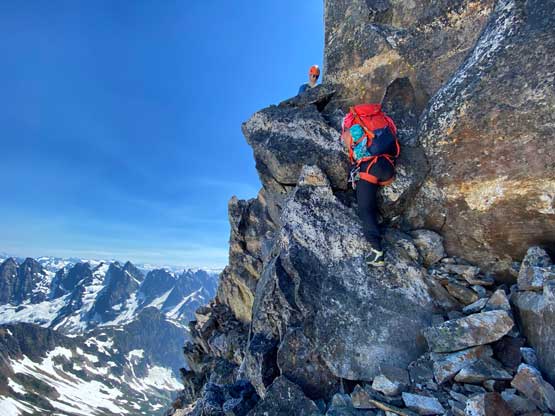
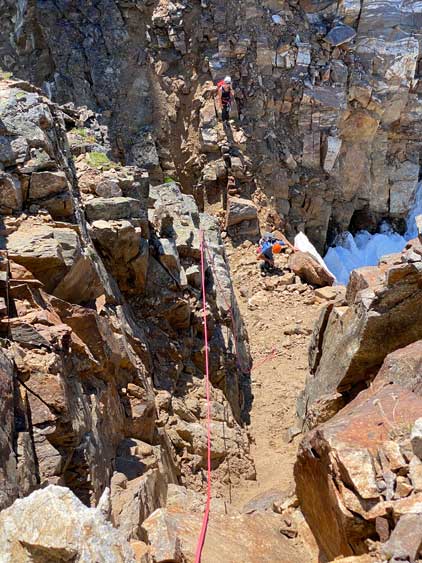
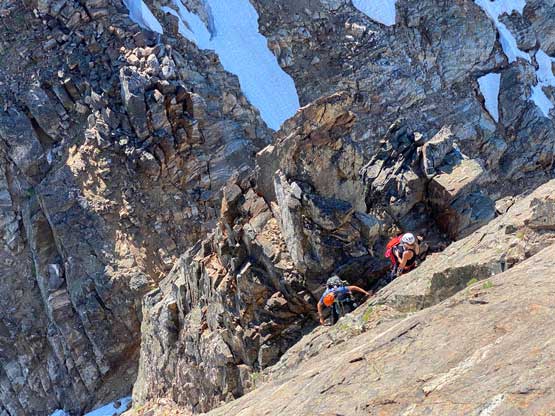
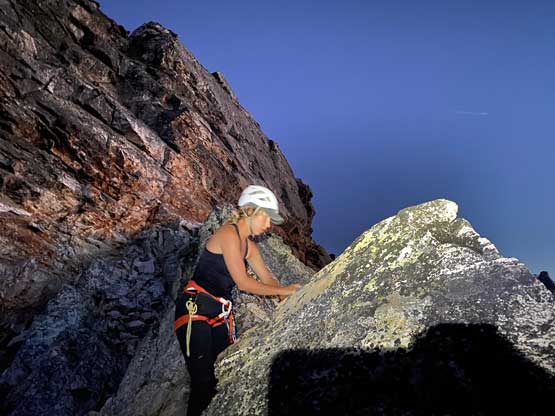
Then there came the 3rd tower with a supposed 5th class tight chimney. I did not come here with very clear beta where that chimney was so did my own route-finding. At some point I left the ridge into a gully feature on climber’s left and somehow decided to just scramble up this gully. The rocks weren’t ideal and there’s one 4th or low 5th class step in the middle. Dave and I soloed up but I built an 1-cam anchor and gave Elise a belay just in case of the outwards-sloping blocks gave way. Dave then led a pitch of 4th class choss into the notch ahead and announced that we had topped out on the 3rd tower. I thought what we just did was quite different than Fletcher’s description but whatever. We then followed Dave traversing a long ass stretch on the south side of the ridge crest dealing with anything from a “walk” to class 3/4 slabs to the next notch. The ice axe was taken out briefly to traverse across an exposed slope and then we had to scramble another pitch of class 4 rock with significant route-finding work. The summit of West Fury was overall much farther than we thought and the technical difficulties weren’t nearly over yet after topping out on the 3rd tower. But with perseverance we eventually overcame the remaining difficulties and reached the very summit. The register was in a bad shape but Dave and I took our time to read through all of the pages.


The plan for the return was to mostly retrace our steps with a bit of variation on the second tower. To get off the main summit of West Fury and its subsidiary false summits wasn’t too bad as we already knew where to aim for. Then there came the long ass side-hill traverse to the 3rd tower. We found a rappel station and I led in using the 20 m scrambling rope. While rappelling I realized that the way we came down was actually Fletcher’s tight chimney so we took a totally different route on the ascent and bypassed it. The 10-m short rappel didn’t reach the bottom of this pitch but it was a straightforward down-climb from there. We then down-climbed the ridge all the way into Tower 3/2 saddle. I then climbed up Eames/Robinson’s return route, a 4th class compact dirt chimney followed by at least one or two low 5th class moves to get into that notch. I left the 20 m rope to give Elise a handline and then went down to clean up the other rope we had left on top of the mid 5th class slabs. By the time I returned to the notch/dyke the others had all come to the notch. We then took turn scrambling up the dyke and the sketchy zone onto the summit of Tower 2, with Elise now taking a variation line than Dave and myself.


Elise and I then tied the two ropes together and did one more rappel to get off Tower 2 and meanwhile Dave down-soloed our switchback ledges. The re-ascent of Tower 1 was done by using Dave’s route and then we successfully located the 4th class ledges to get back onto the snow. There was running water here so we again loaded up the water bottles. Then there came the numerous snow-to-rock and rock-to-snow transitions to re-ascend onto East Fury with every patch of snow requiring at least the crampons. We then gingerly down-climbed the snow arete and the snow gully off the summit of East Fury, followed by more down-climbing and traversing on 40+ degrees snow, with about 500 m elevation loss. This section was slower than expected as the snow condition was not ideal for descending.


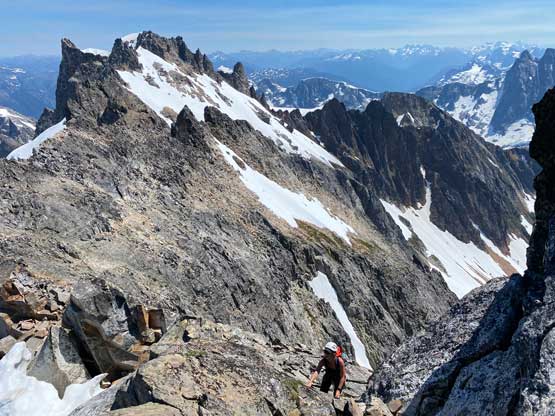
After another long break we all got across the moat, loaded up more water bottles, and traversed back across the heather ledges with crampons on. We then traversed the snow benches and re-ascended 200 m grueling meters onto the 3rd hump. This section had dragged much longer than anticipated with numerous false summits to plod over. We then wasted no time setting up the last rappel right around sunset time, and then rushed down to the next saddle. The re-ascend of the 2nd hump required care as we had to climb 3rd class choss and by the time we finally got to the “red ledge” on hump 1 the darkness finally fell. We all turned on the head-lamps. I led us down the ridge direct variation with more 3rd class but less rock-fall and we eventually got back to camp, more than 17 hours after leaving the camp in the morning. We then had to do the evening routine shared with zillions of mosquitoes and thankfully sleep came fairly easily.


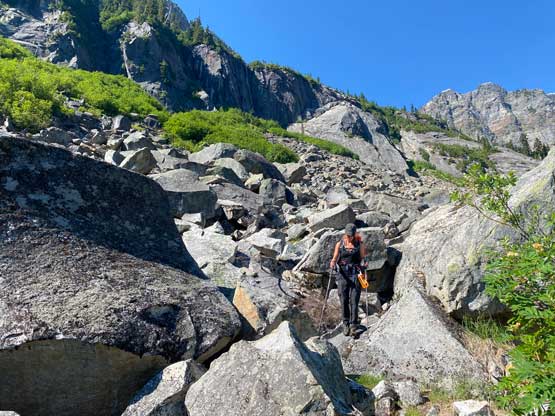
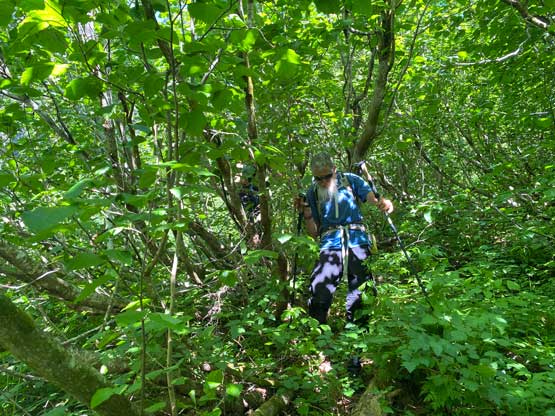
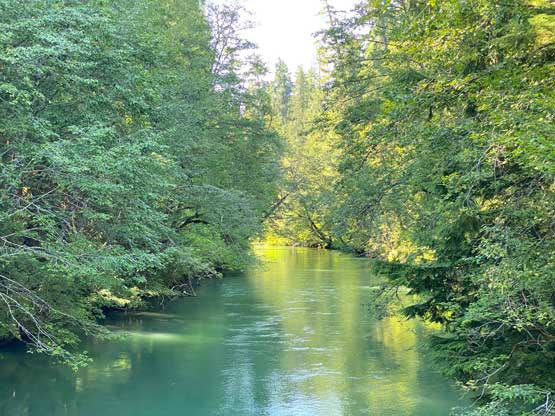
The morning of Day 4 we woke up at 5:30 am and got going by 7 am. The day was already smoking hot but let’s face it. Immediately after leaving camp we realized that crampons must be used to descend. I then led us descending mostly on snow and bypassed any rock scramble we did a couple days earlier. We kept the crampons on all the way until we mostly ran out of snow patches. The heather ledge traverse back onto that “Luna’s SE shoulder” was just as shitty as I remembered but again, let’s face it. We then took the crampons and ice axe out again for a steep descent into the chute under that shoulder and we stayed on snow all the way until that lower chossy gully. The descent of that gully was crappy and so was the boulder hopping back into the forest, but at least we were moving fairly quickly. After descending the climber’s trail we decided to find a different log to cross Big Beaver River as the one we crossed was definitely not on the other trip reports. I had come with another set of GPS track and their crossing was slightly to the north. However, getting to that position involved a much greater deal of level-4 bushwhacking. We indeed found a much better log but there’s again, a whole lot more bushwhacking on the opposite side of the river as well to get back onto Big Beaver trail. Overall I don’t know which route is actually better. Do you prefer BW4 thrashing or a sketchier log? Pick your poison.


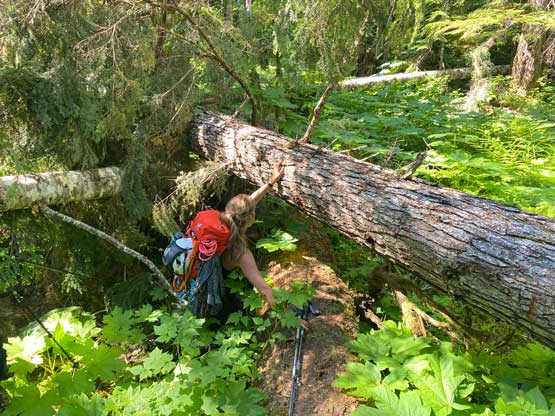
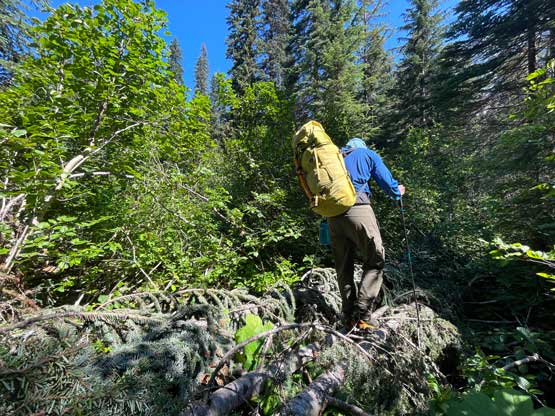


We took a long break as soon as hitting the trail to change boots/pants to runners/shorts but the mosquitoes were beyond crazy at this place. We could only stay as long as needed as we were literally eaten alive. Then there came the 100 dead-falls to slog back to Luna Camp followed by the 20 km dash back to Big Beaver camp. We stopped frequently at water crossings to wet our shirts and we also drank as much as possible. The last water source was around 39-Mile Camp and from there we would have no running water until past Big Beaver turn-off. That 10 km was a drag in the afternoon heat. I led us dashing as quickly as possible, running at times to get it over with. We took one short break at Big Beaver turn-off to gather the mental and physical strength needed to slog 100 m up the switchbacks to the next water crossing. Once there we took a massive break cooking some dehydrated meals. Elise and I brought an extra package of dehydrated meal for this purpose and we made use of them in the end. After this break we started the final 10 km death march back towards Ross Dam with endless up-and-downs. My feet were giving up eventually and I had to switch trail runners back to mountaineering boots to give more supports. I don’t think it actually helped much, but I endured the pain and sucked up the last section. The final uphill slog with 150 m elevation gain back to the trail-head actually felt much better as my feet were less pain on the uphill direction. It was already 7 pm and my car’s thermometer was reading 32 degrees and pretty much says what we had just pushed through.


Wasting no time we started the driving, homewards at last. I drove us back to Sedro-Woolley in one shot to stop in the McDonald’s for some wifi to fill in the stupid ArriveCan app. Unfortunately all restaurants were closed so our only option was the McDonald’s. We did went to try the Burger King but we missed its hour by literally 2 minutes so we drove back to the McDonald’s. We firstly tried to walk in, but it’s locked, so we walked back to the car and went for the drive-through. We did succeed on West Fury without backtracking but I guess my skills in the city were far worse. Just to get a dinner we had to backtrack three or four times.. Eventually I got us back to White Rock at 10 pm and Elise had another hour of driving to do. That concluded our first foray into the Pickets and that was a grand success.
