Mount Cline
August 1, 2013
3361m
David Thompson Country, AB
Mt. Cline is the highest, and the only 11,000er in David Thompson Country. It’s an impressive-looking mountain from all directions. The standard route vis SW Ridge is mostly an easy scramble with two notches that require brief rope work. Both notches are bolted so really it’s not that difficult. If you’re comfortable soloin’ the first notch then you will have no problem doing this ascent by yourself. This past Wednesday had the best weather forecast but due to the availability of my partner(s) I had to postpone it to Thursday. The forecast was calling for very questionable condition. This would be my first trip with Liam Harrap, and we decided to wake-up at 2am at the trail-head (highway shoulder near Thompson Creek), and hope for the best.
Note that this is not a mountain that you can easily approach in dark without loading GPS waypoints. We managed to do it this way but we wasted probably an hour searching around in the bush. There’s a trail for most of the way but after the flood, some parts got washed out. I knew there’s a good trail going up on the climber’s right side of Thompson Creek, but we decided to go up on the left side. Liam had attempted Cline a couple years back and he remembered going up the left side. Either way we had to take the left branch at the first major fork and this would be easy to miss in dark if we started on the opposite side. Starting on right side also means we had to cross the creek which might involve fording.
[Update 2025: There is now a very good trail for the approach. Consider download Andrew Myles’ GPX track recorded in August 2025 instead of my messed up track.]
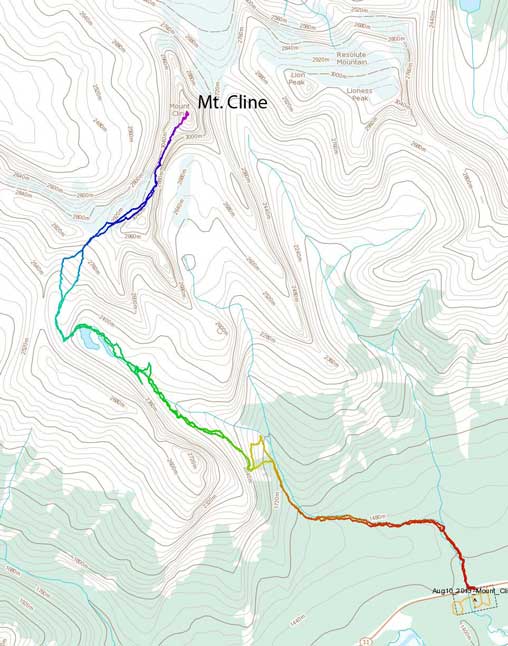
Mt. Cline ascent route via SW Ridge. Alpine II, 5.4
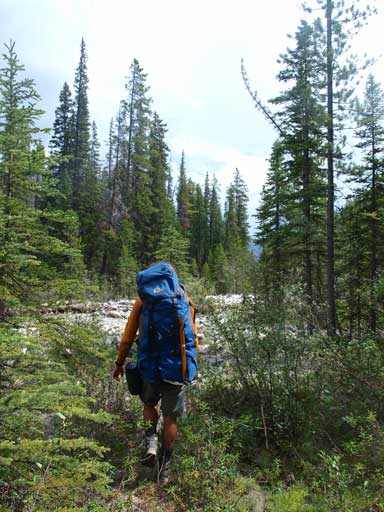
Immediately after starting our day we failed to find the “trail” but decided to go in regardless. The left side of Thompson Creek turned out to be a lot more bushy than the right side. I do believe there was a trail as we could see parts of it on the way back, but the majority of it got washed away by the flood. Therefore our initial trek up the main Thompson Creek turned out to be bushwhacking in dark.. But I still think we made a good call since we automatically took the left branch and this was very hard to identify in dark. We didn’t even know we were already on the left branch before suddenly coming across a trail.
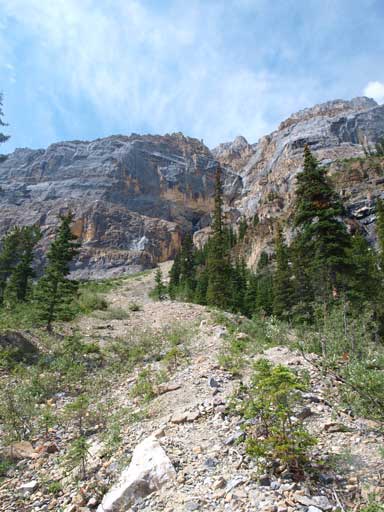
For the next 4km or so we managed to stay on this intermittent trail most of the way. The concept was to follow the creek on it’s climber’s left side so essentially it was hard to go wrong. But at one point we started to go up the left bank and then deviated quite away from the creek bed. Thankfully we realized our mistake and managed to backtrack to the creek by doing some unnecessary bushwhacking. The critical point for Cline’s approach is at one point you need to start going uphill on left side, straight up, to gain the higher ledge. This was nearly impossible to see in dark and we missed this trail. There was still faint trail keeping going up the creek and by following it we entered very miserable bush/alders. By the time we realized our mistake we decided to go straight up out of the bush first, and then traversed left under some waterfalls before eventually picking up the trail again. The trail brought us back on track and soon we were on the upper ledge and ready for the long side-hill traverse.
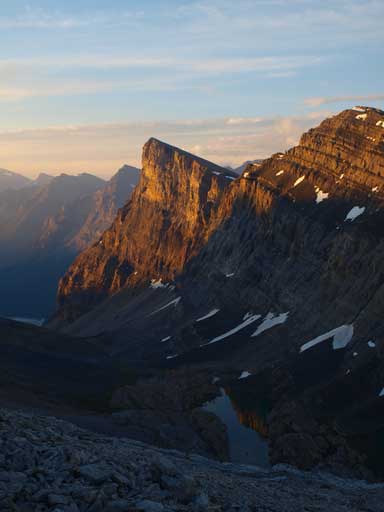
There’s still a trail for most of this side-hill traverse except for a big talus slope. On that slope we just cut across straight without gaining or losing elevation and then we picked up the trail again on the other side, and then we were officially out of the trees. The sky also got bright enough at this point and weather was so far so good. Without taking any break we continued our trek up aiming towards the distant “Cline Lakes”. These lakes are pretty high on this valley and we still had a long way to go. This part of the approach is very similar to Resolute Mountain’s, with a high wall paralleling on climber’s left side, and our objective being on the right side. Higher up we broke through a head-wall and arrived at the infamous “bivy spot”, the Cline Lakes.
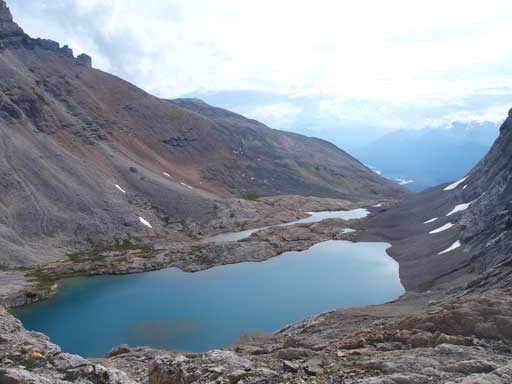
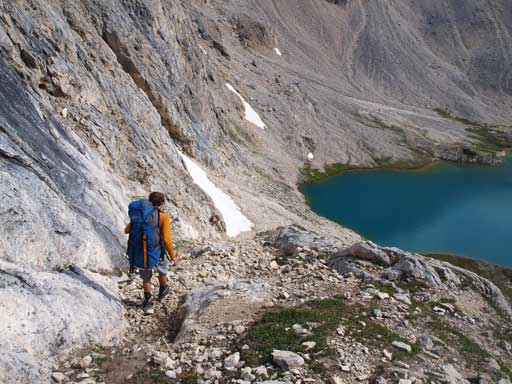
This is indeed a lovely spot but I didn’t find it being “that” beautiful as described on other sites. Well, I’d just done Brazeau’s bivy and that was hard to beat I guess… Contouring around both lakes on the right hand side took us quite a while, and after quickly refilling our water bottles we pushed on ahead without taking a break. The next step was to gain the head-wall on a diagonal ledge. It looked to be quite steep and exposed but once we got closer it turned out to be easy scrambling only. Looking back, the lakes looked gorgeous. I really wish we could take our time here soaking in the views, but oh well.
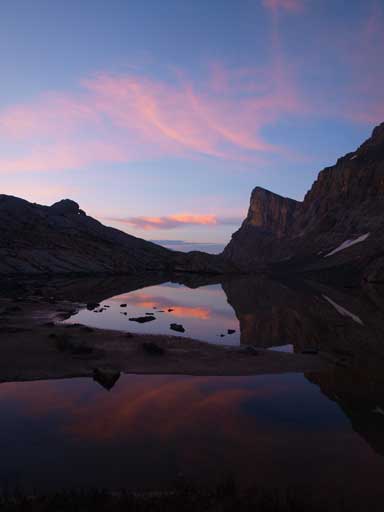
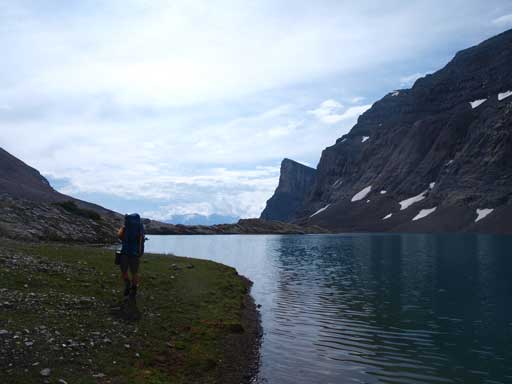
At the lower Cline Lake
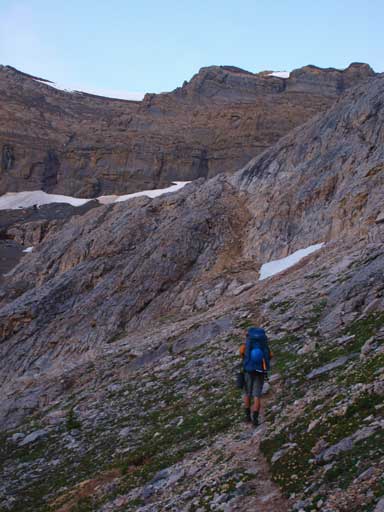
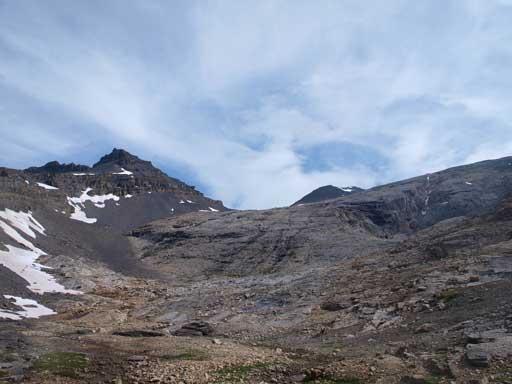
Liam aiming towards the ramp to gain the head-wall
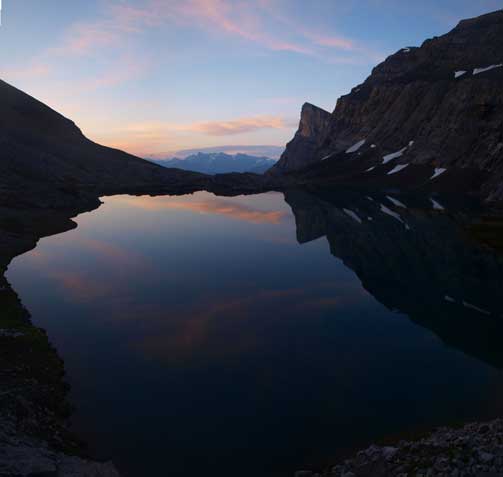
Upper Cline Lake
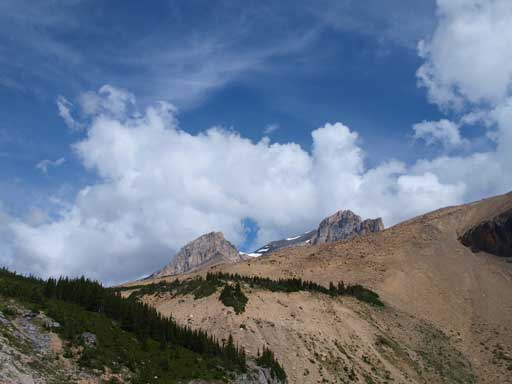
A zooming-in photo of a distinct outlier
The same outlier, from higher up
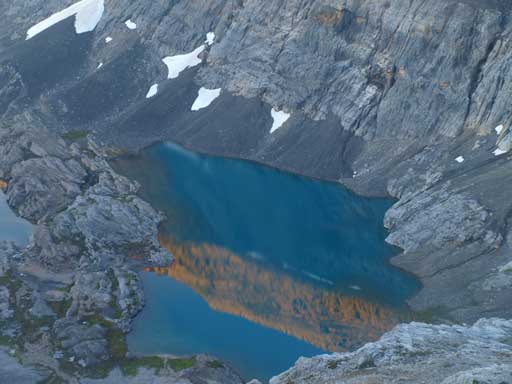
Looking down at the upper Cline Lake
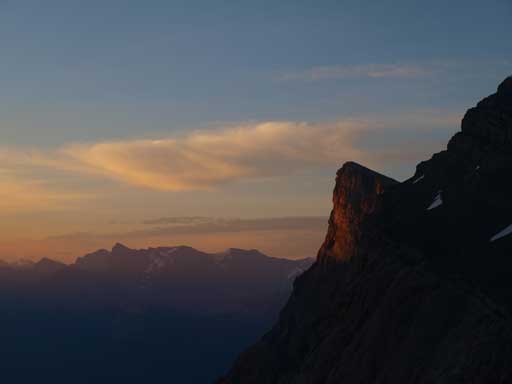
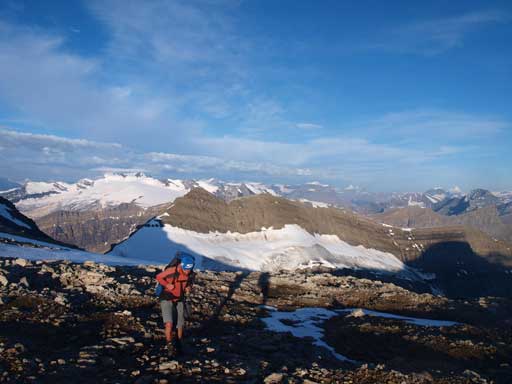
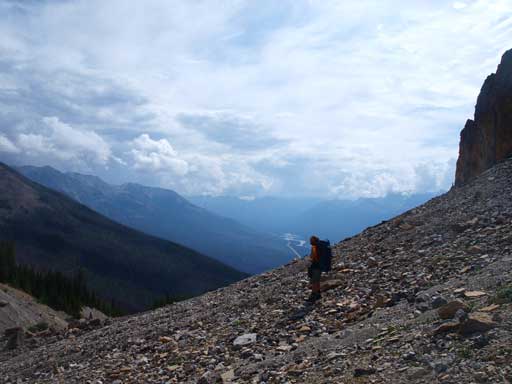
Above the head-wall, we would trend right up a very foreshortened slope. This slope took us 40-50 minutes to clear at a furious pace. This had the most significant elevation gain. With the great morning light we kept looking back. Mount Wilson looked massive and gorgeous. (It is!) As the distant false summit got bigger and bigger we finally got closer to the “high col”. This high col is between Cline’s two false summits and marks the start of the glacier. This glacier is more like a permanent snow patch. We did see a crevasse (bergschrund) on left side but other than that we couldn’t even tell if there’s ice underneath or not. To speed things up we didn’t rope up here. The snow was also icy hard. I managed to lost my down jacket while crampon-ing up… The jacket just kept rolling down the glacier and then down the cliffs below. Oh well.. Guess you don’t want to start an uncontrolled slide here.

Murchison is high on my list
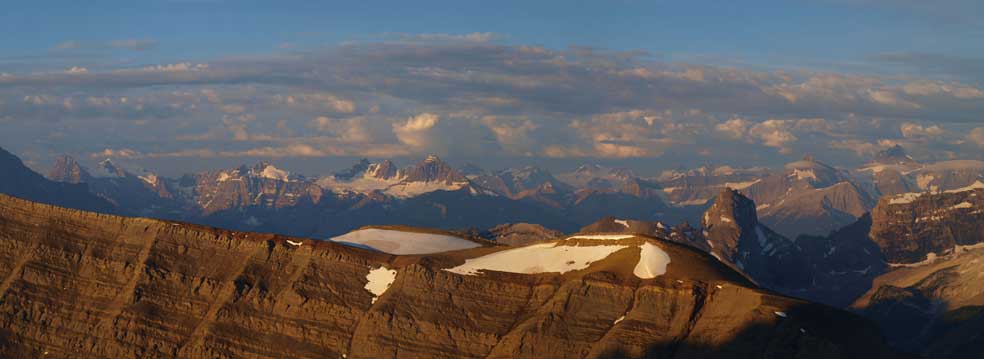
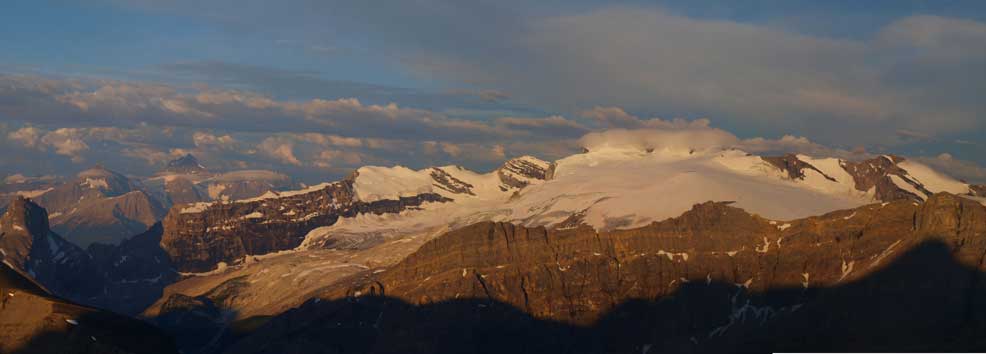
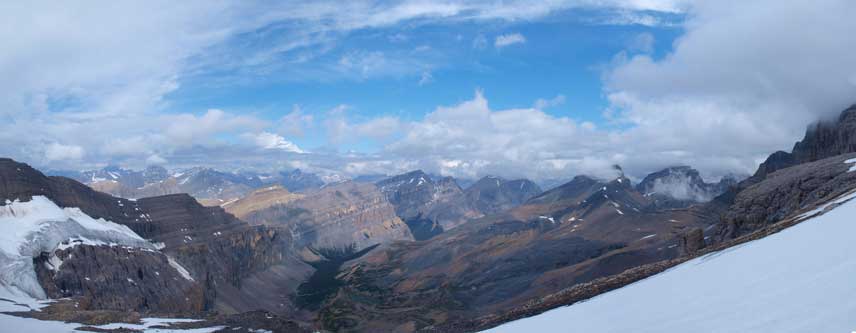
Panorama of the familiar peaks guarding Saskatchewan Crossing
A long shot of Wilson
At the “high col” now.

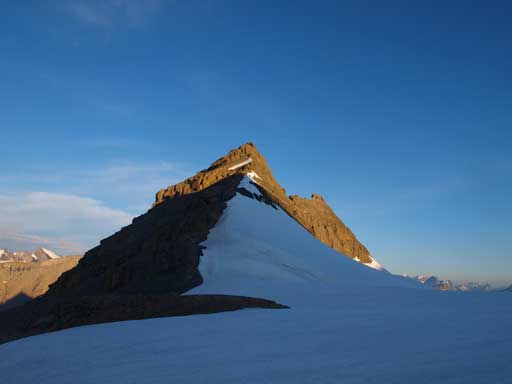
Liam hiking towards our objective, Mt. Cline

The three peaks of Whitegoat
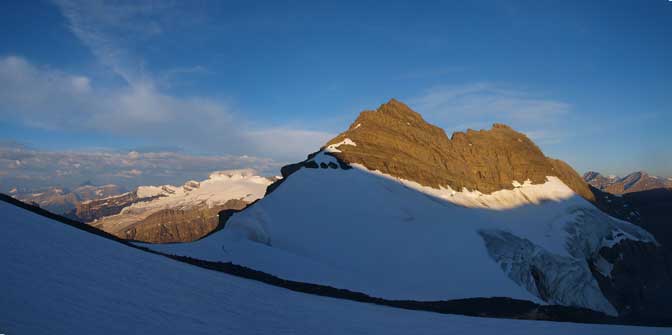
Gorgeous view from higher up on the glacier
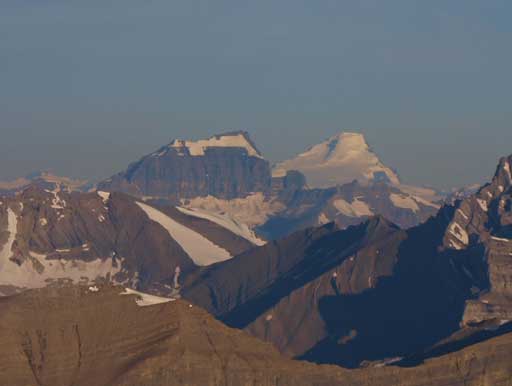
Saskatchewan and Columbia

Cirrus Mountain, a “newly discovered” scramble

The massive Mount Wilson.

If you end up on the false summit, you need to back-track
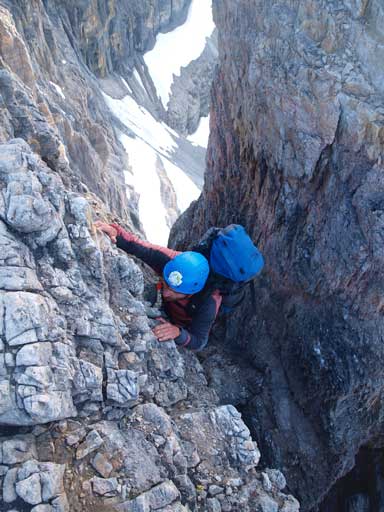
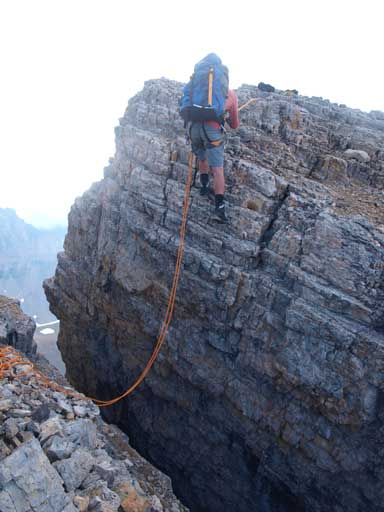
Once we got back onto the rock we were not far away from the infamous notches. There was a short scrambly section, and then the ridge narrows down, and then the two notches arrived back-to-back. The first notch looked to be quite “easy” and after examining it closely we decided to solo across. I brought my rock shoes up so I used them. The climb is rated as 5.4 and is quite exposed, but the rocks are (relatively) solid. It’s a bit more involved than it looks at first though. We were both comfortable at exposed terrain and we got through it in just a couple minutes.
Back on rock

Start to see the impressive face
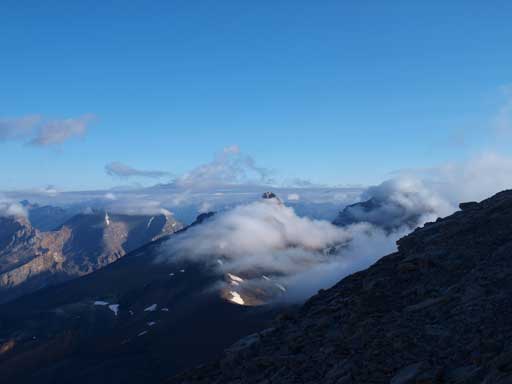
Clouds are rolling in.

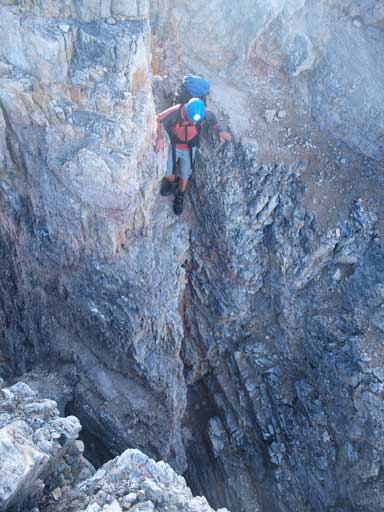
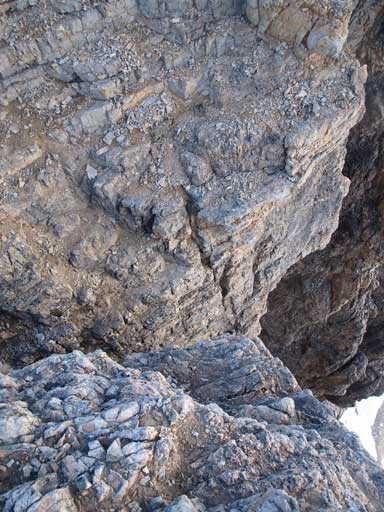
Looking down the 1st notch

Firstly he had to get down a bit
And then into this chimney

Down-climb this rock. I felt this bit being the 1st notch’s crux move
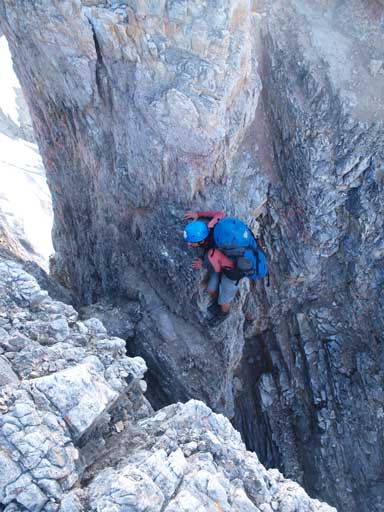
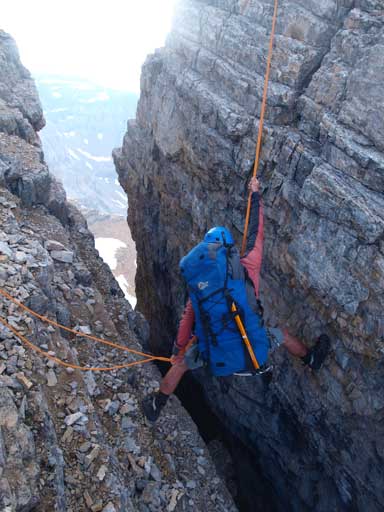
Now he’d got down enough, and ready to cut-over

There’s a chockstone to support him.
And then it’s an exposed vertical climb up this side.
And then, the second notch. It didn’t look to be “that” hard by just looking into it. But since there were two bolts being right there we decided to use them. The quickest way to get through this obstacle is by rappeling into it. And after doing so we left the rope there for the return. By now the clouds finally arrived and obscured the summit block. Oh well, I already got most of the views I wanted, that was, towards Wilson. And also, earlier in July I got perfect weather on Resolute Mountain which gave me the eastern panorama. So really, I was not that disappointed about the summit “view”. After slogging up scree for a long time we made to the top, with no views. We signed the register and waited for quite a while, but it showed no sign of improvement.
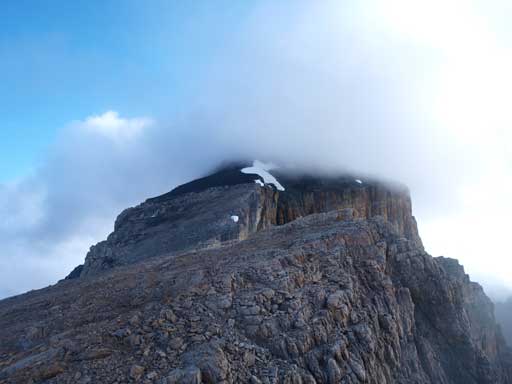
Oh no… We would lose the view soon.
Looking down into the 2nd notch
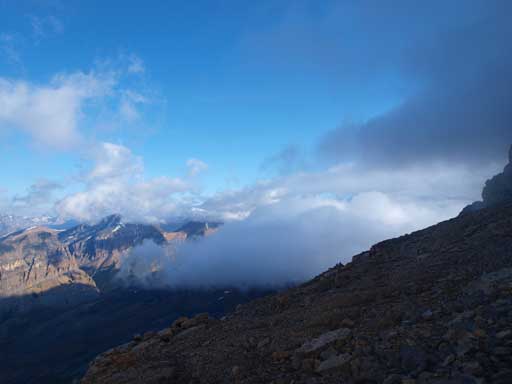
These clouds are neat actually…

I took a panorama shot while waiting for Liam to rap the 2nd notch
Liam rappelling into the 2nd notch
Liam finishing the 2nd notch

One last view before entering the clouds
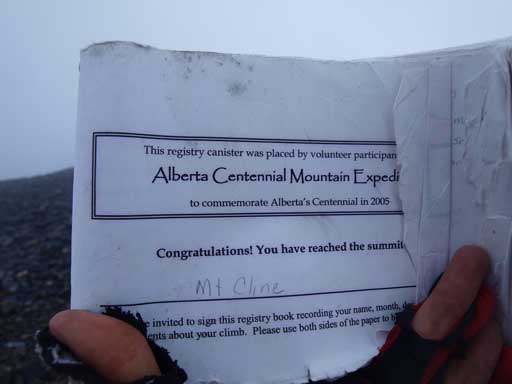
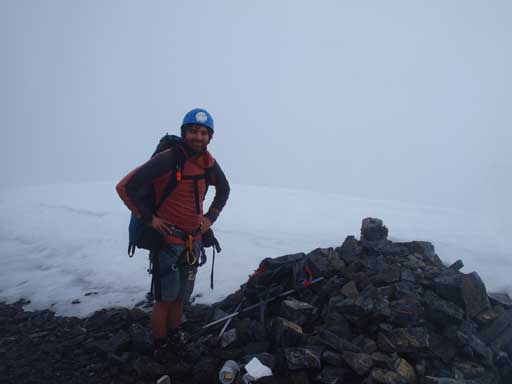
The register. My 5th 11,000er!
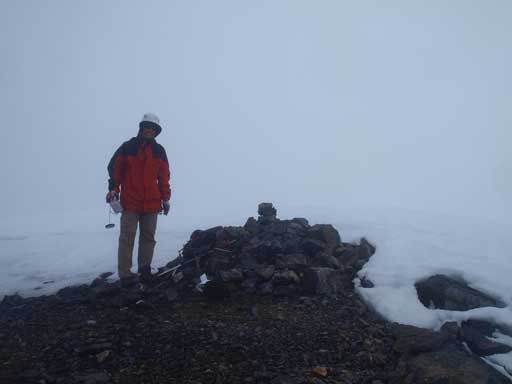
Me on the summit
Liam on the summit. Great views…
Due to the concern with thunderstorms we started down quickly. It took us no time to get back to the notches and by now the sky had (sort of) cleared up again. Oh well… At the second notch we top-roped each other up. It wasn’t hard to step across the gap but for those of you having short legs this move will be quite a commitment. And after this there were still a couple awkward moves to get back up the 2nd notch. Since we were belaying each other here, I didn’t get any climbing photos, unfortunately.
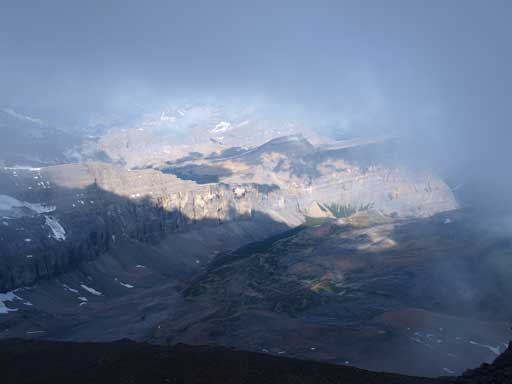
Brief view on the way down

Interesting cloud pattern on the SW Ridge
At the 1st notch we decided to use the two bolts on our side. Again, the quickest way was to rappel into it and that was exactly what we did. Climbing up the other side was easy and soon we cleared both cruxes. Now it was a pleasant walk back down to the glacier which had just softened enough so we didn’t need crampons anymore. And once through this snow section we were ready for the long descent down the “big slope”. There wasn’t much scree here but travelling was still easy and fast, and in short time we made back to the ramp. Down the ramp, we were back to Cline Lakes. Again, we quickly refilled the water bottles and started down without taking a break. By now there were already some bigger clouds building up and we wanted to get back before the rain hit us. Liam led down at the fast pace and in no time we were back into the trees.

Liam ready for the 1st notch
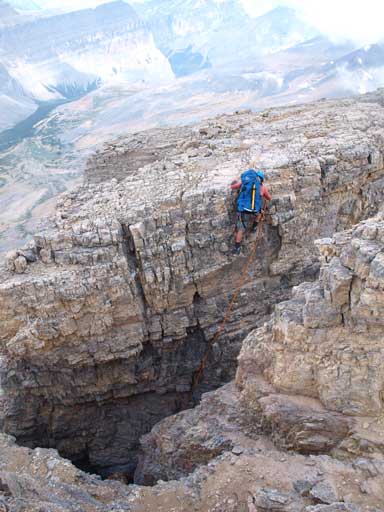
Rappelling/down-climbing into the 1st notch

Down into the notch
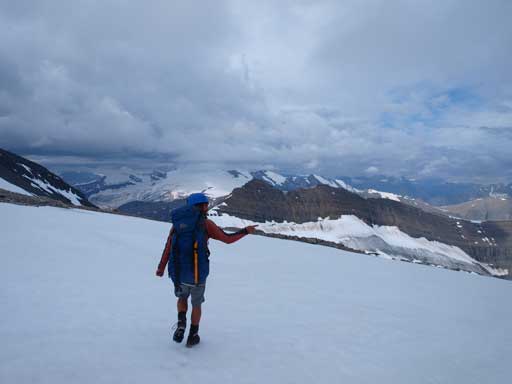
Back to the glacier. Time to identify peaks
Blue skies showed up again

Now the summit is free of clouds..
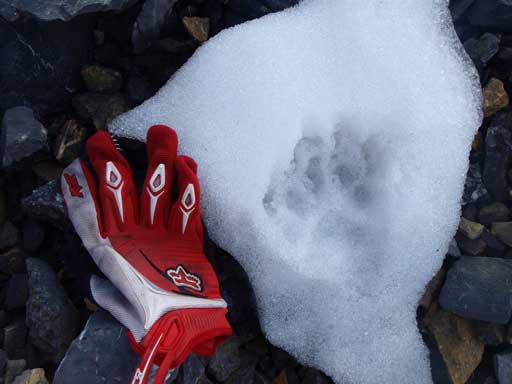
Some animal tracks on such an alpine area
Looking back on the “big slope”. Very foreshortened
Cline Lakes
Descending the ramp/ledge
Down to the lake

Looking back
Another photo looking back
Traversing the big talus slope
Descending the “gully/slope” was hard on our knees since the ground was too solid. There was a trail on this slope. We just missed it on our way in. After rejoining the trail at creek-bed it was merely a hike out, but, a long way out. At the main Thompson Creek we stayed on our side (climber’s left side) hoping to find the trail. We only found a couple pieces as most parts got washed away. We managed to make back before the rain, and our round trip time was 11 hours. Take a note that except for the two bushwhacky detours and the summit stay we were marching up and down at full force. We soloed the “glacier” and the first notch which also speed things up. If you are fast and plan this ascent as a day trip, I’d say 12-13 hours being more appropriate.

Ready to descend the gully/slope, looking back

Liam taking a short break
Looking back up this gully that we missed on the way in
Back to creek-bed. Typical, typical.

Flowers
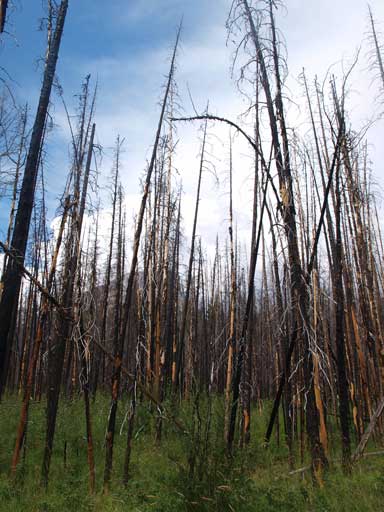
Burnt forest

Back to parking lot. Done!
After the long drive back home I found my primary trip getting cancelled due to crappy weather. And as a consolation prize, I would do an exploratory ascent the next day. I only got about 1 hour’s break at home though. Guess that was just enough for a quick shower, and then I found myself packing up again…

[…] rather than lugging bivy gear all the way into the high alpine for a 1.5-2 day trip. After Steven and Liam did it in a day and proved it was doable, Ben and I started making plans of our […]