Diadem Peak
September 6, 2014
3371m
Icefield Parkway (North), AB
Diadem Peak is a beautiful 11,000er just to the north of Columbia Icefield that’s usually climbed together with its higher neighbour, Mount Woolley. The aesthetic way of climbing these two summits is by doing Diadem first via the SE face (steep snow couloir straight up), down the south slopes and up the north ridge of Woolley before descending the normal route. Vern, Ben and I, however, were not that adventurous and we’d take the easiest route on both the ascent and descent. This brought us to Woolley/Diadem col first so it made perfect sense to bag the higher of the two first. Back to the col after successfully summitting Mt. Woolley, we decided to ditch a bunch of unnecessary gears before slogging up the foreshortened slope on Diadem. In particular we ditched ice tool and the winter coats.

Ascent routes for Mt. Woolley, Diadem Peak and Mushroom Peak. GPX DL
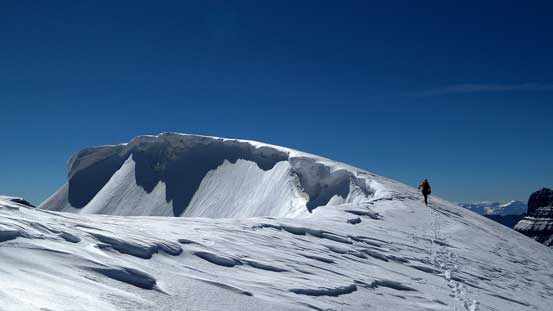
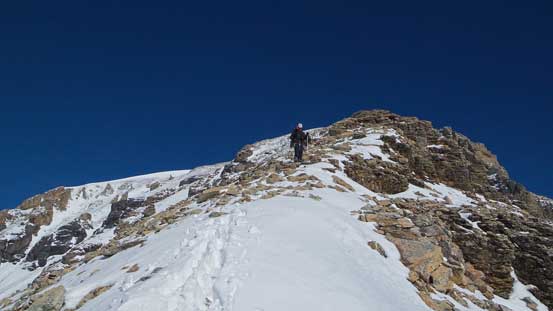
For those of you unfamiliar with this mountain, there’re two summits. The first one on a big snow hump/cornice and the second one, 5 minutes further down the ridge, on rock. Some sources indicate the rocky summit being either at the same height or slightly higher than the snowy one. We ascended both of them and our GPS and barometer altimeters recorded the sharper rocky summit at about 2 m higher than the rounded snow hump. Thus to make sure you’ve summitted this 11,000er you have to ascend the true (rocky) summit. From the col to the false summit there’s very little to describe other than perseverance. There were a few short steps requiring brief hands-on work but nothing more than just easy scrambling. The slope did feel foreshortening though.

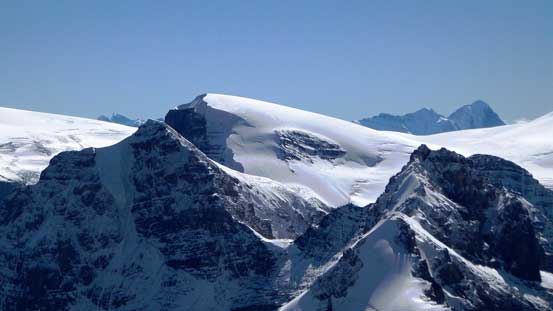
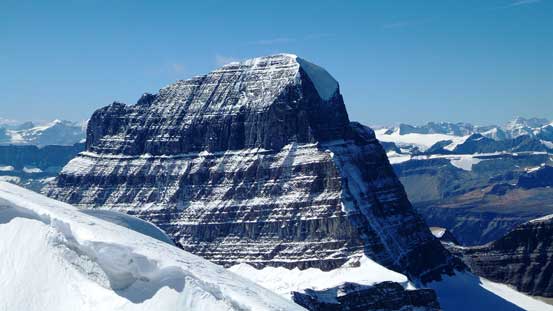
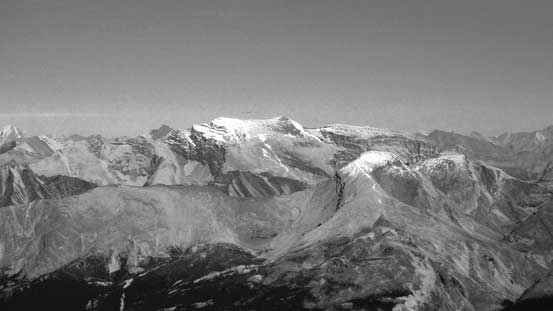
Diadem Peak seen from partway down Mt. Woolley
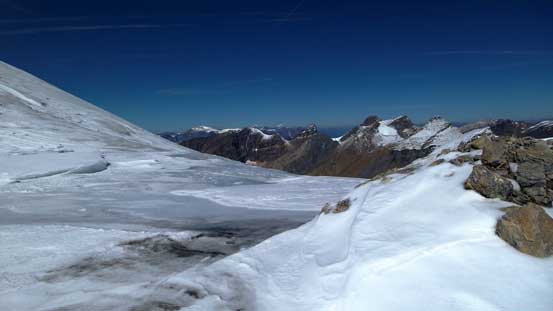
View from Woolley/Diadem col

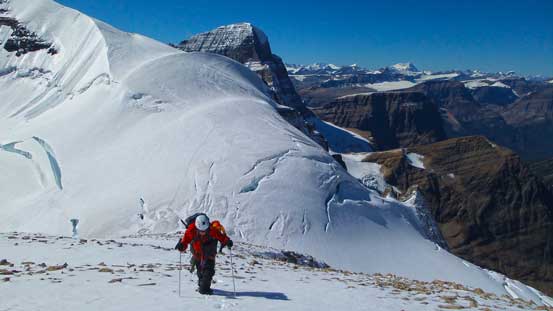
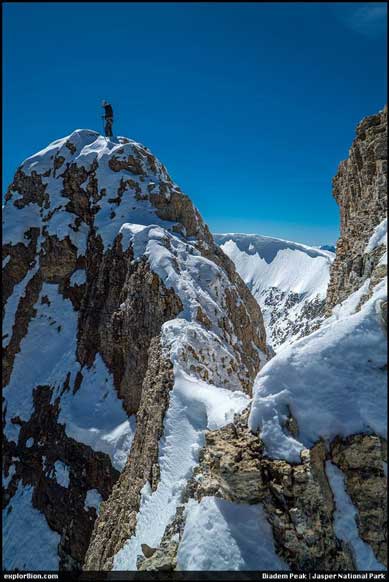
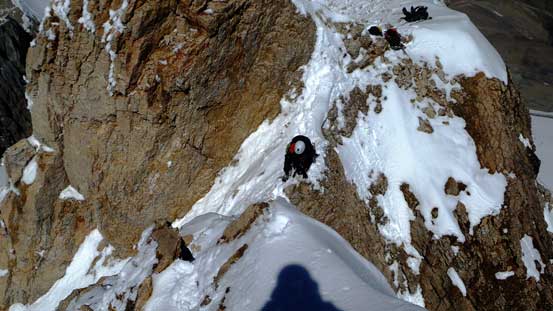
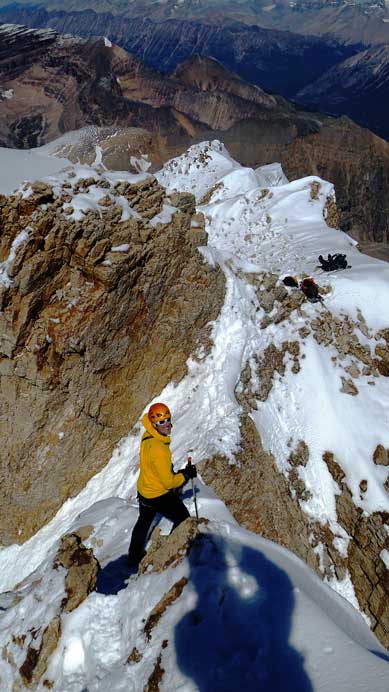
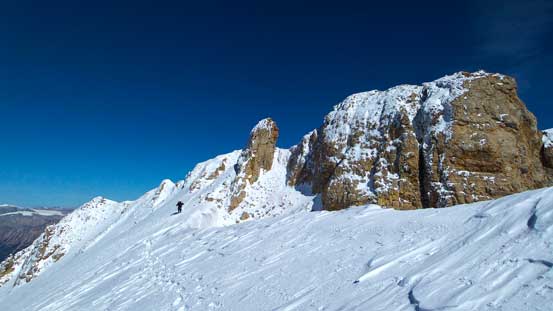
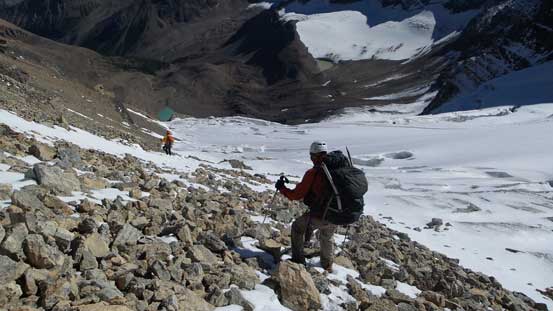
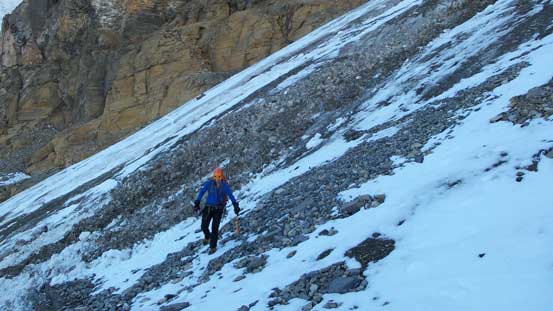
Ben and Vern ascending Diadem Peak. In the background is Woolley’s crevasses…

A short section requiring brief scramlbing

The typical terrain
We were slowly gaining elevation

Behind was Mt. Woolley’s north ridge

Mt. Alberta started to show up again.

This snow hump would be the false summit.
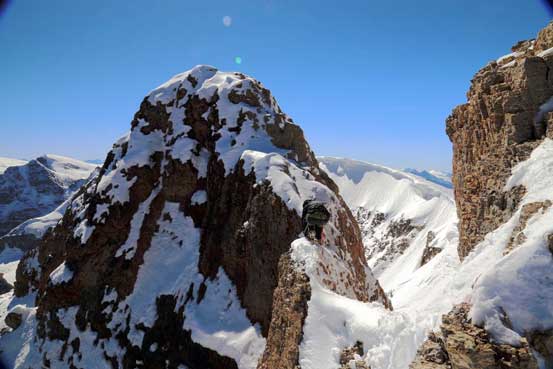
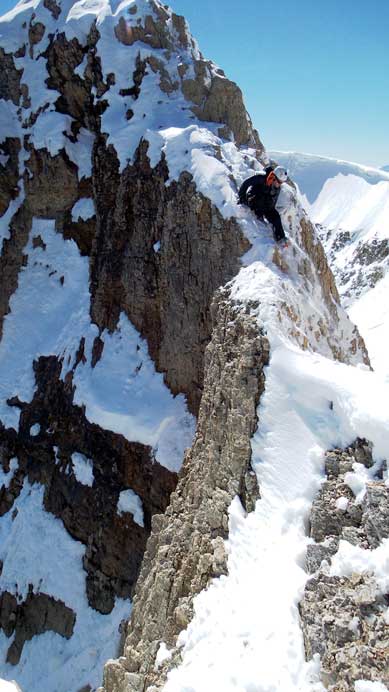
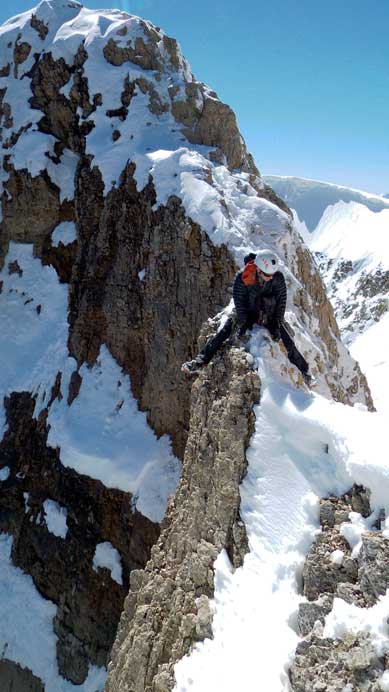
The true summit was a different game. With the intimidating ridge ahead plastered with snow we decided to keep crampons on and ditch backpacks. I went up first and it was quite difficult, but overall wasn’t as bad as I thought. There were a few very tricky moves requiring dedicate balancing or au-cheval technique but after that I could find decent holds, and soon I stood on top. I’d say in dry condition it’s exposed 4th class. Ben and Vern weren’t quite sure about ascending this but I checked the GPS reading and it’s indeed higher than the snow summit, so they had to climb it… The view from this true summit was significantly better than from the false one too.
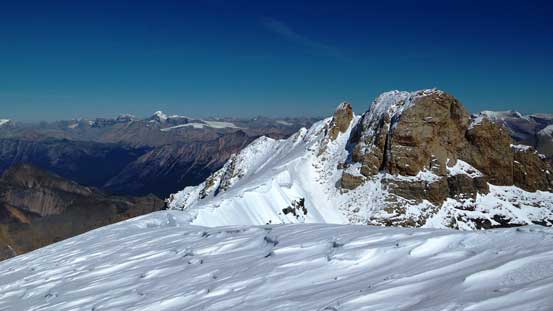
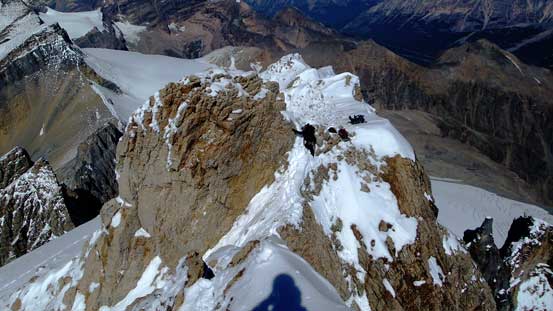
The true summit seen from false summit

Looking back at Vern descending from false summit
Me carefully climbing up the true summit. Photo by Ben
Me on the summit of Diadem Peak, my 17th 11,000er. Photo by Vern
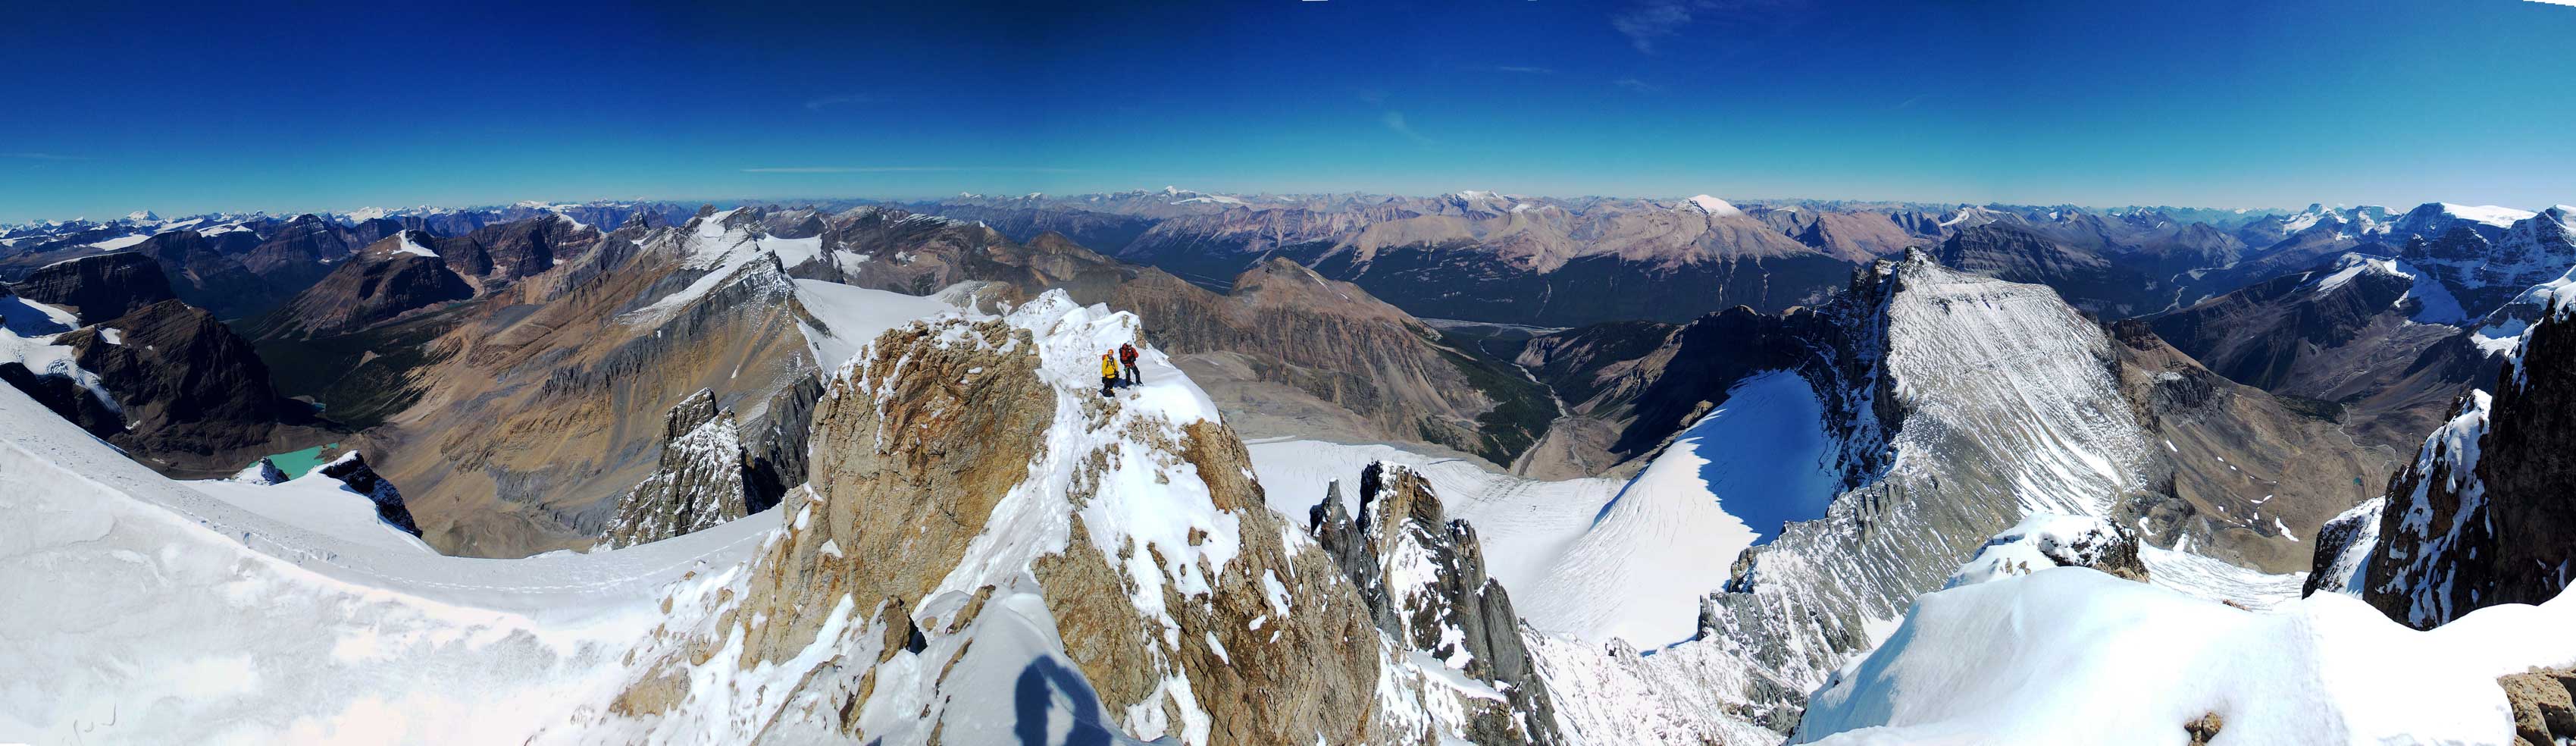
Summit Panorama from Diadem Peak. Click to view large size.

Another panorama from Diadem Peak. Click to view large size.

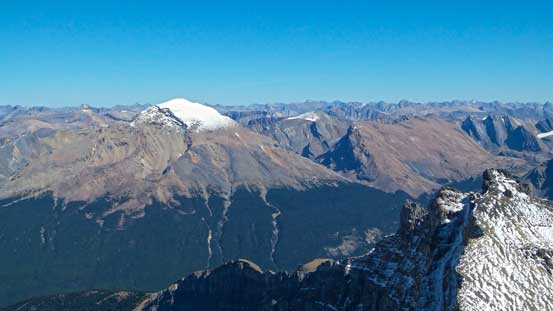
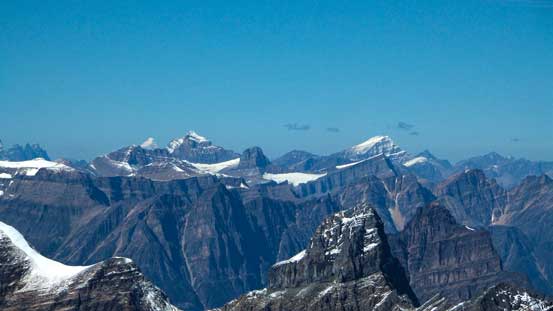
Mt. Athabasca and Mt. Andromeda. I’ve climbed both, highly recommended.
East Stutfield with Mt. Cromwell in front
North Twin and Twins Tower, with Mt. Woolley in front
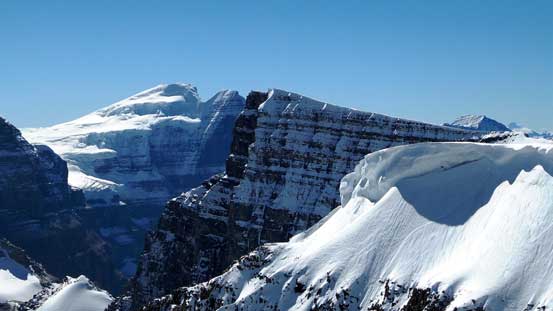
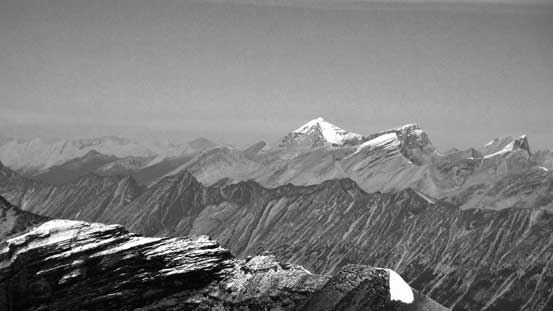
Mt. Alberta – hardest 11,000er!
Ben starting the climb

Vern on the true summit
Ben negotiating the crux move.

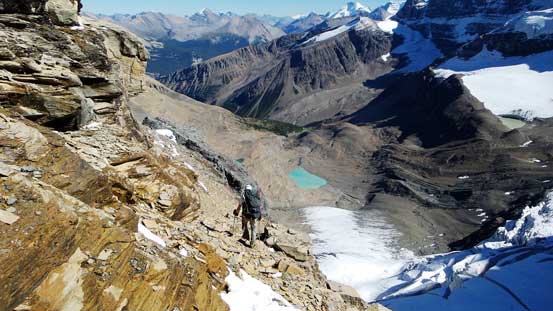
A neat glacial lake way down below

Front range giants including Unwin, Mary Vaux, Warren and Brazeau
Sunwapta Peak is almost 11,000 feet. Glad it wasn’t… (Too easy to qualify a member in this club).
Poboktan Mountain is another big one I’d like to ascend.
Mt. Unwin and Mt. Charlton
Mt. Fryatt and Mt. Edith Cavell, with Brussels Peak in front

Ben on the true summit.
Descending was even trickier and at the crux move we all had to au-cheval across. Soon we all made back, relaxing a little bit before resuming the descent. It’s a pleasant walk back to Woolley/Diadem col and then a somewhat tedious walk side-hilling down the scree/snow on skier’s left. It’s quite a long way down to the entrance of 2nd couloir.
Vern starting the down-climb
Ben carefully down-climbing just above the crux
Au-chavel was the best technique for the crux moving..
Looking back at the true summit
Ascending back to the false summit
Descending easy slopes towards Woolley/Diadem col
Then, descending rubble and scree
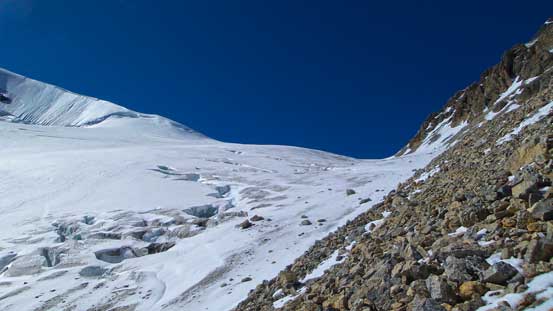
Looking back towards the col. Note the holes on glacier even at the edge….
We all had worry about the condition and we were right. With the strong sun backing this south-facing couloir for many hours, the new snow had become quite slushy. It wasn’t too bad though but pretty marginal especially for the lower part. If worse we’d had to dig down to ice and rappel and nobody was looking forward to that. Near our exit point we started to see dirt/ice which didn’t appear earlier in the morning. I went down too far skier’s right and had to cross this ice patch. I informed Ben and Vern to cut over early and soon we were all out of the couloir. Much of the new snow had melted which meant an easier descent down the series of down-sloping ledges. It’s still wet and covered with snow though, just not as snowy as in the morning. I managed to descend this section without crampons, and in short time we were back to the entrance of the key chimney. This chimney was still snow covered but straightforward to descend.
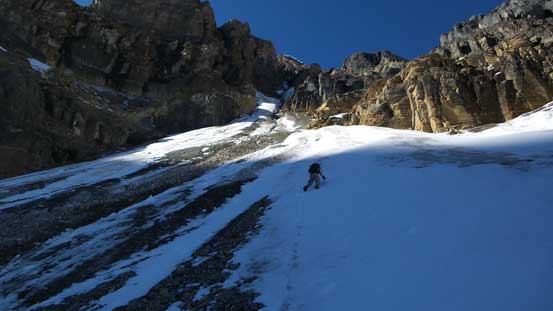
Vern and Ben down-climbing the 2nd couloir

Here they had to cut over to the right side to avoid this ice patch

Almost finishing the 2nd couloir
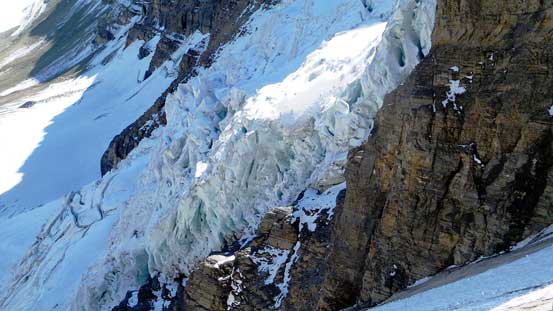
Impressive seracs as always
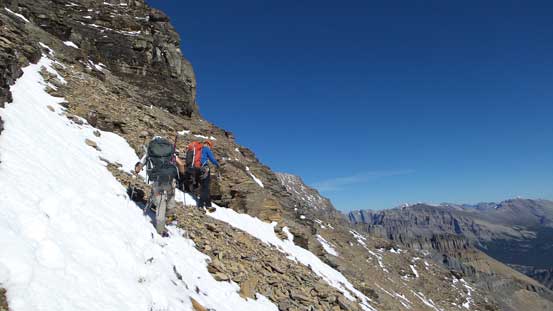
Starting the diagonal traverse
Typical terrain on this part
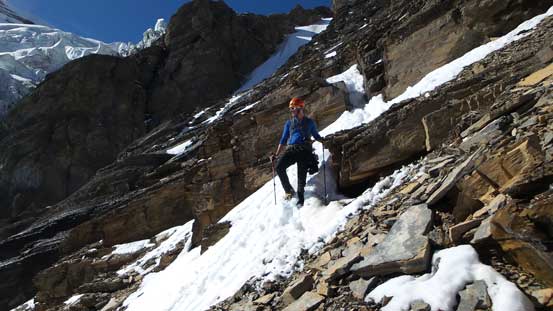
There was still some snow on route

Easily descended the chimney
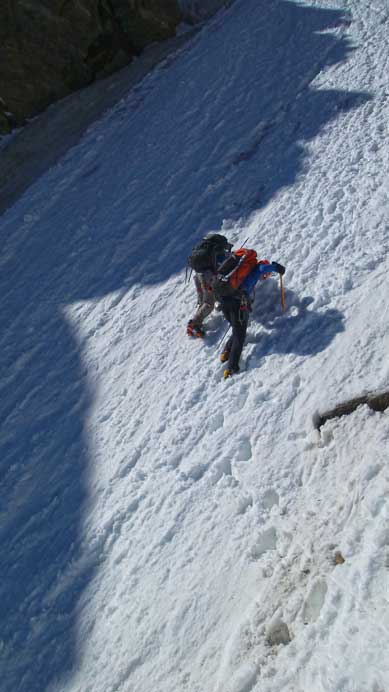
Back to the first couloir, we thought the hard terrain was over but nope, the next section would be the crux for this trip. At this point we already made the decision to traverse towards Mushroom Peak on a high level ledge and glacier rather than descending the maze of crevasses using questionable snow bridges. This was a very correct call as even just down-climbing the entire 1st couloir itself would be downright difficult and dangerous. The new snow was either totally gone revealing hard ice and dirt underneath, or thin and slushy that we couldn’t gain traction. At the meantime rock fall was a real concern now and we could hear and see rocks coming down. For the next short while we had to face inwards, having both axes out and front-pointing down and/or diagonally down. We were aiming at the lower rubble ledge on the skier’s left side. We wanted to be off this shooting gallery as quickly as possible but on the other hand screwing up a move would send us down and perhaps into the bergschrund. The hardest part was front-pointing across a debris covered ice patch. My mountaineering ice axe couldn’t even get a purchase no matter how hard I swung and it was only the front points of my crampons holding my body weight. Thankfully this section wasn’t very long and eventually we made to the rocky ledge below and out of the danger zone.

Ben and I down-climbing the 1st couloir. Photo by Vern.
Vern finishing the 1st couloir. We didn’t get a photo of the hardest part..
Ben in the 1st couloir.
At this point the pressure was not off yet as we had no clue how bad the glacier was between Diadem and Mushroom. Based on our earlier observation from Woolley Shoulder the previous day it appeared to be heavily crevassed. But at this point we were committed to it and if we found a safe way to cross it then we knew there’s a scramble route down Mushroom Peak thank to Eric’s exploring a big time. Ben had printed out Eric’s route photo and we’d rely on that to get off these mountains. Of course, if we could get off the snow then it made perfect sense to bag Mushroom Peak as our last objective in this trip, rather than waiting till the next morning.
