Alpaca Peak
November 26, 2015
2083m
Coquihalla Pass, BC
About a month ago I did my first trip to the famous Coquihalla Pass and ascended two of the tallest objectives in that area – Vicuna Peak and Guanaco Peak. From the summit of Vicuna Peak I was impressed by a huge slabby wall about 1-2 km to the west – the NE Face of Alpaca Peak. It’s apparent that the NE Face would offer some (maybe even unclimbed) rock routes but as a peak-bagger what actually interested me was the easiest route up this mountain. Basic Google search led me to the conclusion that the broad S. Slope and SE Ridge is a mere “walk-up” and can even be done in winter conditions. The approach is often done via a long ridge traverse from Zupjok Peak.

Zupjok to Llama to Alpaca Traverse. GPX DL
A not-so-often November high pressure system provided me a good opportunity to get this trip done. After traversing over Zupjok Peak and Llama Peak I immediately focused on the primary objective of this trip. The broad SE Ridge appeared to be indeed nothing more than a “walk-up”, but upon close inspection I realized there’s one steep roll about halfway up the slope that might be a bit “interesting”. Given the extremely crusty/icy conditions and the fact I left my ice axe at home I opted to bypass it about 50 meters to the left (west). There’s still a bit of steep treed slope to traverse/ascend but after regaining the ridge I was back on easy terrain.

Looking ahead to the ridge traverse from Llama Peak

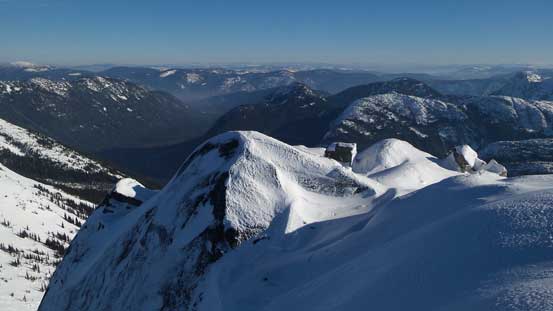
The summit of Alpaca Peak

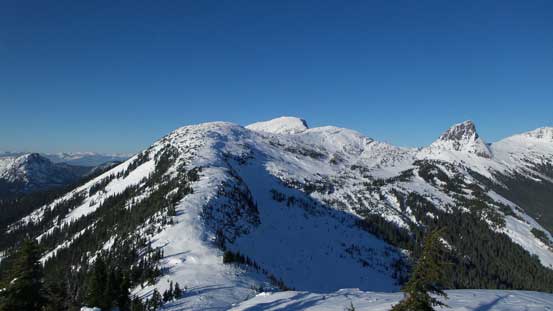
Gaining the SE Ridge proper now, looking towards Vicuna & Guanaco
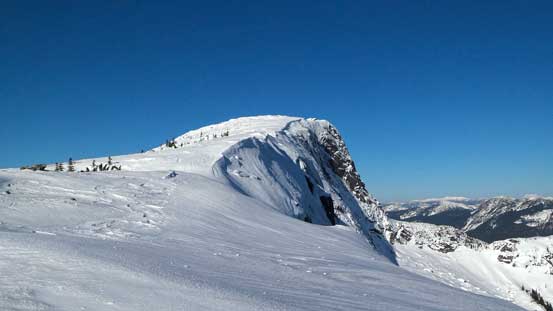
Following the very broad SE Ridge up
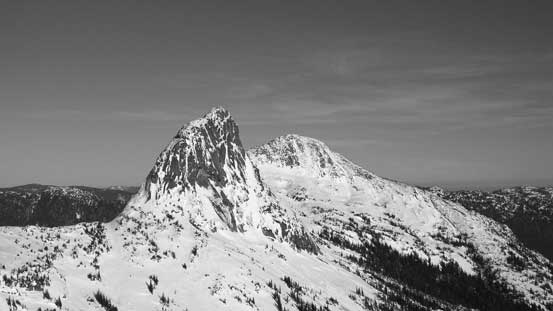
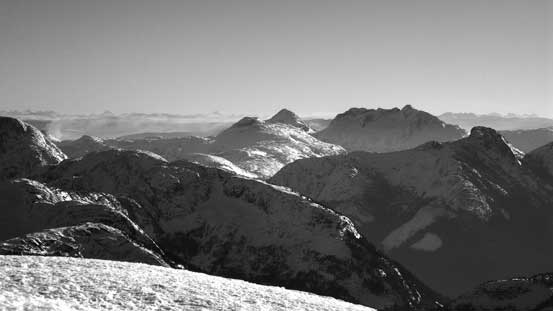
Vicuna Peak and Guanaco Peak in Black & White
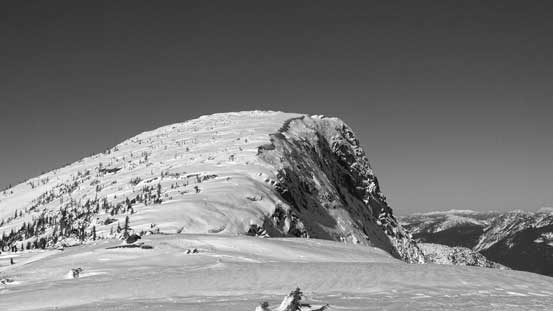
Alpaca Peak
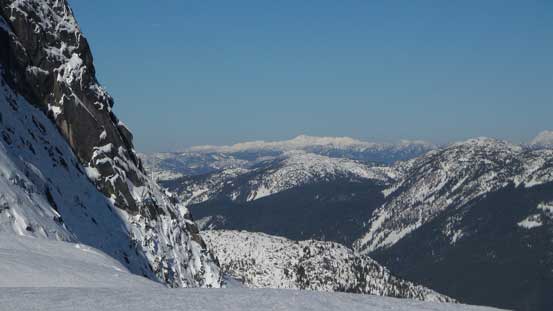
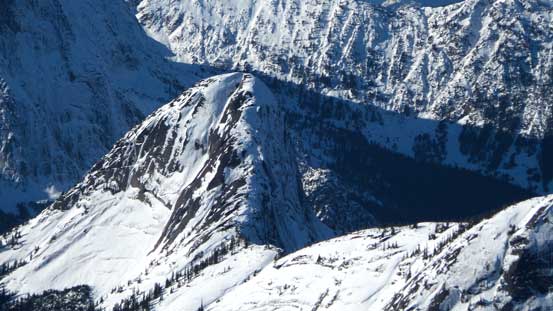
Looking across the very steep NE Face towards some distant peaks
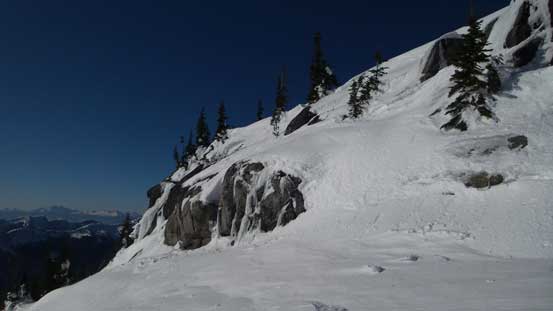
This is that steep and icy roll that I bypassed
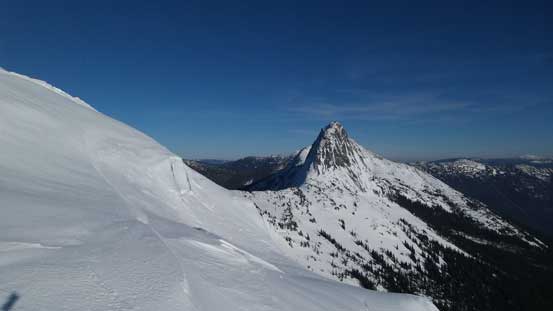
Regaining the ridge, looking at Vicuna Peak
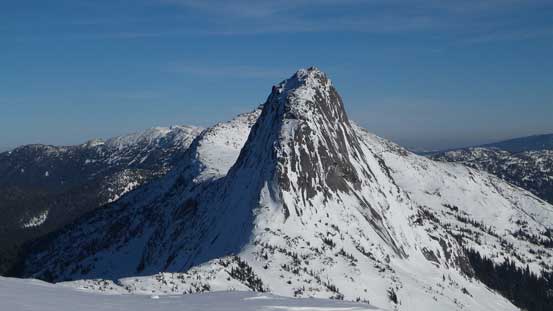
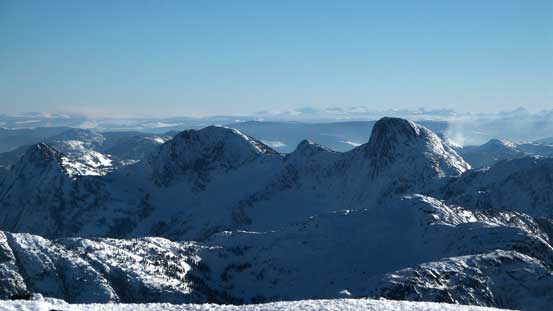
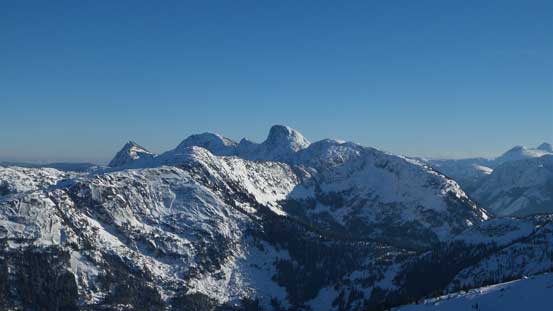
Probably my favourite shot of Vicuna Peak
The view of Vicuna Peak just kept improving as it’s getting sharper and sharper as I gradually approaching the summit. The actual summit was quite broad and I had to wonder around to soak in all the views. Unfortunately for me it was cold and very windy (and I forgot to bring my balaclava on this trip), so I couldn’t linger too long up there.

Summit Panorama from Alpaca Peak. Click to view large size.
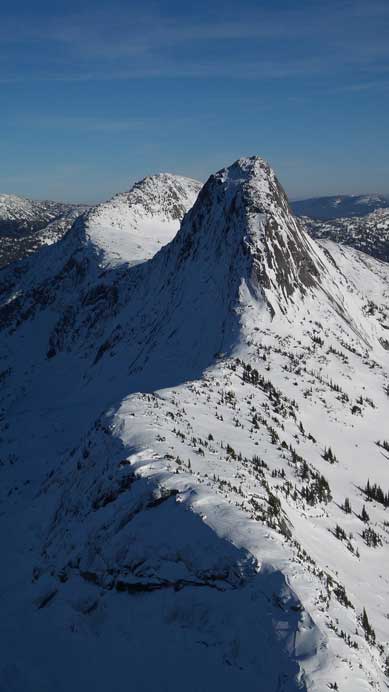
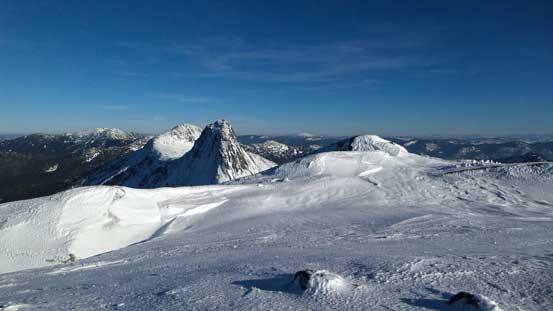
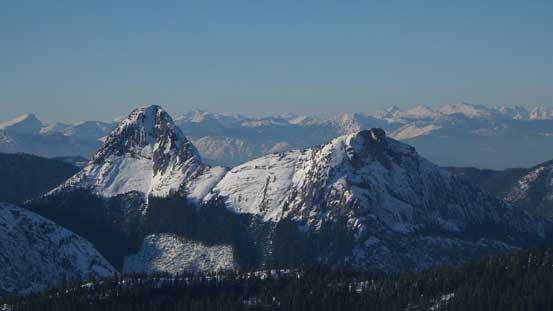
Vicuna & Guanaco and the connecting ridge
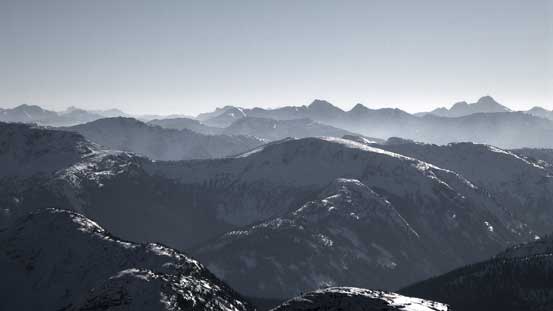
A view looking east into the Interior side of BC Cascades

That peak in the foreground is Bighorn Peak
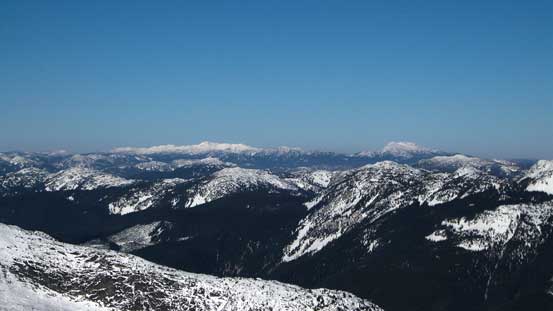
Mt. Hewitt Bostock (L) and Stoyoma Mountain (R) on the horizon
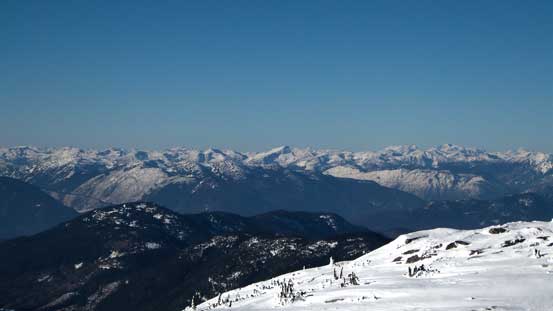
Peaks west of Fraser Canyon including Scuzzy (C) and Mehatl (R)

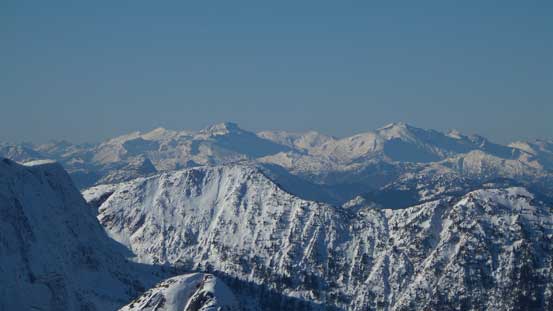
The Anderson River Group – Steinbok, Ibex and Chamois

The Old Settler on the left skyline. Gamuza Peak in the foreground

Skihist (L) and Petlushkwohap (R) are the 1st and 2nd highest peaks in SW BC
Mt. Breakenridge and Traverse Peak rises behind Anderson River Mountain
Gemse Peak

Looking way south towards Mt. Baker and peaks on Cheam Range
Looking towards Coquihalla Mountain – the highest by Coquihalla Pass area
The dome-shaped peak in foreground is unofficially known as The Flatiron.
Yak Peak, Nak Peak and Thar Peak

July Mountain
More views from the summit plateau

Me on the summit of Alpaca Peak

A zoomed-in view of Vicuna Peak

Another panorama from the summit. Click to view large size.

One more panorama. Click to view large size.
Now what I had to do was basically retracing my steps back along the ridge up and over the summits of Llama Peak, the unnamed bump and then Zupjok Peak. It’s an easy process as all I needed was simply following my tracks (without even having to think about the route-finding). I even on purposely slowed down a bit as the views were pretty mind-blowing and I didn’t quite want to leave them behind. But eventually I had to get back into the trees and then it’s a fast process plunging down the snow. The final few kilometers of walk along Ottomite Road was not inspiring though and felt much longer than what I remembered from this morning.

Almost back to Llama Peak now.
Another view of Yak – Nak – Thar
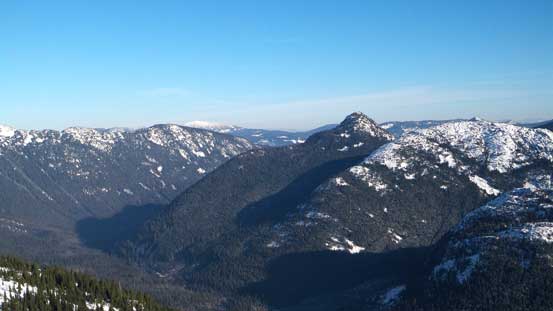
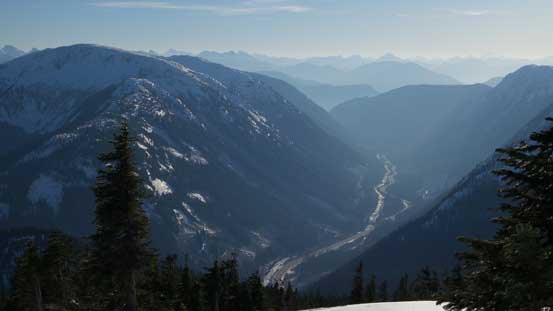
Looking down the upper Coldwater Creek. Zum Peak right of center
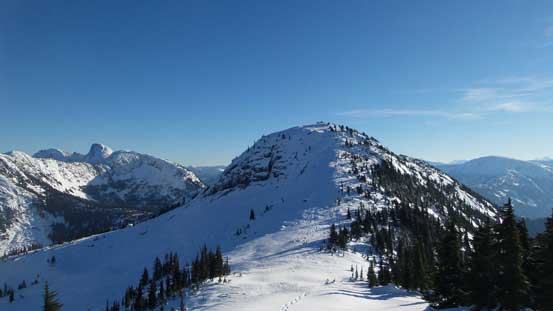
Ahead is that unnamed bump – more impressive than Llama Peak actually
Looking back from the unnamed bump

Zupjok Peak ahead
Gemse Peak and Reh Peak

Back to Zupjok now, looking back

One last look at Thar – Nak – Yak

Needle Peak is another Coquihalla classic
Looking down at Highway 5
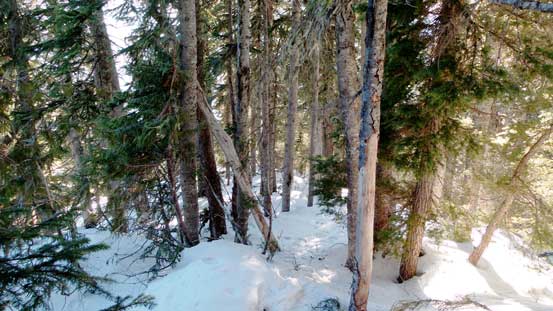
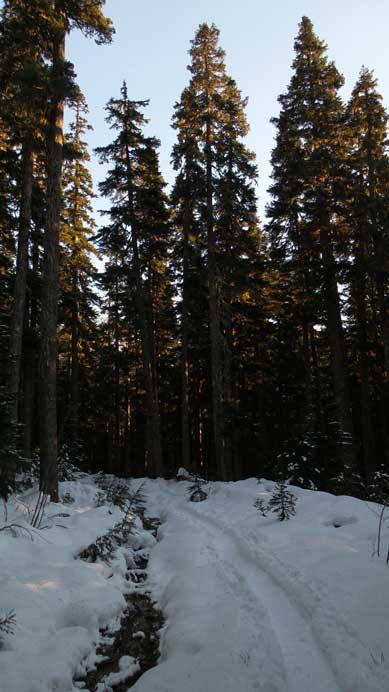
The forested descent
Back to the road slog

Yak Peak from the parking lot
I think my round trip time was around 7 hours or so but I didn’t have to do much post-holing at all thank to the bullet-proof base layer. It’s a fairly moderate day out and I’d for sure recommend this trip to strong snowshoe parties, and by the way, despite the terrain is fairly easy you should save it for a good-weather day otherwise you’ll regret…
