Goat Mountain (Traverse)
July 11, 2014
2420m
Kananaskis – Exshaw / Bow Valley, AB
Goat Mountain is an unofficial name of the highest point on Goat Range which forms a wall of rock from Mt. Yamuska to Door Jamb Mountain. It’s also one of the few technical summits in this part of the Rockies. Well, based on my observation from Mount Fable a year ago I wouldn’t be surprised if there’s a scramble route up from Jura Creek side, but the traverse from Yamuska to Door Jamb is one of the early season classics so that’s exactly what I would do. It also serves as a good practice on trad climbing after taking the course a month ago, even though there really isn’t that much of climbing (lots of difficult scrambling, but not much in terms of rope work). Our reference was Bill Kerr’s excellent trip report and So Nakagawa’s trip report (traversing the reverse direction).
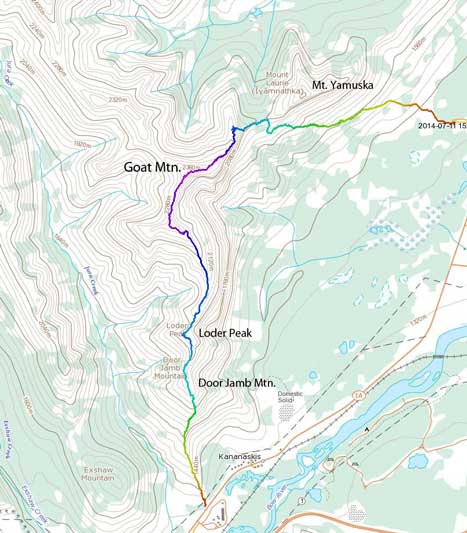
Goat Mountain Traverse route. GPX DL
After successfully climbing North Victoria and then Mount Lefroy, Ben and I teamed up with Ken for this traverse. I was both mentally and physically tired but it’s hard to deny the allure of bagging a technical route. So at 6:30 am Friday morning, all three of us met at the small parking area for Door Jamb Mountain, and then squeezed in Ken’s car and drove to Yamuska’s parking lot. Apparently it’s gonna be a sunny but very hot day so I packed 3 L of water hoping that’s enough. I also packed rock shoes for the technical sections which proved to be a good call. The hike up Yamuska’s west side trail went uneventful until encountering the scree. Normally people goes down this route taking advantage of one of the best scree runs in the Rockies. For us, it wouldn’t be smart to slog that pile of garbage up, so we went into the bush and ascended steeply to Yamuska/Goat col. The col was higher than expected and we’d knocked off the bulk part of elevation gain.
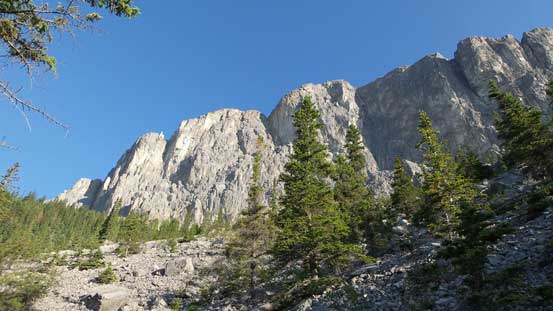
Looking up Yamuska’s impressive cliffs

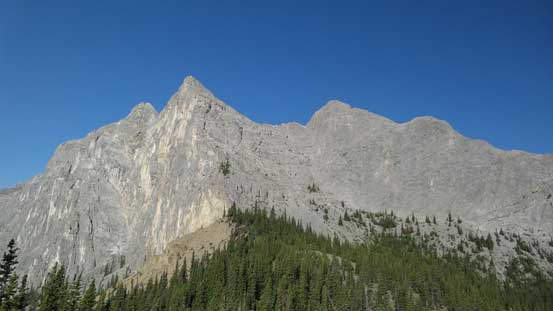
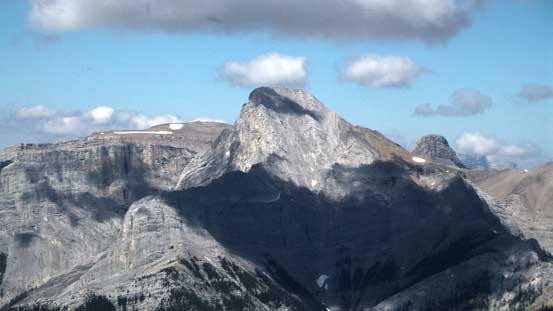
At the base of Yamuska. Goat Mountain ahead

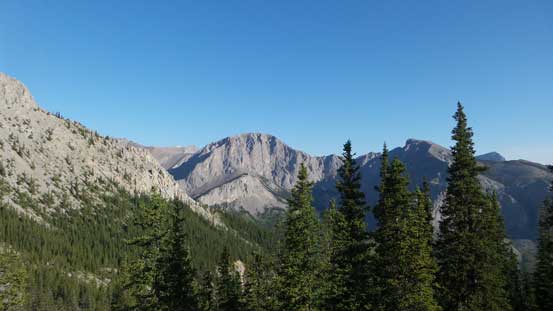
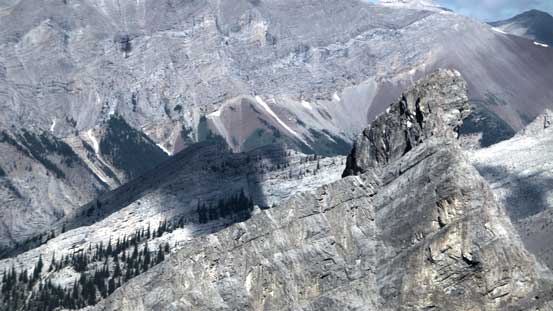
Some views, nothing too special
At Yamuska/Goat col, looking ahead to Goat Mountain. Our gully is on the face, just right of center
A view towards Wendell Mountain
At the base of Goat Mountain we correctly located the 5.3 gully. After scrambling up for a while we decided to pitched it out. In retrospect we probably should have just soloed it since it’s really not very hard but pretty loose. Ben led the way and brought me up. Ken didn’t even bother with the rope and he solo’d just behind me to speed things up. After this bit we unroped and traversed some loose terrain aiming climber’s left, and then scrambled/free climbed up another chimney to crest the ridge. The ridge led easily to the summit of “Peak 1”. My reference of “Peak #” is Bill Kerr’s trip report.

We decided to rope up in this gully. (We really didn’t have to though)
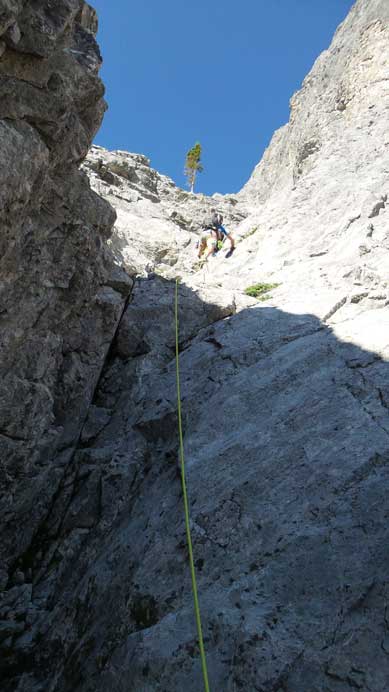
Ben leading the way. The rocks are quite loose.
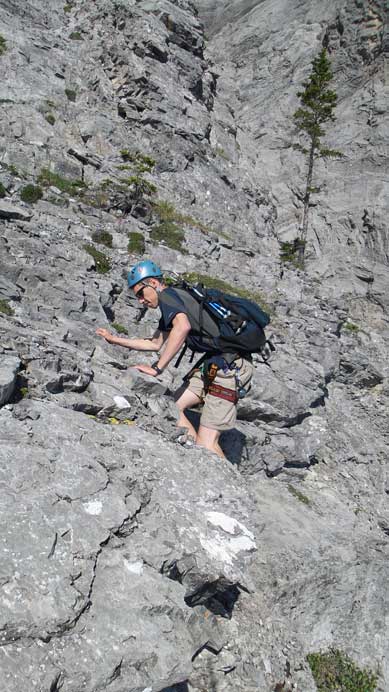
While I seconding up this pitch, Ken decided to just solo ascend behind me.

The we aimed climber’s left for some easier terrain
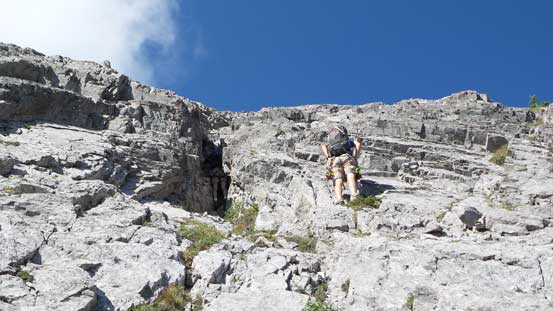
Here Ken led up another 5th class chimney. We didn’t bother with rope this time.
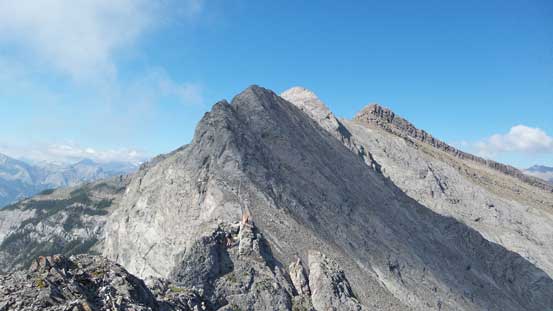
On top of Peak 1, looking ahead
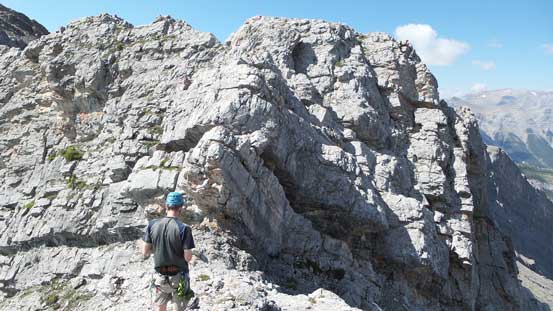
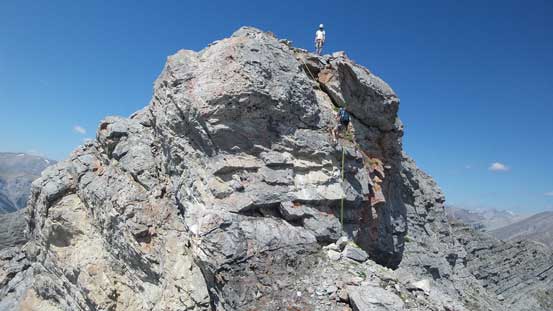
Getting down Peak 1 required some difficult down-climbs but avoidable if losing some elevation to the right side. I down-climbed the first bit but bypassed the second part. The route to Peak 2 was difficult scrambling but nothing too tricky, and we quickly made our way over to the base of Peak 3. Getting up Peak 3 was one of the technical crux of this trip due to a massive slab. Good thing was the slab being bolted but there weren’t that many bolts. If I remember correctly there were only 3 set of bolts including the bottom and top. Ken led fantastically up this pitch and then Ben and I simul climbed it using a prussik as a self belay, in order to speed things up.

Looking back at the classic Mt. Yamuska
Ben and Ken below Peak 3, studying the slabs
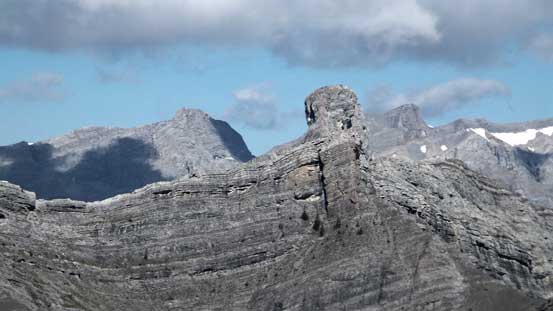
Hassel Castle looks striking

Looking back from the base of these slabs

Ken leading up the slab climb

On top of the slab climb
Another photo looking down at the slab
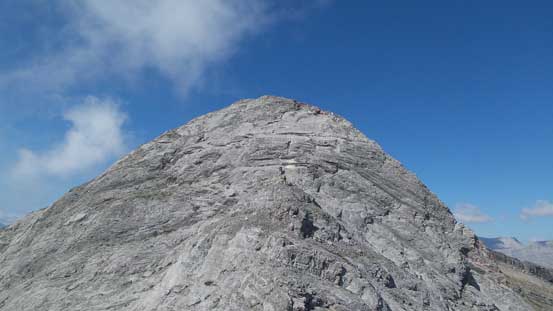
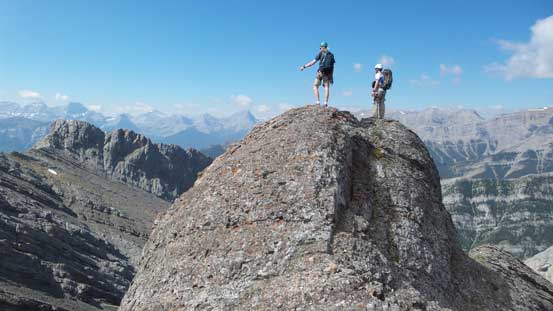
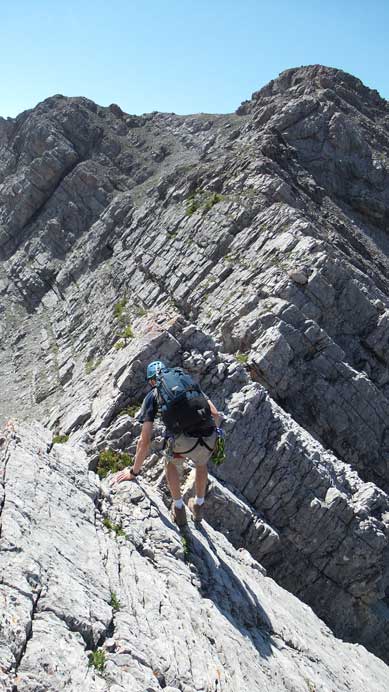
Descending from Peak 3 was easy but soon we’d face difficult scrambling again to get up Peak 4, the summit of Goat Mountain. Here we had to do a bit of route finding and I picked a line to the climber’s left while Ben and Ken attacked the obstacle head-on. Both routes were class 4. Soon after that we stood on the top, celebrating my 300th summit! The view was not as inspiring though thank to the forest fire in David Thompson Country.
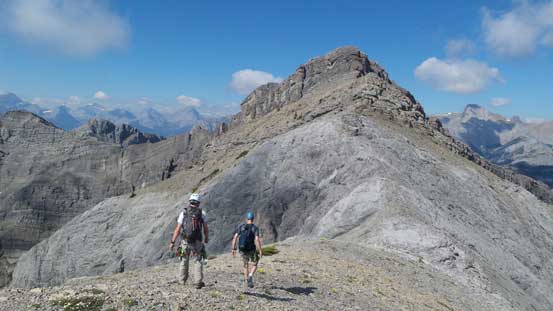
Descending easy terrain from Peak 3. The summit of Goat Mountain is ahead

Scrambling up difficult terrain to Goat Mountain

Summit Panorama. Click to view large size.
Mt. Fable
Hassel Castle

End Mountain and Association Peak
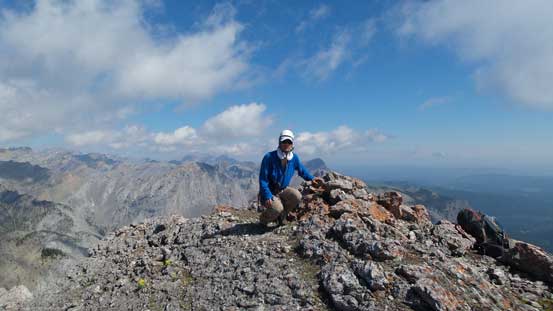
Me on the summit of Goat Mountain, my 300th summit
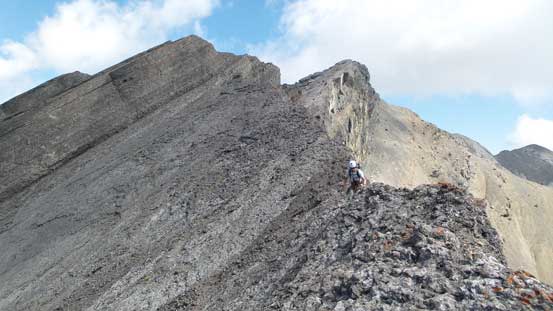
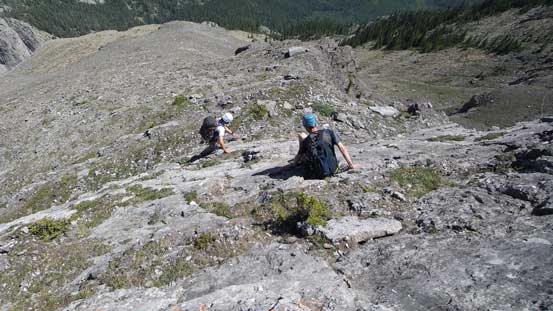
Descending from Goat Mountain (peak 4) was slabby but not as hard as it appeared. We all just walked down, and then overcame some obstacles on the connecting ridge to Peak 5. I didn’t remember anything special here so that must just be moderate to difficult scrambling. At Peak 5, we quickly spotted the ledge with “solution hand holds” but loose foot placements. It got very narrow and exposed at about halfway down but we all managed it solo with no problem. Then came another section of difficult scrambling on an exposed ridge.

Walking down slabs from the summit of Goat Mountain
Scrambling typical terrain on the connecting ridge to Peak 5
Ken and Ben on top of Peak 5
Looking ahead to Peak 6

Ken and Ben down-climbing the ledge from Peak 5

It’s very exposed. I couldn’t find a good angle to picture the exposure, but the drop off is significant
On the connecting ridge to Peak 6

Ken leading the way
The next major obstacle was just after Peak 5/Peak 6 col that we had to locate a crack/tunnel and squeeze through it (thank to So for discovering this route). It didn’t appear to to obvious but having studied So’s trip report we knew that’s the way to go. Right after going through the tunnel there were a few 5th class moves to ascend before the terrain became easier leading to Peak 6. This peak is usually referred as the unnamed peak between Loder and Goat.
Ken studying the next major obstacle. Note the dark crack leading from center of this picture to bottom right. That’s where we’ll go
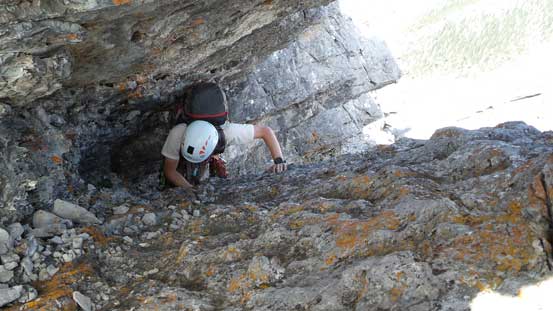
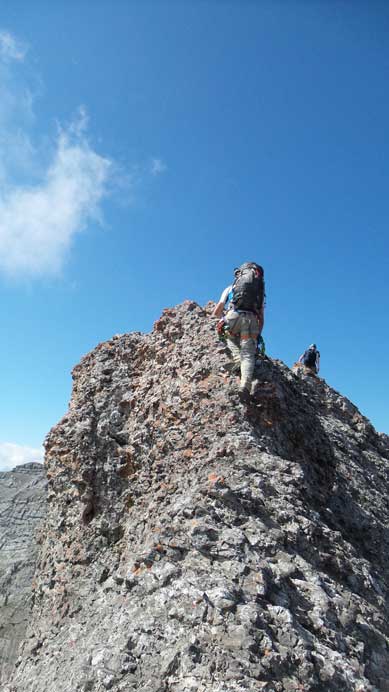
Ben squeezing up this crack/tunnel
After that, difficult scrambling led us to the summit of Peak 6

Me on the summit of Peak 6, with Goat Mountain behind
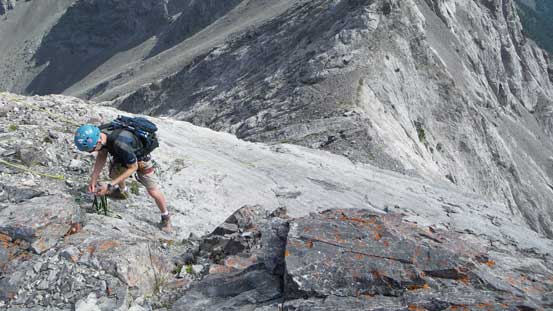
Descending from Peak 6 was another technical crux on this route. Depends on the exact route you take, you have to do at least 1 rappel and maybe 4. We rappelled off the first obvious one (kinda overhanging near the bottom). Immediately after that we had to face another decision. Instead of following the ridge crest exactly we down-climbed some 4th class terrain to an obvious goat trail/ledge below. I switched my boots for rock shoes for this section again since there were a few slabby and awkward spots. After clearing this part we’d done all of the major difficulties on this route.
Rappelling off a technical part from Peak 6
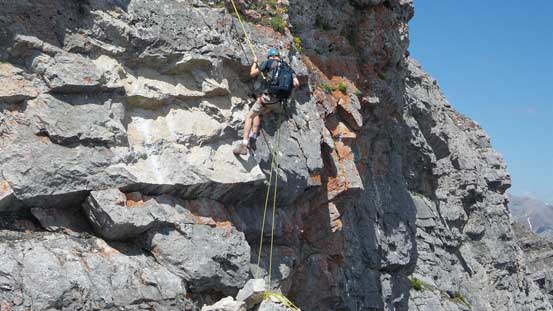
Ken rapping
Then we down-climbed to a good scree ledge

There’s a trail on this ledge which will lead us easily back to the ridge
The connecting ridge led us easily towards Loder Peak, but before that we had to go up and over another unnamed bump. Coming down this unnamed summit was surprisingly slabby but again, nothing more than difficult scrambling so soon we stood at the base of Loder Peak. I hadn’t done Loder Peak yet so the rest of this trip will have to go into another trip report.

Now we were back to easy ground. We took a break here
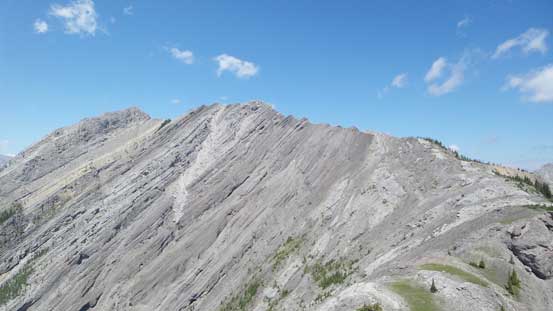
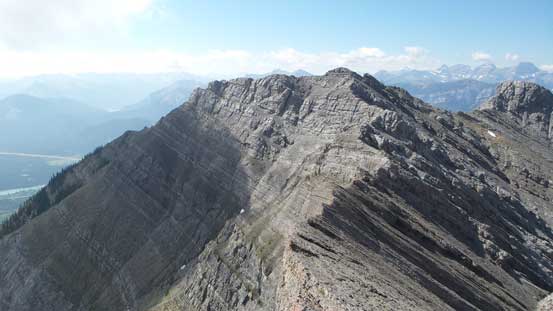
Looking back the connecting ridge to unnamed peak (peak 6)

Ahead is Loder Peak. I hadn’t done it so that counts as a summit for me.
Overall, we had lots of fun on this traverse but it was a little bit easier than expected. Maybe that’s just because we were all very comfortable on 4th and low 5th class terrain. I think except for the slab climbing on Peak 3 and the rappelling on Peak 6 we really didn’t need a rope. But it’s still a good practice for some bigger routes later in the season. Our round trip time was 8 hours 25 minutes which was also shorter than expected. Before the trip I was a bit less motivated after two of the hardest climbs I’d done, but I’m really glad I pushed on to complete this traverse. What a great finish for our intense 3-day mountaineering trip.
