Trapper Peak
May 11, 2014
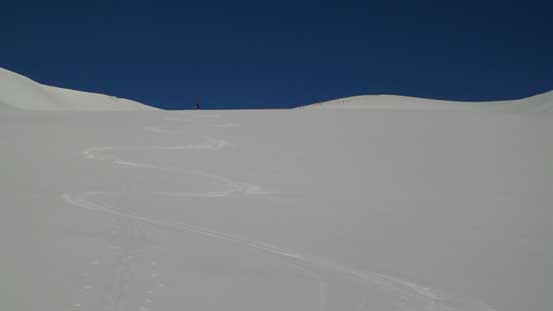
2988m
Wapta Icefield, AB/BC
This has been a superb spring so far if you enjoy skiing, snowshoeing or snow climbing/mountaineering. It’s certainly not gonna be a great spring for scramblers, but the record-breaking amount of snow fall combined with cold temperature makes the snow condition excellent. I can’t believe it’s almost mid-May and we were still skiing across Peyto Lake without seeing any liquid water on the surface. This past Sunday was one of the days that every aspect lines up nicely- a deep overnight freeze, cool day time temperature, guaranteed bluebird sky and avalanche condition at low/low/low. There aren’t many days like this so once it happens you gotta have to ski/climb the biggest line you’d been dreaming throughout the season. For me there’re a few “bigger ones” on the list but given the fact we’d only have two people and one day, Vern and I settled our objective on this small, but technical summit on the far north corner of the Wapta Icefield.
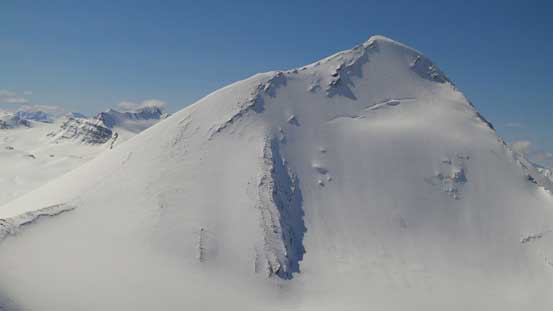
Though not nearly the biggest on the Wapta Icefield, Trapper Peak is certainly one of the trickiest climbs up there. To get there one has to climb a long and steep south facing slope that approaches 45-50 degrees near the top with a massive cornice hanging on climber’s right threatening the entire line, followed by climbing up a steep, corniced and exposed ridge with some exhilarating traverses on the north side. It’s certainly not for the faint of heart and deserves the same respect as Mount Collie and Ayesha Peak.
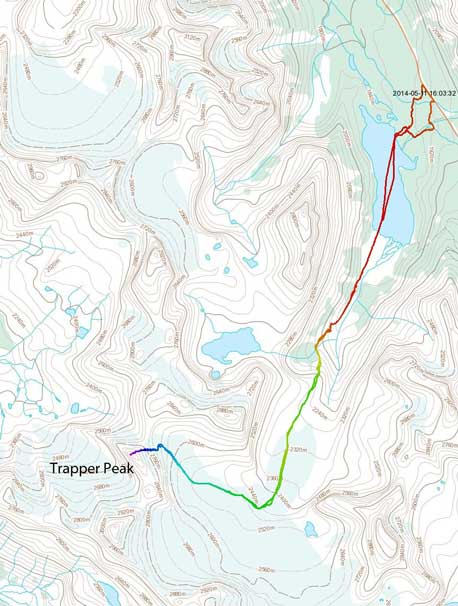
Trapper Peak ski ascent route. GPX DL
Like I said earlier, climbing Trapper Peak involves long and serious south facing slopes. To successfully and safely do it in one (sunny spring) day, efficiency and speed are arguably the most important things. Since we didn’t car camp at the trail-head, every minute counted starting at the moment when we woke up. Vern picked me up at 3:30 am by the Petro Canada on Highway 1 in the morning and speeded for as much as he could. We made to the parking lot 1 hour earlier than expected.
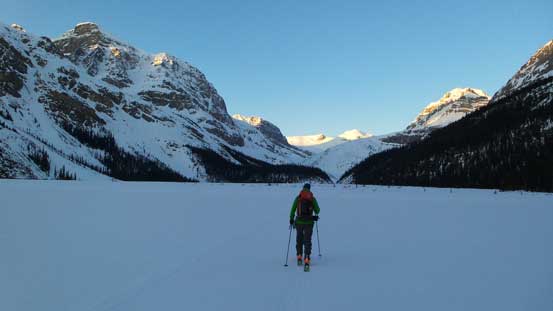
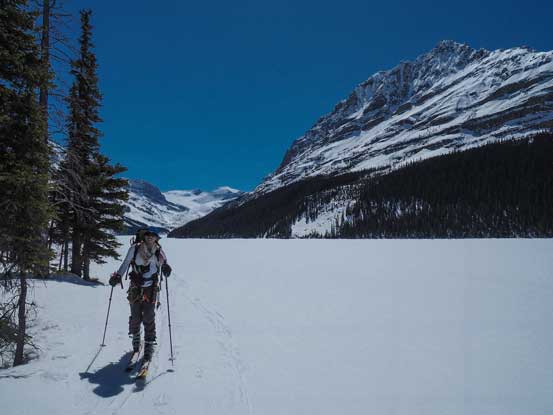
The Peyto Glacier approach is much more complicated than the Bow Hut approach. The first challenge was getting down to Peyto Lake from the parking lot. It sounded easy but for many people this is the most miserable part. We blindly followed some skiers’ tracks and ended up getting lost in steep bushy terrain. Bushwhacking on skis wasn’t fun at all and we wasted some valuable time here, but in any case it’s not a long way down to the lake so that was okay. The skiing across Peyto Lake was fast thank to the deep overnight freeze. It’s a long way across though…
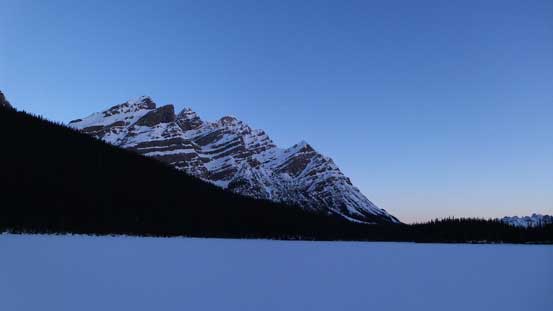
Mount Patterson from Peyto Lake early in the morning
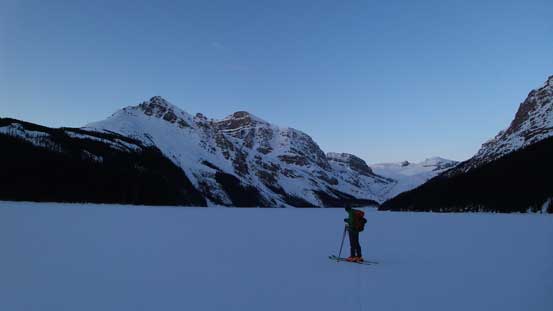
Vern skiing across Peyto Lake
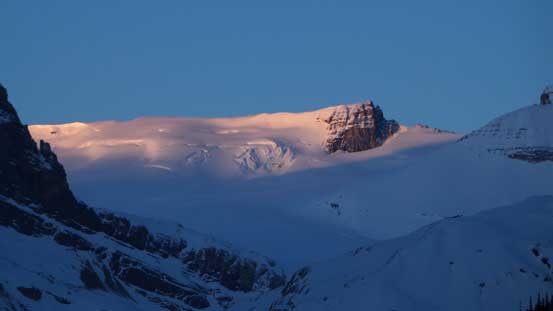
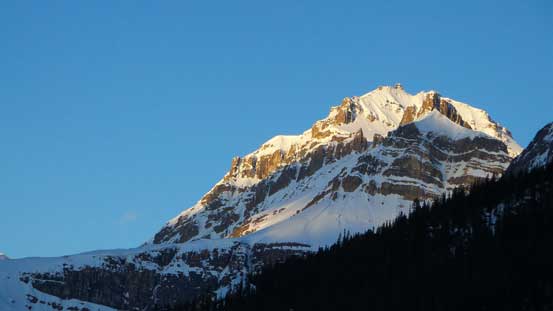
Alpenglow on Mt. Rhondda
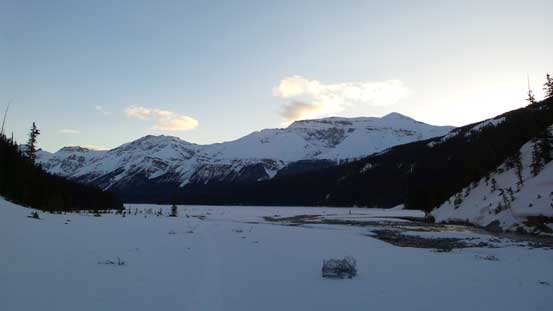
The lake is very long
Impressive Peyto Peak

Rhondda and Habel. I snowshoe’d both of them in last March. I’ll probably return to ski them, but not in the near future.
Towards the end of the flats there’s a short canyon with open water flowing. We followed the ski tracks staying on the right side. Thank to the icy condition we had to take the skis off briefly. After this bit the valley opened up again with the infamous moraine being straight ahead. The natural route would be following the creek bed/canyon, but that’s a very dangerous route (much more dangerous than Bow Hut’s canyon). The safer and more popular route is by going up and over the moraine. We skin’d as far as we could but eventually we still had to bootpack. It wasn’t because of the scree, but rather the icy condition. There was a ton of snow but getting up the icy slopes was difficult even with ski crampons and felt quite exposed.
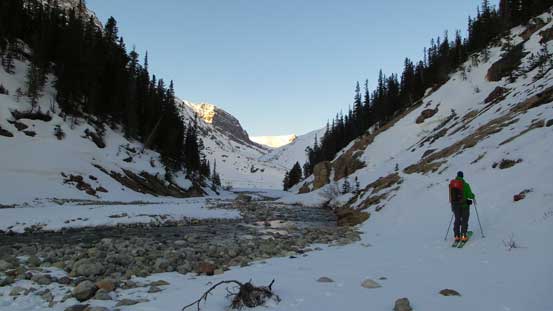
Through the canyon at climber’s right
Looking back towards Silverhorn Mountain and Observation Peak

Looking ahead. We had to climb up the moraine at center of this photo
There’s a steep and exposed section

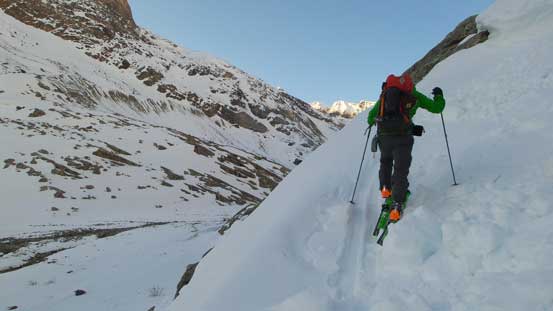
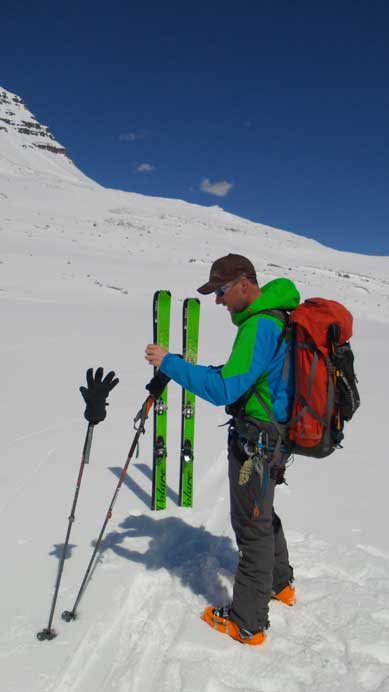
Now time to bootpack. Too steep and icy to skin up…
Me bootpacking up. Photo by Vern

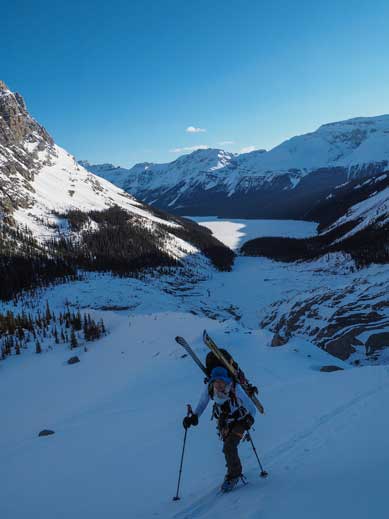
Vern traversing a steep slope. Near the crest of the moraine now.
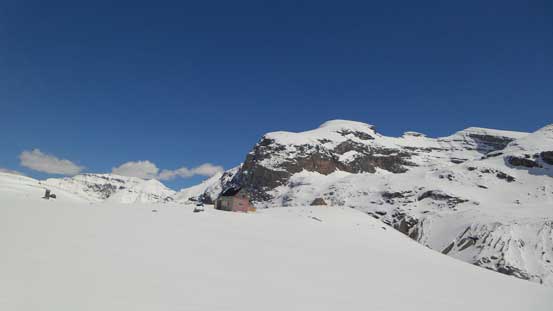
The view opened up widely once passing the research station, but it was also very disappointing to see the massive amount of elevation loss to the glacier. I think elevation loss is the theme of this approach. Those sections will drag on forever on the return so that’s probably why most folks don’t do Trapper or Baker as a day trip. The glacier was beautiful though. I love this one more than the glacier above Bow Hut. We skin’d uphill gently on the middle of the Peyto Glacier, and once up the ‘ramp’ we veered climber’s right towards our objective.

Gorgeous view of Peyto Glacier from the crest of the moraine. Well, it also shows the elevation loss…
Another photo of the Peyto Glacier
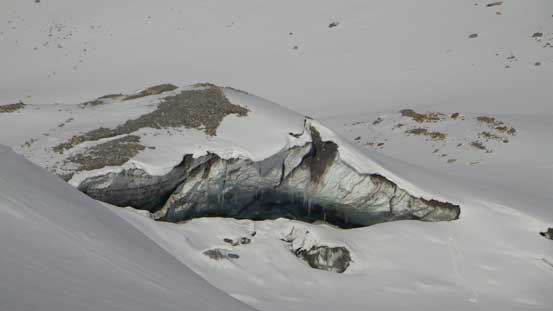
Impressive ice cave
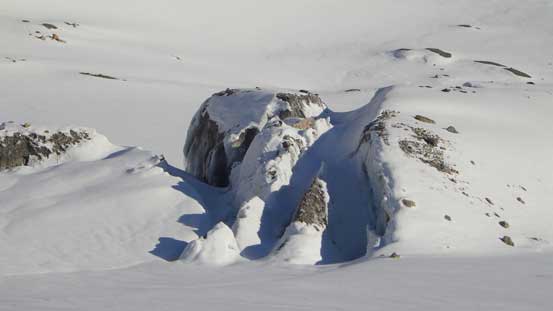
More ice formation
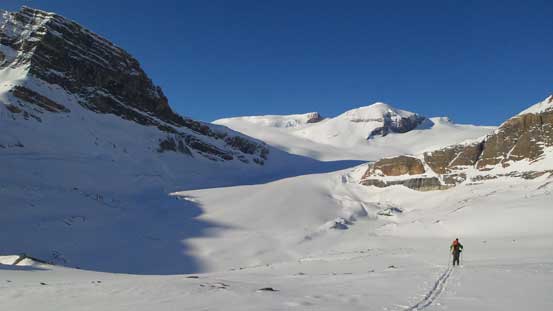
Down to the glacier now
Looking back from the glacier.
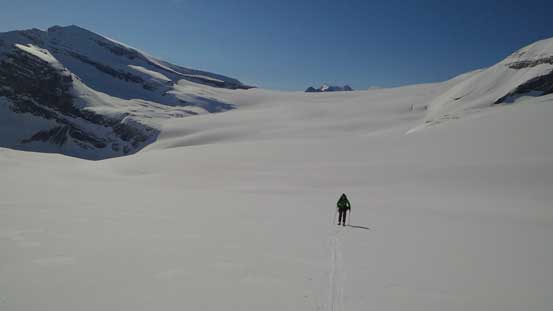
Vern on the glacier. As you can see the ski penetration was zero
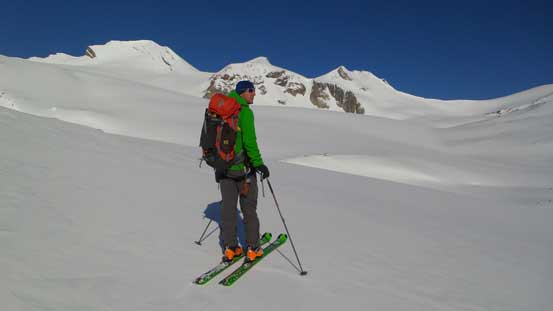
Vern with Baker, Tilly and Trapper behind
The terrain around here was a bit more rolling than expected. We thought it’s gonna be a gentle uphill all the way to Trapper col judging by the topo map, but it wasn’t the case. We did a good job avoiding elevation loss for as much as we could though. That brought us a bit climber’s left on the glacier and would lead to the next decision-making point. Since we were too climber’s left, to access Trapper col we had to either traverse a steep slope that’s threatened by a gigantic cornice, or lose elevation and climb back up. Another option was to avoid Trapper col all together. We knew eventually we had to be on the climber’s left side of the ridge crest (to bypass the rock outcrop), so why not just climb straight up the face… The south facing slope was sun baked for hours already but on this particularly day everything was locked up tightly. We had to climb the steepest part of this slope no matter what route we took anyway. So we turned sharply left and skin’d up the slope for as far as we could before ditching them and getting ready for the step kicking.
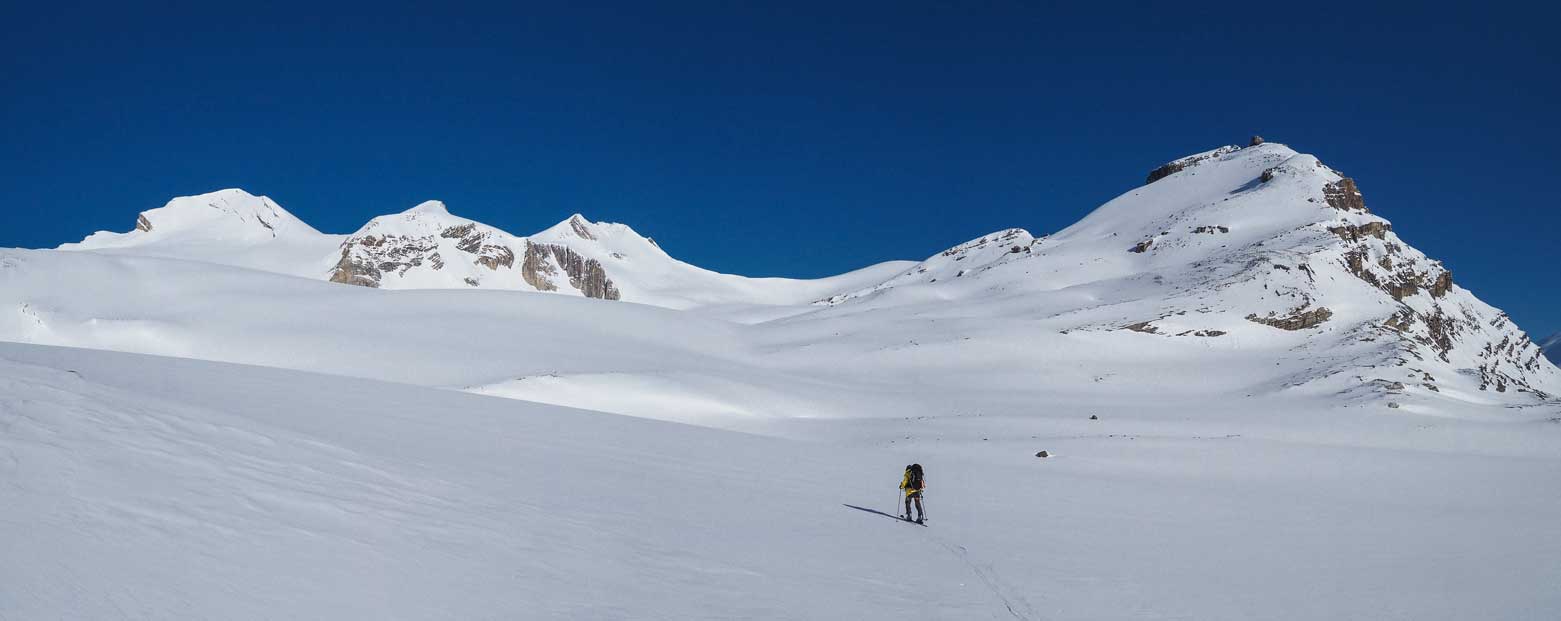
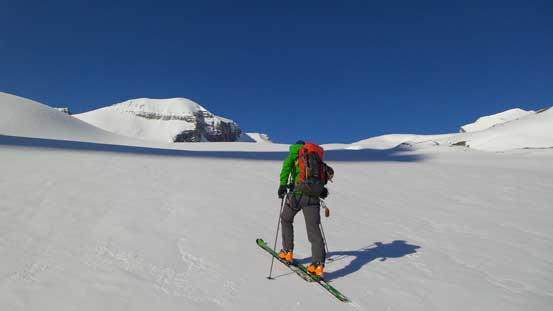
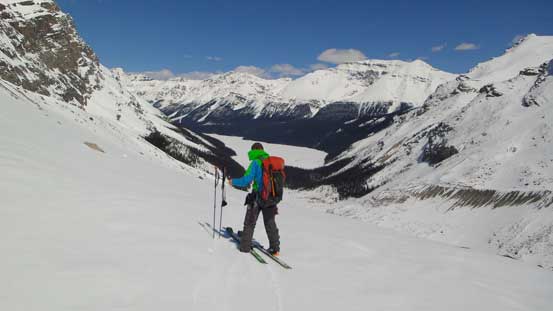
Me skiing towards our objective. Photo by Vern
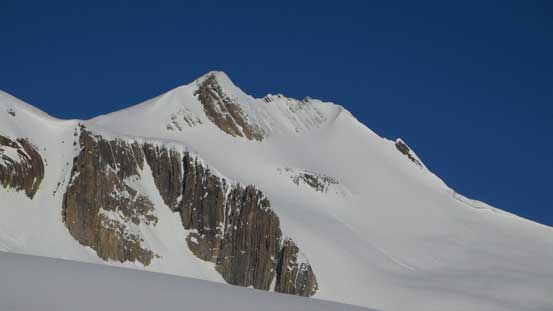
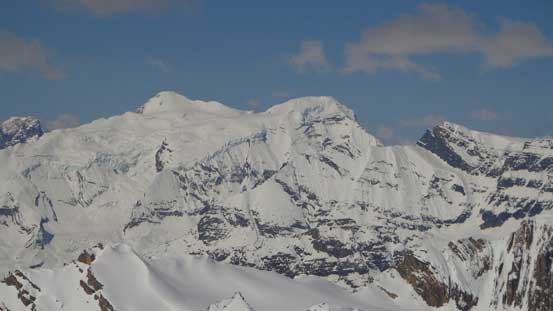
The sexy Mt. Baker. It’s very high on my list. Likely next winter.
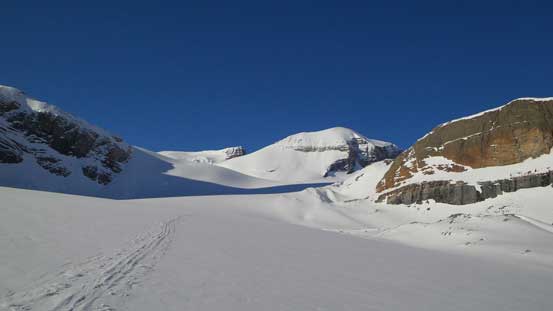
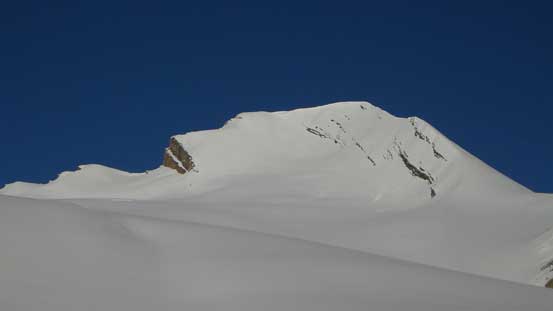
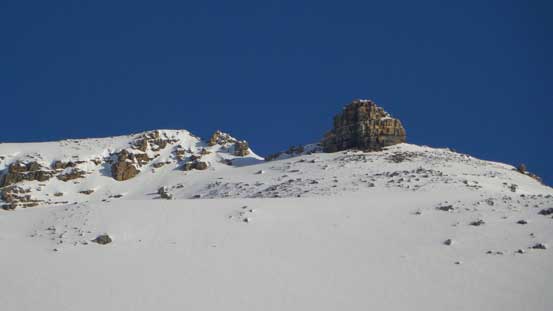
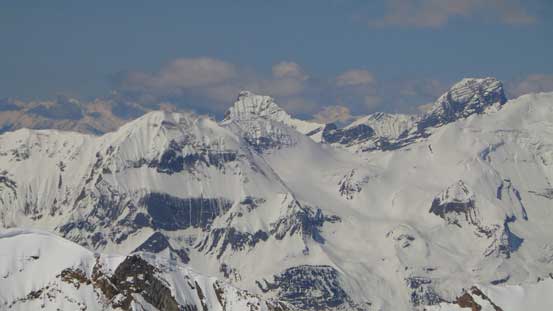
Our objective, Trapper Peak

Peyto Peak. I’ll do it in the summer.
A zoom-in of Peyto’s summit nipple.

Trapper col ahead
Looking back at the Wapta Icefield

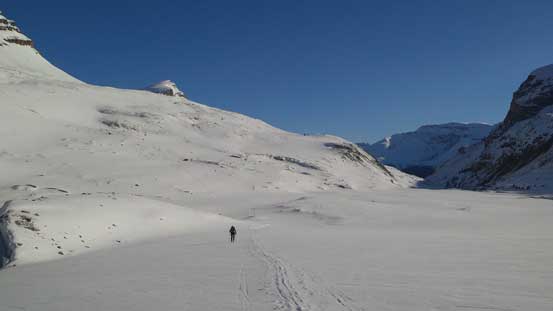
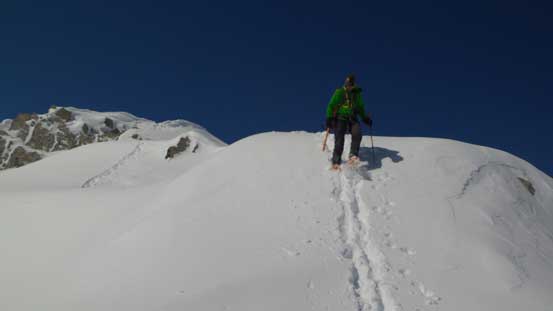
Me approaching our objective. Photo by Vern

Ahead is the rock outcrop we had to bypass on this (south) side. So no matter what line we picked we still had to climb the steep slope.
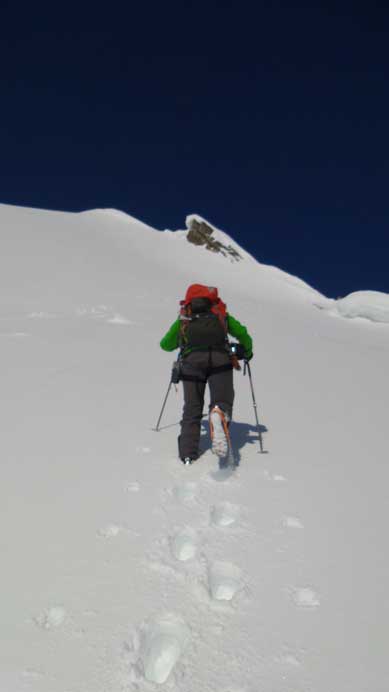
We started kicking step straight up
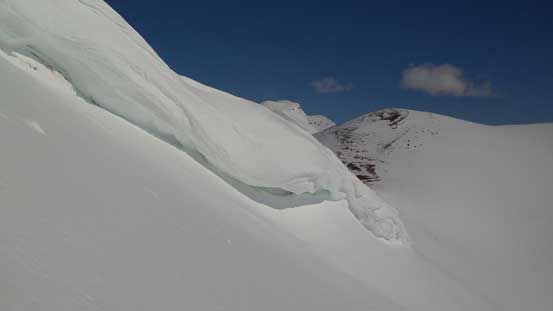
Gorgeous but also intimidating cornice…
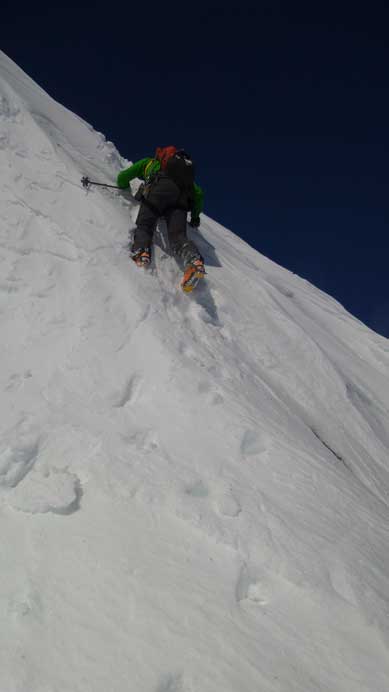
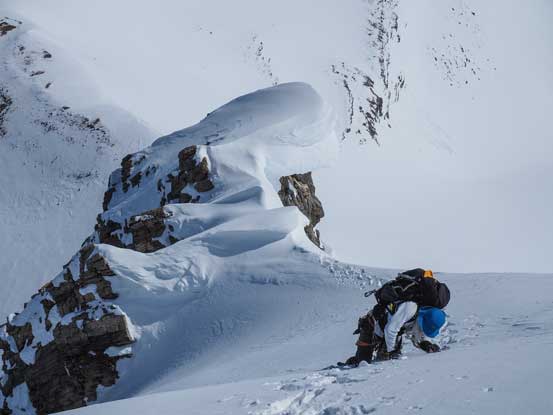
This is a giant slope. It’s a lot longer and steeper than it appeared from below. We started from post holing but once it got steeper we put crampons on, and higher up we eventually took out the ice axe. Apart from good snow stability (obviously), the lack of cornice failure is a key to survive this section. Even though we were mentally prepared for that, it never felt safe to be underneath a giant cornice. Usually one has to avoid travelling underneath cornices all together, but on this route we had to climb pretty much straight towards it… The slope also got a bit ridiculously steep towards the top. I think it was about 50 degrees so not too bad. I was just glad we didn’t have to chop through a cornice (that might be the case in some circumstances).
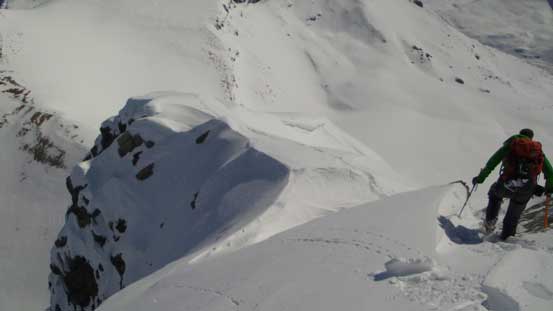
Then it came the ridge… We thought the difficulties were over once clearing the slope but we were so wrong. The ridge was probably more dangerous than the slope in some sense. Firstly we had to traverse a very steep north facing slope with extreme drop-off on climber’s right and a big cornice that we couldn’t tell the boundary on climber’s left. This part felt exactly like the summit ridge of Collie. The snow was softer than Collie’s which made the climbing slightly easier, but that doesn’t necessarily mean safer. The next section we attacked the ridge head-on. There’s a short rock piece we bypassed on the left side and then we had to climb up a extremely steep snow band. Higher up we encountered another even steeper band. We bypassed this band on climber’s right (north) side. The snow was less steep on this side but the exposure was extreme. We were not done yet. Though getting easier at this point, there was still fair amount of work (post holing) to get to the tiny summit.
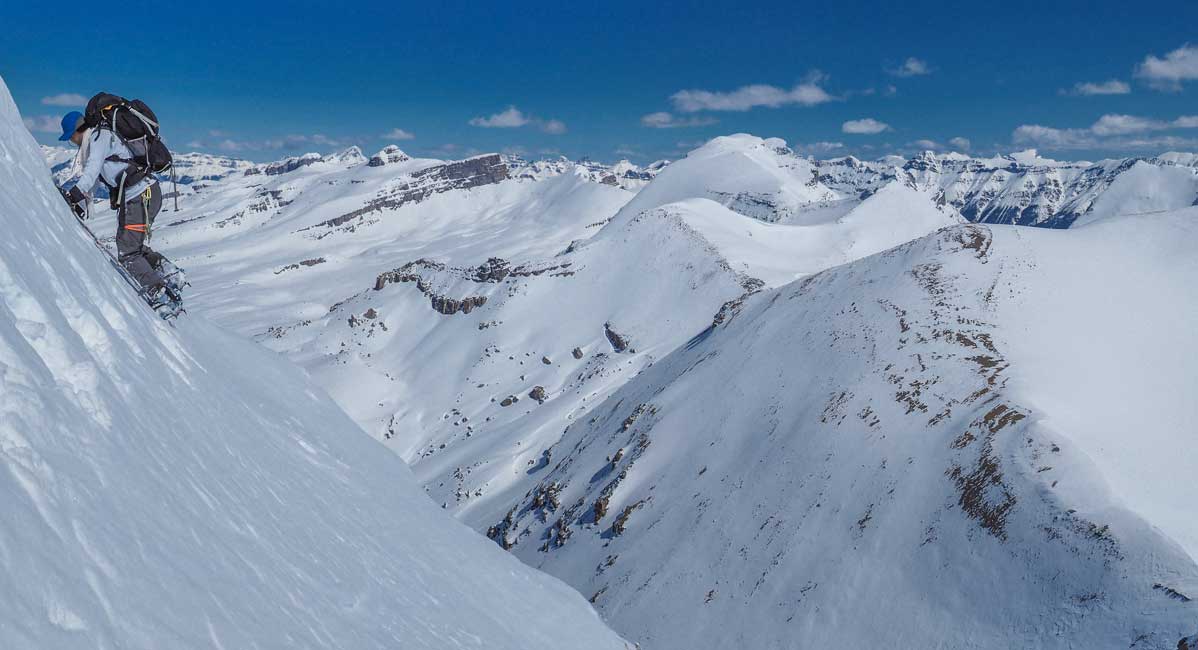
The only photo we took on the up-climb. We were speeding at the fastest we could. Here’s me traversing climber’s right to bypass a near vertical snow band. This traverse is extremely exposed.
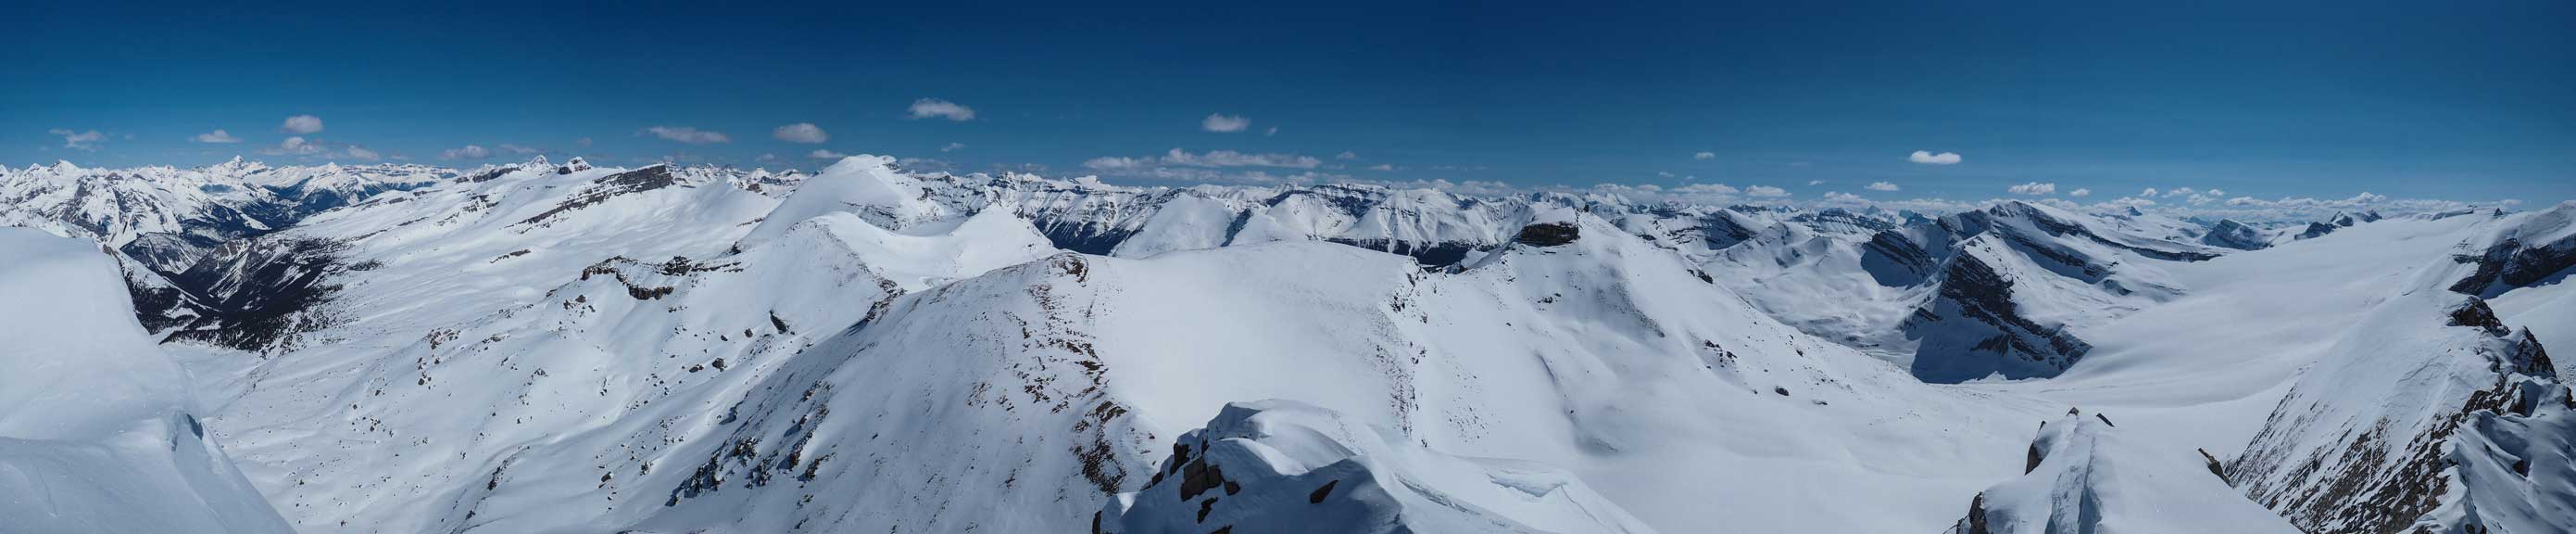
Partial summit panorama. My wide-angled summit photos messed up so I’ll have to use Vern’s photos.
Partial summit panorama. Photo by Vern
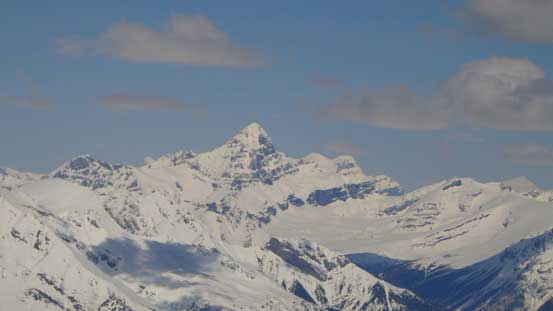
An obligatory shot of Mt. Forbes.

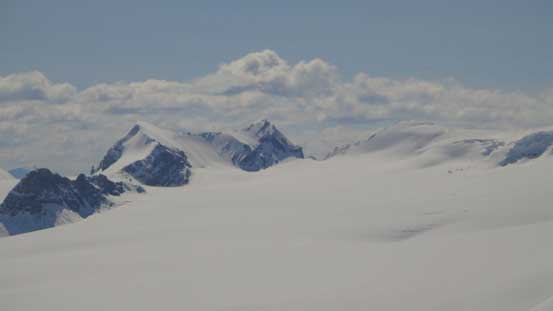
Peaks on Freshfield Icefield
Another obligatory photo. This is Mt. Mummery
Impressive peaks in the BC rocks. Those are just south of Mummery Group

Mt. Laussedat
Mt. Olive which I did 2 weeks ago
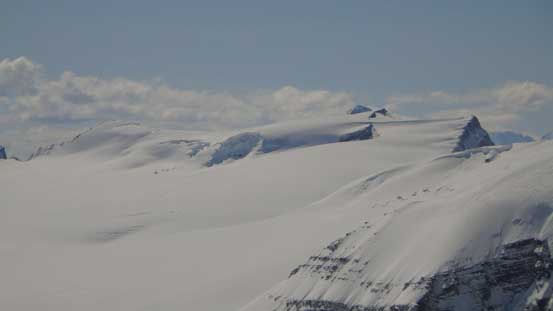
I solo’d Mt. Gordon 2 yeas ago. It was my first summit on the Wapta Icefield
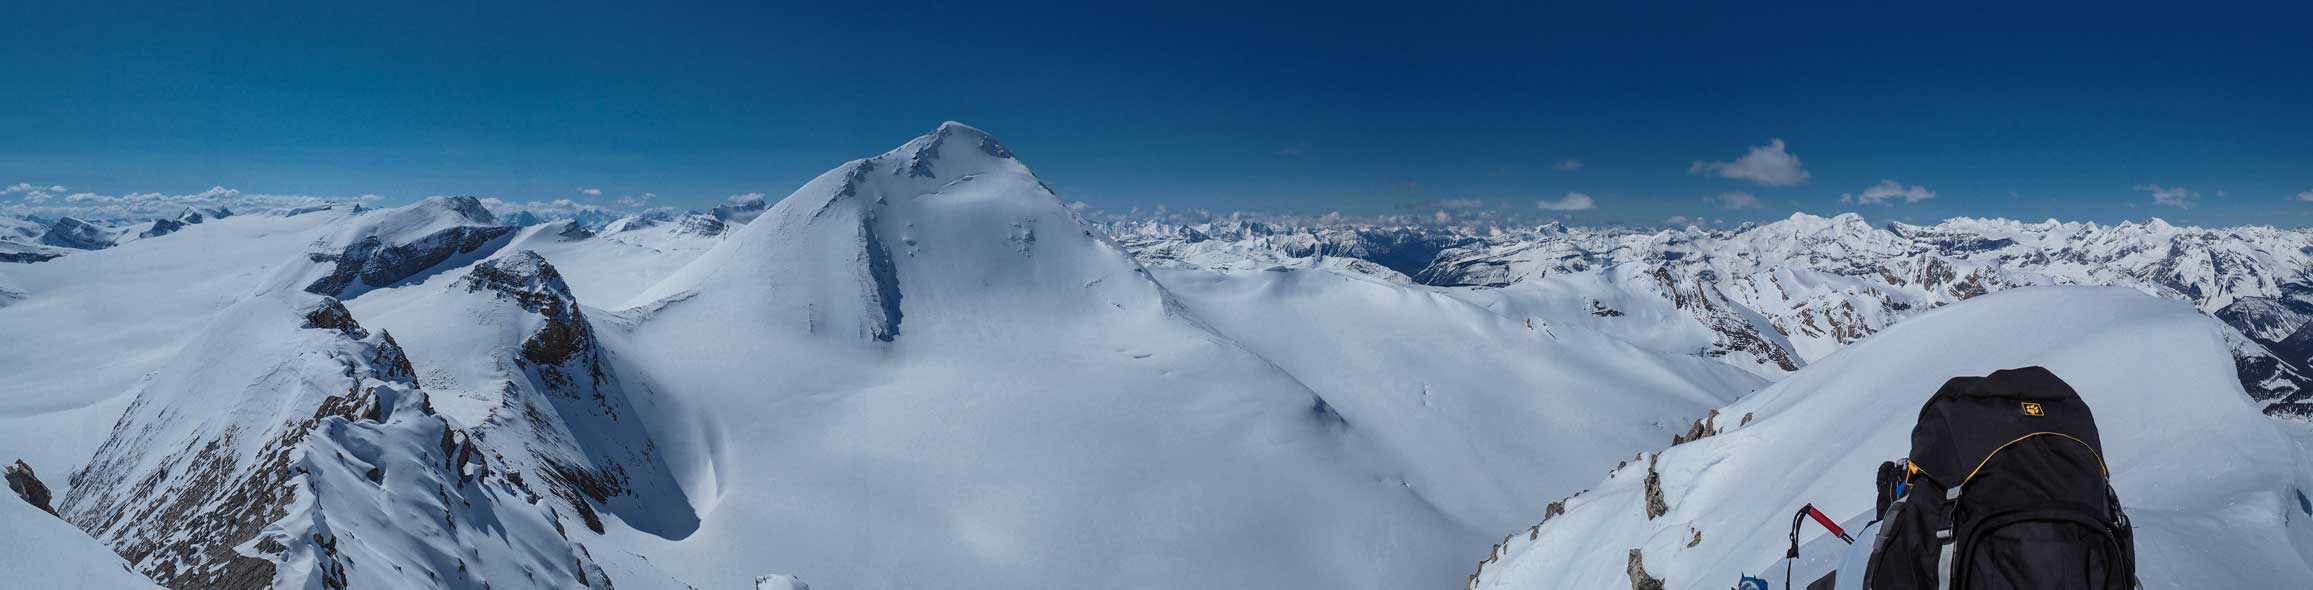
Mt. Baker dominates the view
Mt. Thompson is a true slog. I’ll never repeat this one. Photo by Vern
Mistaya Mountain looks great from here. It’s a summer ascent via Caldron Lake.

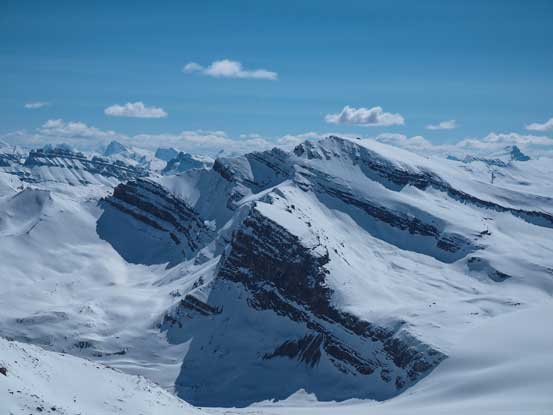
Looking down the ridge connecting to Tilly Peak. This is probably a scramble in summer but slabby, jagged and exposed. Might not be a good idea in winter
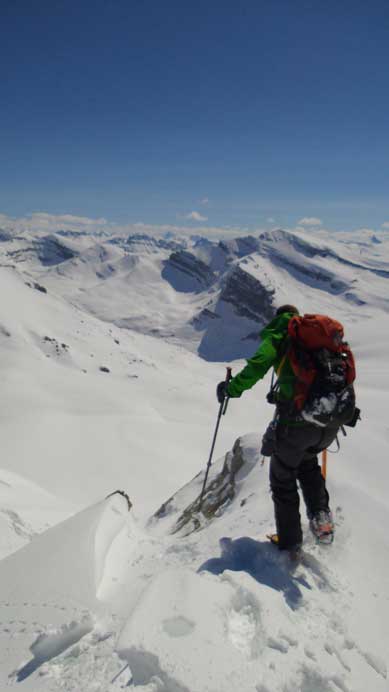
The views were splendid but we didn’t have the time to soak them in. We had to be off the slope for as fast as we could. Down-climbing the ridge felt more awkward because now we were looking into the exposure. For most part we had to face inwards. It’s not too bad though. For the big slope we also started facing inwards. About halfway down we turned outwards which was faster. My crampons were balling on this south facing slope so I was much slower than Vern coming down this slope. I had to clean off my crampons for every 4-5 steps. That was frustrating but I had to do so…
Vern starting the descent
And, down…
The initial part was easy

But soon it got steeper. Photo by Vern
Intense fun. Most of the ridge is no-slip zone. Photo by Vern
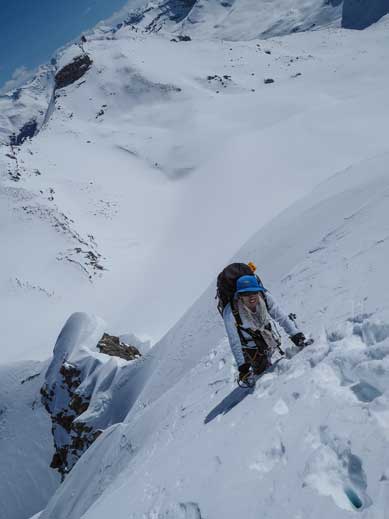
Down-climbing a very steep band.
Traversing exposed north facing slopes. Note the cornice ahead. It threatens the entire south facing slope that we’d descend shortly after. Photo by Vern

Vern down-climbing and traversing north facing slope. What you can’t see in this photo is the extreme exposure on right side and a giant cornice on left

Me dropping down into the giant south facing slope. Photo by Vern

Looking back up the slope we just down-climbed. Photo by Vern
The skiing was way better than expected. It was just as great as our Collie’s trip. I could once again, make some parallel turns on the corn snow. We enjoyed a nice break under the sun once getting to a safe position before enjoying the fast run down the Peyto Glacier. Slogging up to the research station was tiring and long, but not as bad as I expected. And once over the crest of the moraine, we initially walked down the top part but soon we decided to ski it. The snow was excellent so why not. I didn’t quite appreciate the exposure (on skier’s right) so ski’d very cautiously until lower down.

Me skiing down. You can also see our tracks. Photo by Vern

What a line… Photo by Vern
Skiing down the Icefield
Time to put skins back on to slog up the moraine
At the research station now. Part of Mt. Jimmy Simpson behind
Ready to ski down the moraine.
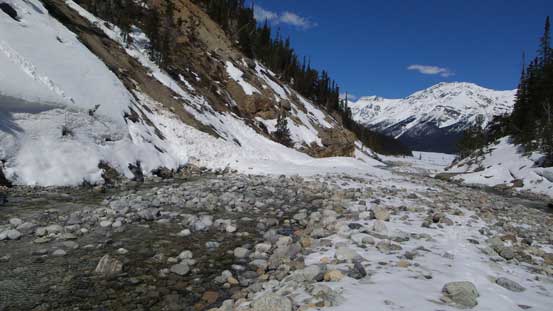
Back to the creek.
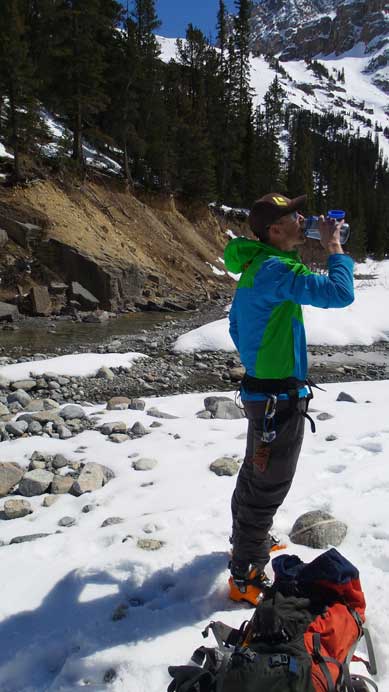
We rehydrated at the creek.
The ski back across Peyto Lake was again, nice and fast. We were really surprised that the snow still held nicely by mid afternoon. The rest of the slog back up the trees wasn’t as fun though. Again, we blindly followed some skiers’ tracks and ended up too far climber’s right. I should have checked my GPS earlier… We ended up doing some unpleasant bushwhacking but eventually made back to the road.

Ready to slog back across Peyto Lake
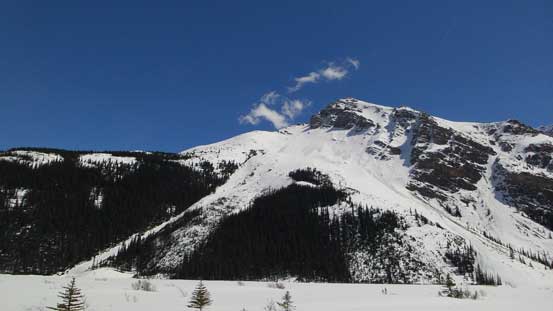
Mount Jimmy Simpson.

Mount Weed in the background.

Mount Patterson is another one needs low/low/low condition
Me finishing the lake slog. Photo by Vern

Almost back to the road.
Our round trip time was 10.5 hours that includes getting lost in the bush for both the approach and return. It was another fantastic day in the mountains. Trapper Peak is rarely climbed and I can totally understand why. But once you are 100% sure about the snow stability it’s an awesome snow climb.
