Morrowmount
May 20, 2012
2530m
Kananaskis – Exshaw / Bow Valley, AB
A success ascent of Mt. Lady MacDonald didn’t feel challenging enough so I decided to do a more demanding ascent on the following day. “Morrowmount” is a nickname of an obscured peak at the head of Jura Creek. Although it’s not the highest point in that area, it does tower above the adjacent classics like Mt. Yamuska, Wendell Mountain and Goat Traverse by a few hundred vertical meters. Its location and height guarantees a fine view from the summit. Because it’s not described in any guide book, I have to thank Marko, Vern, and Bob for their detailed route descriptions, otherwise I wouldn’t even have a chance to know this peak.

Morrowmount scramble route via Jura Creek
The approach is very simple to describe: just follow Jura Creek to the base of a huge orange shale slope, for about 9 km one way. Oh well, anyone who has done creek bed walking knows how tedious it can get. The parking lot is the same as for Loder Peak about 2 km east of Exshaw. I correctly located the (short) trail leading to Jura Creek, and then followed the “Jura Creek Trail” up the valley. The trail crossed the creek bed back and forth for numerous times. Soon enough I arrived at the first canyon. I chose to ascend straight through the canyon which turned out to be a bad call. The water was pretty high due to spring snow melt and I had to do a few sketchy log hops over the creek. A slip or roll on the log would turn me back to my car to change boots, socks, and pants. No error allowed.
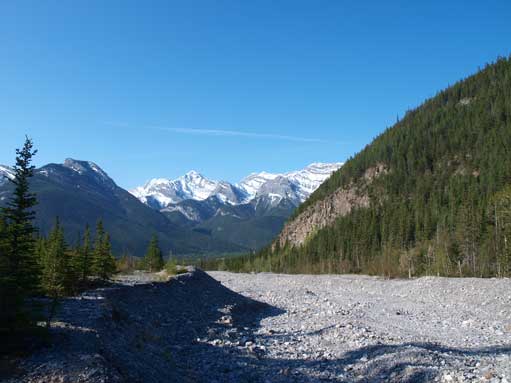
Near the start of Jura Creek. It was bluebird in the morning
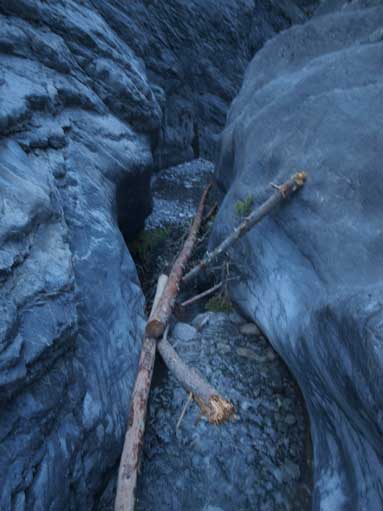
I carefully balanced up this log. Should have gone up the forest on climber’s left side to avoid the 1st canyon.
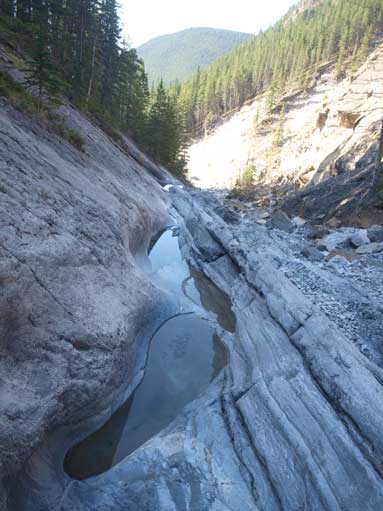
About 2 km further up from the 1st canyon I arrived at the 2nd one. At this point, I had already passed Exshaw Mountain (the forested bump) to my left, and Loder Peak to my right. I had fresh memories from others’ trip reports that the 2nd canyon was impassible so I went skirting around on the left side. Although negotiating these canyons was definitely slower than walking, it did add variety to the mundane approach. After the 2nd canyon, the orange shale slope soon appeared directly in front, but very very far away. From here on, the trail disappeared and I had to either walk on creek bed or bushwhacking on the sides. A positive attitude was required as the views were pretty much the same throughout the entire length… Apart from that, you have to be careful about not twisting your ankle because it’s all about boulders on the creek bed. Eventually the valley floor narrowed down considerably and more bigger boulders were yet to come. At a major intersection of two water courses not far up after the creek bed turns sharply right, the ascending slope directly meets valley floor so no bushwhacking involved.

Just passed the 1st canyon. Now Exshaw Mountain is on my left, and Loder Peak is on my right.
Just before the 2nd canyon

After 2nd canyon, as you can see, there’s still a long way to go

Finally at the base of orange slope. The route goes up tedious scree to the right of this photo.
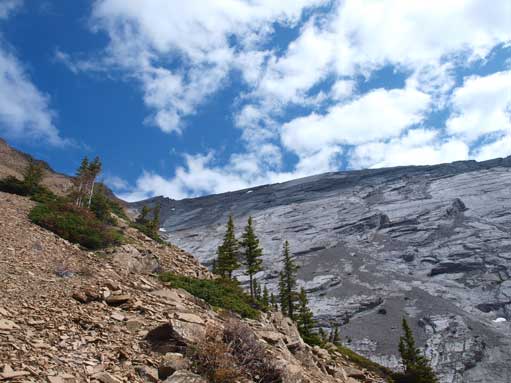
Now it’s a perfect place to have a rest to prepare for the length scree slope. The correct route is to follow the slope diagonally up, staying on orange shale and try to gain the ridge crest as soon as possible. I didn’t bring a route photo and I had to guess the route. From below, it appeared that there were several notches on the ridge crest so I chose to cross several ribs to the gray rock slope and ascended that talus slope directly towards the south summit. The gray rock was much less pleasant than the orange shale. Both of the two routes would work but the ridge crest route was more scenic and less tedious. At about 30 m below the south summit, the terrain became slabby and could be tricky if wet. From the south summit, it’s a mere hike to the north summit, although with slight exposure on the right side. The best view would be looking down towards Wendell Mountain and Mt. Yamuska. With a pair of binoculars, you should be able to spot scramblers on those two mountains. Most of the mountains towards north-west are unnamed.

Time to slog up. I like the contrast of colours in this photo.
Gold and Silver
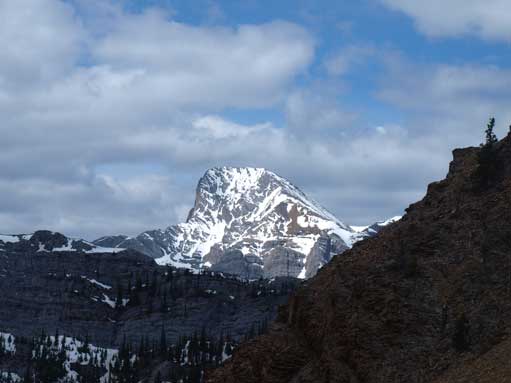
This is the best shot of Mount Fable from this day.

Looking down to CMC Valley, and Yamuska looks small right of center.

The 4 peaks of Lougheed
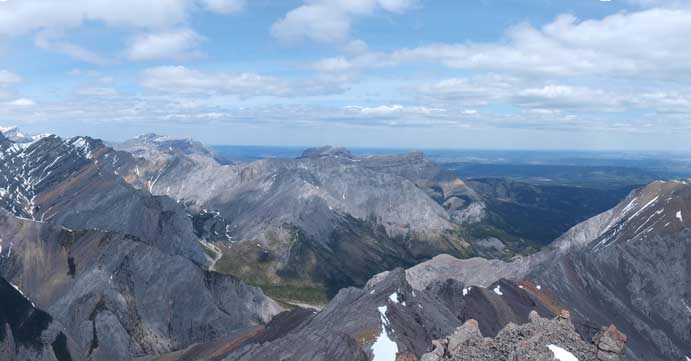
Peaks towards South.

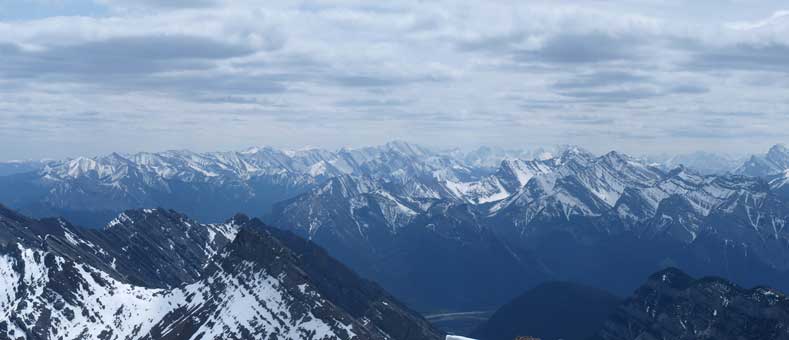
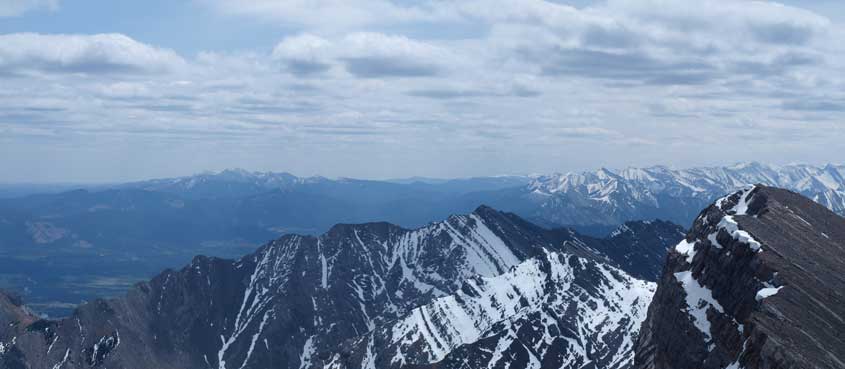
Unnamed peaks towards North, from the summit. I believe the high peak on left side of Mount Townsend
Looking towards Association Peak and End Mountain in the Goast area.
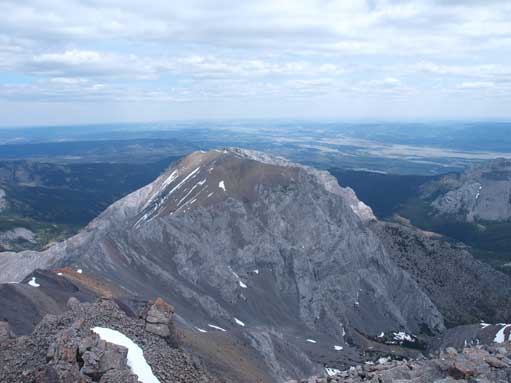
Wendell Mountain

Colourful rocks

The prairie
Foothills towards SE. Moose Mountain is visible on left.

Variable cloudiness made for some interesting photos.

The other side is a shear drop-off.
Before going down, I descended about 100 m down towards Hassel Castle to check out the route. After a bit of debate, I decided not to try it as it’s probably not worth to take that risk. It appeared much more involved than a mere “scramble” so I had to save for another day. I bypassed the first canyon on the way down and that was indeed, much easier than negotiating the slippery logs.

Gold and Silver again.

Hassel Castle

Another look at Hassel Castle

Back to 2nd canyon. Don’t slip here, or you might never gonna go out.
The only people that I saw were a group of 4, exploring the canyons at Jura Creek Valley. Apart from that, it was a very lonely day in a relatively remote and less-visited area. If you want to seek solitude and don’t want something too challenging, you should consider doing Morrowmount.
