Marmota Peak
August 8, 2015
3120m
Siffleur Wilderness, AB
“Marmota Peak” is an an unofficial name (according to bivouac.com) of a massive bulk of rubble and scree buried deeply in Siffleur Wilderness just to the east of Banff National Park. It’s not a sexy-looking objective from the ascent side (W. slopes) but does boast an impressive cliff face on the NE side, as well as a small glacier, or more accurately, a permanent ice patch on the summit plateau/ridge. It’s also one of the higher (by elevation) and bigger (by mass) peaks in its vicinity, but due to the access difficulty and the lack of official name I hadn’t heard anybody ascending it yet. A quick search on Google revealed literally no information at all. Vern and I were curious about this mountain so decided to give it a try after a successful ascent of the nearby Corona Ridge, on the 2nd day of this trip exploring the surroundings of Totem Creek and the upper Spreading Creek valley.
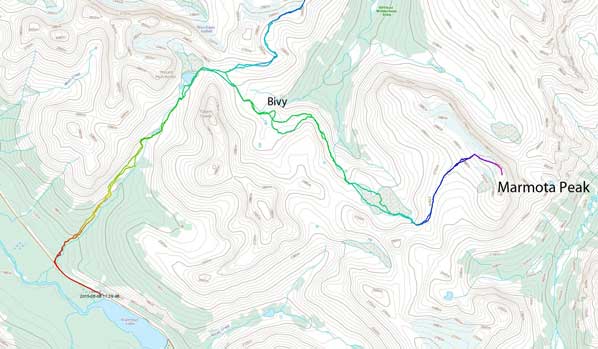
Marmota Peak ascent route. GPX DL
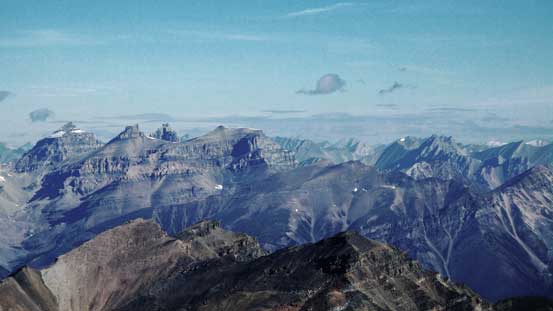
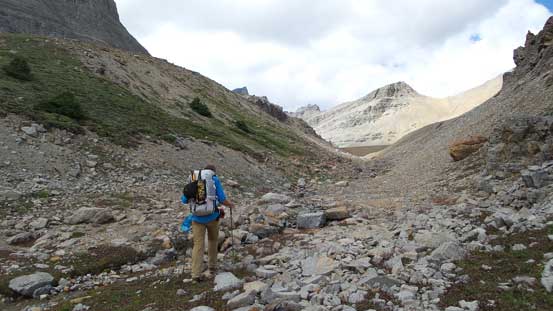
Since Vern wanted to get back home early if possible we decided to skip the second bivy and make the summit bid on Marmota Peak plus the hike-out all on Day 2. That’d require an alpine start (for a non-alpine objective)… So by 4:30 am we woke up and shortly after we were on our way towards an imposing cliff band. Based on our earlier observations from Corona Ridge we knew both the high and the low traverse routes would go and we opted for the low one. Realistically it’s impossible to tell which would be the better option by just looking at them from afar so it’s pretty much a gamble. The low route turned out not too bad in terms of elevation gain/loss/regain but did have some tedious side-hill bashing towards the end. Upon reaching a creek we followed it up to a small tarn, circumvented on its left side and then bashed a long ways up another tediously loose rubble to the upper basin.
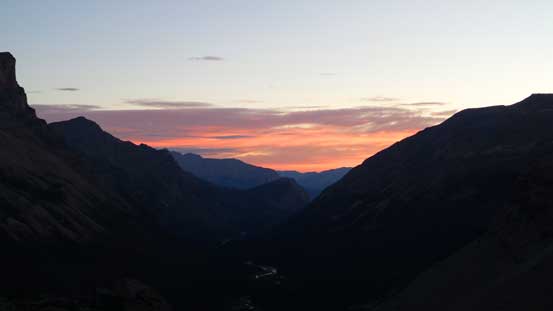
Gorgeous morning colours over the horizon
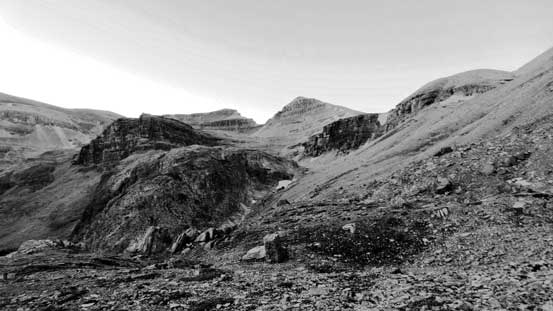
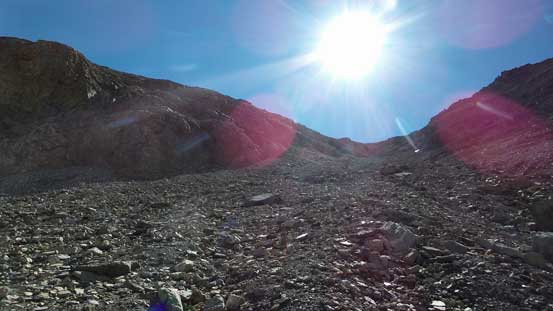
This is the typical terrain on Marmota’s approach.
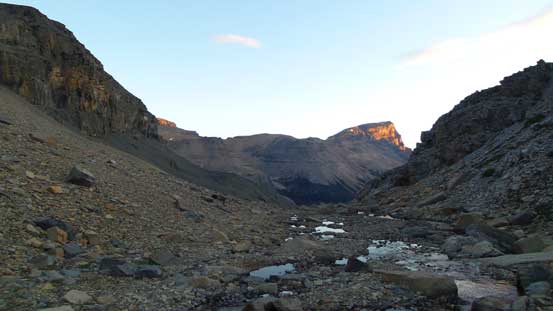
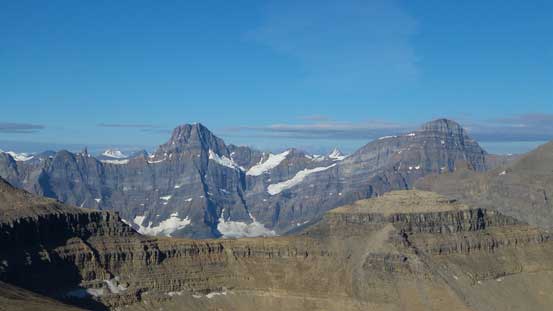
Looking back we got some alpenglow views
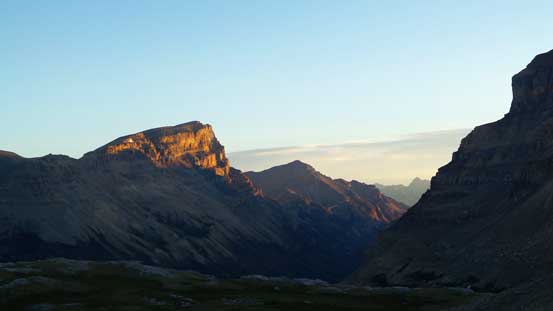
Alpenglow on Corona Ridge

Some morning colours on Spreading Peak. One of the many remnant glaciers in the foreground

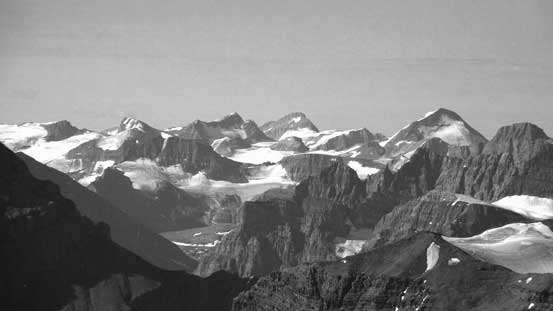
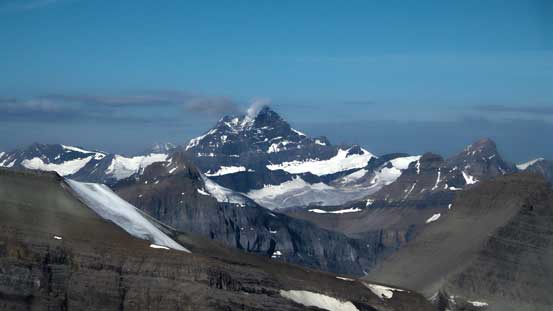
The impressive Murchison Towers. Hall Tower on right – the sexiest one
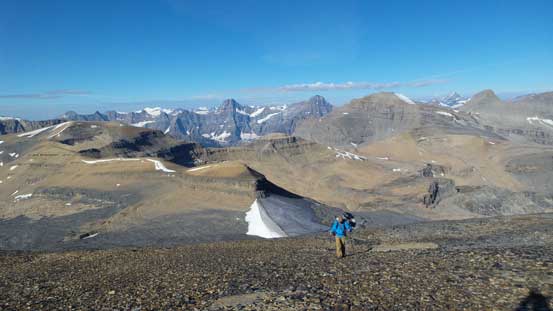
The upper basin looked innocent from Corona Ridge but upon examining up-close it’s quite a bit different than expected. We were hoping for those broken shale (dinner plate rocks) as on Corona Ridge but that’s not the case. It’s entirely filled by rubble and moraine and every step was hard on our knees. Adding to that there’s more additional elevation gain/loss/regain on micro-terrain and it’s frustrating and tedious like hell. Eventually we did clear this mess but ahead would be another few hundred vertical meters’ grind up again, loose rubble to gain the ridge ahead. We trended climber’s left about halfway up in search for better footings but everything was just horribly loose.
Finally gain this broad ridge, looking ahead
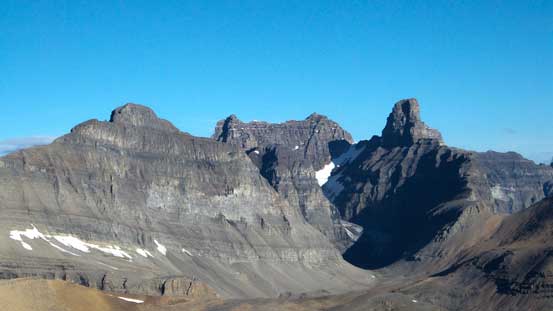
The Murchison Towers again
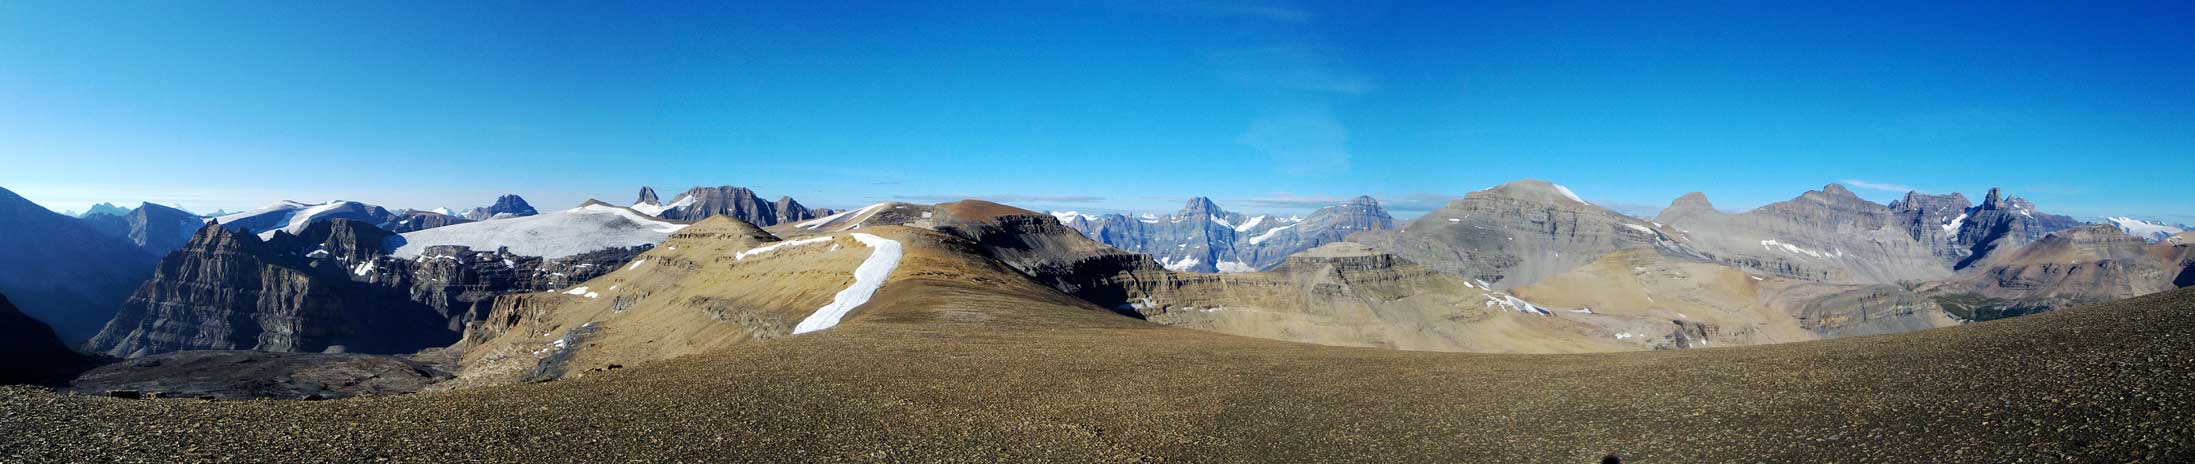
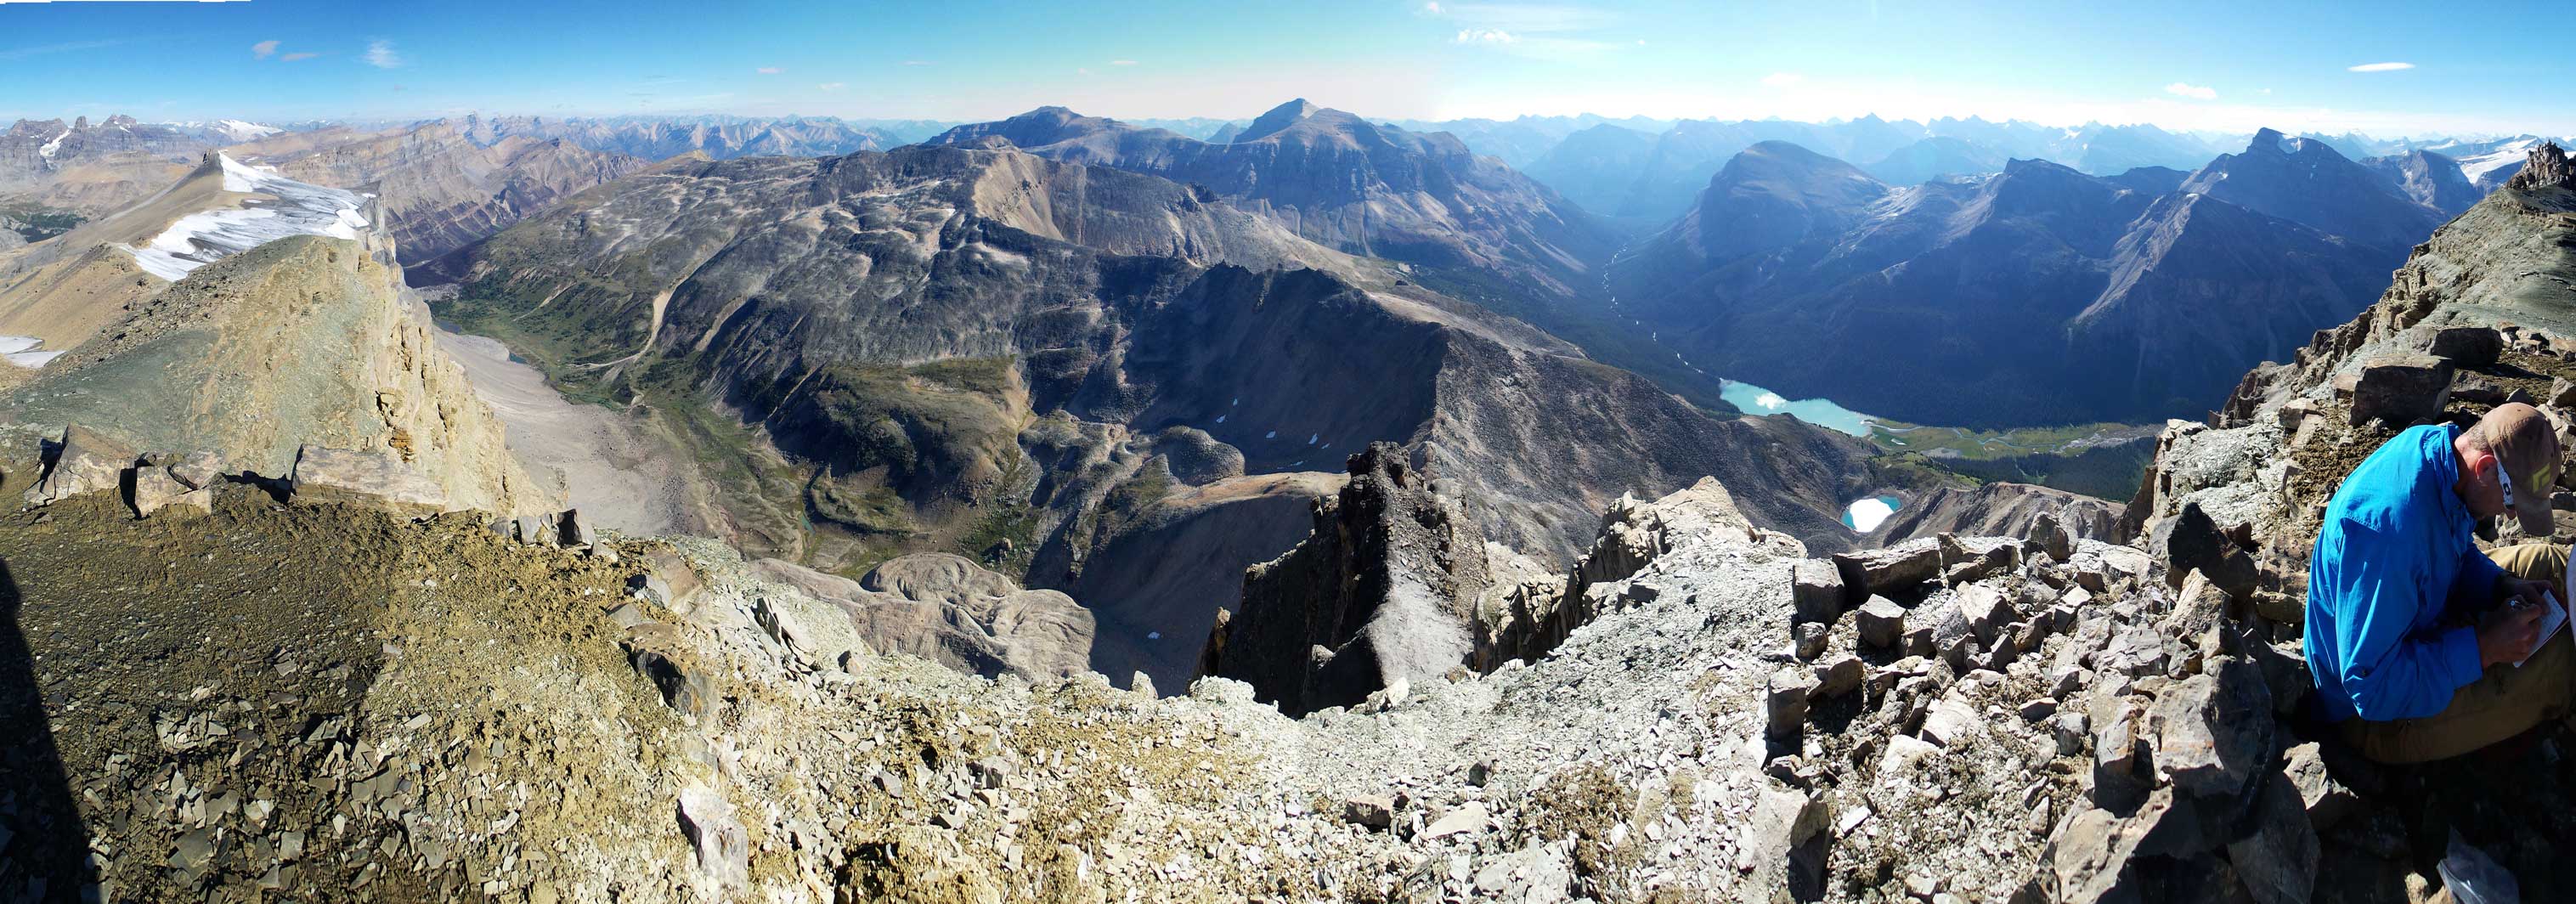
Panorama from the ridge. Click to view large size.
Howse Peak and Mt. Chephren – I had great memories from both of their ascents

Mt. Nolyes (L) and an unnamed (R). I haven’t done it yet

Mt. Weed rises behind a remnant glacier. I haven’t done this peak neither…
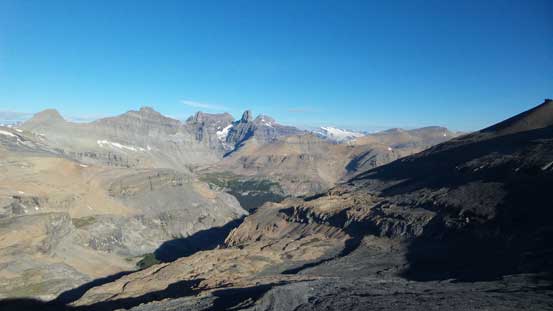
Looking at the upper Spreading Creek drainage basin. Very rarely seen area
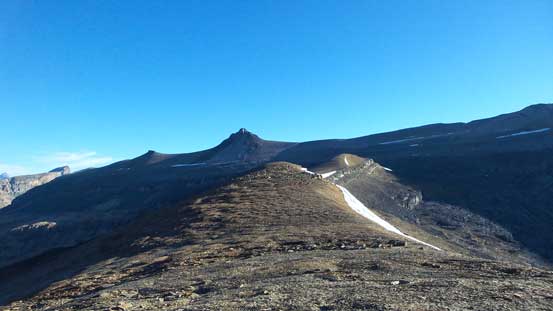
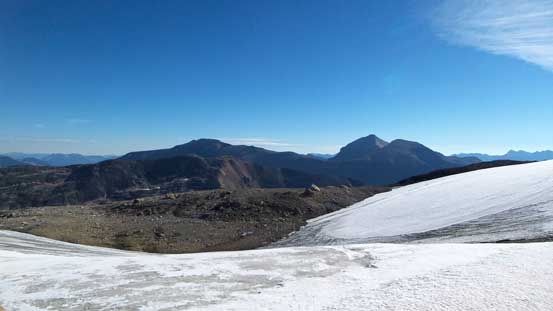
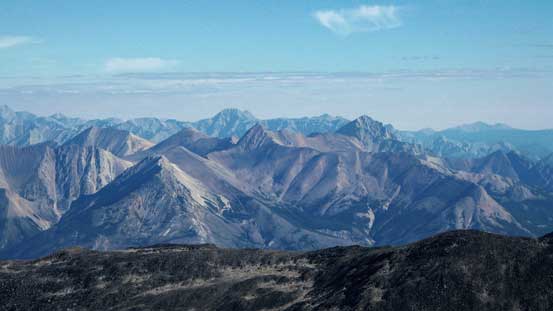
And once gaining the ridge we had to realize there’s more up-and-downs. It’s a nice and scenic ridge walk though but at this point I was getting tired of this monotonous terrain. Towards the end of this broad connecting ridge we had to down-scramble a loose Class 2/3 step followed by walking down an icy, but flat glacier. And now what? We had another pile of rubble ahead to gain the final summit ridge (covered by frost and some verglass/water this time making some slippery footings). Thankfully we kept our perseverance and made to the final ridge where the views were opening up considerably.
Vern descending a very loose section

Looking back at the high point that we descended from
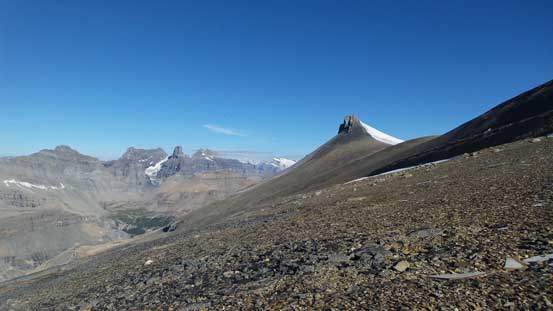
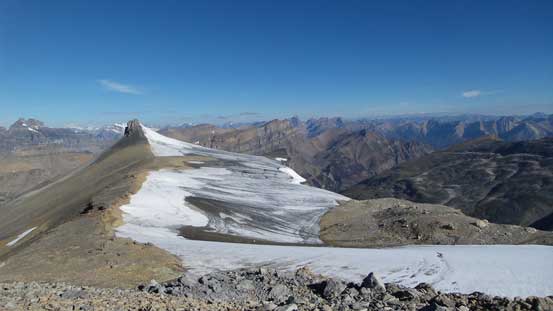
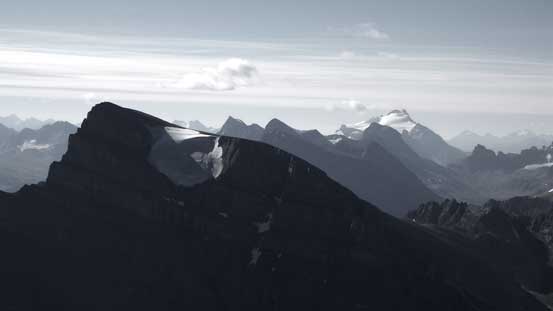
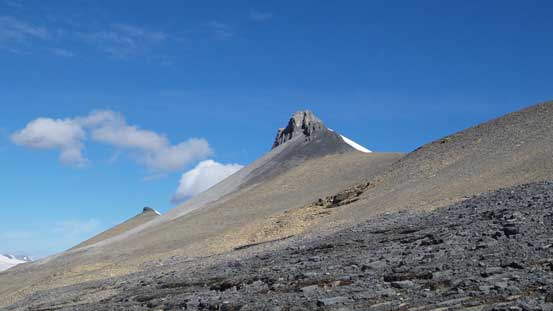
The pointier north summit of Marmota is clearly not the true one
Vern slogging up the typical rocks
Finally gained the summit ridge, looking over the other side
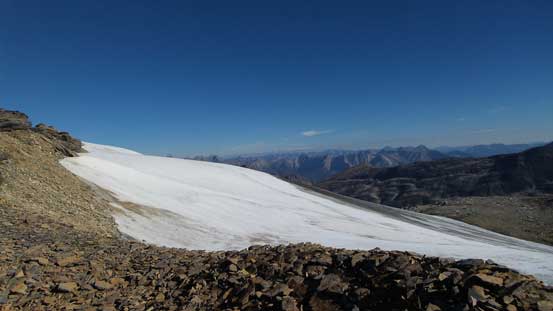
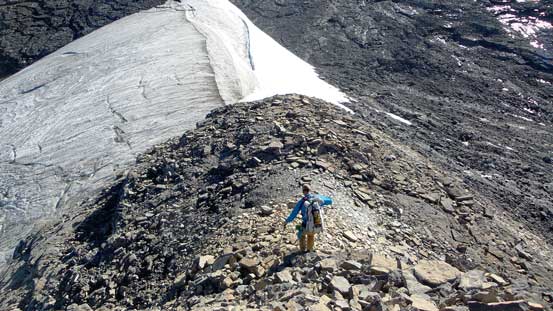
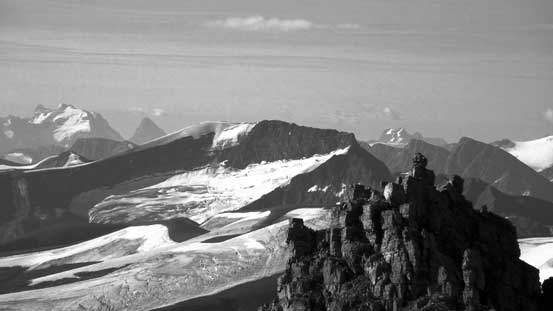
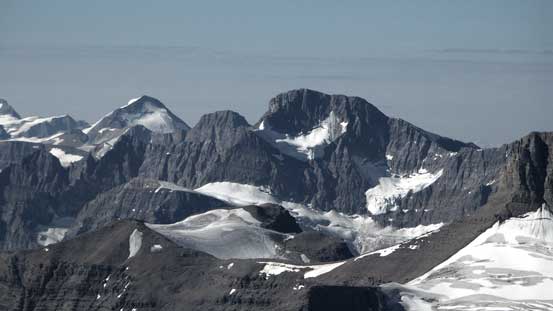
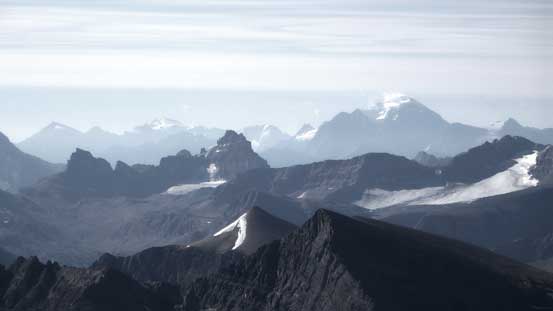
There’s a cool glacier just on the NE side of the summit ridge
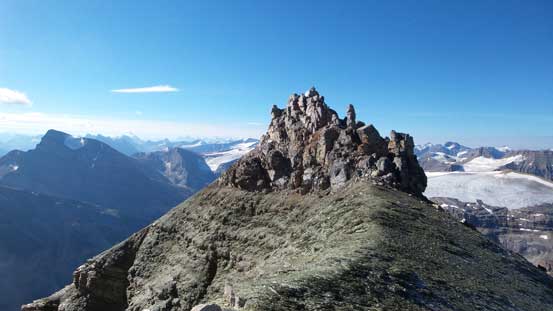
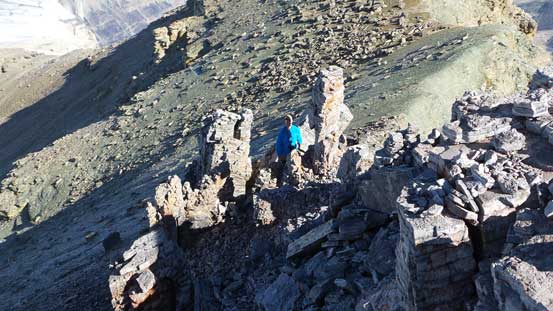
The summit ridge traverse was again, foreshortening and involved a few moderate scrambling sections (with bypasses mostly on climber’s right side). We were pleased to eventually reaching its apex and to discover the first-ascent register placed in 1972 by Tony and Gillean Daffern. The next bump looked a little bit lower but we decided to check out anyway just in case (and for some better views). It required a few scrambling steps on again, horribly loose rock but there’s no additional difficulty afterwards. From observation it did look slightly lower than the first summit but our GPS devices were recording the same height for both summits.
The remnant glacier on Marmota Peak

Vern approaching the summit of Marmota Peak

Summit Panorama. Click to view large size.
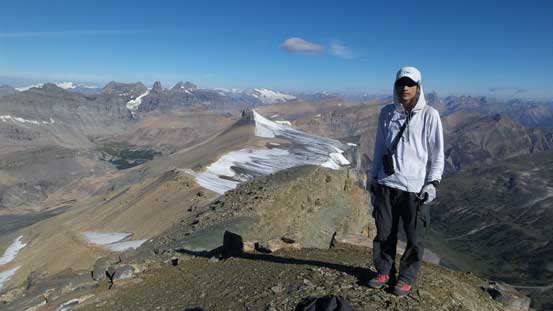
Me on the summit of Marmota Peak
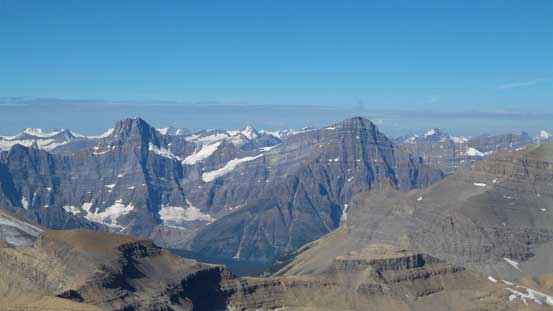
Howse Peak and Mt. Chephren
Mt. Loudon
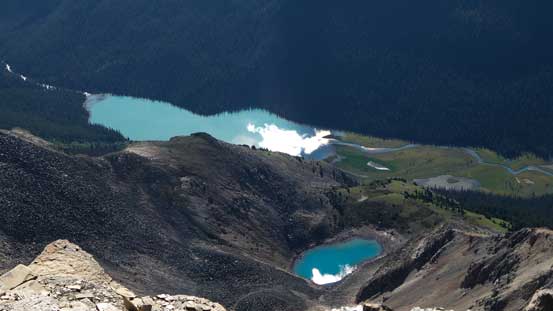
Rarely seen lakes in the upper Porcupine Creek valley

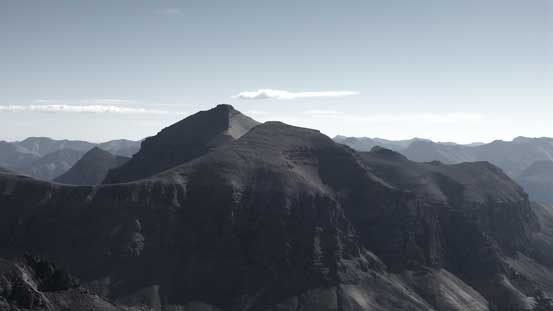
Recondite Peak the highest one in this group – that’s in the middle of nowhere!
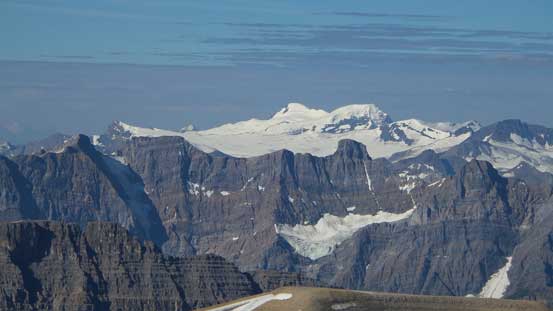
Rising behind the shoulder of Quill Peak is the mighty Mt. Hector
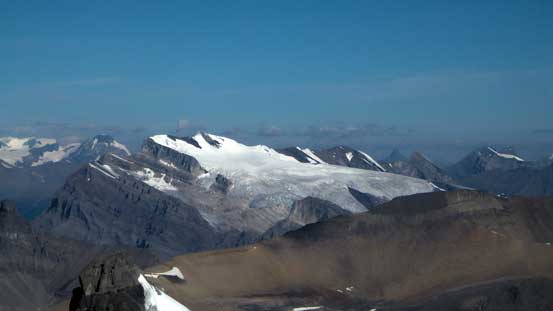
This glaciated peak is Observation Peak. Surprisingly I haven’t done this neither…
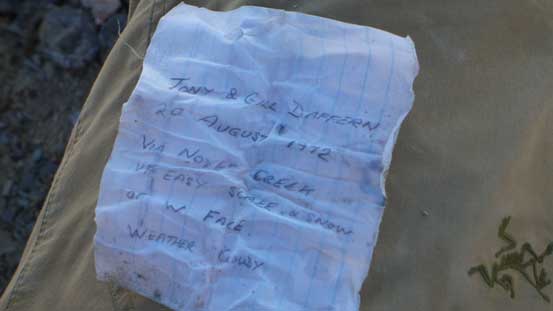
The old 1972 register!
Mt. Weed
Familiar peaks on the Wapta Icefield. Done all the major ones except for Mt. Des Poilus
I solo’d Mt. Patterson earlier in this year.
Another remnant glacier in this area
The mighty Mt. Mummery

Rising behind the shoulder of Howse Peak is Nanga Parbat Mountain
Mt. Forbes looks mighty from everywhere anywhere…

That obvious couloir in the Murchison Towers reminds me greatly the one on Mt. Bryce…
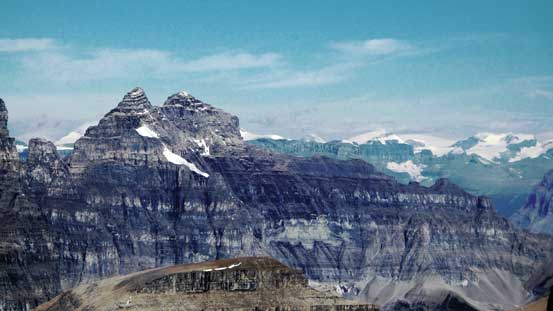
The twin summit of Mt. Murchison
Mt. Wilson was another huge day in the mountains. 15 hours day-trip on snowshoes!
Mt. Cline – another big day. 11 hours day-trip on full force
Whitegoat and Resolute on left – bagged both in recent years
More peaks in David Thompson Country. The big one behind is Allstones Peak
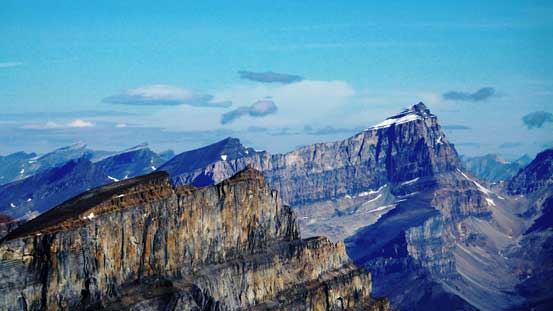
Very unique view of Dolomite Peak. The mighty Mt. Temple rises behind
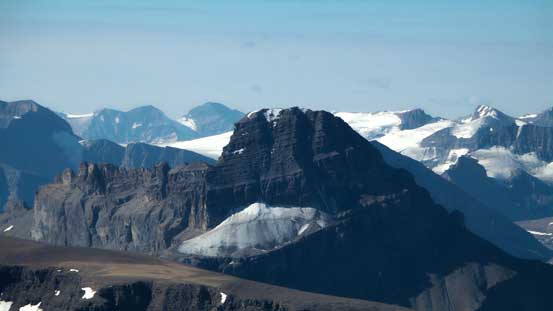
The next rockier summit on Marmota
Vern coming up the farther summit

Panorama from the farther, rockier summit. Click to view large size.
One more summit panorama. Click to view large size.
After soaking in the views it’s time to focus on the long way back home… It’s tired to just think about reversing all that rubble side-hilling slog, but oh well, we didn’t have a choice. There’s not much to describe as we basically followed the GPS tracks back via the exact same route. There were a few places that we took some short-cuts but generally we managed to stay on the path. A couple hours later we made back to the camp.

Vern down-climbing a scrambly step on the summit ridge

In old days I’m sure this place was once a cool icefield!

Vern descending rubble/scree

The broad ridge traverse ahead
Looking back towards the lower, northern summit
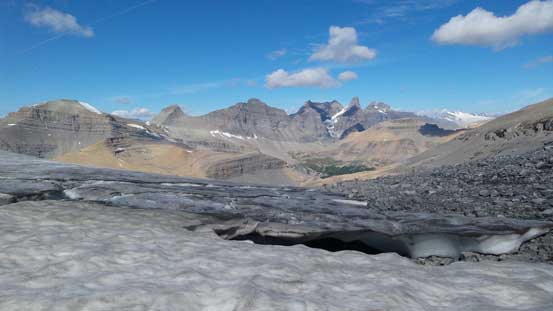
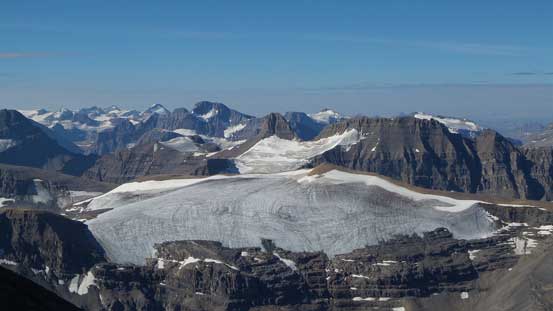
Endless views. This was taken from that small pocket glacier
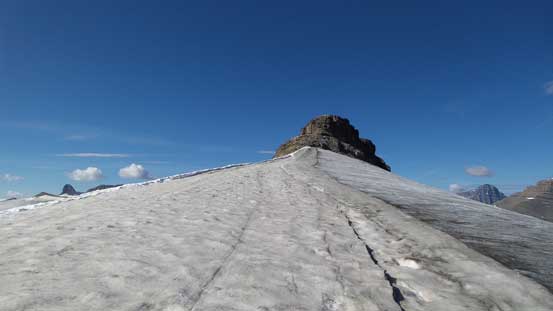
Ascending the glacier (no crampons needed).

Vern hiking back across this broad ridge

Looking back towards the summit

Ready to drop into the upper bowl.
Looking back at this gully that we used to descend

Oh the painful side-hilling…

Here’s the lower bowl
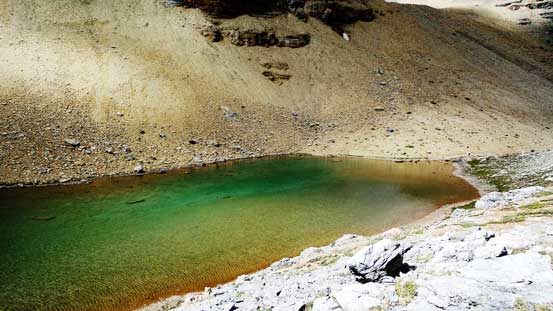
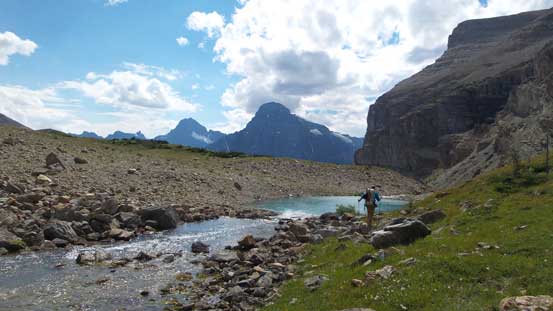
One of the few tarns

Looking into Spreading Valley and Corona Ridge behind. More side-hilling ahead on left
Traversing beneath the impressive Totem Tower

More views from this bench traverse

Another tarn. This was close to our camp

Flowers
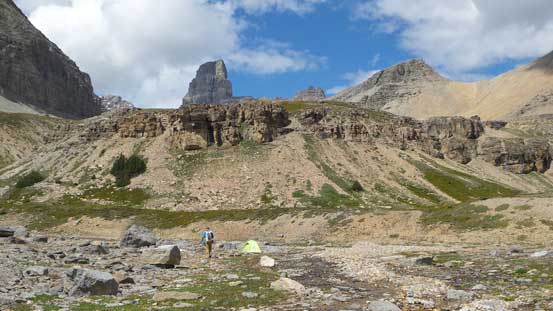
Back to camp now. Hall Tower looming above
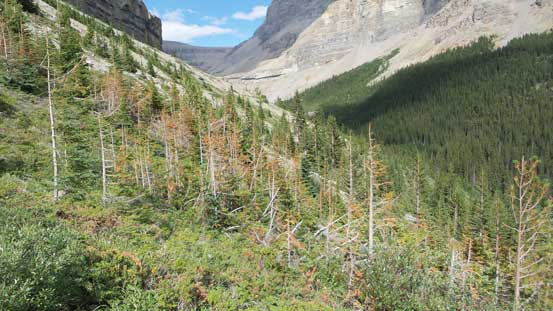
We did take a long break but in less than 1 hour we were moving again. Slogging back up “Totem Pass” felt like forever but once reaching the pass we were glad to have finished the last significant elevation regain. (There’s still many, many short sections of elevation regain though). We quickly descended to the upper Totem Lake, circumvented on the left side and then followed the creek down to the first Lake. We again, circumvented on its left side but at the outflow we crossed the stream to the right side. To descend the initial cliff band just below the first Lake we had to slog back up the scree on right side for about 50 meters in order to access that gully system. Down the gully we opted for staying high above the vegetation on skier’s right to avoid those nasty bushwhacking. The price we paid was kilometers of side-hilling on unpleasant terrain. And once finally down into the forest it’s still mostly side-hilling and seemed to drag on forever. And once back to the highway we still had about 1 km of road walk, and then only to discover a traffic jam on the Parkway thank to the constructions…
Slogging back towards Totem Pass

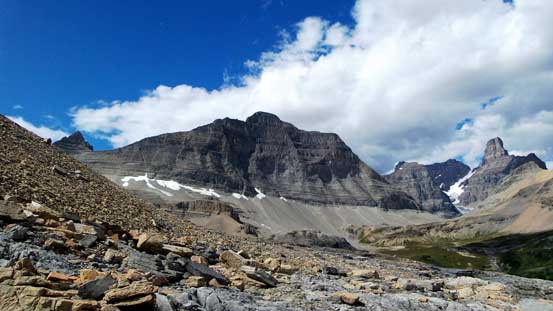
Looking back towards Marmota Peak from the pass

The upper Totem Lake
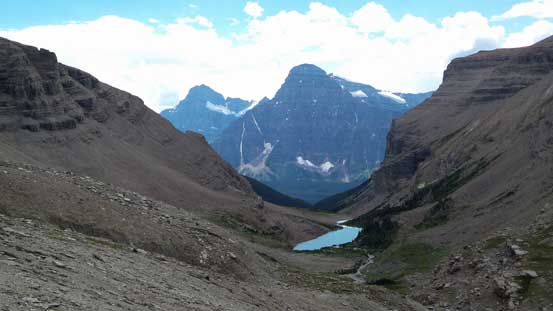
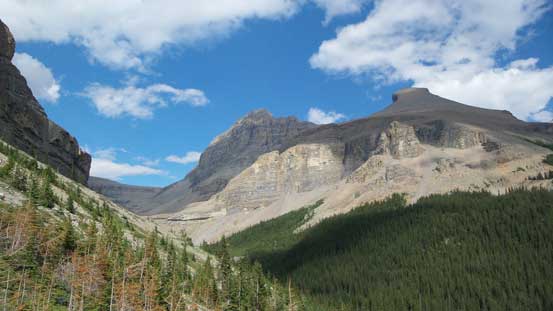
Mt. Chephren and the lower Totem Lake

Oh more side-hill bashing…

Down to the lower Totem Lake now

Beautiful colours in this lake
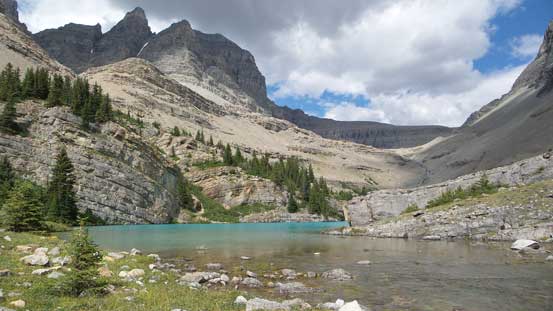
One more view of the lower Totem Lake
Ahead is that small tarn just in front of Totem Lake
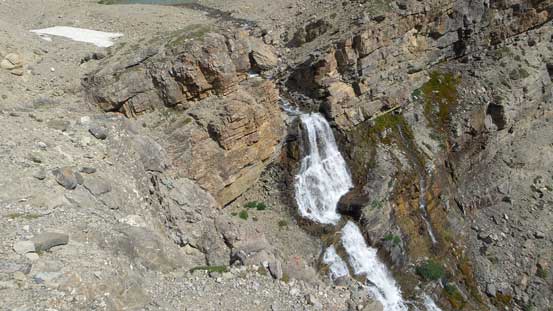
Cool waterfall draining from the lakes
Looking back from the end of that long side-hill traverse
If you venture into the bush this is what you have to deal with…

Almost done!
Overall I’m very glad to have ascended two remote summits. It’s not a horribly remote area so I think there might be more people visiting this area, but according to the summit registers we were the 7th or 8th recorded ascent party on Corona Ridge and we made the second recorded ascent on Marmota Peak. I’m glad to have seen this cool area but thank to the unpleasant and miserable terrain I’m sure this place will never see me again…
