Mount Rundle, Main Peak
July 20, 2013
2980m
Canmore / Banff, AB
Like Mount Athabasca which I did a couple days ago, Mount Rundle is another mountain that I probably don’t need to introduce. Every person who has visited the Canadian Rockies should have a dozen photos of it. It’s also a classic scramble that normally sees a ton of people on a summer day. In August 2011, I went up the west end which is the “Mount Rundle” in Alan Kane’s scramble book. And one year later, I solo ascended the east end, which is also covered in Kane’s book. Both ends are classics, but none of them is the true summit of this mountain. The true summit (peak VII) is usually done as part of the Mount Rundle traverse (Alpine III, 5.5). This was a bit out of my league given my limited experience on technical terrain. One month ago, I ascended the true summit of Sulphur Mountain, hoping to see a scramble route up this main peak from its west slope, but I couldn’t. It wasn’t on my to-do list until last week when a (relatively) detailed recent condition update showed up, indicating the main summit of Rundle can be scrambled via a large drainage system that’s just to the left of the direct ridge line (from EEOR side).

Mt. Rundle (true summit) scramble route. GPX DL
To beat the forecasted heat Mike and I started our day at about 3:30 am. We would do the exact as suggested, that was, going up EEOR, traversing over 6 bumps to the main peak, and descending the main drainage to Goat Creek Trail and following it back to our car. There were multiple trails near the start that created a bit of confusion, but they eventually all merged together. Once we regained the main trail, it was hard to get lost. At a reasonable pace, we gained elevation quickly. On my previous EEOR’s ascent I picked the direct line through a minor cliff band, but this time we aimed towards climber’s right towards the ridge line and followed it up. There was a short bit of hands-on scrambling but very brief, and we soon found ourselves on the top (EEOR, Peak I). There’s at least 40 more minutes before sunrise time. We patiently waited for about half an hour before the coldness forced us to start the traverse. During which we did get very good views.
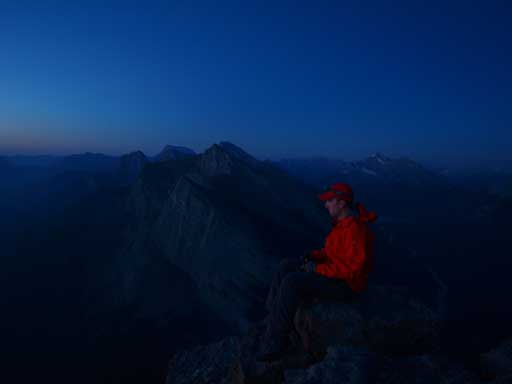
Mike on the summit of EEOR in dark..
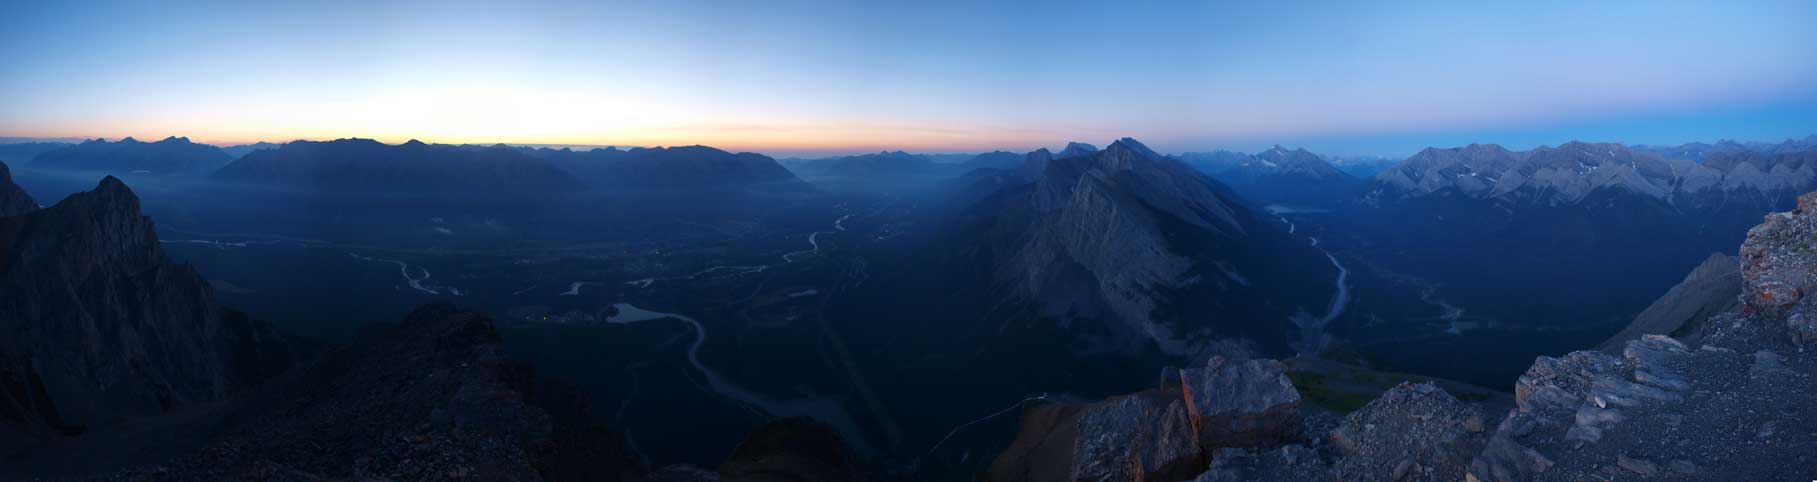
Panorama from summit of East End of Rundle. Click to view large size.
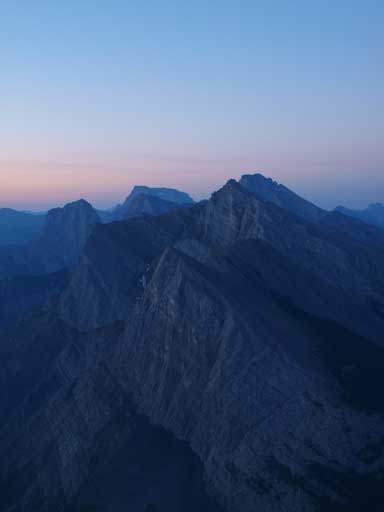
The familiar peaks including Ha Ling and Three Sisters.
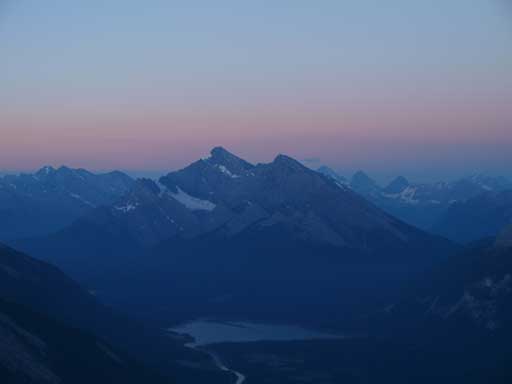
Old Goat Mountain at dawn
Following the ridge crest over a couple moderate hands-on moves, we quickly gained the top of Peak II, at about just a few minutes’ walk. The first difficulty would be between Peak II and III, where we had to do some exposed moves on the ridge proper. At one place Mike bailed the ridge line towards right (east) side and found easier terrain. I chose to scramble directly up over a difficult step, followed by balancing over a (somehow) exposed corner slab. The scrambling section was short and we soon found ourselves slogging on scree towards Peak III. By now the sun had already hit us, and we were very glad to have the most significant elevation gain knocked off in dark, as we knew it was gonna be a hot day.
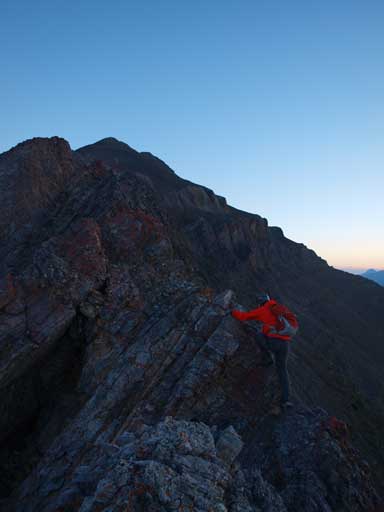
Mike on a difficult step between Peak II and III
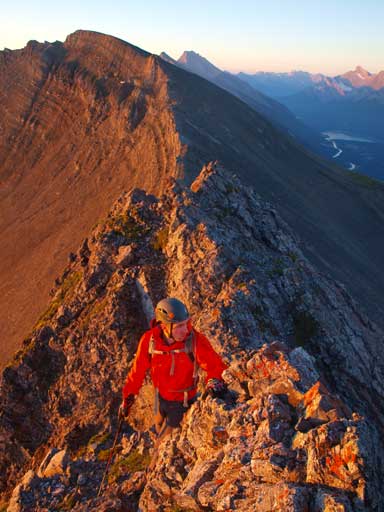
Mike ascending Peak III

Panorama view from Peak III. Click to view large size.
After a short dip we were looking at the even longer slog to Peak IV, where a weather station tower was built on its top. But for some reasons we decided to side-hill on its west side to bypass it. This did save us both distance and elevation gain, but the terrain wasn’t very pleasant. It was fine initially but once around a corner, the side-hilling became very tedious. At this point what we could do was just sucking it up and finishing it, and once we regained the ridge proper, we hiked up towards Peak V.
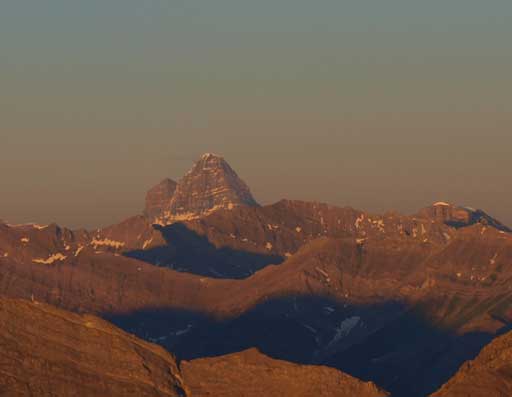
Mount Assiniboine at golden glow
Mike descending Peak III

There’re many interesting sub-peaks like this

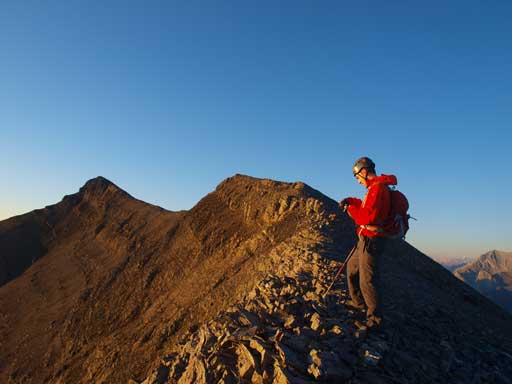
Looking towards Peak V
Panorama view from near the summit of Peak V
Panorama from the summit of Peak V
The elevation loss between Peak V and VI was quite significant and frustrating but at least, it was mostly hiking. Slogging up Peak VI went easy until near the top the terrain became scrambly and we were soon looking at a quite nasty notch. We managed to down-climb into it, but failed to upclimb the other side. However, we didn’t need to backtrack since there was a very loose gully on skier’s left side and once we descended it we found easier terrain on the left side and gained the summit of Peak V quickly. The scrambly part could be bypassed by staying left (west) of the entire summit castle. This one is significantly higher than the previous summits and offered some wider views especially towards the main peak.
Leaving Peak V behind now.

Interesting view of these sub-peaks
Mike down-climbing a difficult section near the summit of Peak VI
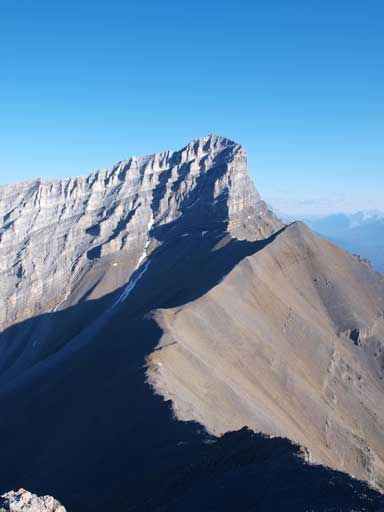
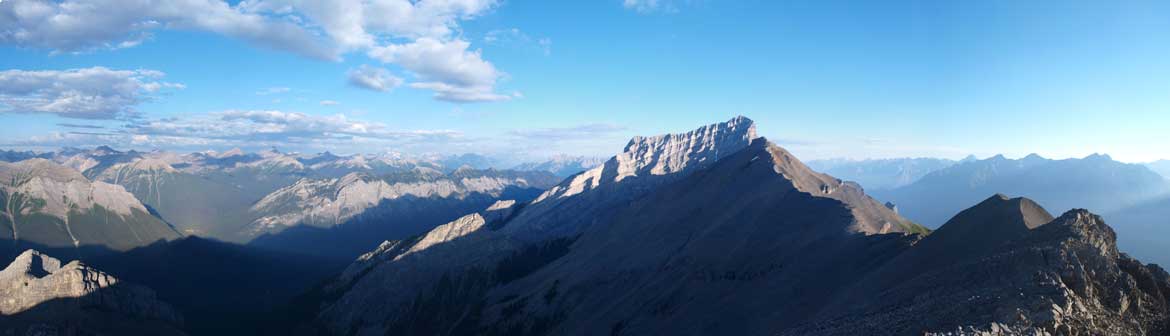
Finally we could focus on the last bit of this traverse. Looking towards Peak VII, the main summit
Descending from the summit of Peak VI was the first technically challenging bit of our day. We managed to stay on the ridge crest until the terrain forced us to descend towards skier’s right (east) side. I found a break and down-climbed it which involved quite a few long reaches on questionable rocks. Mike kept traversing right for a bit and found easier terrain, but still difficult scrambling to get down the summit castle of Peak VI. Now it was a hike down from this summit, up and over another bump before finally reaching the base of our objective, the main summit, Peak VII. Note that the peak numbers I’m using are based on Dow Williams‘ trip report. I think the bump between Peak VI and VII qualifies a separate peak (especially if considering Peak I and Peak II as separated), so the true summit should be Peak VIII, but oh well, I’ll just stick with my reference.
Descending from Peak VI requires difficult down-climbing.

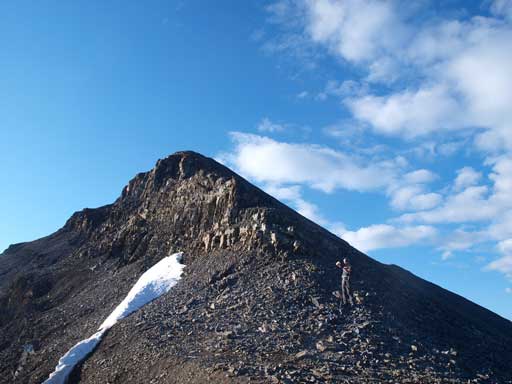
Getting closer!
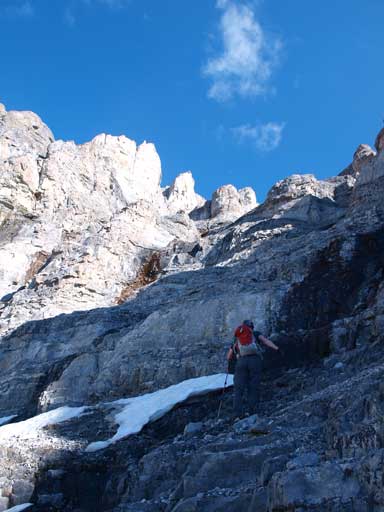
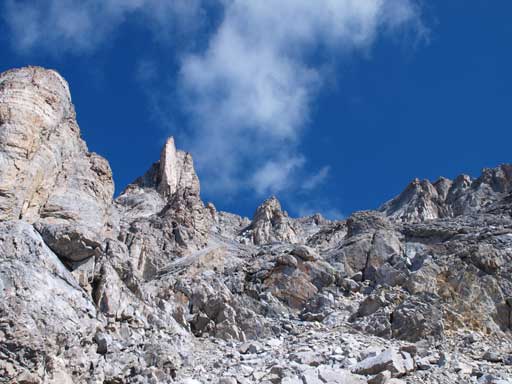
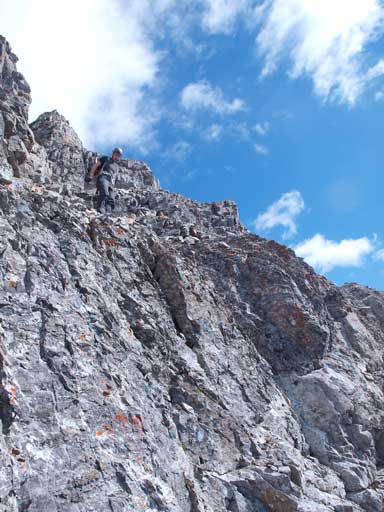
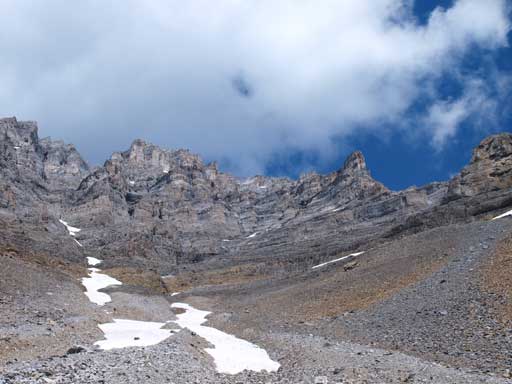
At the imposing cliff bands we were forced to traverse climber’s left looking for weaknesses. Eventually we would traverse all the way to the drainage, but we started gaining elevation as soon as we could find a break through the short cliff bands, one after another. This worked very well and we soon made to the drainage and started following it up. The terrain ahead didn’t look very scrambler friendly but since we had the information saying it being a scramble, we just kept marching up. The rock on this main peak was also very loose, and combing with the terrain it really reminded me Portal Peak which I did one week ago. Overall the scrambling went well until the first technical crux of our ascent, a short vertical cliff band that had no obvious break to go up. We aimed for the least steep area and even so, it was still very awkward. And once committing to this move, we would immediately face loose scree covered ledges. The terrain was very steep around here and one slip would send us entirely down this section. I’m not gonna give a rating or anything like that, but combing the initial technical moves, the looseness, and the fact you have to down-climb this, to say the least, it’s a climber’s scramble.
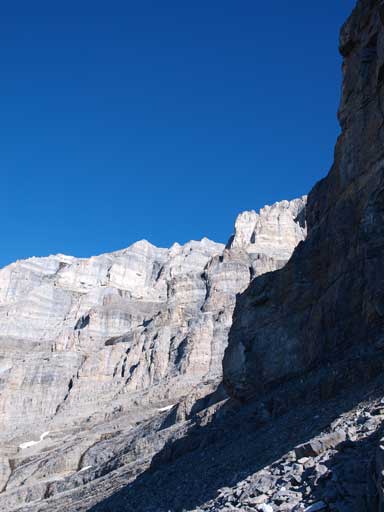
Traversing climber’s left to avoid the first imposing cliff band.
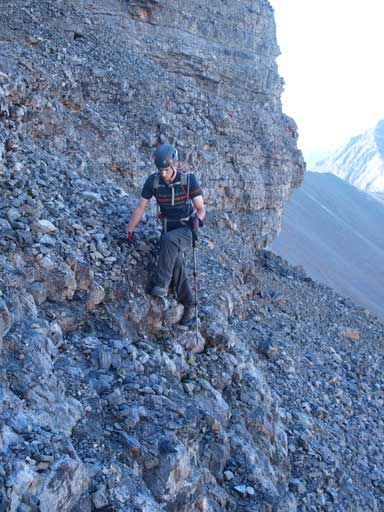
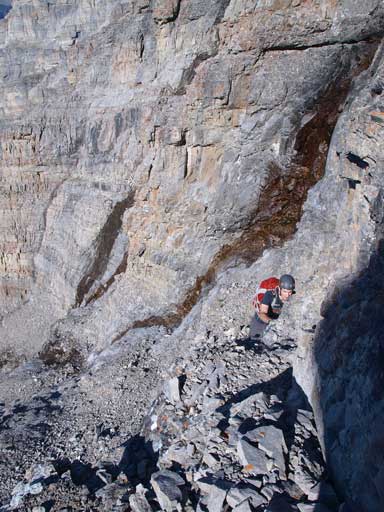
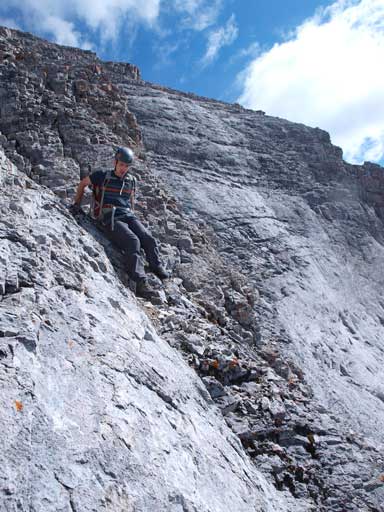
Mike on the typical typical terrain. Loose rubble on down-sloping ledges.

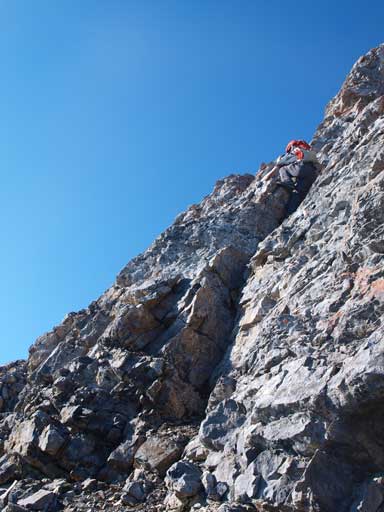
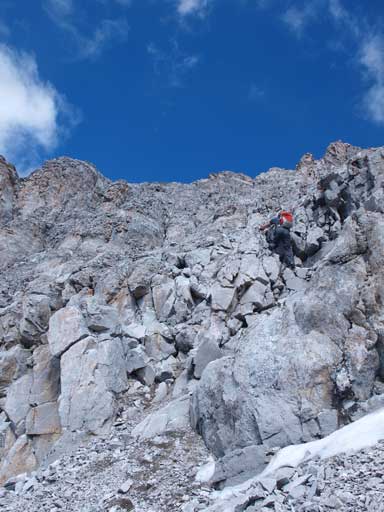
Mike ascending a difficult bit to break through one of the many minor cliff bands.
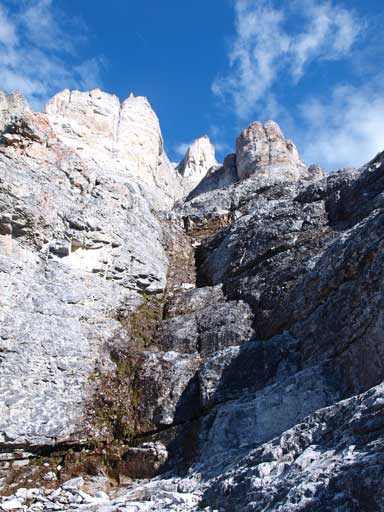
Scrambling up towards more cliffy terrain
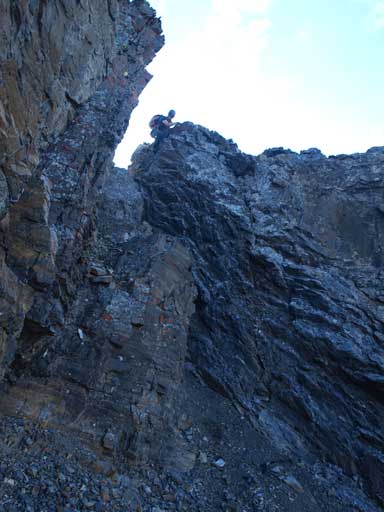
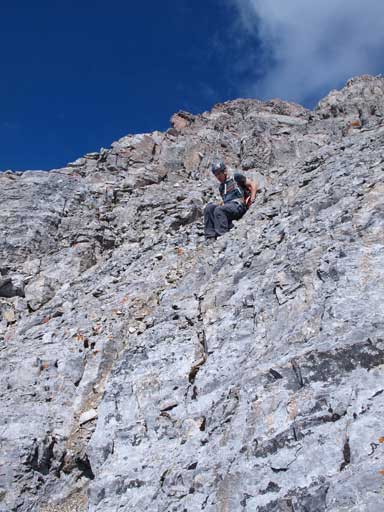
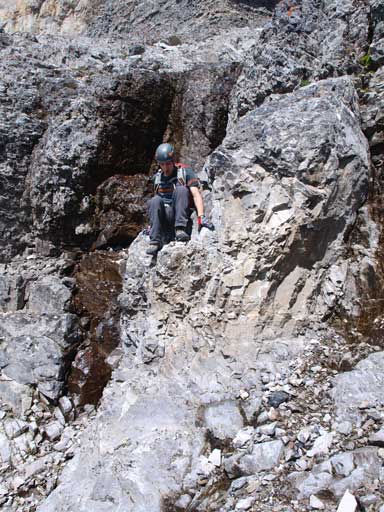
Mike just about to commit to the first crux move.

Terrain just above the first crux is still very steep, and loose

Don’t fall..
And once through the 1st crux and the loose and steep terrain just above the 1st crux, we hadn’t done the difficulties yet. The terrain got easier briefly but the 2nd crux would come soon. This one was another vertical wall, but only with water flowing down it… Thankfully the rocks here are limestone. If on quartz, we would have no way making up this step. I tried three different lines and eventually made the commitment to the rightmost of them. This one is as technically challenging as the 1st crux, but the rocks were not as loose.
Looking up from just below the second crux. I took more photos on the way back.
By now we’d already cleared the most difficult bits on our way up, but the terrain ahead was still difficult scrambling. Near the top the terrain became scree covered down-sloping ledges and slabs. We didn’t find this section being too difficult going up, but as most of you know, this type of terrain would require extreme caution on the way back. The big drainage eventually brought up back to the summit ridge at just a few steps before the summit cairn. The views were fantastic from this lofty peak, and we took our time soaking in them, before committing to our descent.
Terrain gets easier once through the second crux.
Looking up
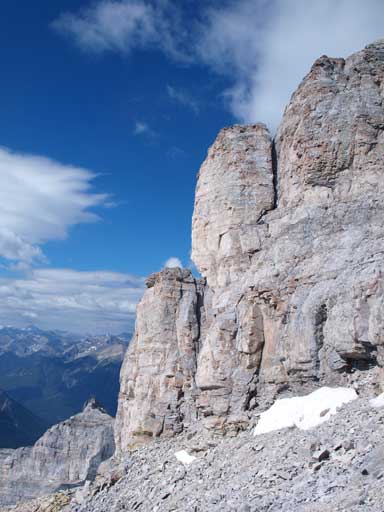
I like the rock formation on Rundle.
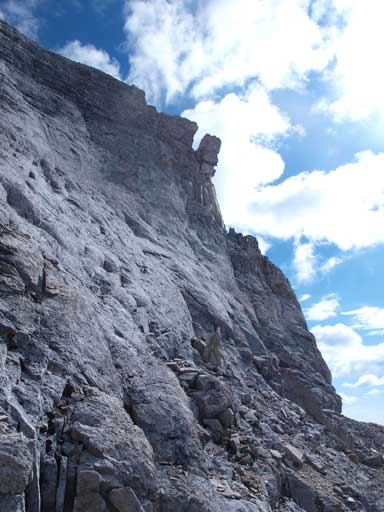
Steep slabs. Good thing we didn’t need to climb up it.
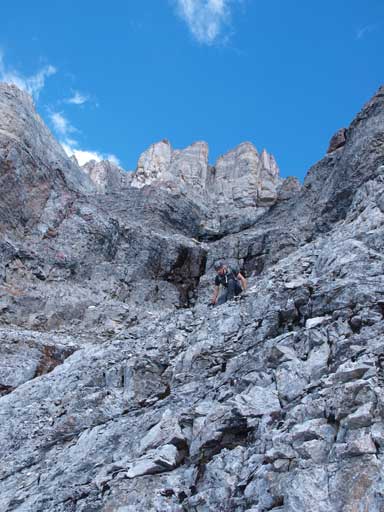
Mike finding a break through one of the many short cliff bands on the upper part.

Very typical terrain on the upper gully

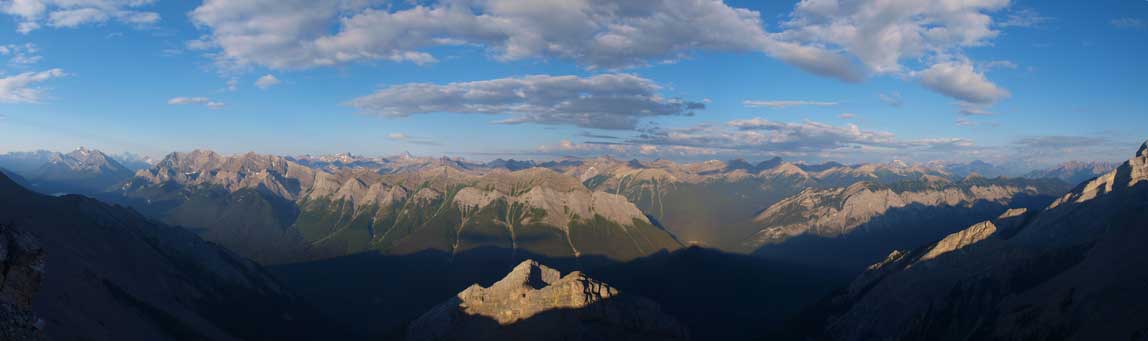
Summit Panorama. Click to view large size.
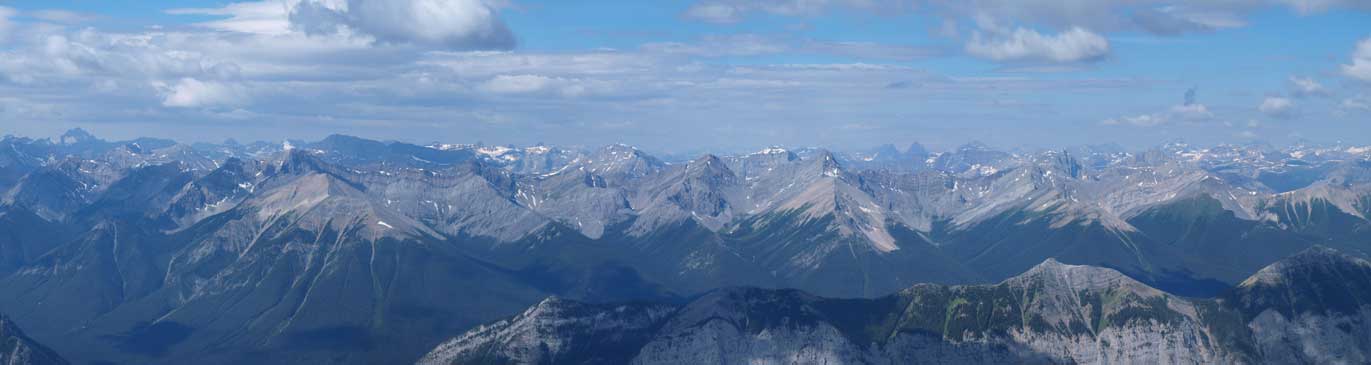
Panorama looking over Sundance Range.

Panorama looking over Sulphur Mountain towards Massive and Sawback Ranges
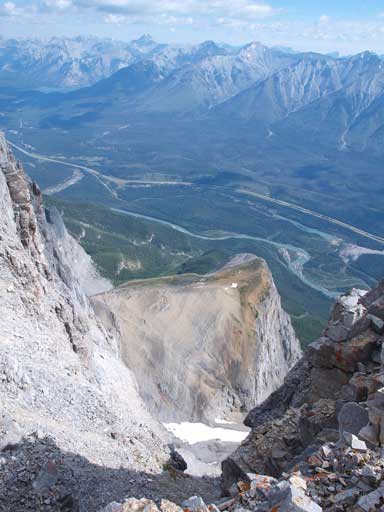
Looking steeply down the Northeast side
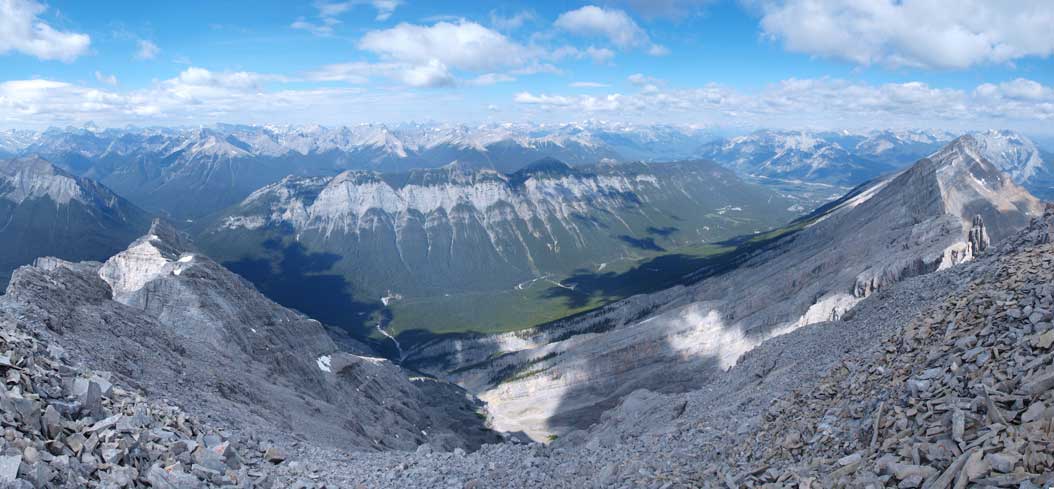
Panorama of northwest side. You can see the long ridge of Sulphur Mountain
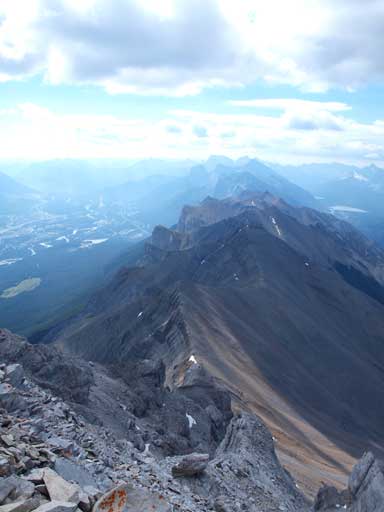
Looking back at the east side of Rundle Traverse.
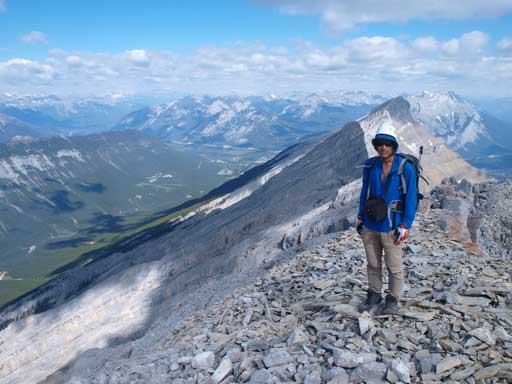
Me on the summit.
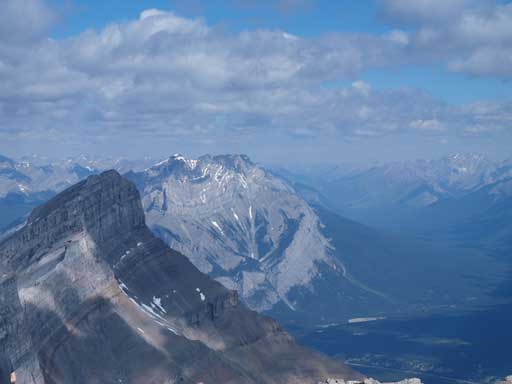
Cascade Mountain
The descending down the main peak was simply retracing our steps, but like I mentioned earlier, it required extreme caution on scree covered down-sloping terrain. At many places we also had to down-climb one at a time since it was practically impossible not knocking down a ton of rocks to each other. On the way back we did search quite thoroughly on both sides looking for easier terrain down both cruxes but couldn’t find any. Well, we didn’t make any commitment to try other routes so we couldn’t tell. There’s a chance that we didn’t find the easiest line up but unlikely. What we did find was two rap stations just above both cruxes. Above 2nd crux there were two (rusted) pitons and a rap sling, and above 1st crux there was a sling and a big rock. Short raps would certainly simplify our business but since we didn’t bring a rope up, we would be down-climbing both walls. After clearing both cruxes our difficult scrambling hadn’t done yet. What was waiting for us was, one rock band after another. None of them was probamatic but there were just simply too many of them, and each of them would require difficult moves on very loose rocks and thus, mental concentration. I didn’t remember when we eventually clear the last rock band, but apparently it took us quite a while to get back to easy terrain.
Mike starting the descent
Typical
And, typical
Down-climbing the last bit to leave the upper gully behind.

Mike ready for the second crux
Same as above. He took a slightly different line than mine.
Loose terrain between the two cruxes

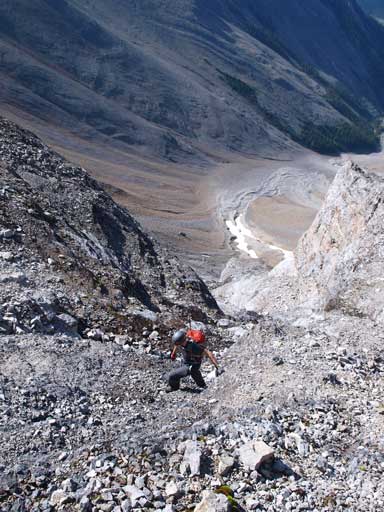
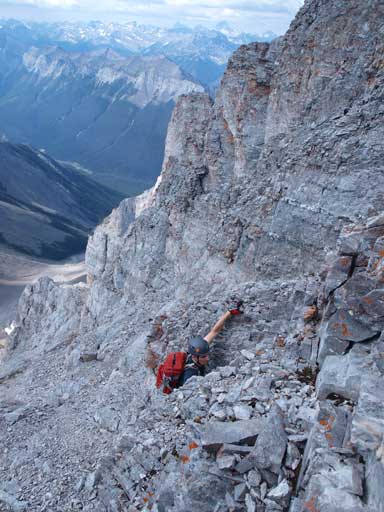
Can you spot Mike ready to descent the terrain just above first crux?? Make sure you click this photo to view a full sized.

Looking down from above this section. No mistake allowed here.

Mike finishing off the first crux.

And, there’re still many, many rock bands like this to block our way out.
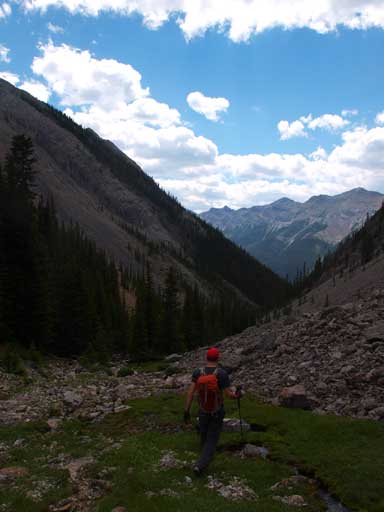
Following the big drainage down wasn’t easy on our knees as it was mostly rubble. There was a brief snow line and I took advantage of it, but that’s it. Despite the fact it looked to be short, I knew exactly how far we had to descend since I’d done the west end. After eternity we made back to the trees and took a longer break there. The walk down this drainage was generally easy, on either boulders or forest with light bushwhacking, but took a long time. By the time we eventually dropped all the way to Goat Creek Trail, we were actually below our starting elevation. Now we had to slog all of the way back, on this wide trail though. The trees blocked most of our views but also blocked the sun. From this trail it was gonna be very difficult to locate the start of our descent drainage, so if you decide to go up this way, you will need a GPS waypoint.
Looking back… Looks quite climby..
Almost back into the trees now.
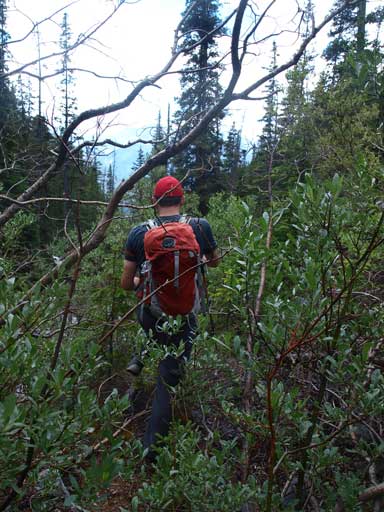
The drainage gets bushy at places, but briefly.

Interesting looking tree trunk tumer.
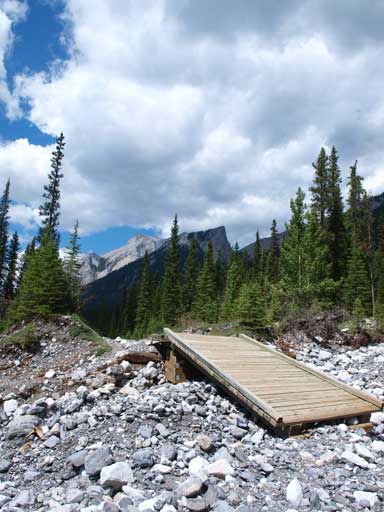
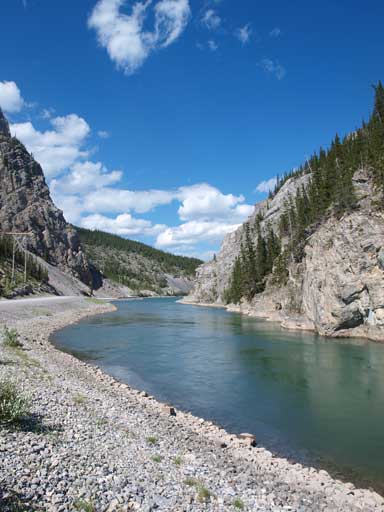
The Goat Creek Trail got washed out at places
Back to the lovely, but very busy parking lot…
Eventually after 13 hours we made back. We were tired but not exhausted. The weather was gonna be gorgeous again on Sunday, and we were looking at a shorter ascent.

9838′
http://science.nationalgeographic.com/wallpaper/science/photos/carboniferous-period/mount-rundle/
Hi, Jerry (Yaro) Skvaril and I did this route in Sept. 19, 1999 in 12 hours (7.5 hrs up), possibly being a bit luckier on route-finding. We used a rope for a short bit around a chockstone in the final chimney but on return just scrambled down it. Only a rusted kipper snack tin on top as a register container.
Thanks for your web-site!
Kris Thorsteinsson
http://www.dogsonpeaks.com