Lady Mountain (UT)
January 2, 2018
2117m
Zion National Park, UT
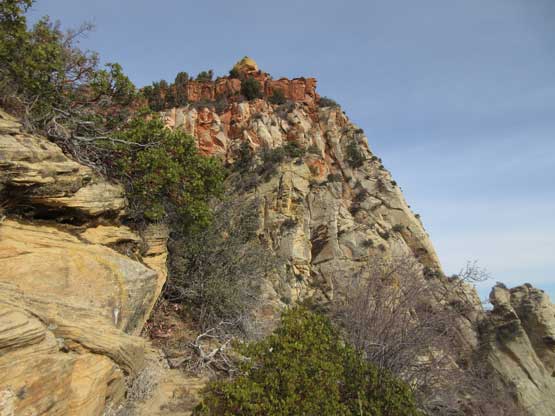
Lady Mountain is one of the bigger sandstone monolith towers in the core of Zion National Park and boasts some historical significance. Back in 1923 the national park constructed that “Old Cable Route” as one of the earliest trails. This trail ran from Zion Canyon all the way to the summit of Lady Mountain aided by two ladders along with countless bolts and nearly 2000 feet of cables. Casual guests in Zion Lodge would attempt it on a regular basis and there’s no wonder why it’s frequent with deaths and rescues. The trail was decommissioned in the 1978 and the ladders together with the cables and chains were all removed, although the trail bed, the “moki steps” and the orange/red markers are still in (unofficial) use today. Lady Mountain is now one of the most frequently climbed objective in Zion National Park, but only experienced mountaineers attempt it. The two places where ladders were places has now become the two technical 5th class cruxes while the overall route requires consistent route-finding on 3rd class terrain.
On the last day of this past holiday season desert trip Jake and I were looking at something more challenging. The previous day we had hiked up Angels Landing and confirmed that there’s virtually no fresh snow to be seen anywhere including the high north-facing aspects. At the time none of us owned Courtney Purcell’s Zion National Park: Summit Routes so the only source of information would be Google. Lady Mountain is the most “searchable” objective with abundant trip reports as well as downloadable GPX files. Too lazy to come up with anything fancier we agreed on making an ascent of Lady Mountain. And not wanting to take a chance on the unfamiliar Zion’s sandstone routes we would haul two 30-m ropes with half a trad rack (a few pieces of cams) and rock shoes.
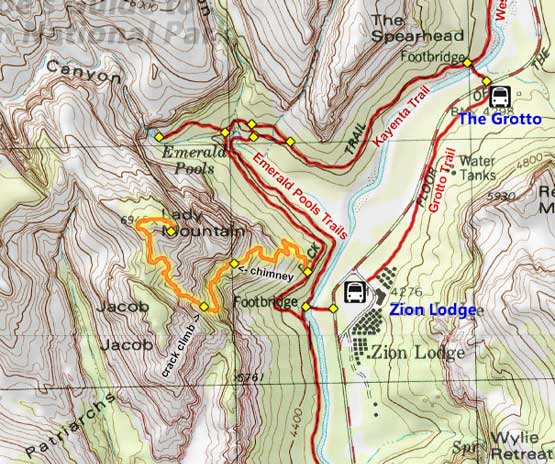
Lady Mountain via “Old Cable Route”. GPX DL. Map by Joe’s Guide to ZNP
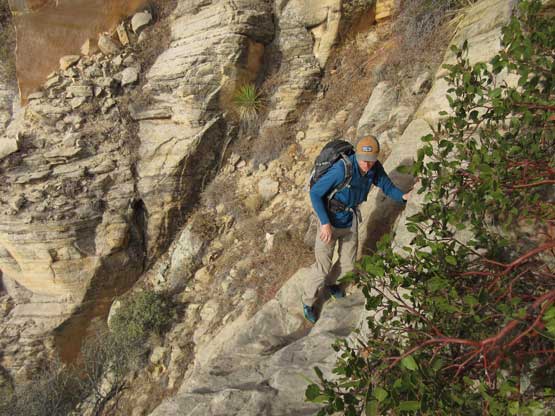
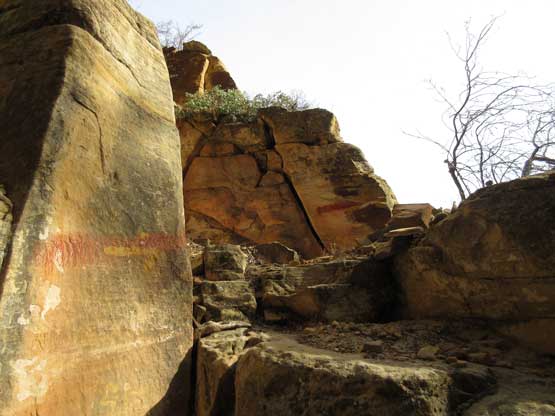
The parking is at Emerald Pools just across from Zion Lodge and soon enough we picked up the trail and crossed Virgin River. The first section of this trail is surprisingly paved but locating the correct “Old Cable Route” seems like the first crux of the trip. Even with a GPX track we had to repeatedly consult with the route description (that we also downloaded from the internet). The description was bang on and once actually on the “old trail” it’s very easy to follow. By the way there’s a “trail closure” sign somewhere lower down on the paved section that you just have to ignore it and resume on. This old trail led us zig-zagging through some thin forest and then the scrambling started. There are two sets of “moki steps” below the “chimney crux” with the second set being tougher. The first set is mostly just 3rd class terrain albeit steep and somewhat exposed while the second set requires a few strenuous friction moves (4th class) to get started. There’s a tree anchor above the second “moki steps” and we both agreed to rappel on the way back.
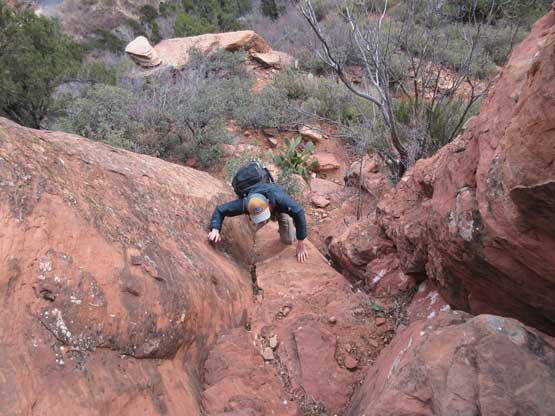
Jake starting the first set of “moki steps”.

The second set of “moki steps” has an awkward friction start.
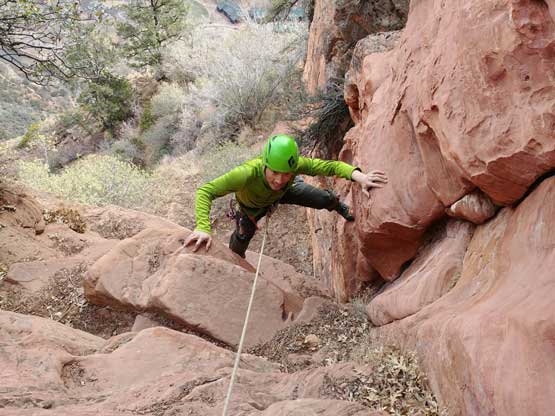
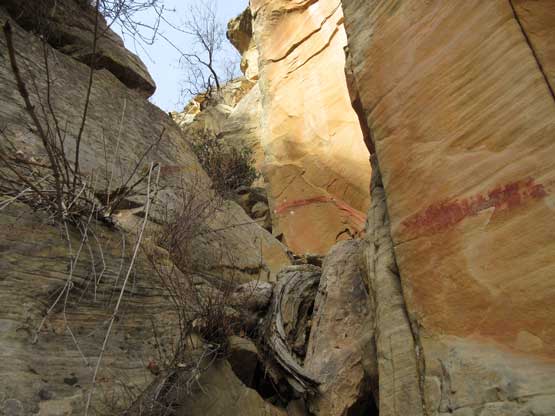
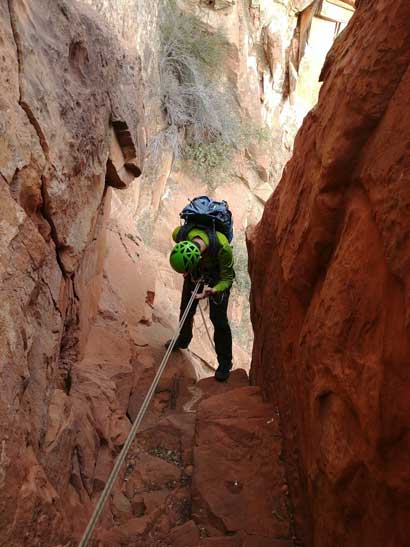
And then there came the “chimney crux”. There’s some exposure to the left (south) but at least the climb appears somewhat manageable. Using a recently placed bolt as a belay station I led the pitch without carrying the backpack, and managed to place two pieces of cams (BD size #1 and #2) as intermediate pros. The hardest moves were at the start but even so the pitch was overall easier than expected. Above the crux (still in the chimney) I found an old, rusted eye bolt and then belayed the two backpacks, and then Jake up to the station. Courtney Purcell gives 5.0 rating in his fabled book while most trip reports states somewhere 5.4-5.6 ish. I should comment that the former seems consistent with the “old school grades” I’ve seen in BC coastal ranges while the latter represents the modern grades you’ll encounter in Canadian Rockies. Anyway this is just an idea of what to expect – tricky, but not that difficult.
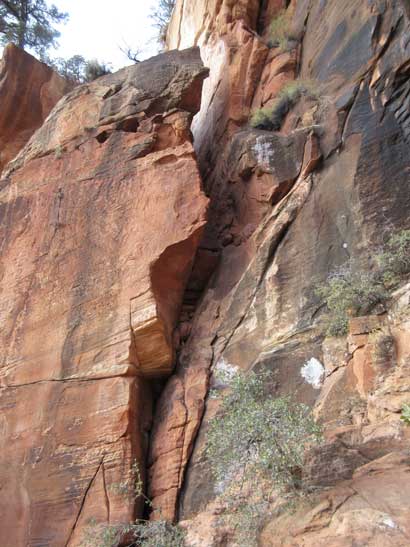
Looking up at the “chimney crux”.
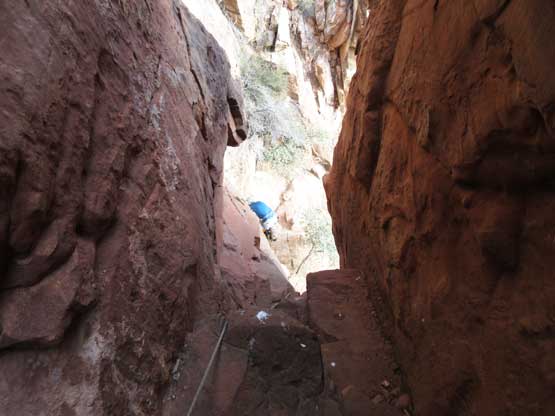
Looking down the pitch from above. (still in the chimney)
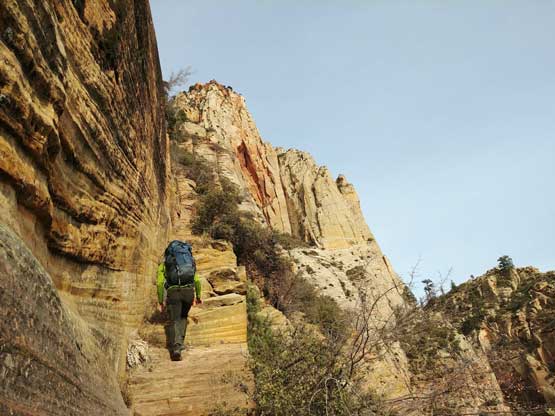
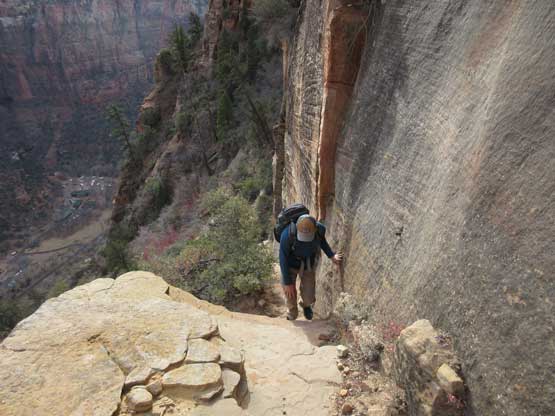
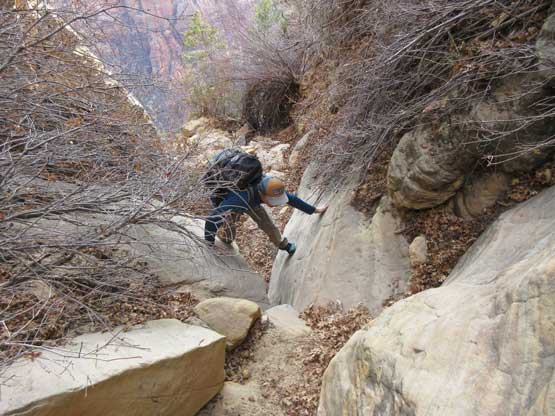
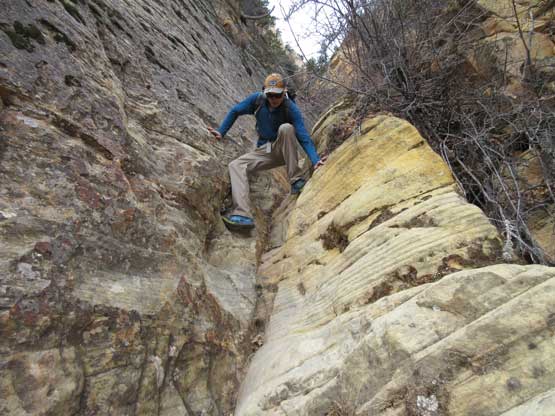
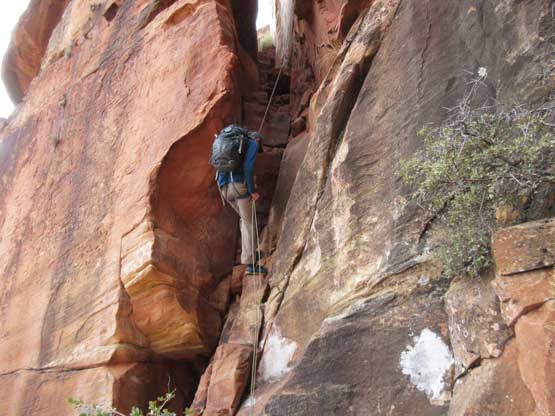
There’s one bushy and exposed step followed immediately after exiting the chimney and then the “trail” does a long horizontal traverse due south. Much of this traverse involves zero elevation change. Once at the southern end of this bench the “trail” then does a couple tight zig-zags and then there came the “dihedral crux”. The consensus is that this is the real crux of the route despite the lack of exposure. Jake volunteered to solo the pitch and then belayed the backpacks and myself up – very tricky even with rock shoes. The grade in Courtney Purcell’s book is 5.4 while most trip reports state 5.6-5.7 and because of my limited experience on sandstone slabs I’d agree with the latter.
This is the exit of that chimney. There’s one bushy exposed step here.

Jake soloing the “dihedral crux”.

Jake just finishing the hardest moves
Me following up this second crux. Photo by Jake R.
Above the “dihedral crux” the route swings climber’s right trending NW and the next stage is known as “one thousand staircases”. Although the actual number of one-thousand seems exaggerating, the idea is clear that we’d be working our way some endless staircases terrain. The macroscopic route-finding is straightforward but pinning down to micro-terrain we still had to constantly make decisions in order to stay on the easier “class 3” terrain. Paying close attention to the orange/red markers is another key to ace the upper route on Lady Mountain as otherwise it’d be very difficult to find the correct path in one shot. About 20 minutes up the staircases we found a key ledge traversing horizontally due left and oddly enough there are two sets of new bolts for protection. The traverse isn’t exposed nor difficult so why bother… After the traverse we entered the next stage known as the “upper chutes”.
Me starting up the “one thousand staircases”. Photo by Jake R.
Looking back at Jake starting this staircase section.
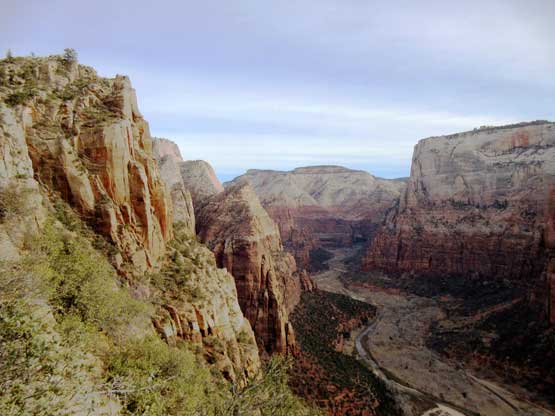
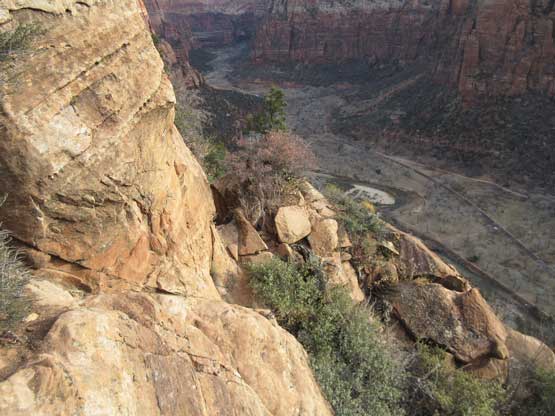
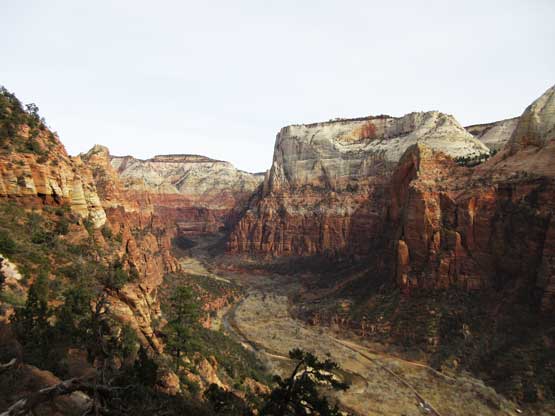
Already having great views down into Zion Canyon

Typical, typical…
Just the typical scrambling. Lots of 3rd class and lots of route-finding.

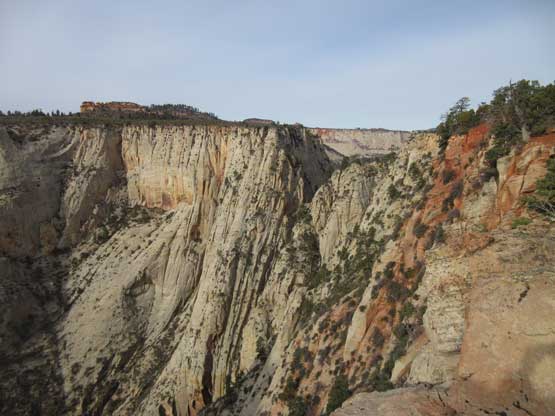
The wall is shear at most places.
The route ascends up the obvious “chute” with some isolated 3rd class steps here and there and once the terrain steepens significantly we found a ledge traversing out to the right. This is a key point that links the two “upper chutes”. Inside the second chute there’s one tricky “class 3-4” section that involves friction moves and also one short, but exposed step-across higher up. Once the difficulties ease off near the summit ridge it’s even more important to stay on the “trail” in order to avoid painful bushwhacking. The summit ridge seems like a natural place to take a break and we also ditched most of the unnecessary gears. The traverse to the true summit was scenic and straightforward.
Entering the “upper chutes”.
This is one of the bouldary moves in the “upper chutes”

Partway up the chutes, looking down.
Note the red/orange markers on the wall.
The summit is finally in sight.
Jake stepping across an exposed, down-sloping move.
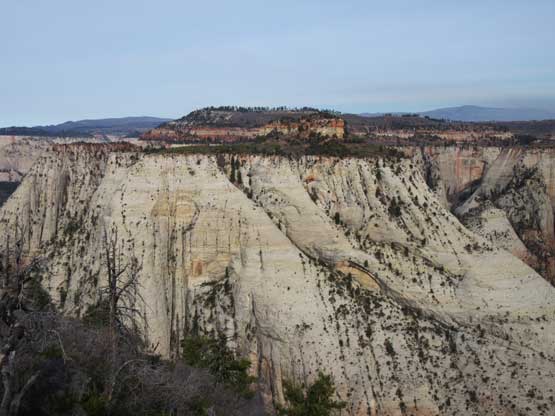
The summit ridge reveals the west side scenery

Summit Panorama from Lady Mountain. Click to view large size.

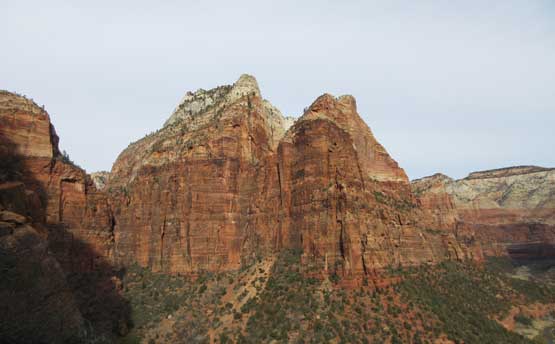
The East Temple is by no doubt a main prize in Zion National Park
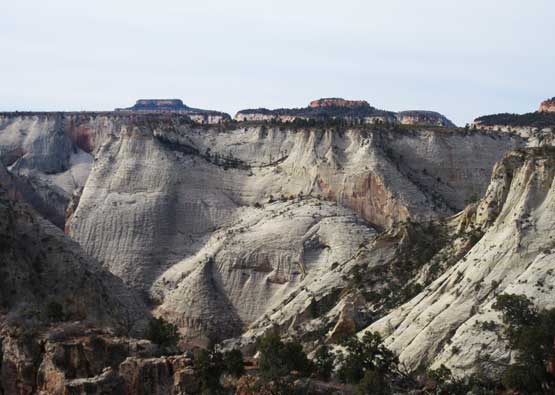
Castle Dome to the north
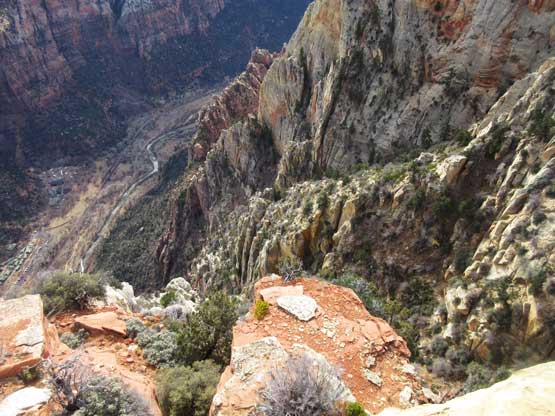
This is looking down at the east face where we ascended from…
And this is looking far south towards West Temple and others
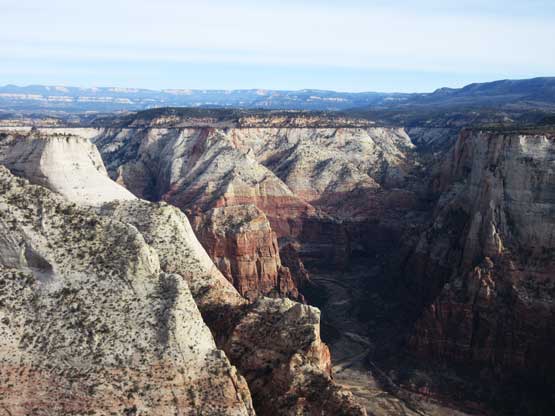
Looking up the Zion Canyon

Looking over the top of The Great White Throne towards some higher elevation plateau

The peak in foreground – Jacob, is rumored to be very difficult..

Another shot looking down the east face into Zion Canyon
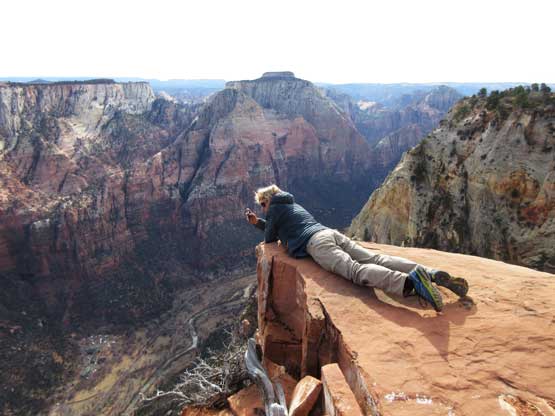
Jake surveying Zion Canyon with The East Temple behind
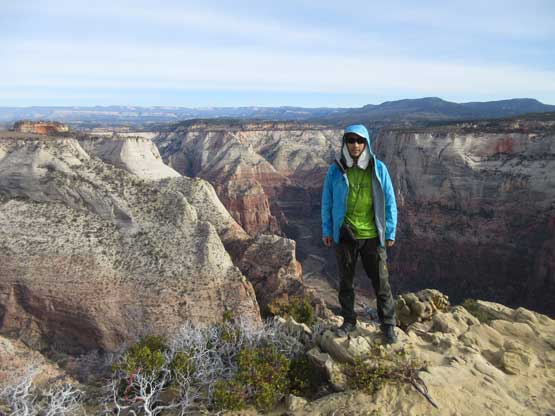
Me on the summit of Lady Mountain
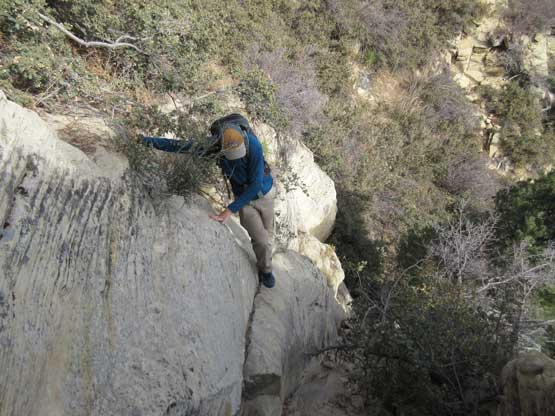
There’s some excellent views looking down into Zion Canyon but the lighting wasn’t the greatest thank to a layer of high clouds. Down we went. Reversing the upper mountain requires lots of concentration not because of the scrambling difficulty, but rather due to the route-finding. It’s crucial to pay 100% attention not getting off-route and having a good short term memory helps a lot. The two cruxes require two rappels and then we did an additional rappel to bypass that awkward “friction step” below the upper set of moki steps. The rest of the descent was actually fun although without event. Our round trip time was 5 hours with tired bodies and fatigued mindset. It’s a short day overall.
Descending one of the harder steps in the “upper chutes”

Me continuing down the no-fall zones. Still in “upper chutes”. Photo by Jake R.

Me rappelling off the “dihedral crux”. Photo by Jake R.
Jake rappelling off the “dihedral crux”
It’s hard to stop taking picture of the canyon. The Great White Throne behind
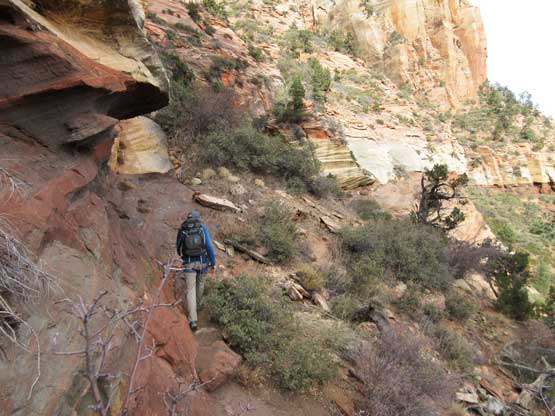
Traversing a long ways along this bench.
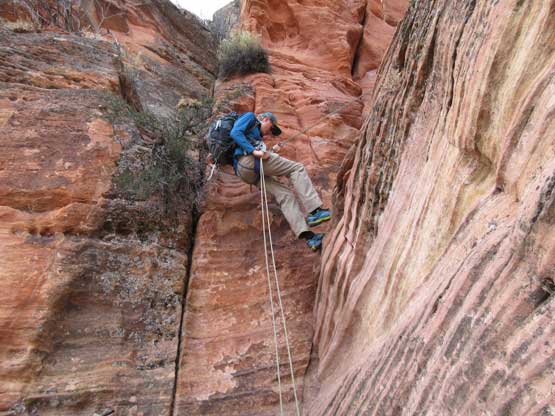
Me rapping off the “chimney crux”. Photo by Jake R.
This is Jake rapping off the “chimney crux”.
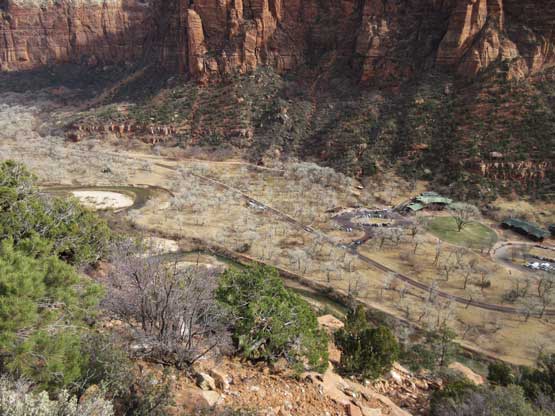
Another shot of the Zion Canyon floor. Note the tourism development
Mt. Majestic and Cathedral Mountain
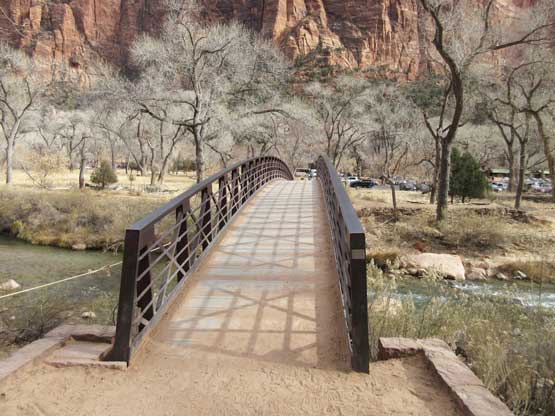
Bridge crossing Virgin River. The end..
Overall would I recommend Lady Mountain? Definitely yes. This is a “type 1 fun” kind of trip that you more likely will enjoy while doing it. This isn’t for the faint of heart though as you need experience with route-finding and “difficult scrambling”. The two cruxes, while not overly exposed, do require actual rock climbing. I would have led the 2nd pitch if Jake didn’t want to but I was glad he took the lead. For someone who hasn’t spent time in the local crags to develop rock climbing techniques (ie. myself) this is not a trivial fair. Don’t say I’ve crushed Mt. Alberta so I shouldn’t have problem on this “easy peak”. What makes Lady Mtn. hard is the actual rock climbing moves, rather than the size of commitment or the constant exposure to objective hazards. But overall this is definitely a 5-star objective.
The original plan was to drive home on Jan. 3rd but for some reasons we silently agreed to push as far back as possible on this day. It’s only early afternoon so why not… I volunteered to drive us out of the Zion National Park gong show followed by pushing to Beaver, UT. Jake took over the 2nd round and drove all the way past Salk Lake City into the small town of Layton, UT. We had a dinner in a local Chipotle and then I drove all the way back to Mountain Home, ID before calling a quit. On the 4th round Jake pushed all the way back to Pendleton, OR while handling some severe winter conditions of heavy fog and rain. It was about 1 am but we decided to keep pushing. I managed to get going for another 2 hours past Yakima, WA and then Jake handled the final stretch back to Seattle with again, winter driving conditions. It was amazing… I haven’t yet met anybody who would push harder than me when it comes to this “long drive” thing but Jake did it on this trip. The game wasn’t over yet as I still had 2 extra hours’ drive to Vancouver.
In the end we managed to pull off Thimble Peak, Manly Beacon, Mt. Whitney, Mt. Muir, Telescope Peak, Mt. Wilson, Charlston Peak, Moapa Peak, Angels Landing and then Lady Mountain in just over 8 days return from Vancouver and that’s at the end of December and the beginning of January. We covered much of the areas from Eastern Sierras all the way to Zion National Park while none of the 10 peaks we climbed is a “shit peak”. “Timing is everything”, as always.. Asides that it was a high quality pushing through and thanks Jake for the accompany.
