North Palisade
July 13, 2019
4341m
Bishop / The High Sierras, CA
North Palisade is the crown jewel of the Sierras in southern California. It is not the highest 14er, nor the hardest, but combining the elevation, prominence and the technical difficulties (class 4 by easiest route) this is no doubt one of the most sought-after objectives in the region. The standard route goes up the SW Gully but the most popular route seems to be the U-Notch Couloir from the east side. In late summer the standard route can be done as a Class 4 scramble but a rope is often required for at least the descent. The plan between Matt and I was originally just climbing North Palisade via U-Notch Couloir but we changed our mind on the drive. Instead of just doing one peak we decided to do a partial Palisade Traverse starting from Thunderbolt Peak, and earlier in the trip we had successfully climbed up and over Thunderbolt Peak and Starlight Peak with a bivy at 14,000 feet.
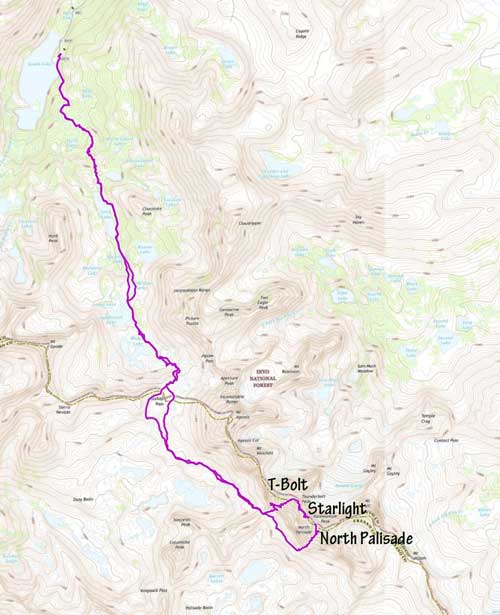
Thunderbolt, Starlight, North Palisade Traverse. GPX DL
The traverse from Starlight Peak to North Palisade is the most complicated section of the Palisade Traverse in my opinion, mostly because of the complication of a intermediate tower that one must traverse up and over. The climb upwards and outward towards climber’s right started easily but soon became class 4 with increasing exposure. The last step to get onto the shoulder of that intermediate tower required a vertical pull-up which we all did by removing the backpacks. Onward we could see nothing but exposed 4th class terrain so in the coldness and wind we decided to finally pitch out some 4th class.. Matt led a ways to a trad anchor and then I took over to the notch back onto the ridge proper. In order to communicate well with each other I decided to stop at the notch to belay Matt up and then Matt lead a very short traversing pitch on the east (sunny) side to the top of the infamous swinging rappel.
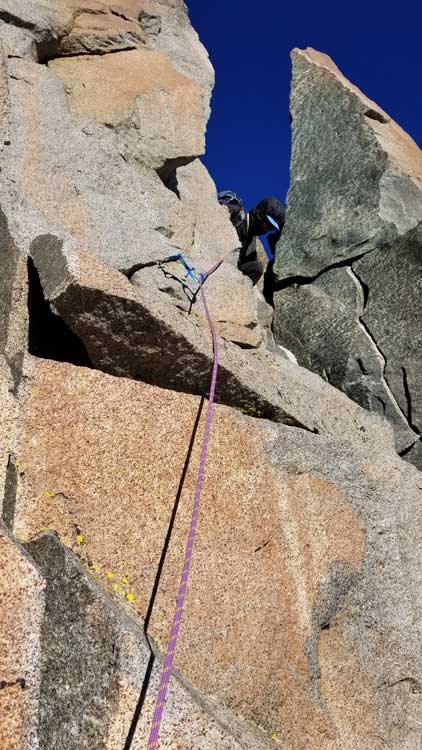
Climbing over the notch into the east side to the swinging rappel.
The creative swinging rappel over the chasm was my main concern about this traverse as I’m usually not the “creative” when it comes to rappelling. Matt volunteered to lead it down and after trying a few techniques he made the commitment and managed to step across the chasm using his super long legs. I followed and did try to kick the wall to swing but unfortunately I couldn’t generate enough momentum to step over to the opposite side, but that’s no problem as Matt could just pull me over from the other end of the rope. I then slowly let the rope loose and sit right on the edge. It’s a scary one and I don’t think I had a chance to do it myself without Matt’s help from below. I’ve heard there are other ways to overcome this chasm that involve tricky boulder problems or a lot of extra climbing but I’m leaving the research work for you guys. The way we did it worked for me and that’s good enough.

Matt leading down the “creative swing rappel”
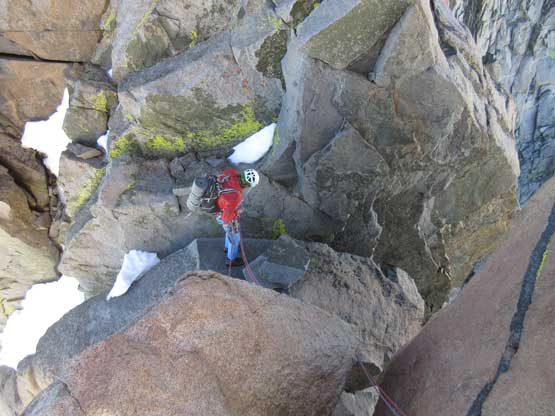
Matt finishing the rappel.

The chasm that one has to kick the wall to step across. It’s about 2 m wide.
The climb to the summit of North Palisade can be done either on the east side (exposed 4th class, but snowy), or the north-west side (5.5 chimney). Given the early season conditions we opted to take the dry side and meanwhile Matt swapped footwear for rock shoes as well. The traversing pitch ahead looked not too bad so I volunteered to lead, and it turned out to be just 3rd class slabs so I ran out the whole thing, 60 m down without placing any pro to the base of the chimney and Matt quickly came over and took over the lead. The first real climbing pitch had a few 5.4-5.5 ish moves face climbing on slabs with minimal hold to grab. I grabbed the rope at one spot because I was too tired and cold to do any committing move, but had no further issue making to the intermediate belay station. Matt then ditched the backpack and led a 5.5 ish chimney to the summit of North Palisade. The pack was then dragged to the top and I followed no problem. The summit of North Palisade was sunny and not too windy so we took a long break.

Looking ahead to the second 5.5 pitch in the chimney
Looking down at the first 5.5 pitch of face/slabs

The Milk Bottle summit block of Starlight Peak is very eye-catching

Summit Panorama from North Palisade. Click to view large size.

A closer look at Mt. Sill

This is a north-eastern view towards White Mountain Peak way in the distance

Mt. Gayley in the foreground

Middle Palisade is the rugged massif right of center; Birch Mountain on left
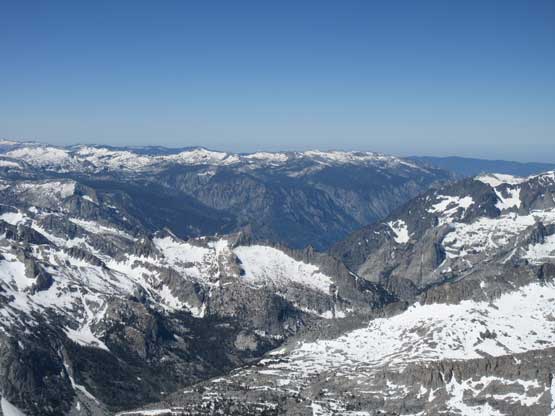
Looking down the Middle Fork King River canyon

In the distance is Black Divide

A sea of peaks to the south that I’m too lazy to label the names…

Mt. Tom is very iconic to the north

Another shot of the summit block of Starlight Peak
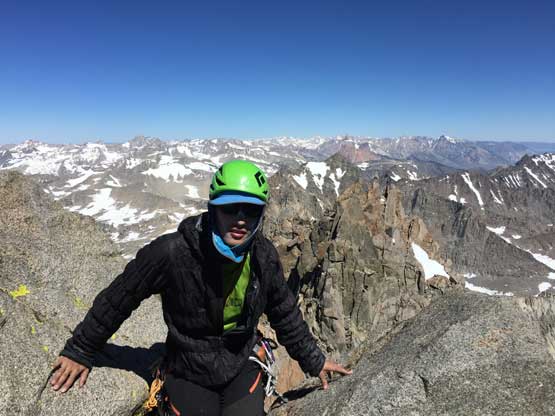
Me on the summit of North Palisade
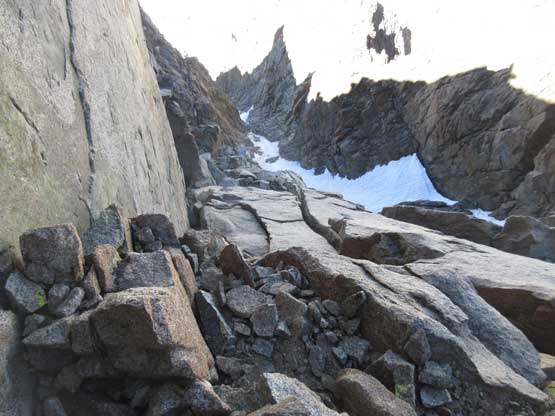
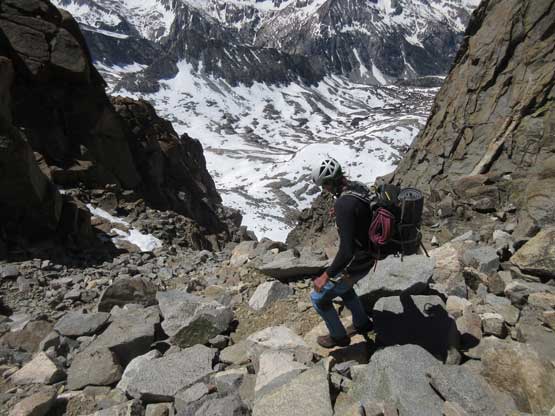
We debated about traversing up and over Polemonium Peak but doing so would require at least 4 extra kilometers of slog on sun-cupped snow which none of us was looking forward to, so opted for descending the SW Chute. I had concern about route-finding on the descent because we did not come up this way. I even turn on the wifi earlier in the morning and did at least an hour of research at the bivy, to the point that I could pretty much remember most of the key sections on North Palisade’s standard route. Reading the trip reports made me think the route was a huge deal – plenty of rope work and easy to get lost. The reality is the opposite. We did one rappel off the summit of North Palisade into a prominent bowl and easily scrambled down into the chute. A few tight spots (snow, ice and chockstones) were down-climbed on downclimber’s left side on Class 4 rock. I did the entire down-climb on mountaineering boots with heavy pack and never felt the need to pull the rope out. This SW Gully is literally a joke comparing the traverse we just did. Lower down we paid close attention to locate the key cat-walk traverse that brought us into the bigger gully coming down from the U-Notch. There were a lot of 3rd class scrambling on exposed and down-sloping rocks but again, after what we’d just done this was a joke. I’m pretty sure I could have done North Palisade via this route without a rope.

Matt leading down the only rappel we did to get off North Palisade.
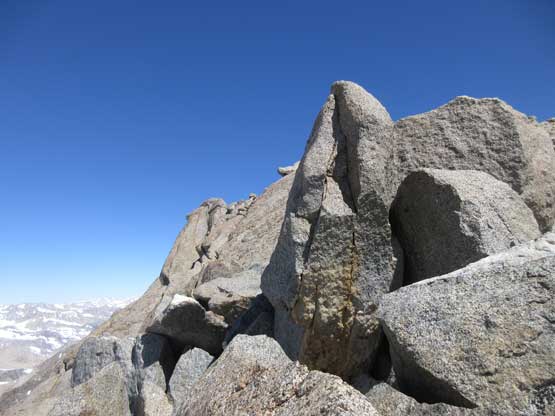
The summit area of North Palisade has a ton of huge blocks.
Route-finding is the key to get off the upper boulders zone.
Into some easy class 2 sections
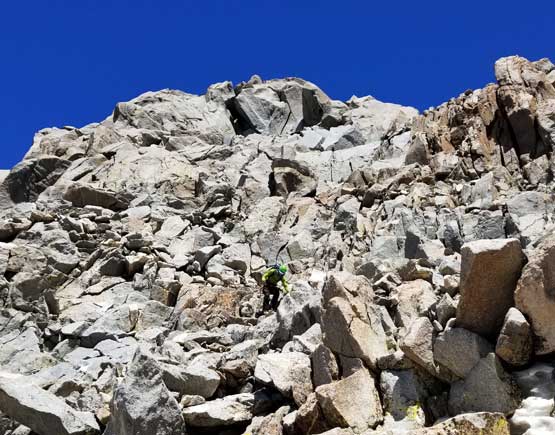
Me working my way down the class 2 stretch. Photo by Matt L.
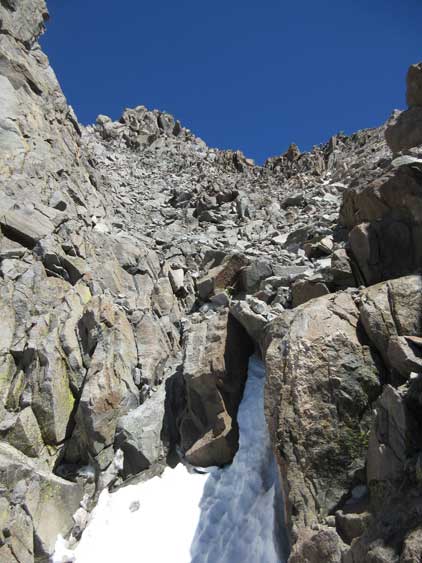
The first chockstone that we had to bypass

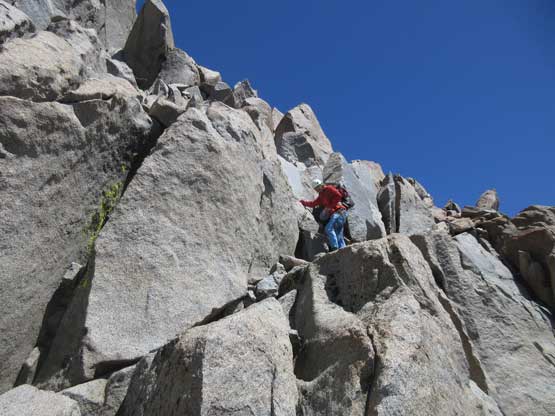
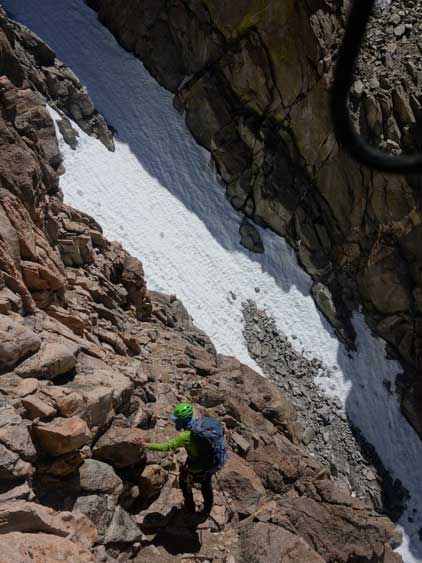
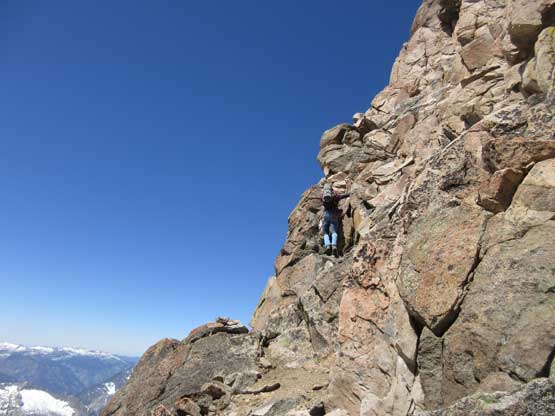
Matt down-climbing a 4th class step

Me down-climbing another 4th class spot. Photo by Matt L.
Me partway across the key traverse. Photo by Matt L.

Matt starting the key traverse.
There were plenty of exposed 3rd class down-climbing along the traverse

Following the cairns is the key…
Into the main gully we decided to don crampons and microspikes even though the snow was already soft in mid-morning. The snow wasn’t as easy as I thought to descend that after trying to plunge/boot-ski I soon gave up and down-climbed the whole gully facing into the slope. The snow surface felt weird for us coming from Pacific NW and I did not trust my footing on the snow, so down-climbing seemed like the safest albeit slowest. The slog back to Thunderbolt Pass and then to Bishop Pass was a brutal exercise on sun-cupped snow and we were both super glad we weren’t stubborn to push for the full Palisade Traverse, as an additional 4 km of sun-cups would have killed us, at least mentally…

Matt hopping into the main SW Gully. Note the shitty snow conditions

The main gully required down-climbing facing into the slope for 90% time

Me on a sketchy rock-snow transition. Photo by Matt L.

Me down-climbing the meat of the gully in less-than-ideal snow conditions.
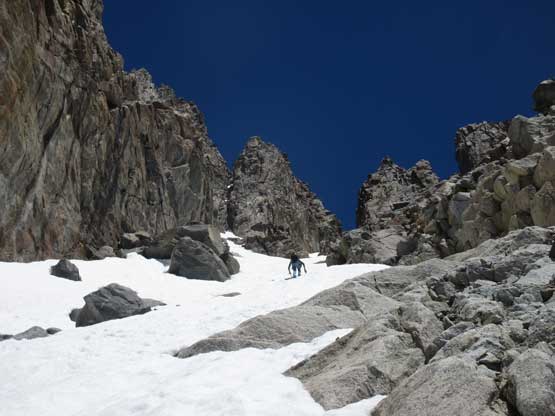
Matt down-climbing. It’s a long one

Finally onto scree. The SW Gully behind

The frozen Barrett Lakes in Palisade Basin
We didn’t bother to take any more long break and instead, opted to push all the way back to the parking lot in one shot. The descent off Bishop Pass to Bishop Lake was tedious but once the snow ran out I got to swap footwear back to trail-runners which certainly helped my mood. The rest of the plod back down the trail was a pure zombie mode exercise. We were very tired and even made a route-finding error missing the trail… The correction involved some unnecessary bushwhacking and elevation gain. And of course the mosquitoes were pretty bad at the parking lot.

Looking back towards Thunderbolt Peak from partway towards Bishop Pass

Picture Puzzle from Bishop Pass

Matt hiking down from Bishop Pass

Looking back at Mt. Agassiz

The trail is a pretty good one, if dry..

At least 50% of the trail past Long Lake was covered in snow
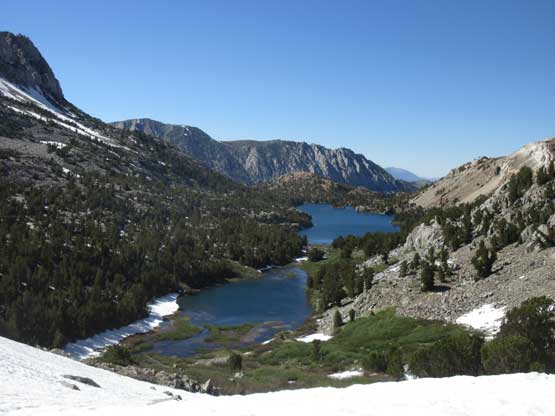
Long Lake ahead
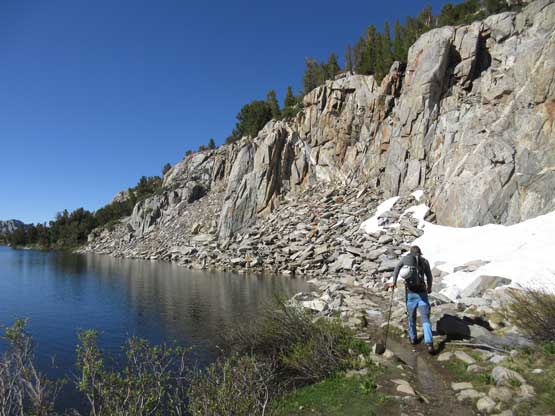
Down to the shore of Long Lake. The trail was flooded here
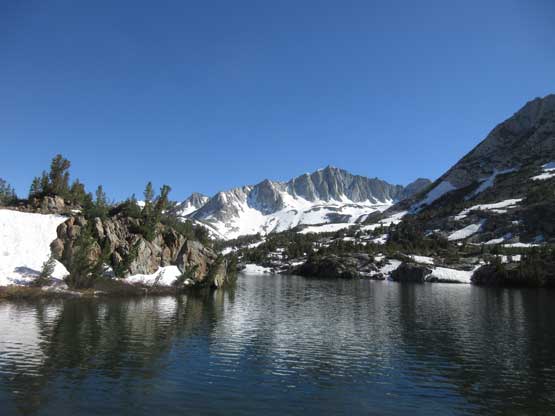
The north face of Mt. Goode and its reflection in Long Lake
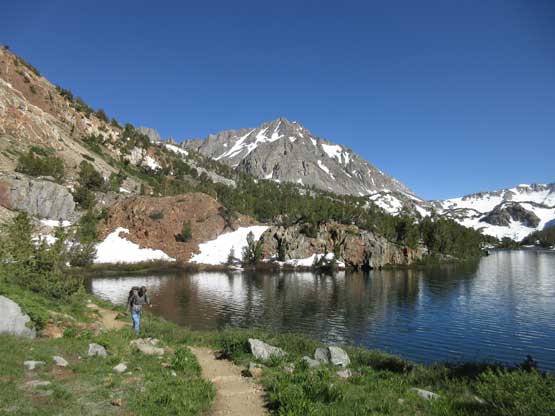
Another shot of Long Lake

That peak at center is the aptly-named Chocolate Peak
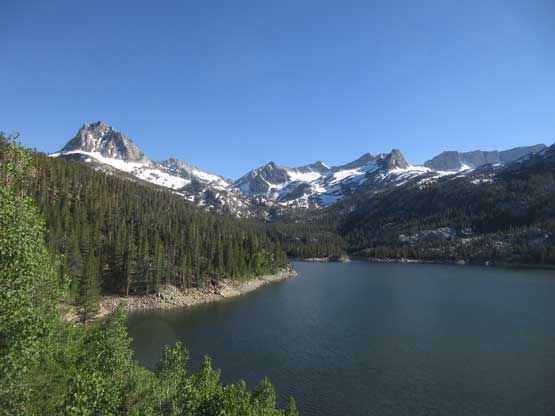
South Lake from near the trail-head..
The next stop was the town of Bishop to meet up with Matt’s friend to give the crampons back to him. Matt had borrowed a pair of crampons but decided to not bring them to the traverse (which was a good call). Earlier in the trip we had decided to hike up White Mountain Peak on the following day before driving home, so we drove partway up the winding road and found a great spot to car-camp.
