Corona Ridge
August 7, 2015
3063m
Siffleur Wilderness, AB
As I drove up the Icefield Parkway from Saskatchewan Crossing I noticed the new coat of white stuffs on my primary objective thank to the previous few days’ storms, and instantaneously I knew it’s not going to happen. Upon meeting Vern at the parking lot we agreed to save it for another day when it’s bone dry, so it’s time to discuss the potential secondary objectives. Vern was pretty keen on the nearby Corona Ridge and since we had roughly 2.5 days I also suggested to make an attempt on the nearby bigger, but unofficially named “Marmota Peak” so that’s it. Thank to the recent ascent by Eric Coulthard and Phil Richards we knew pretty much what to expect.
At elevation of more than 3000 meters this is not a small peak, but there’re a few reasons why it’s rarely ascended. It is visible from the David Thompson Highway but apparently the nearby much-bigger Mt. Wilson and Mt. Murchison will draw the most attention from tourists. Except for the hardcore peak-baggers (and maybe the topological surveyors) I bet nobody would bother to figure out what “that peak” is.. And even if they do, I bet again only the selected few will bother to try reaching its summit. From mountaineering perspective this is a rather unaesthetic trip with most of the time spending on tedious scree/rubble (often side-hilling) with very minimal hands-on scrambling. But.. Looking at the bright side this is overall a remote new area with some unique and rarely-seen views so there’s still something to look forward to. So roughly half an hour later we found ourselves gearing up at a small pull-out by Waterfowl Lake, and about 1 km road-walk later we made to Totem Creek, the start of this long and tedious approach.
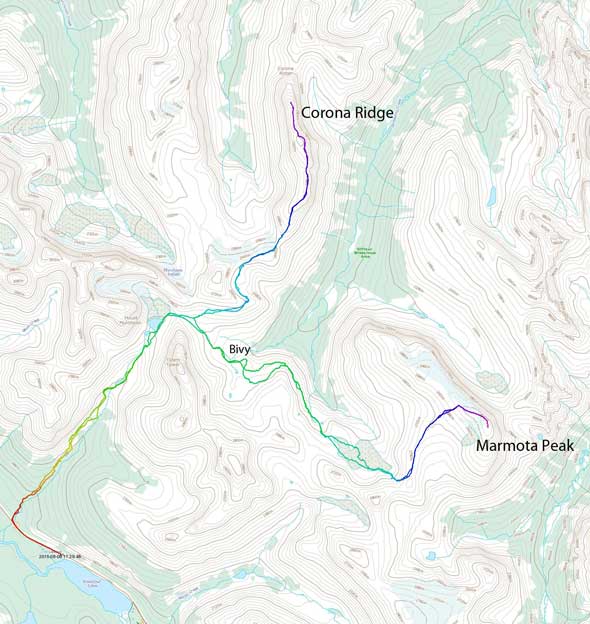
Corona Ridge and Marmota Peak ascent route via Totem Creek. GPX DL
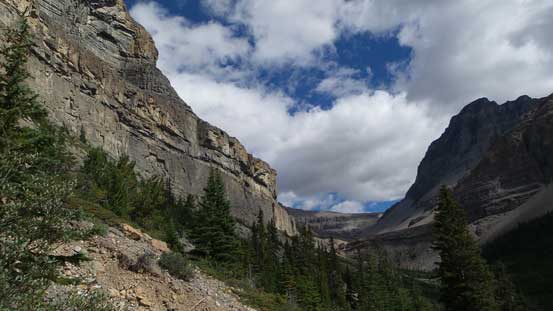
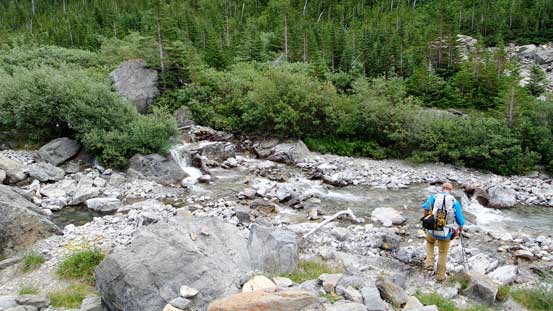
After trying to follow this creek bed up we soon found ourselves bailing into the forest on climber’s left side following a trail/path. Unfortunately this path ended soon but thankfully the bushwhacking wasn’t horrible (yet). The problem was we had to gain height in the forest and it’s very steep making some unpleasant side-hilling. This creek had cut deeply into the bed rock (it had LOTS of water flowing even considering the dryness of this year) so following the creek wouldn’t be an option. Thankfully we had Phil’s GPX tracks to follow so (kind of) knew where to go. It was very confusing though as it just kept going up and up until breaking out of the trees high on Bison Peak (MU1)’s slope. Here we were supposed to keep traversing sideways for a few more kilometers on rubble, scree and occasionally avalanche debris, but we chose to descend towards the creek. It was a mistake as any bush we encountered down low was downright miserable – dead-falls, alders plus some dense-and-tall krumholtz which awfully reminded us the slope by South Rice Brook on Alexandra’s approach, one of the worst bushwhacking in the 11,000er family…
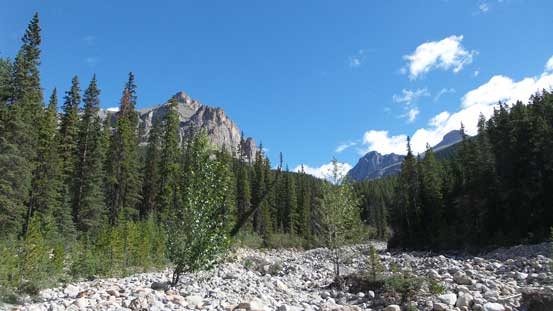
At the start of Totem Creek, looking upwards
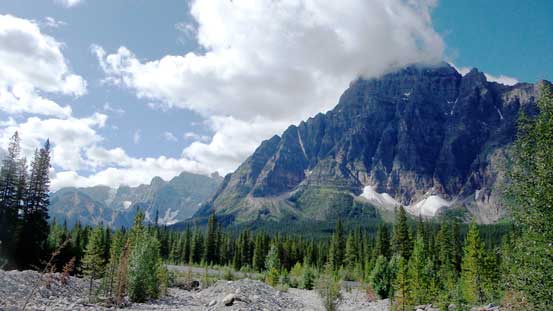
Looking back at the mighty Mt. Chephren

The initial ascent through the forest
Eventually we ascended out of the trees, way up high on climber’s left

Side-hilling slog on rubbles
Any bush near this creek was horrible
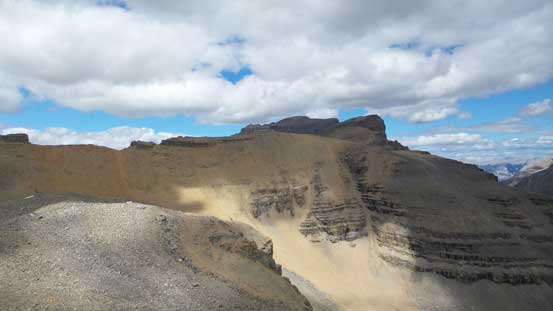
Eventually we did make to the end of the vegetated section and ahead would be the first major waterfall cascading down a cliff face. The only break through this cliff was high up on climber’s left. Here also marked the start of this 2-day rubble/scree side-hilling suffer fest. The scree wasn’t horrible to ascend, but did require some ugly side-hilling traverse to get back down to the creek (and the first lake) once breaking through the cliff band. Hiking around the first lake was nice and scenic but ascending to the upper Totem Lake was again, on tedious rubble and scree…

Looking down at the waterfall draining from the lower Totem Lake
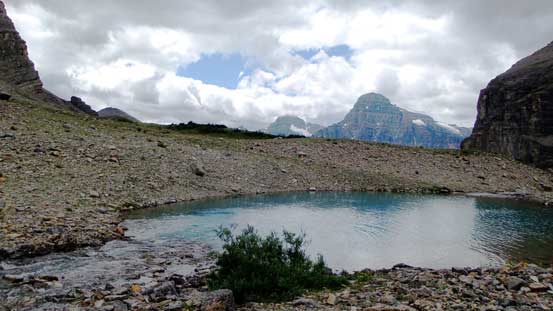
This is actually just a small tarn before the lower Totem Lake
Arriving at the lower Totem Lake

We crossed the outflow of this lake to the right side
Looking back at that small tarn, with Mt. Chephren behind

The lower Totem Lake
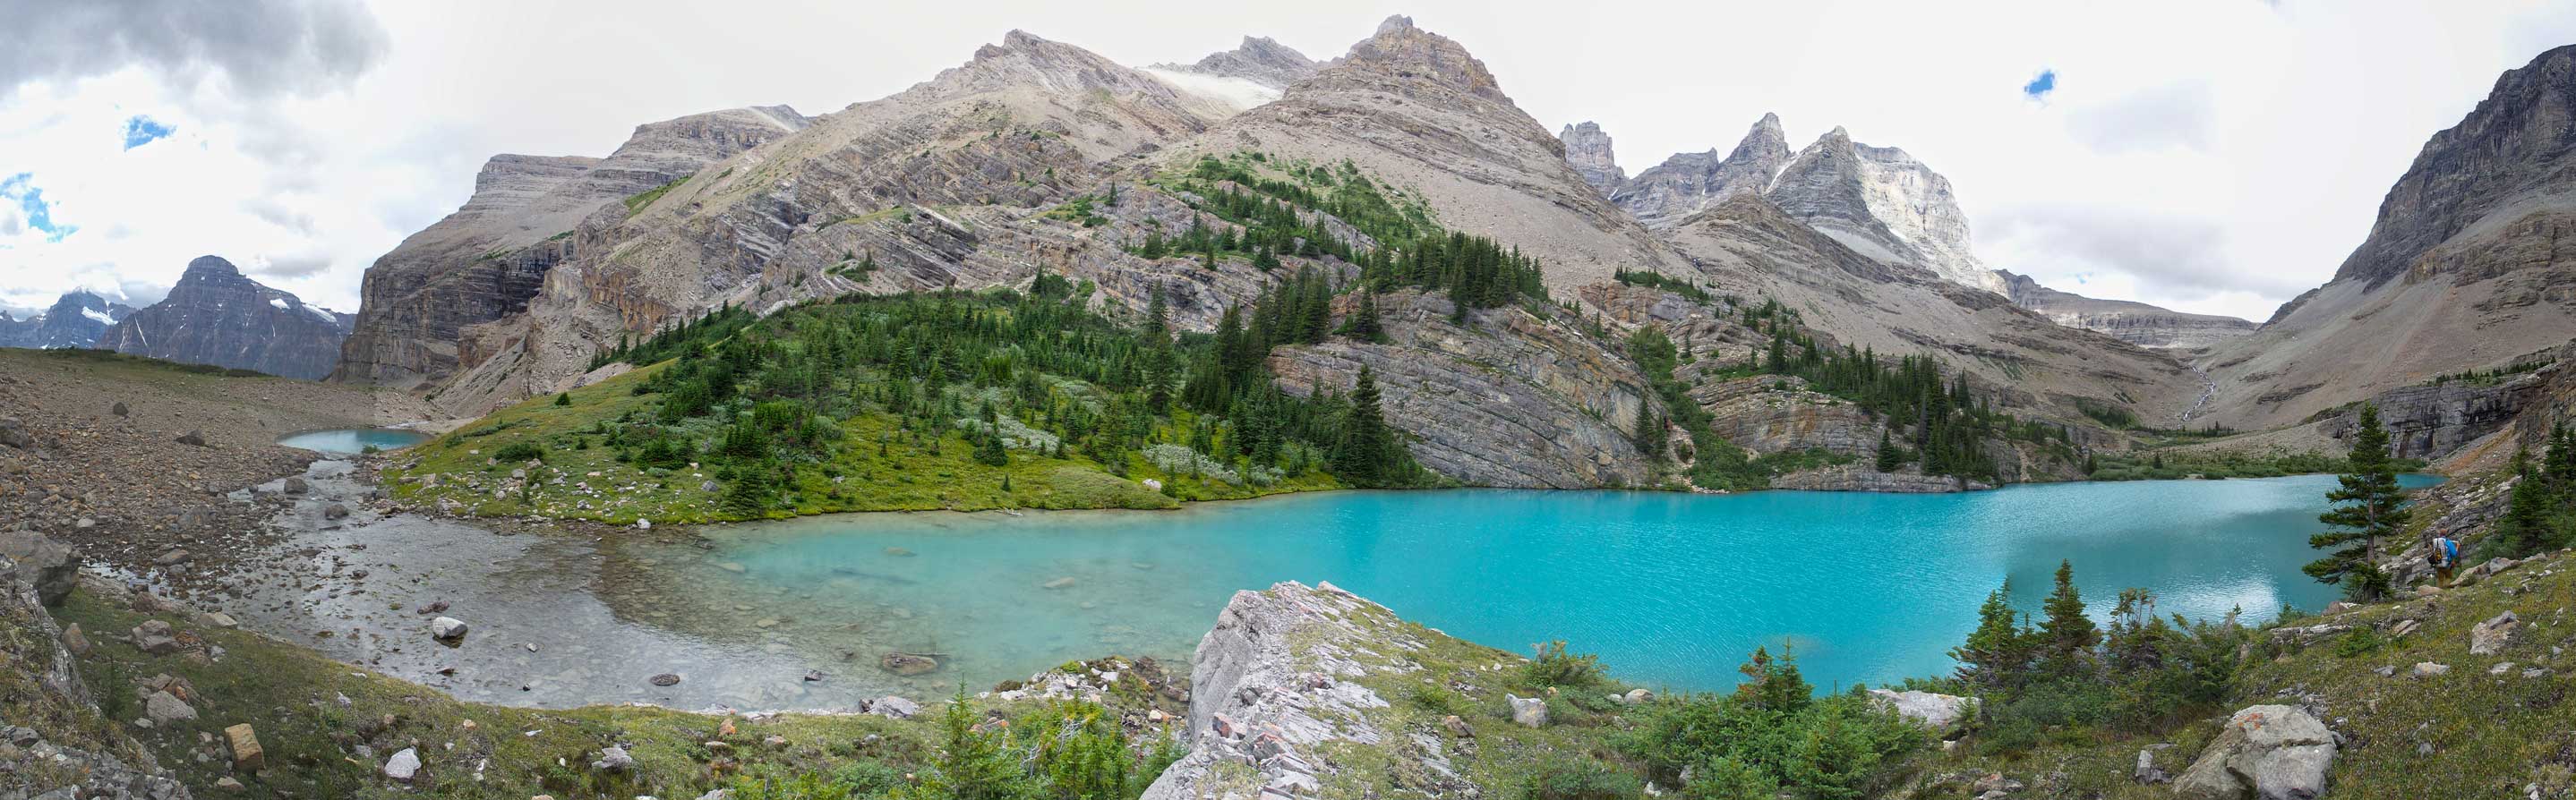
Panorama of the lower Totem Lake. Click to view large size.

Looking back at the lower Totem Lake

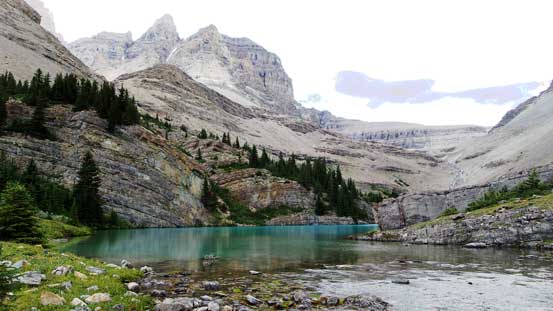
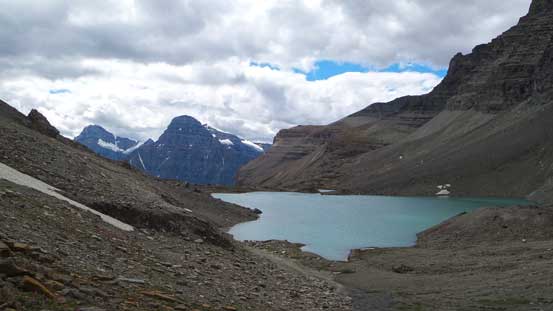
Arriving at the upper Totem Lake
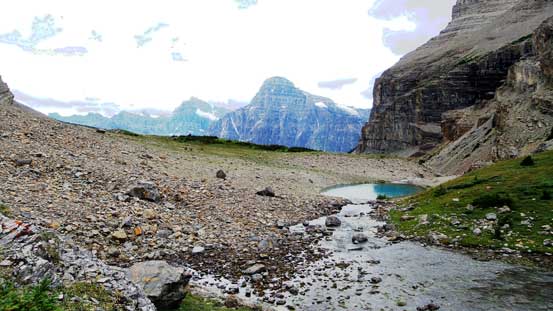
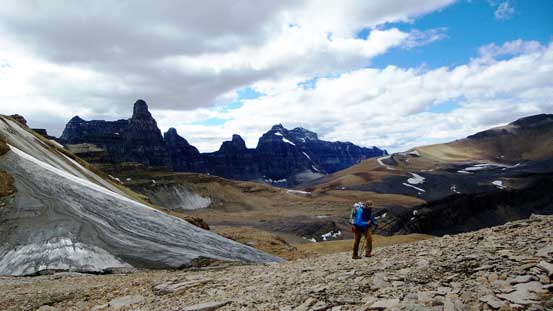
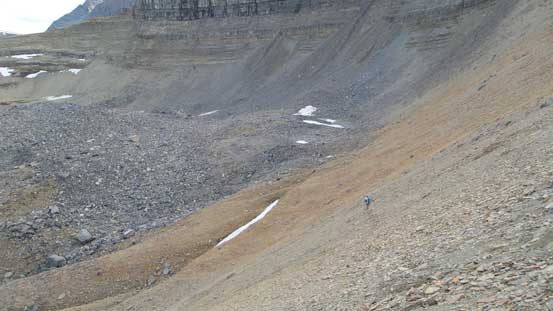
We walked around again, on climber’s right side of the upper Totem Lake. There’s an excellent bivy site on the far end of this lake but we decided to carry on up and over the pass ahead. This’s a key accessing pass with tall cliff faces around on all sides but getting up to the pass (and down the other side) was nothing more than a simple scree walk. Briefly descending the other side (into Siffleur Wilderness) I was sad to see the lack of running water in our immediate environ. We did see a nice tarn with some waterfalls further down the Spreading Creek valley so that’s still OK as we just had to carry our heavy loads a bit further than planned (but also a bit closer to our second objective, Marmota Peak). The objective for the first day was Corona Ridge so we just simply ditched the extra gears on the lower slopes of an unnamed peak directly in front of us.
Looking back towards the upper Totem Lake

Vern ascending towards the broad “Totem Pass”

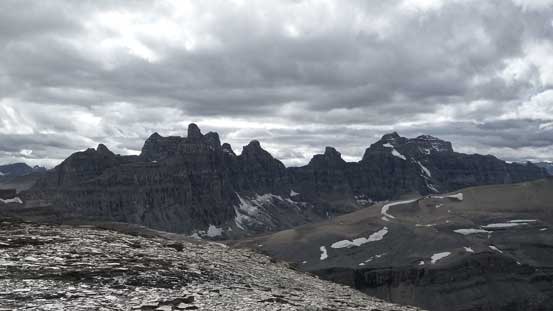
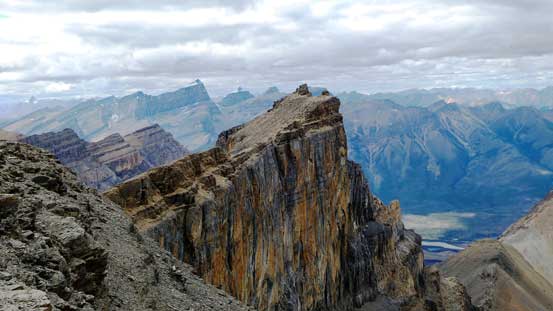
Very impressive Hall Tower – one of the Murchison Towers.

On the other side of the “Totem Pass”, looking back towards the Murchison Towers
Based on Eric’s trip report and Phil’s GPX track we shouldn’t ascend this unnamed peak and instead do a long side-hilling bash up and over the shoulder on climber’s right side and into a bowl. The side-hilling section was on horribly loose scree and once down to the bowl we had a gigantic boulder field to negotiate. Eric and Phil were lucky enough to stay on snow thank to the early season conditions but we had to deal with the boulders. And after the boulders there’s another section of very loose treadmill scree to bash up in order to get back on the ridge. One word to describe this whole section (around the unnamed peak) – miserable…
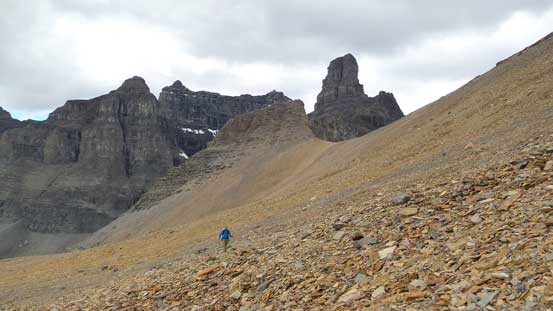
Vern ascending the typical scree towards the first shoulder of the unnamed peak
Still contouring around

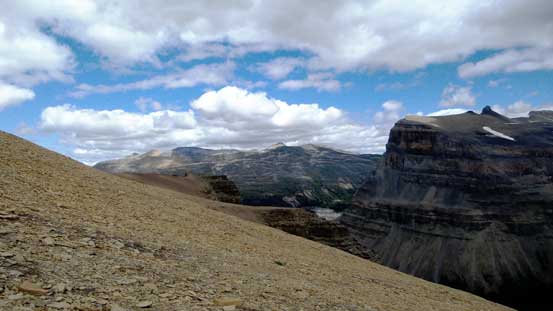
Looking back towards the impressive Totem Tower – apparently a tough climb by Rick Collier
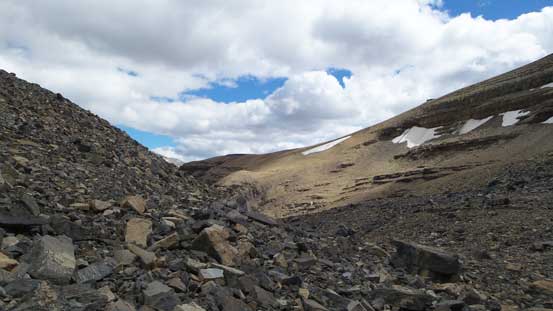
Around the first shoulder, looking ahead towards Corona Ridge

The unnamed peak that we bypassed
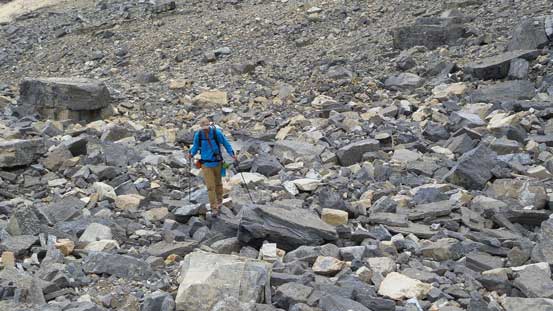
Down into the boulder bowl.
Looking back from the bowl of boulders… We descended from the obvious shoulder

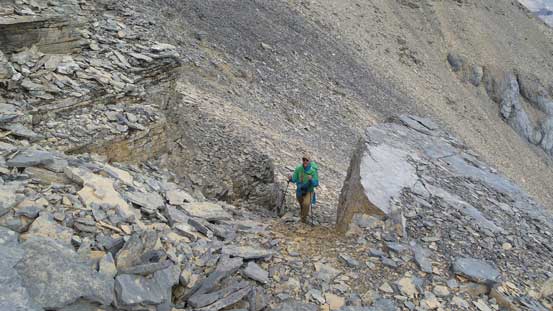
Bashing up horrible scree now, at least the views were good…
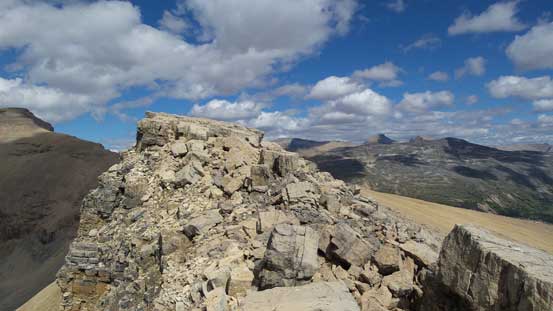
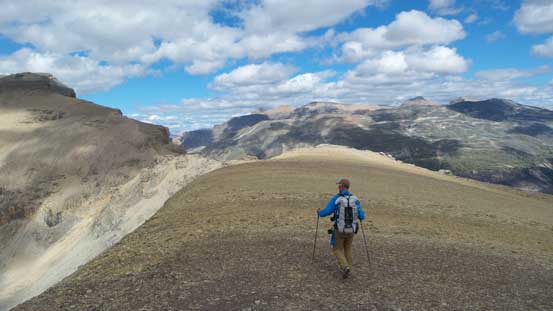
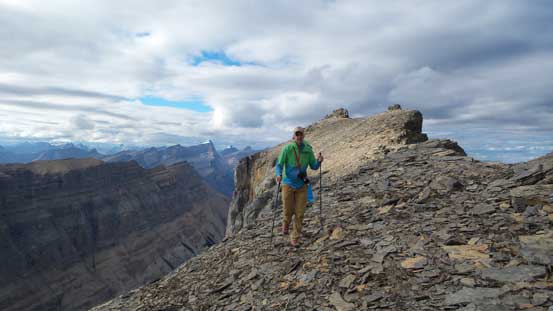
Now we were finally on the ridge leading towards the summit of Corona, but wait a minute there’s still a few sections of up-and-downs along a pinnacled ridge which were very frustrating. By the way, the elevation loss/regain was another theme of this trip beside rubble/scree side-hilling… Thankfully none of these pinnacles posed much problem to us. They were all easily bypassed on either side and soon we were down to the low saddle. Finally we could (constantly) gain height. Breaking through the next cliff band required either side-hill bashing up climber’s left on loose scree or attacking directly up a gully/chimney, and once above, it’s simply a walk (albeit still a long and foreshortened one) to the false summit where Rick Collier et al. placed the register in the summer of 2001.
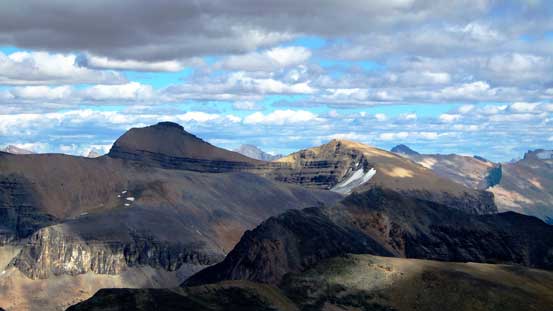
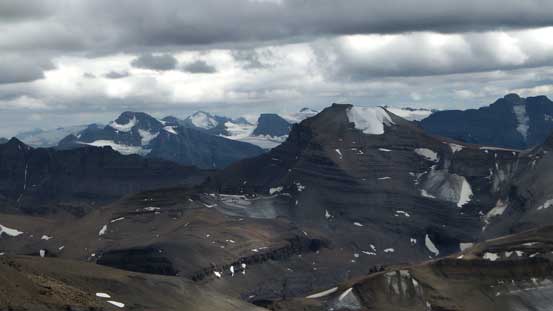
Corona Ridge is finally getting “bigger” now

In the foreground is officially known as Murchison Icefield – more like a permanent ice patch now

Vern hiking on the ridge. The unnamed peak behind
Broken terrain on the ridge
Vern and the ridge
Down the lowest saddle now… Murchison Towers behind

Time to slog up again…

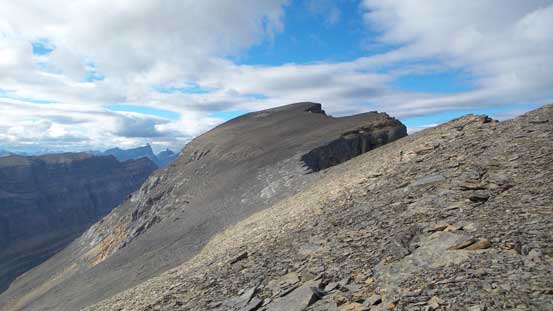
The views were very foreshortened. Ahead was just the false summit
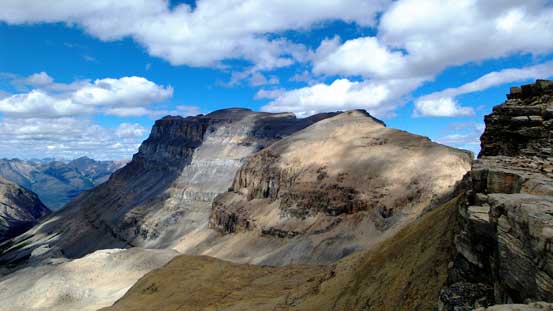
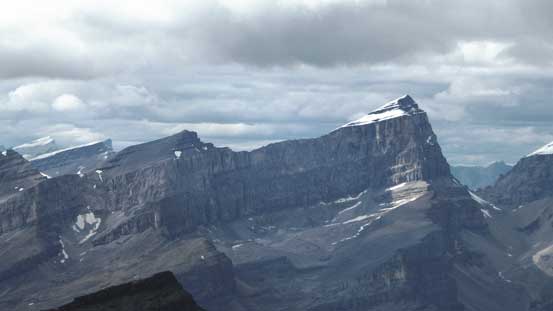
Very gorgeous view of the Mt. Murchison massive
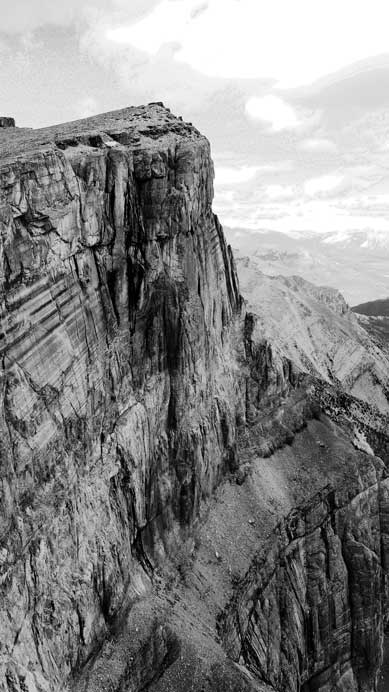
The East side of Corona Ridge is a vertical drop-off

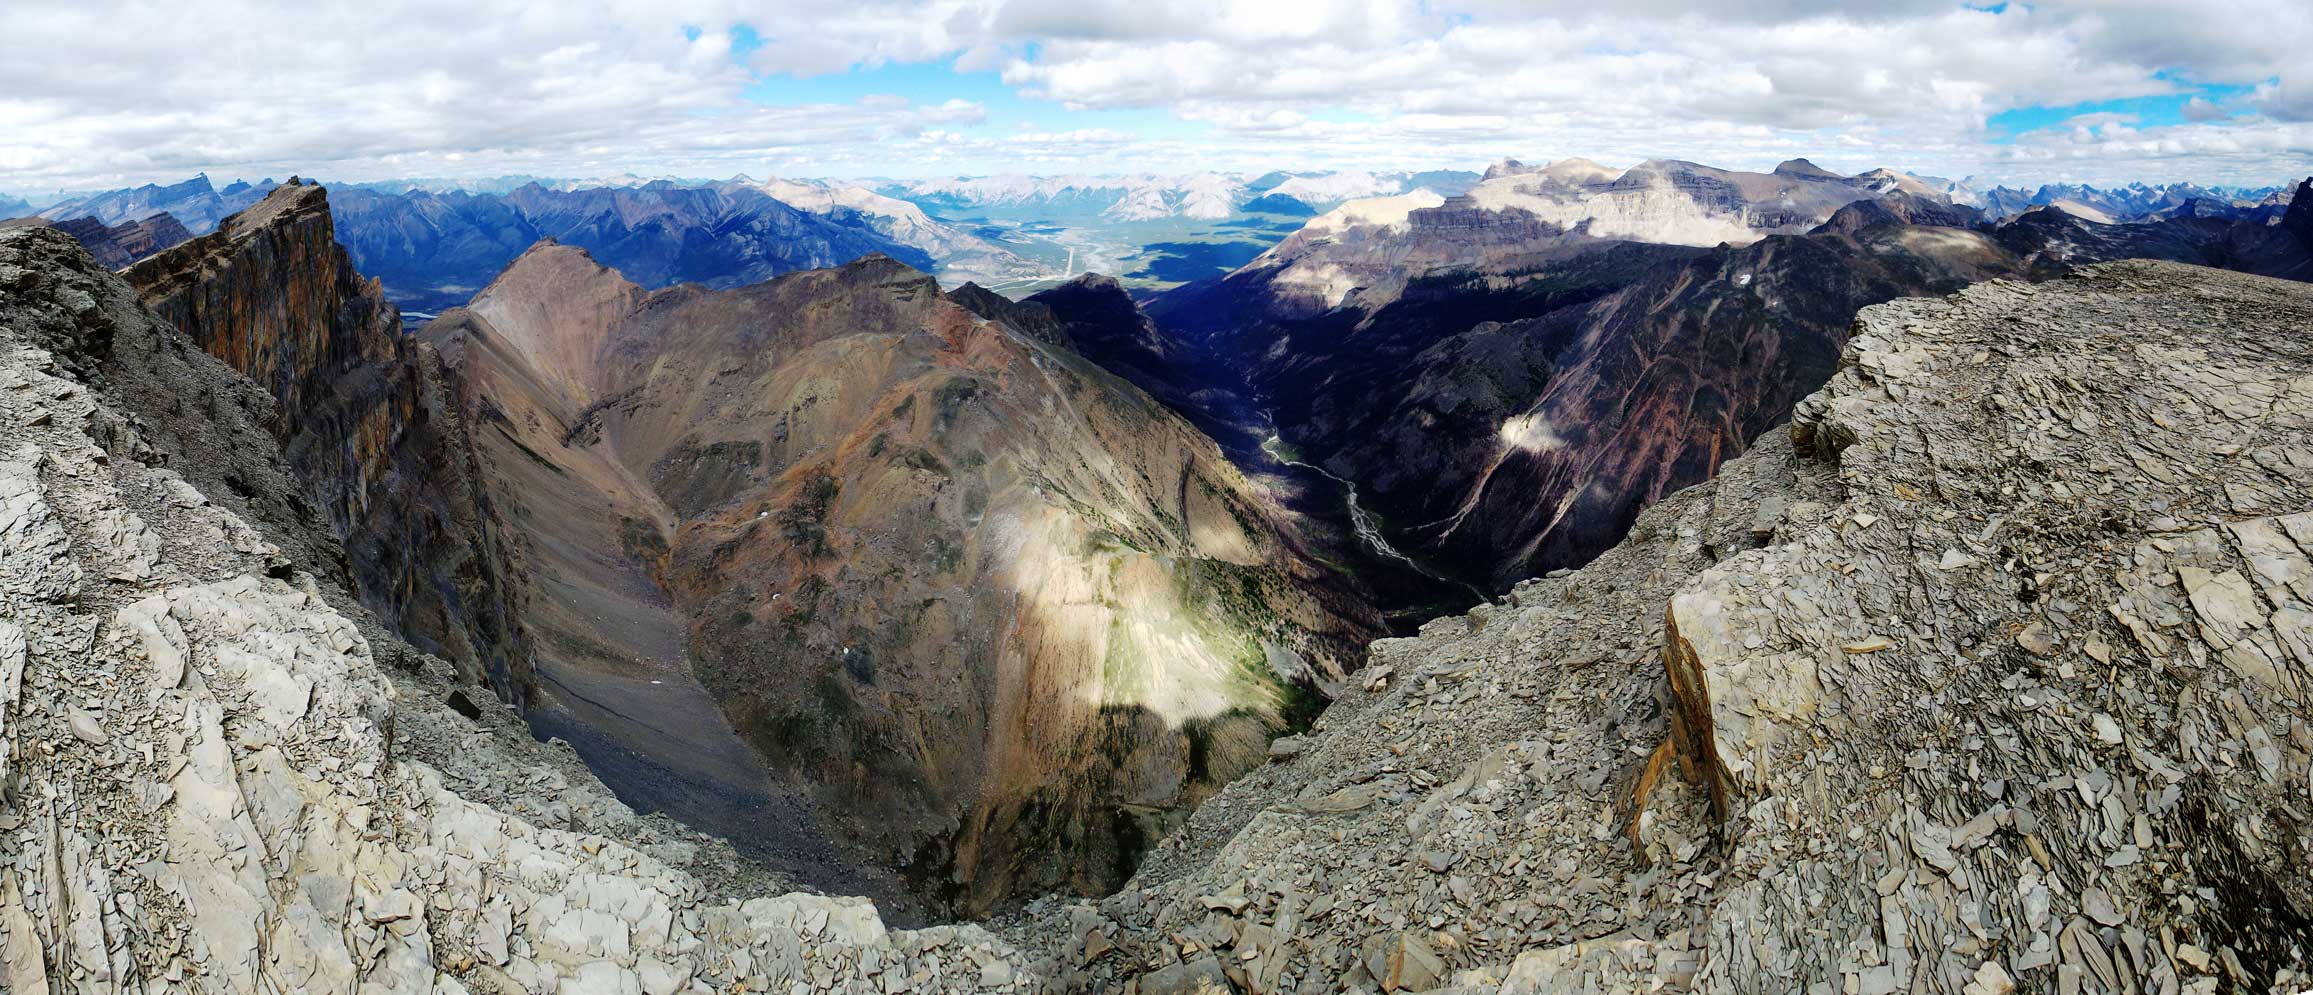
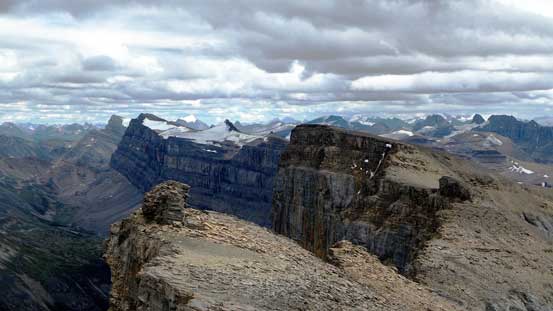
Panorama from the false summit. Click to view large size.
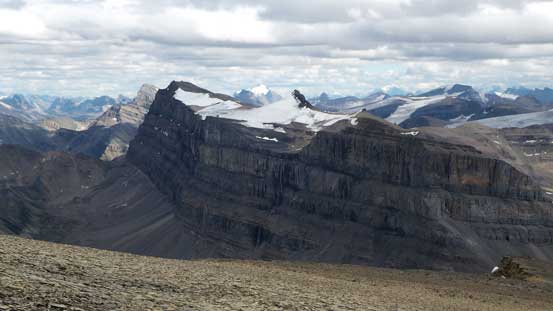
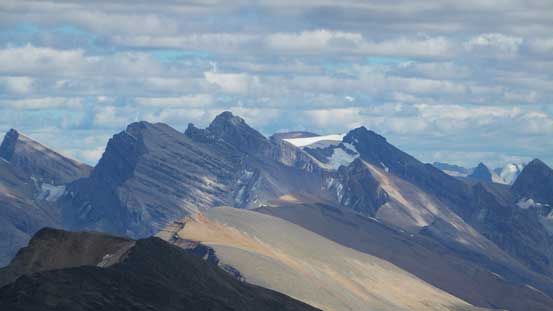
“Marmota Peak” and its impressive cliffs

Mt. Hector rises behind a sub-peak of Marmota Peak
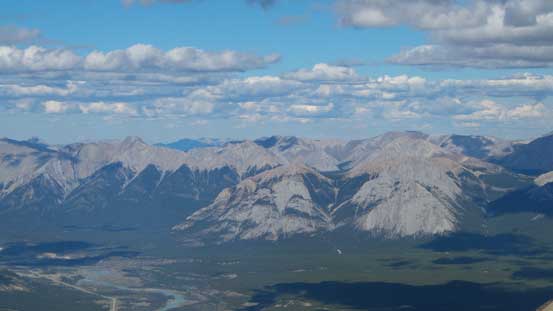
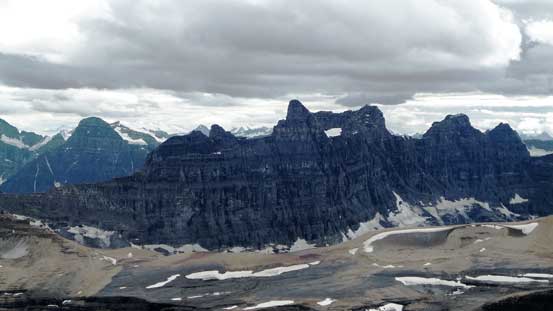
Peaks in David Thompon Country including William Booth and Ex Coelis Complex
More peaks in DTC – as far as I know they don’t have official names
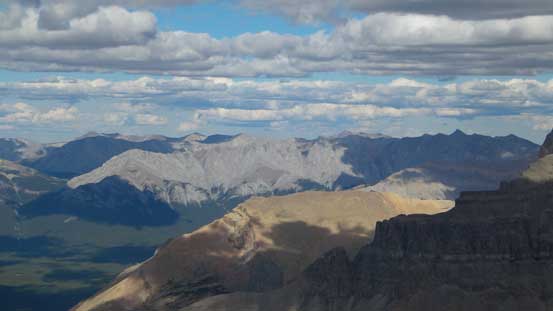
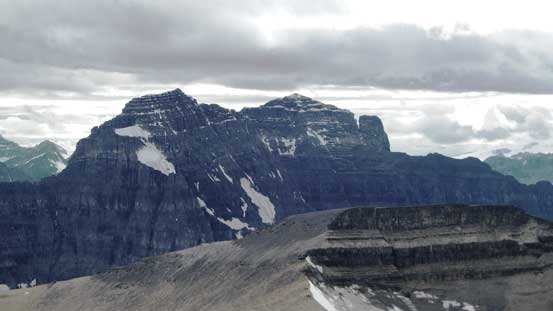
Mt. Loudon is a big one in Siffleur Wilderness

Mt. Willingdon is the highest peak in this group
Recondite Peak
Another panorama from the false summit. Click to view large size.
However, the next summit (about 1 km further north down the ridge) appeared to be slightly higher as it actually blocked some of our views towards Cline/Resolute area. I remember seeing Eric’s photos that the far peak did look higher so we’d have no choice but continuing on. I also carried the summit register over in case it’s indeed a higher peak (we’d check our GPS readings from both summits). Traversing over looked narrow and exposed at the first glance but turned out to be nothing more than easy scrambling again. Some of the difficulties were easily bypassed on the left (west) side and even the summit nipple was pretty easy to attack despite its look from afar. Our GPS did show the far summit to be roughly 8 m higher and that’s clear enough to me. We signed the register (only the 6th or 7th party to sign it since Rick placed it) and left it on the true summit.
The true summit is still quite a ways away
Vern ascending towards the true summit

The final summit nipple

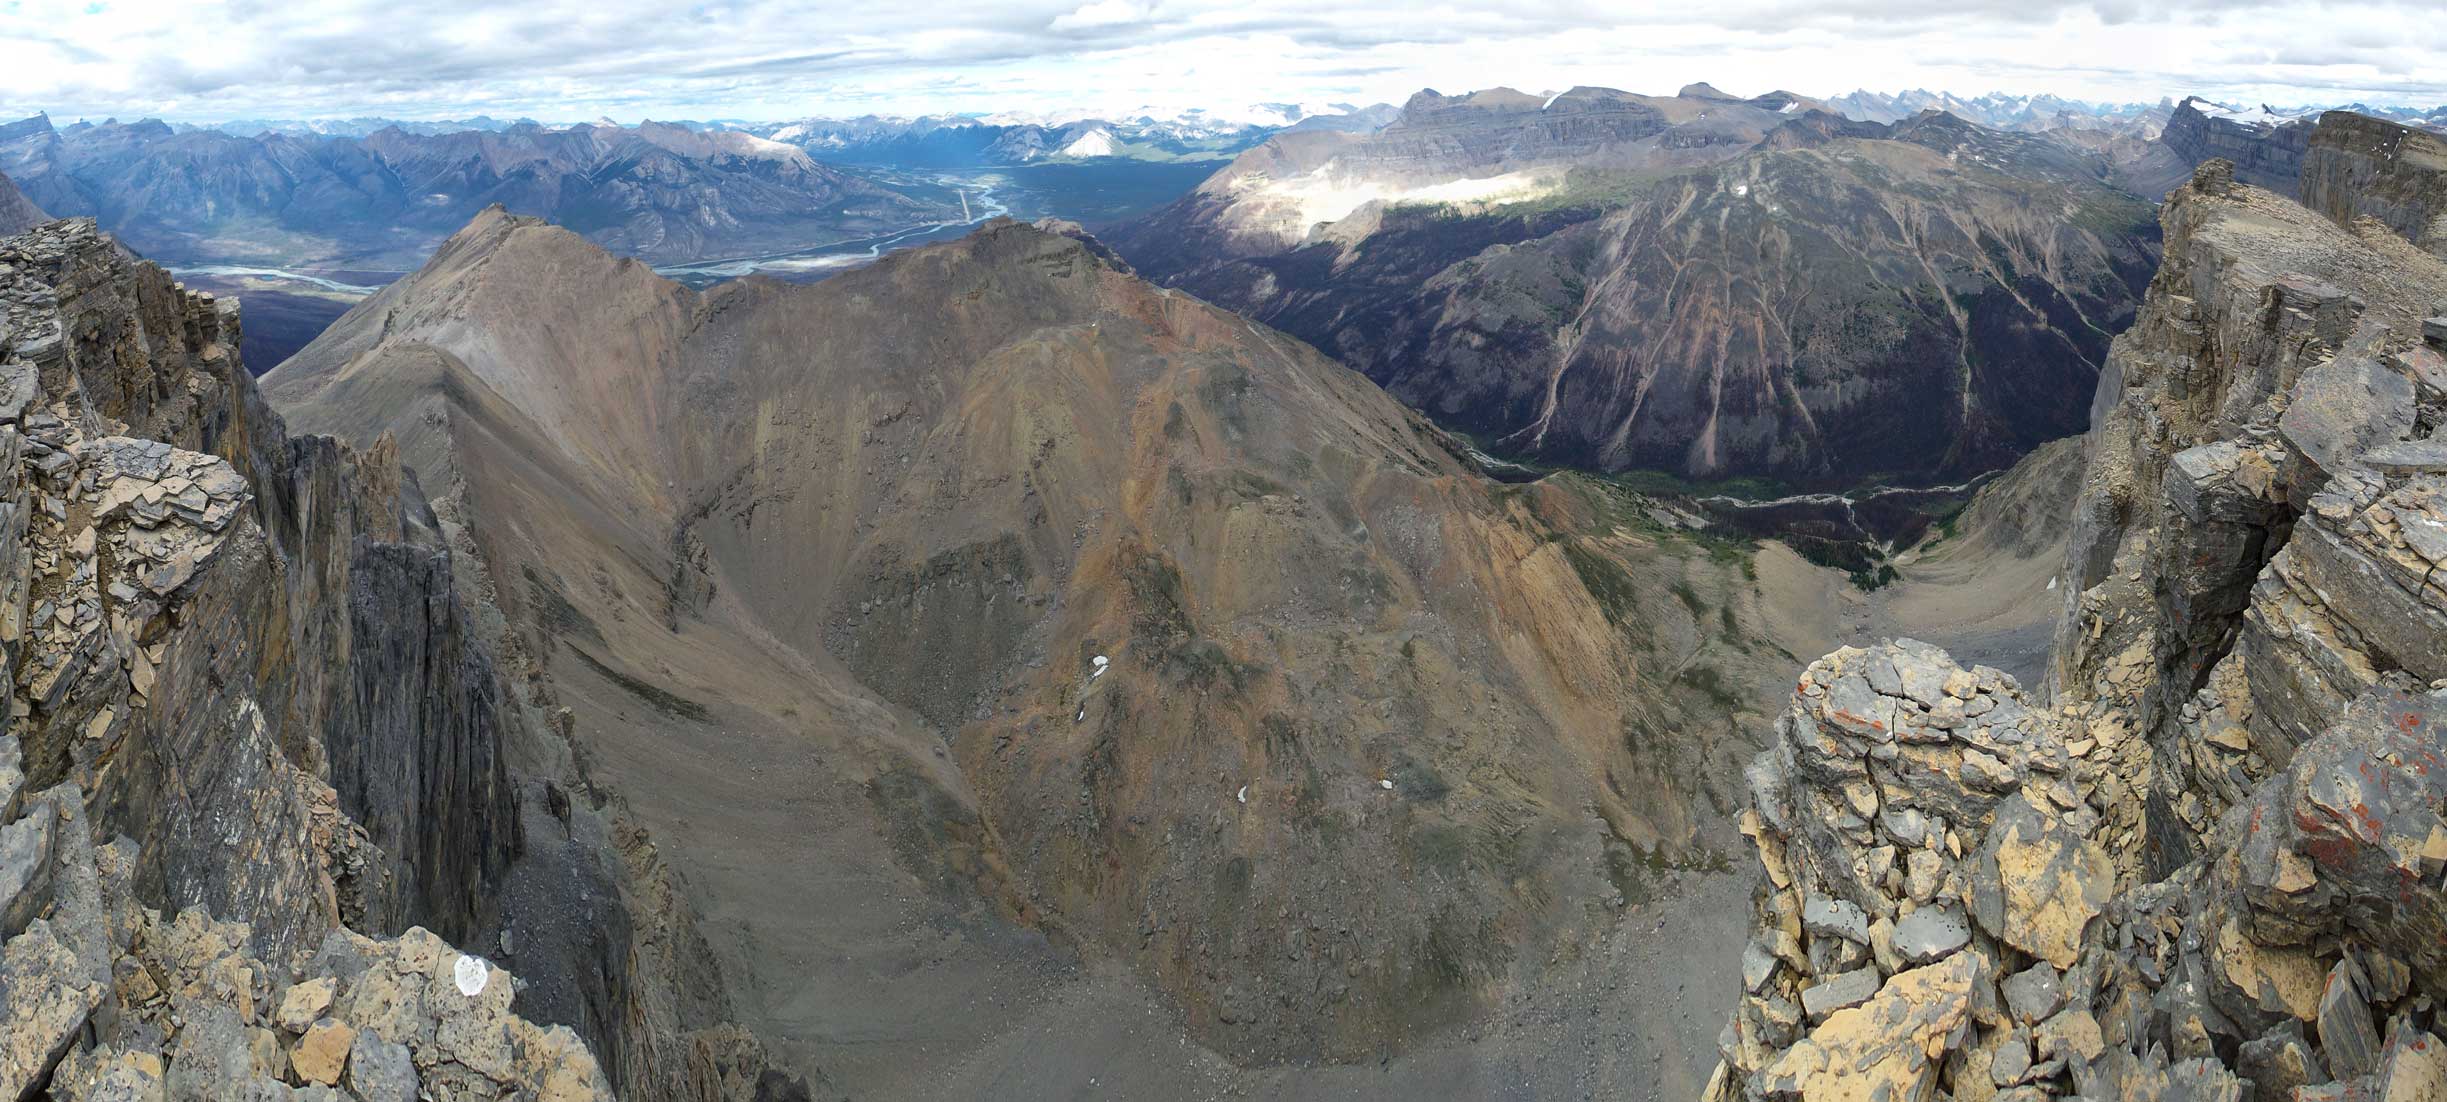
Summit Panorama from Corona Ridge. Click to view large size.
Looking back along the summit ridge towards the false summit

Totem Tower
Murchison Towers including Hall Tower, the most impressive one
The main massive of Mt. Murchison. True summit on left, bagged a week ago
The peak in foreground, right of center is Spreading Peak

Mt. Wilson massive and its icefield
Mt. Cline

Whitegoat II on left; Resolute Mountain in foreground

This peak is Elliot Peak – one of the most impressive ones from DTC Highway

A waterfall and the typical cliffs in this area
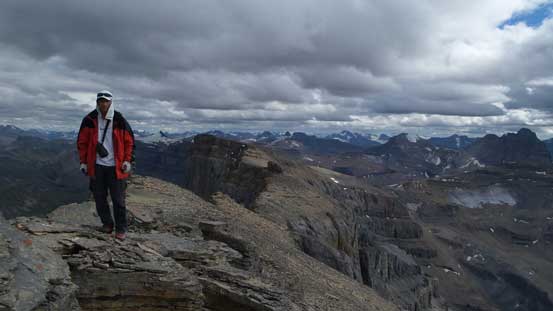
Me on the summit of Corona Ridge
Another panorama from Corona Ridge. Click to view large size.
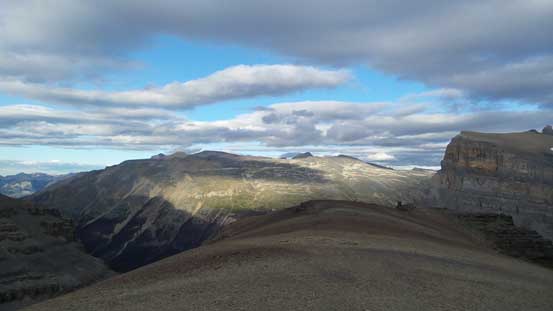
Now what? It’s already 6 pm and we still had a long way to slog back to the “Totem Pass” and then descend to the supposed bivy site. Thankfully descending the loose scree wasn’t nearly as miserable as on the way up so we made progress fairly quickly even though we were both quite bagged. The boulder field and then the side-hilling bashing around that unnamed peak was not so much fun though but with some perseverance we managed to maintain a steady pace. It took us less than 2 hours to get back down, then picked up the gears and resumed the descend down the upper Spreading Creek drainage. There’s more descending than I thought but once down to the lower platform we were rewarded by a 5-star bivy site.
Traversing back towards the false summit
Leaving the false summit behind

Looking back at a steeper and loose section
Descending scree into the boulder bowl..
Back up the shoulder now, looking into the front country
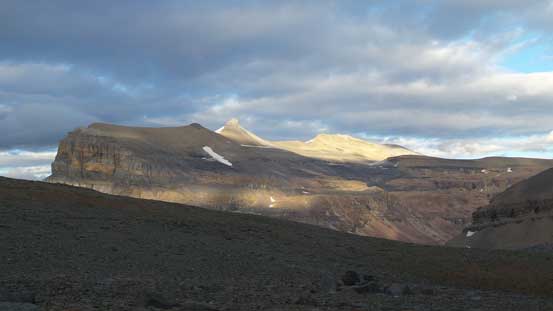
Sunbeam shone on Marmota Peak – our next objective

This is near our bivy site by the upper Spreading Creek
We quickly set up camp and it’s getting dark already so didn’t stay up too late. Our plan was to wake up early for an ascend of Marmota Peak and then hike all the way out on Day 2. That’s going to be a very long bash so better make sure we had enough rest before that… Speaking Corona Ridge itself, it’s an “interesting” objective to say. Depends on what exactly you’re looking for in the mountains it may or may not suit your style. If you’re keen on exploring and trekking in remote places but not technical climbing then this might actually be the one for you. I myself did not enjoy Corona Ridge though and I would certainly not recommend it to anyone but the hardcore of the hardcores…
