Blackcomb Peak (Blackcomb Buttress)
August 19, 2021
2436m
Whistler, BC
Blackcomb Peak is in an easily-accessible area thank to the Whistler-Blackcomb ski resort and gondolas. Blackcomb Peak is the smallest of the three immediately above the Blackcomb Gondola. The other two peaks are The Spearhead and Phalanx Mountain. A few years ago I ascended Phalanx Mountain on snowshoes and that was my only appearance in the Whistler-Blackcomb area. I had an ambitious plan to tag all the peaks from Blackcomb Peak to Whistler Mountain in one massive batch of grab which I would call the peak-baggers’ version of Spearhead Traverse, but such trip never happened and meanwhile I had heard some good stories about a route called “Blackcomb Buttress” on Blackcomb Peak as an introductory level alpine climb. I figured it might make more sense to climb this route so that when I eventually return for the traverse I could forgo the first two peaks to save time.
When Holly asked if I were planning anything on Thursday I instantly decided on Blackcomb Buttress. I was still not doing well on energy due to a recent illness so a gondola access sounded like a perfect plan. Holly also wanted to get into this mountaineering thing so a “mostly 4th class” route was exactly what we wanted. I decided to bring a 60m half rope and single rack of cams in case it’s more difficult than expected and bringing gears also gave us the option to not stick to the easiest path. Holly was already in Whistler so I drove over in the early morning myself. Holly had done researches about the logistics so I just needed to follow her lead. We parked at “lot 1” and showed up at the counter an hour before the first ride to secure our ticket. It wasn’t a busy morning but we had to make sure to get on the first gondola. The first ride was at 9:30 am and the last ride down would be 5:15 pm so we were on a tight schedule.
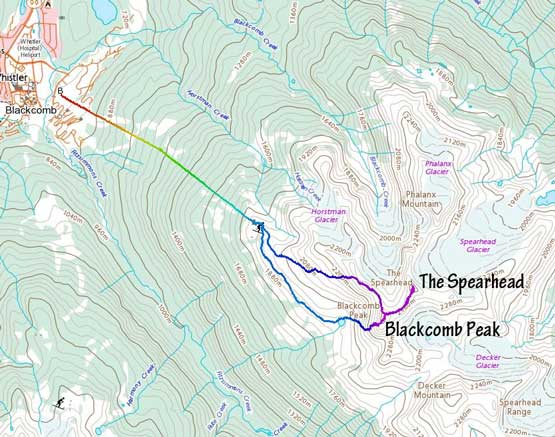
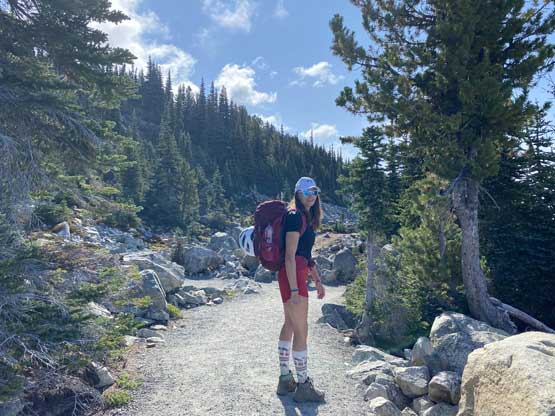
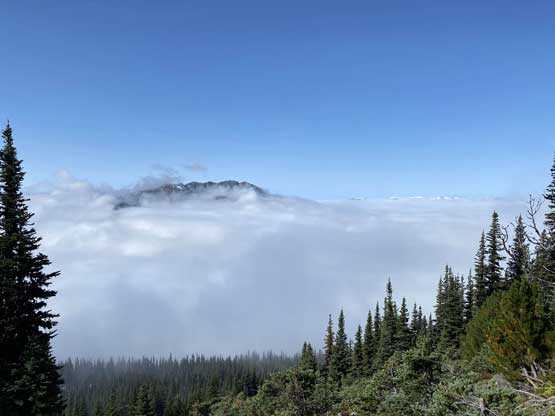
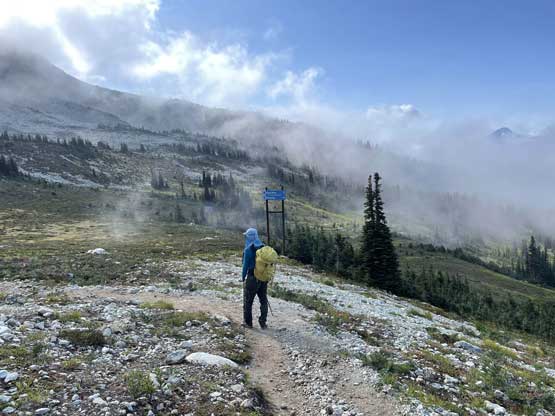
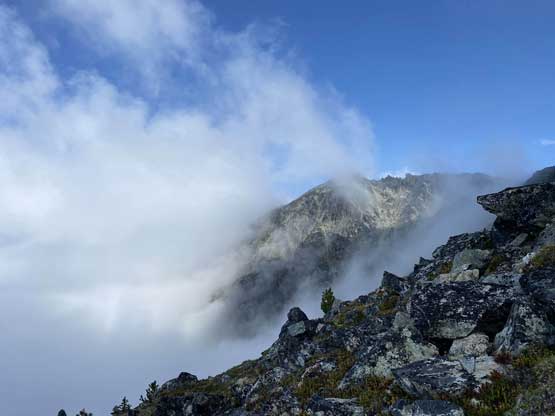
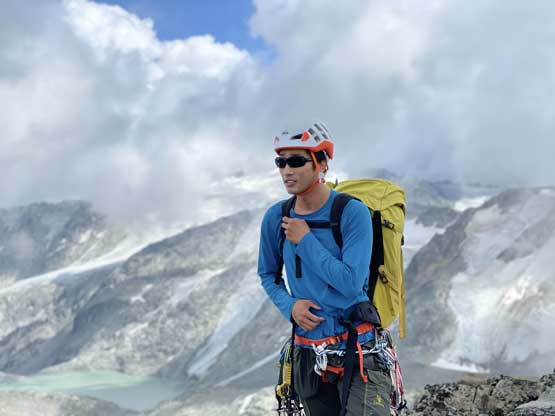
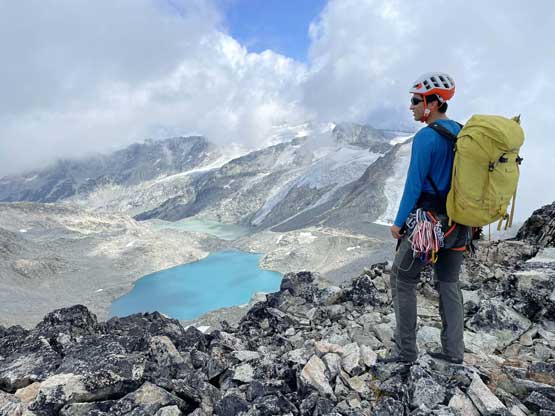
The weather had been 100% overcast but I had been checking the webcams in the alpine and I knew there’s an inversion. By the time we made to the upper gondola station the clouds had lifted just enough to obscure us, but the blue skies were above and our stoke level was high. The first stage was to traverse towards a small lake on the west side of the peak and this was entirely on a well-marked trail. We made the dash in just over half an hour and got some neat views, but the clouds closed in again by the time we reached the lake.


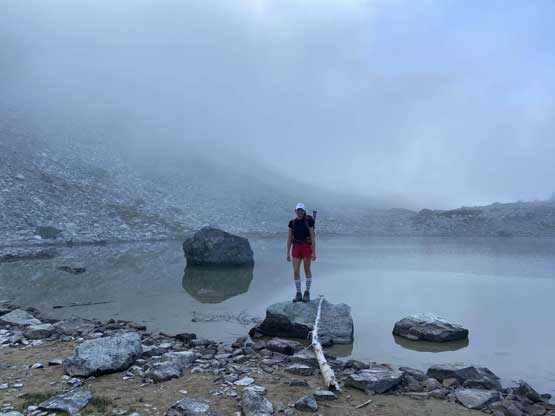
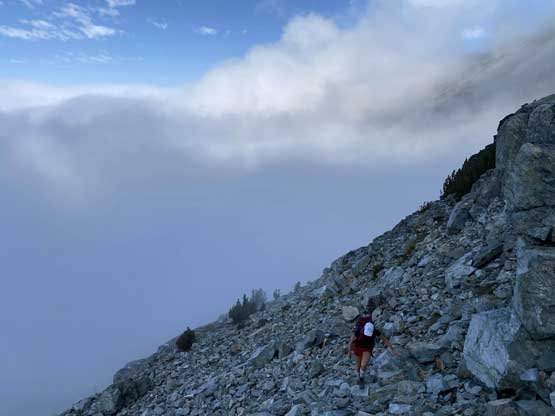
The upper mountain including the buttress itself was completely soaked in the clouds and I did not come here with a GPX track, but I did have a rough idea where to aim at. We started scrambling up talus slope on the opposite side of the lake and weaved around some obvious weaknesses and smaller rock bands. The clouds lifted briefly for a few moments such that we could correct the bearing. I could make out what appeared like the “DOA Couloir” and our route would be on the left side of the main couloir. The scrambling from the lake to the base of the route was longer than I thought and the terrain was not particularly pleasant, though not terrible.

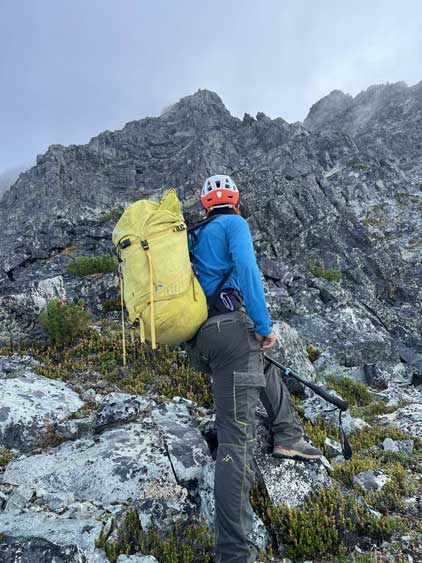
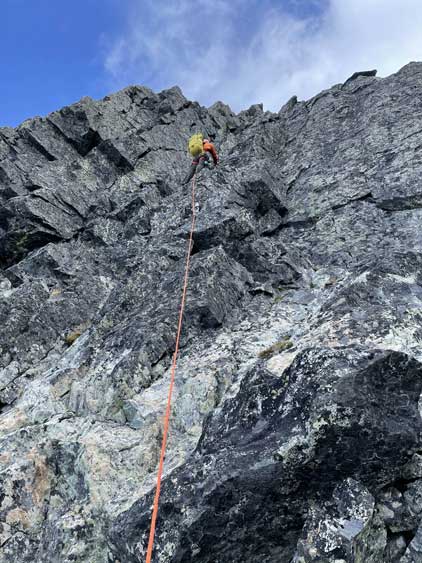
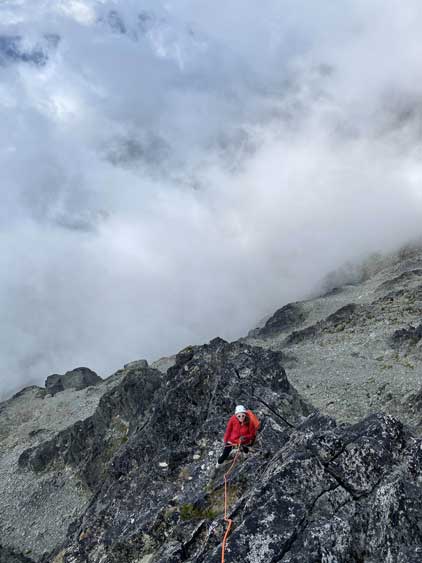
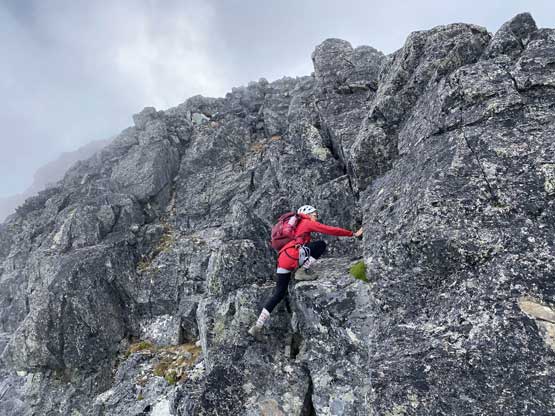
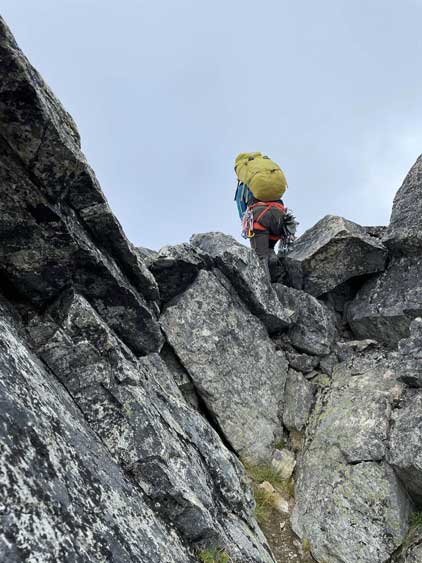
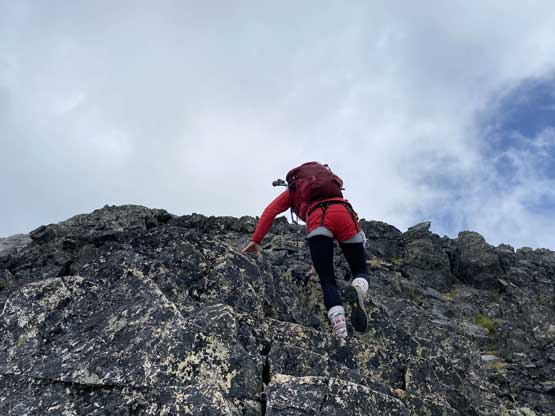
I knew the correct route was to traverse left around the ridges making a roundabout route but I decided to take a straight-up shot to get onto the buttress for some additional challenge. We roped up at the base of the line I spotted and I took the lead. The climbing was harder than appeared and I had to make a few micro terrain adjustment to keep it within the grade of 5.4. I was glad to have worn the rock shoes on this pitch. Once getting onto the buttress proper the climbing was indeed mostly 4th class and I ran the full rope length without placing any more pro. For the next two pitches I again, mostly just ran a full rope length and belayed Holly up using either rock horns or big boulders. There were plenty of secure boulders to use as belay stations on this route. There was still a short section of climbing above the end of the 3rd pitch but after some discussion we decided to just scramble it to the summit.


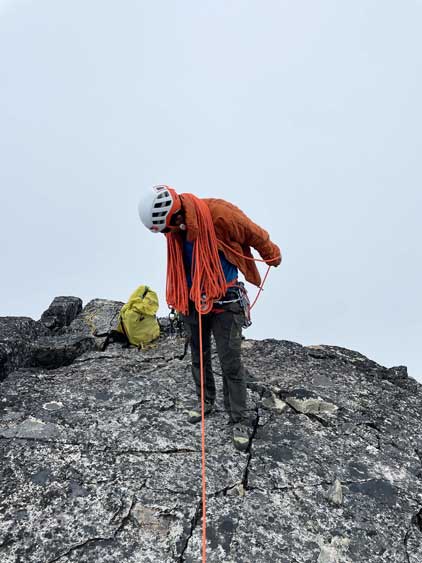


We took our time packing the gears as the rest of this trip would be entirely on non-technical terrain, although we weren’t doing particularly good on time so we must hurry. The descent from the summit of Blackcomb Peak to Blackcomb/Spearhead col was without event and we quickly made our way towards The Spearhead for the second objective in this day.


