Cloudraker Mountain
December 30, 2015
2385m
Lizzie Creek / Lillooet Lake Road, BC
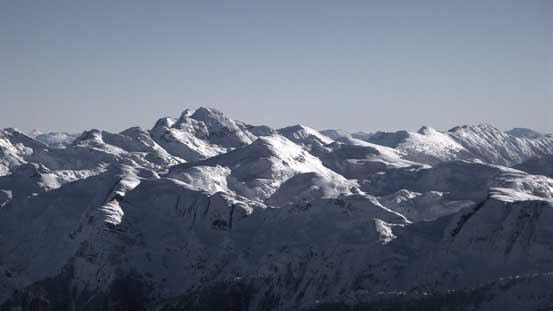
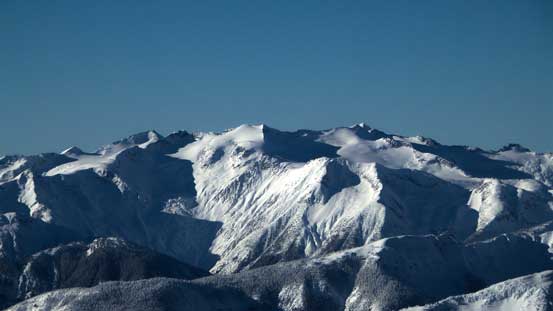
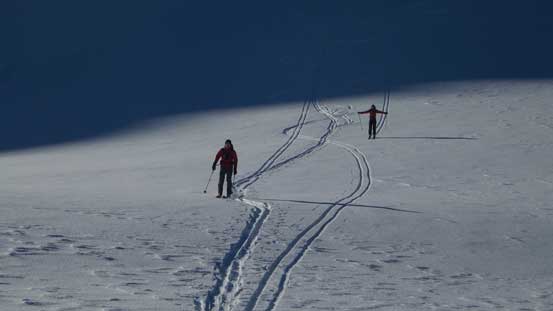
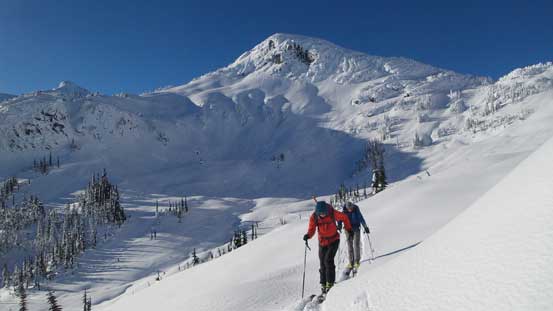
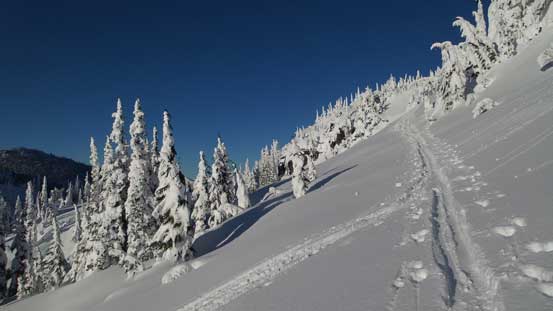
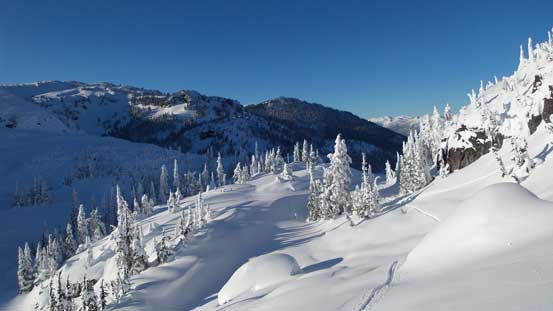
Cloudraker Mountain is a glaciated massive, a fairly prominent peak dominating the SE side of Lillooet Lake west of the Stein Divide. The climb isn’t particularly difficult but the access has become tricky in the recent years. It seemed like the approach via Rogers Creek FSR and the long SE Ridge would offer the easiest way up this peak, and the traditional way from Lizzie Creek Cabin up the N. Face is a longer and more difficult, although more interesting option, but no matter what it’d probably require at least 2-3 days. This was the primary objective of our 8-day Lizzie Creek Cabin ski trip and Alex, Alan, Ben and myself managed to put it down on the 6th day, after an alpine start at 5:30 am followed by traversing up and over Famine Mountain and Hanging Mist Peak early in the morning.

Cloudraker Mountain ski ascent route from Lizzie Creek Cabin. GPX DL
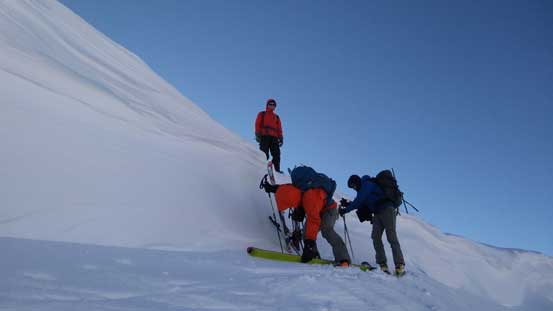
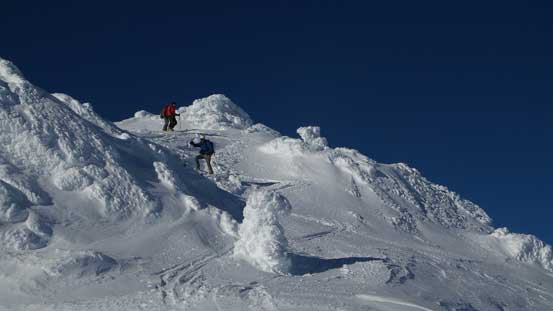
There appeared no easy way down from Hanging Mist Peak to the glacier below but upon examining closely I found a spot where the cornice was the shallowest. We dropped down from there (only about 1 m of vertical snow) and easily descended to the glacier. The glacier was tame and easy to ascend with no obvious crevasse on our route and we reached the base of the north face in no time.

We had to find a way down this thing…
Problem solved..
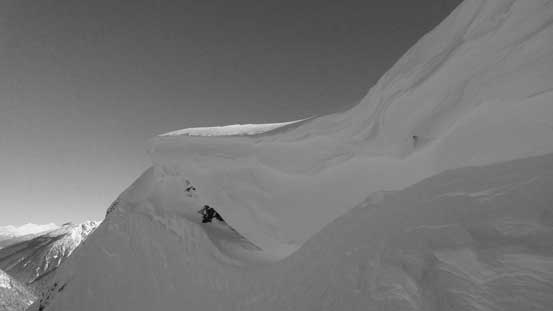
A massive cornice on Hanging Mist Peak
Down to Hanging Mist/Cloudraker col now, looking back
Another shot of Hanging Mist Peak
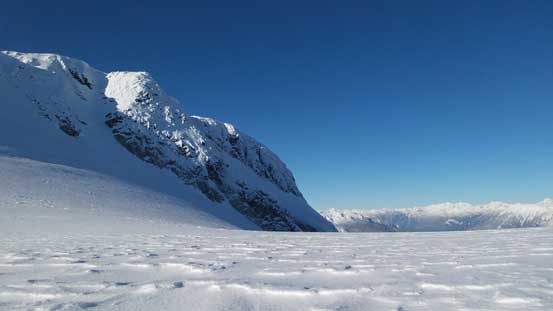
Ascending the glacier
Neat windscoop
Ascending beside this wind scoop

Nicely formed snow arete

Higher up on the glacier
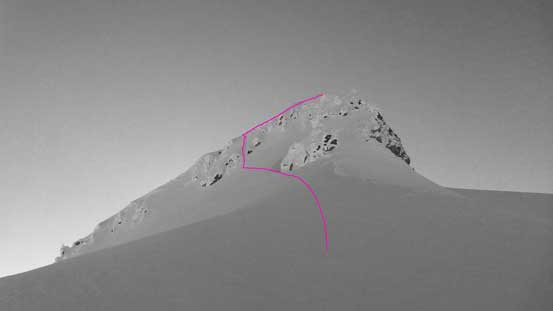
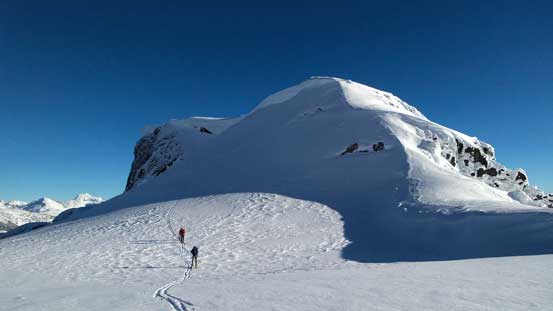
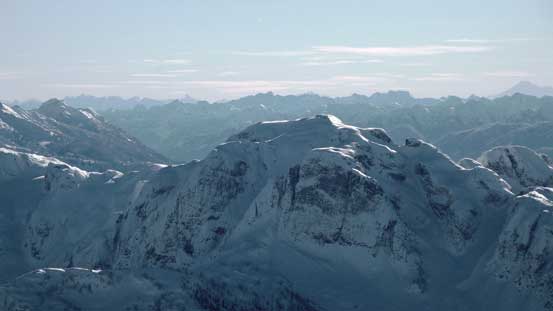
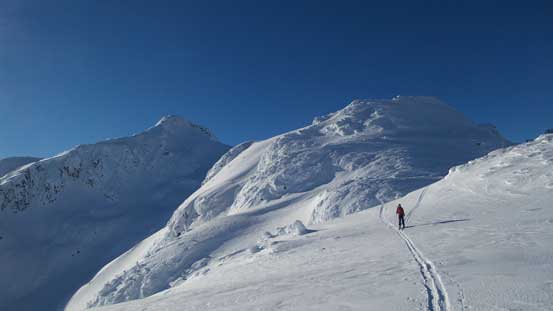
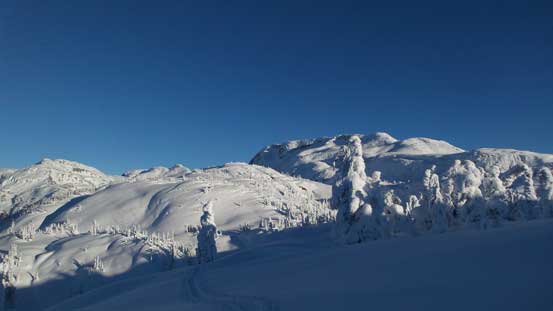
The north face and the route we took.
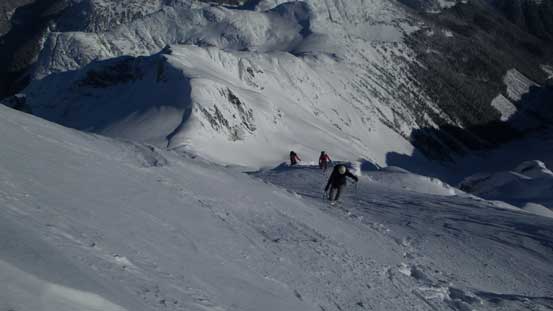
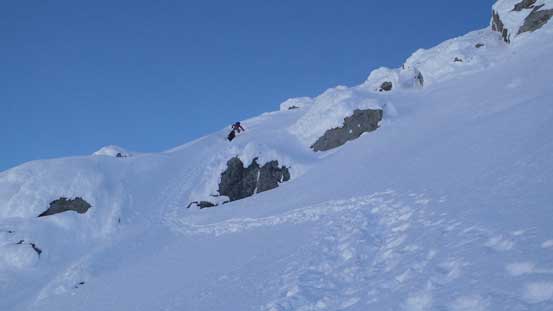
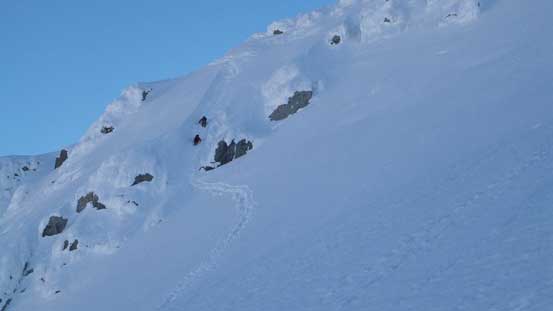
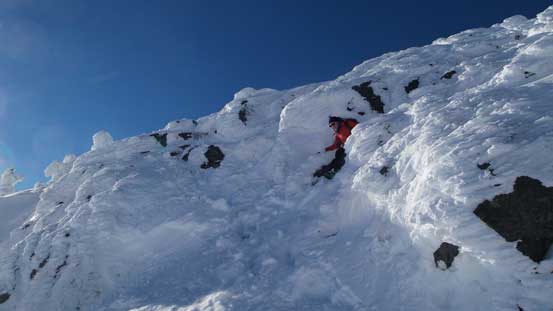
The north face appeared steep from afar and still looked fairly steep from just underneath. We had discussed various route options and I initially led a way boot-packing traverse horizontally towards the “lower break”, but the post-holing had become arduous about halfway across the massive face. I got tired of the post-holing and thinking given the stability we might as well do a more aesthetic line so started booting up diagonally up towards climber’s left. I had spotted a steep couloir feature on the face and that’s where we’d go. The couloir was a bit steep than I thought (probably max. out to 50 degrees) and the post-holing wasn’t getting much better, but oh well.. After clearing this couloir there’s still one short, but exposed traverse to the left to intersect the SE Ridge.

Time to ditch skis and bootpack
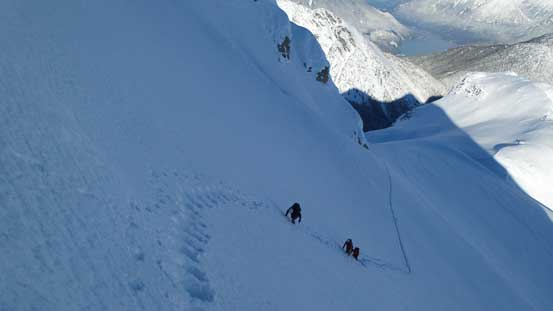
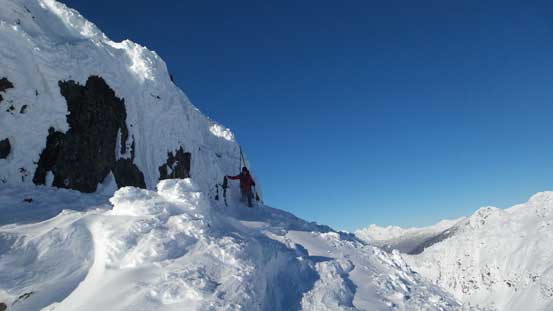
Climbing up the lower face

Climbing up the couloir
After the couloir, we had to traverse this slope to intersect the upper SE Ridge

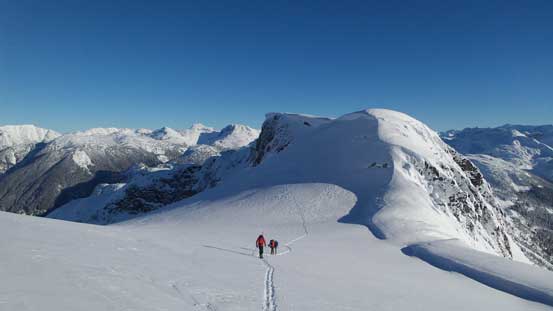
On the upper SE Ridge now, looking ahead
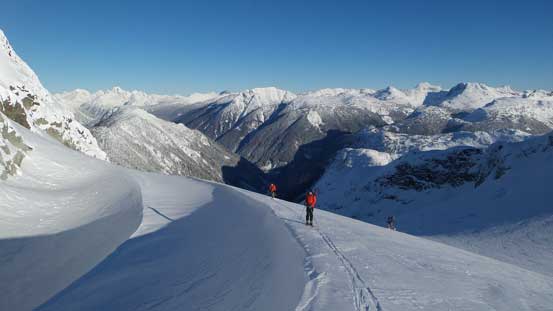
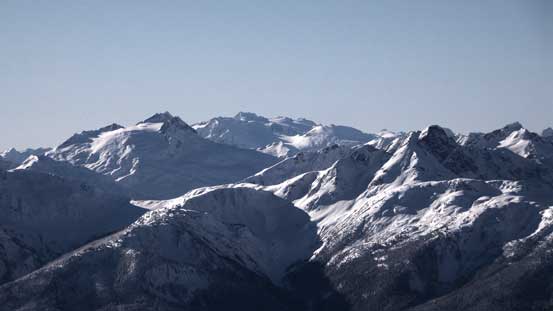
The other guys soon finished the couloir climb and the rest of the ascent via SE Ridge was an easy boot-pack, although we still had to be careful about the cornices near the summit. The views were great towards each direction with lots of peaks that I’d never seen before. We did spend at least half an hour on the summit but knowing it’s still a long way back we had to get moving soon.
Bootpacking up the SE Ridge

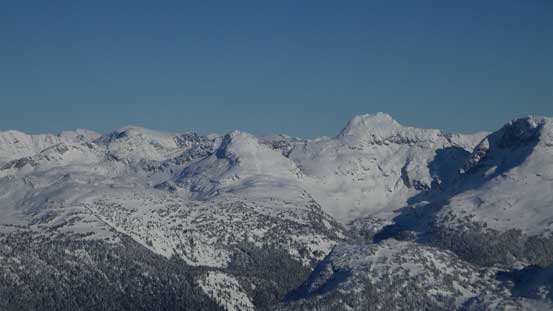
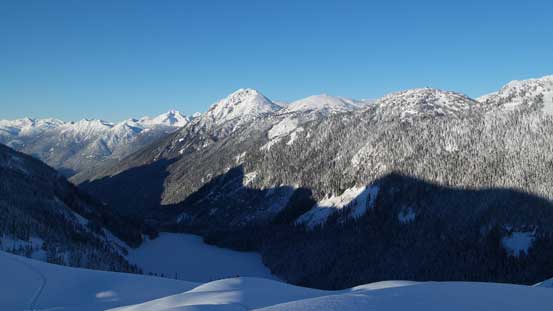
Summit Panorama from Cloudraker Mountain. Click to view large size.

Could see far low down by Lillooet Lake

Mt. Matier et al. in Joffre Group

Asherah Peak right of center; Snowspider Mountain is the dark one on left
Meditation Mountain right of center

Looking over the summit of Arrowhead Mountain towards peaks in eastern Stein

Mt. Skook Jim is that glaciated peak; Petlushkwohap and Skihist on the far left

Peaks in this group include Kwoiek Peak, Mehatl Peak and Kumkan Peak
Nahatlatch Peak left of center
Gowan Peak
In the foreground is Snow Pillow Peak. Behind on the skyline Slesse, Clarke and Baker are visible

Mt. Judge Howay and Mt. Robie Reid on center skyline

Greenmentle and Snowcap Icefield area
Mt. Pitt on left. Behind is Mamquam Mountain and its namesake icefield

Nivalis Mountain and Mt. Sir Richard – part of McBride Range Traverse

Cheakamus Glacier left of center; Cheakamus Mountain and peaks on Fitzsimmons Range on right
Tremor Mountain and peaks on the Spearhead Range

Mt. James Turner (L); Wedge Mountain (C) and Gunsight Peak (fg, R)

Mt. Weart

Another view of Mt. James Turner, Wedge Mountain and Gunsight Peak

Looking towards Hibachi Ridge and Mt. Currie
That big peak is Mt. Sampson
Mt. Oleg et al. on the Place Glacier Group
Salamander Mountain and Tao Peak in the foreground
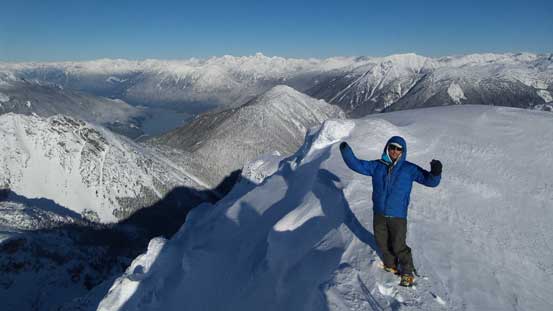
Me on the summit of Cloudraker Mountain
We opted to down-climb where we came up which was pretty fun and then back to the skis we all enjoyed a great run down the glacier to Hanging Mist/Cloudraker col. We could have ascended Hanging Mist Peak via the direct SW ridge but decided to climb up and over that little cornice (just for more fun). We then kept the skins on descending the icy and crusty snow, down-scrambled that tricky rock step and soon we were back to Famine/Hanging Mist col.
Alan and Ben down-climbing the couloir
Down, down… Step by step..
Back to Cloudraker/Hanging Mist col

Looking back at Alex, Ben and Alan skiing down the glacier
Cruising down to the col

Ben climbing back up that short cornice step

Skinning back across Hanging Mist’s corniced summit ridge
Continuing descending Hanging Mist Peak
More about the descent from Hanging Mist Peak
This is that scrambling step
Alan shuffling down
Famine Mountain ahead. We wouldn’t go back up there on the return

Back to Famine/Hanging Mist col
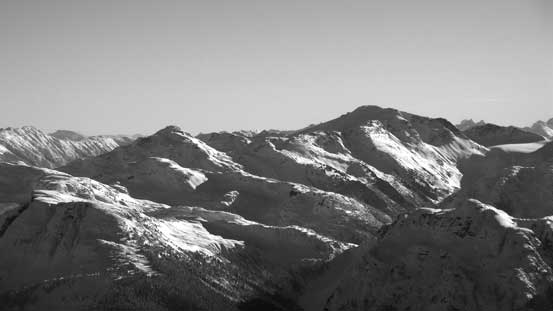
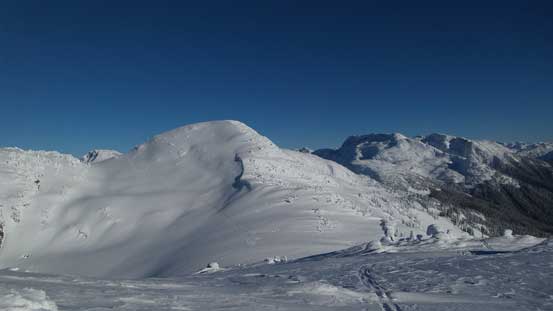
From there we made the decision to bypass the summit of Famine Mountain on the south side as per earlier observation. We skin’d to the crest of its broad south ridge and then enjoyed a long run down to the valley between Shields Peak and Famine Mountain. The snow condition was a bit wind affected and crusty but manageable. I did trigger another small surface slab on a convex roll but everything seemed to bond well. A short ascent we were back to the skin tracks and easily followed it around the south side of Shields Peak to the broad Tarn/Shields pass. From there it’s a mere, albeit tedious plod back to Long Lake and finally, back to cabin.

Around the south ridge of Famine, looking towards Shields Peak
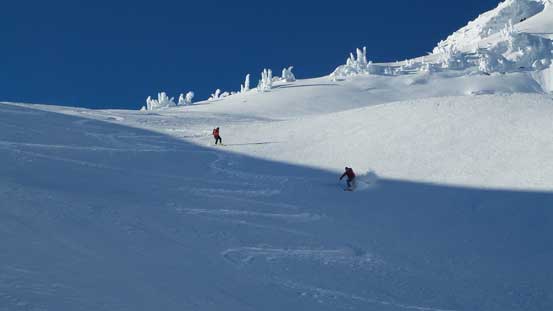
Skiing down the east slopes of Famine Mountain
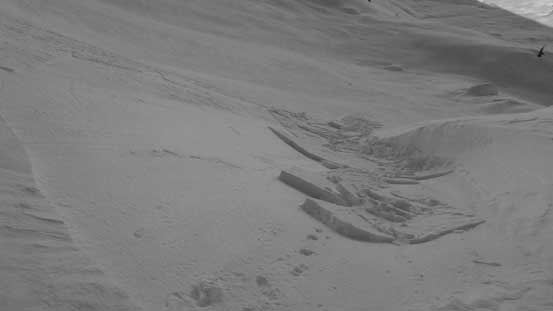
Triggering a small slab…
Our tracks down the lower east face
Back to the valley between Shields and Famine
Skinning back up Shields’ shoulder to intersect our tracks
Ben traversing a big slope of the south shoulder of Shields Peak

Alex traversing another big slope of the East slopes of Shields Peak

Looking towards Long Peak
Following our skin tracks
A look at Tarn/Shields pass with Haven and Beacon behind
The ridge from Tarn/Shields pass to Long Lake is undulating
Prior Peaks rise behind the frozen Lizzie Lake
One of the few passes that we traversed over
Looking back towards Shields Peak

Down to Sapphire Lake
Cresting the last col beside Tarn Peak
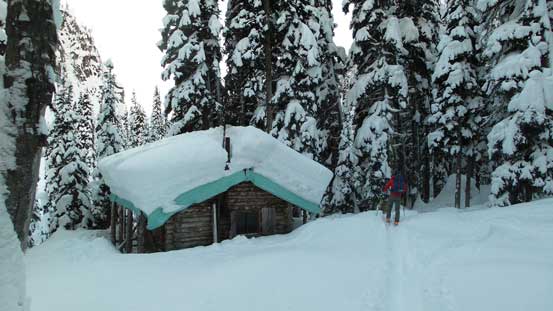
Back to Lizzie Creek Cabin
Our round trip time from the cabin was about 10 hours which was just as expected. We did take advantage of the skin tracks and the relatively minimal trail-breaking on the alpine. The climb of the N. Face was for sure the highlight of this trip and I’m super glad we did manage to put this one down. Now with Cloudraker knocked down we were all tired and demotivated. Anemone, Tabletop, Arrowhead and Tynemouth are the remaining 4 in our immediate environ which Alex and Ben had already bagged two years ago. It’s apparent we didn’t have to stay the whole 10-day period and the ski-out on Day 8 was decided, but in my secret mind I was already counting on another big guy to come down once we come back to civilization and if weather indeed could hold till the supposed Day 10. But right now we just had to think one day at a time. For Day 7, I’d love to ascend the remaining all 4 but Anemone and Tabletop was right beside the summer trail (Stein Traverse) which I’d for sure some back for at some point, so the other two would be my priority. Ben agreed to join me on Arrowhead and Tynemouth while Alan and Alex decided to have a rest day.
