Mount Conybeare
June 28, 2020
1840m
Squamish, BC
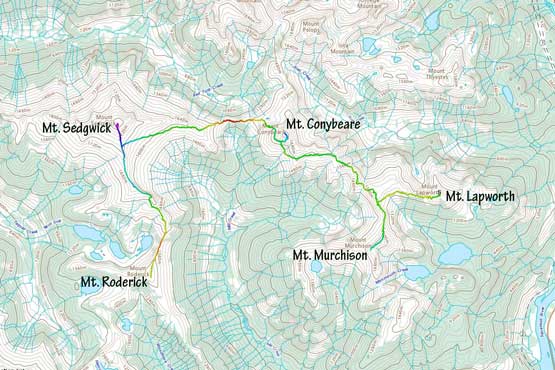
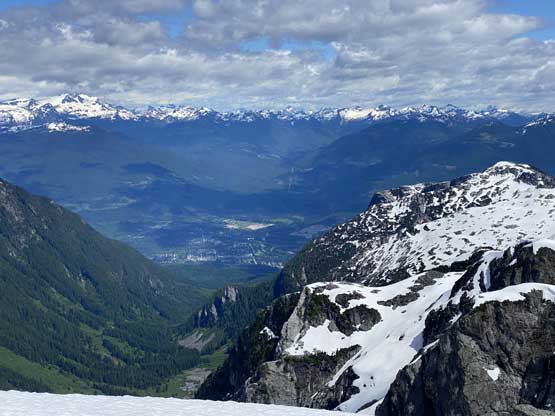
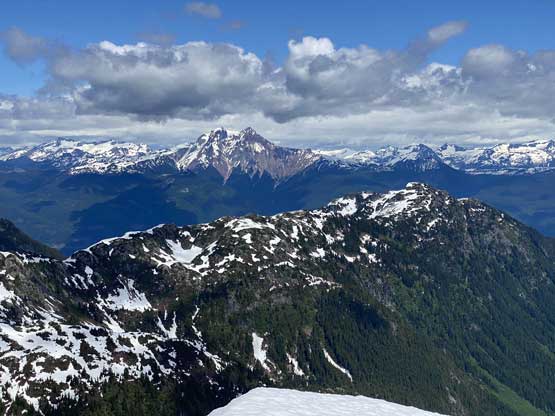
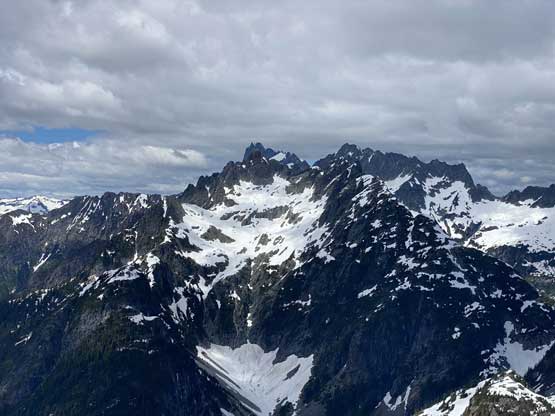
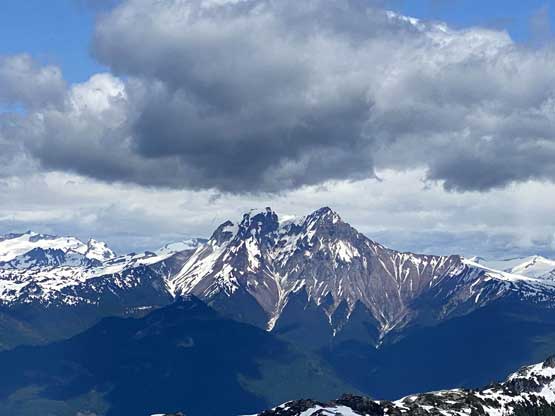
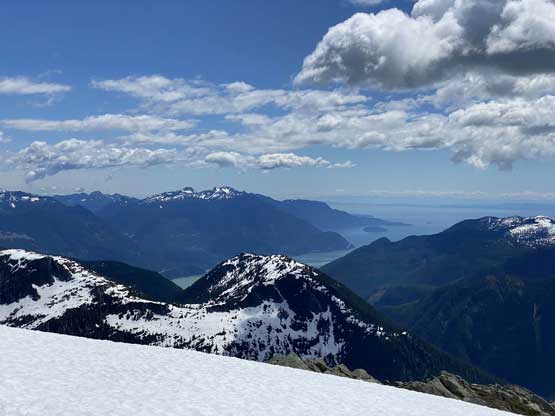
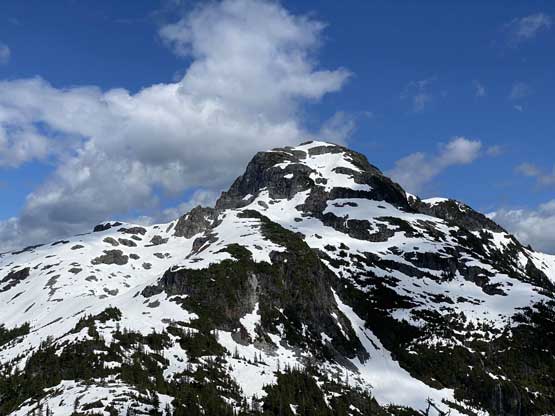
Mt. Conybeare is a somewhat obscured summit between Mt. Sedgwick and the southern peaks of Tantalus Range not far from Squamish. The peak has a somewhat rugged profile but the summit is dome-shaped. The information about any route to reach this summit is extremely vague but the local guide Klemen Mali had passed me a tale of traversing from Mt. Lapworth over the summit of Mt. Conybeare to Lydia/Red Tusk. However, the rugged profile of this peak and the numerous sub-summits meant I still needed to do fair amount of homework to make sure we could nail the route-finding in a single shot. After some further digging I decided to use a steep couloir on the south face and to get there we would traverse an obvious ledge system utilizing snow for as much as possible.
To reach the base of this peak is a difficult fair no matter what. There are three reasonable entry points – Woodfibre Mill, Lake Lovely Water and Echo Lake / Mt. Lapworth and all of them involve a logistically challenging cross of Squamish River and/or Howe Sound. I used to be excited about challenging accesses but these days I wanted to bag more peaks. The simplest way for me is by taking a helicopter. And obviously I wouldn’t take a helicopter just to hike Mt. Conybeare and the plan among Alex, Vlad, Marius and myself was to bag all five summits in this area in a single day. Earlier in the day we were flown to the summit of Mt. Lapworth and then ascended the north ridge of Mt. Murchison. Marius called it a day about halfway towards Mt. Conybeare while Alex, Vlad and I resumed onward.
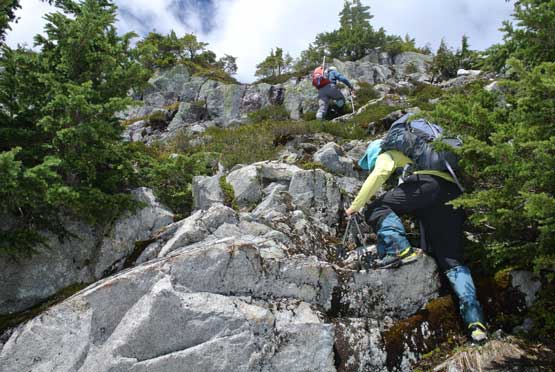
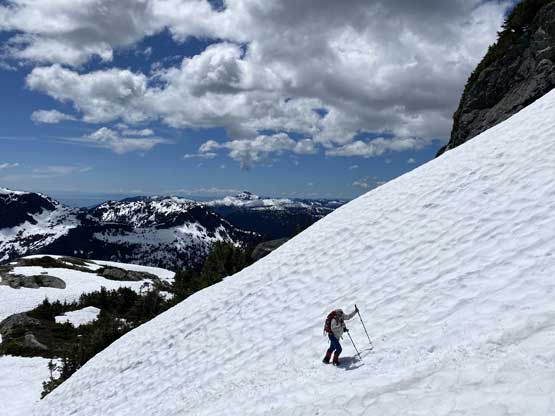
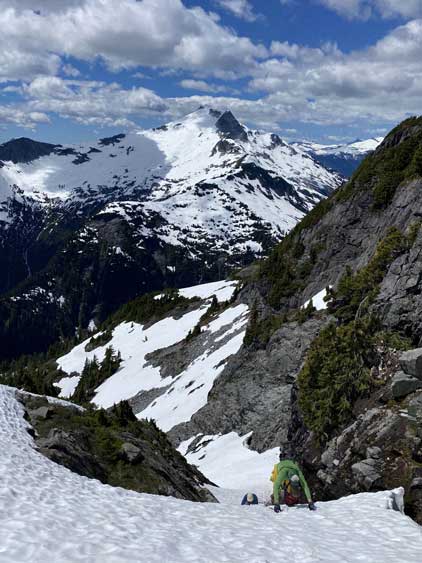
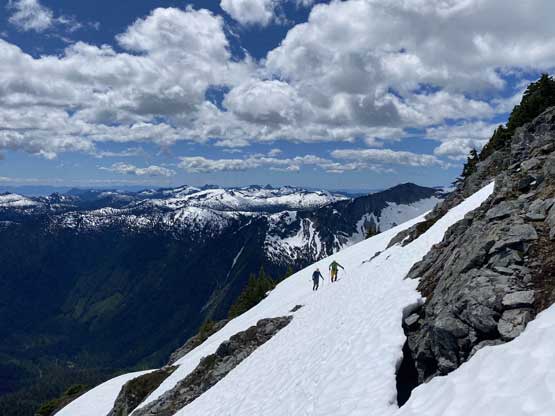
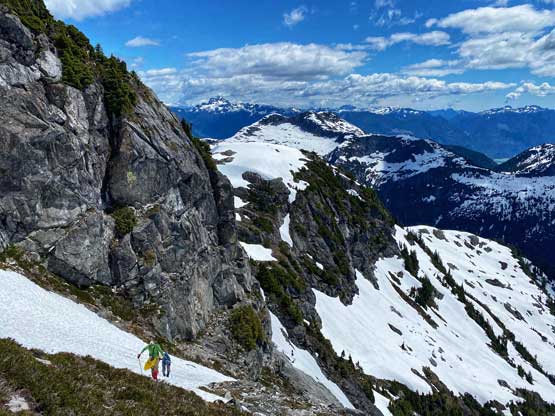
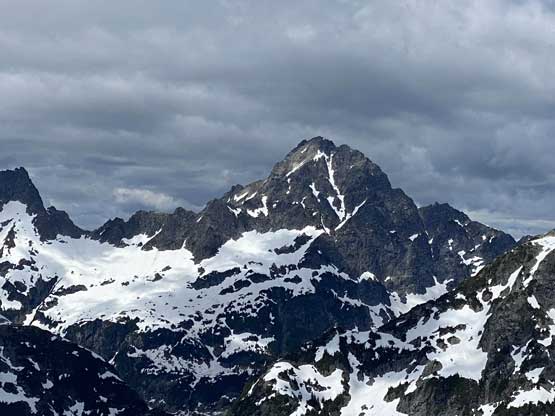
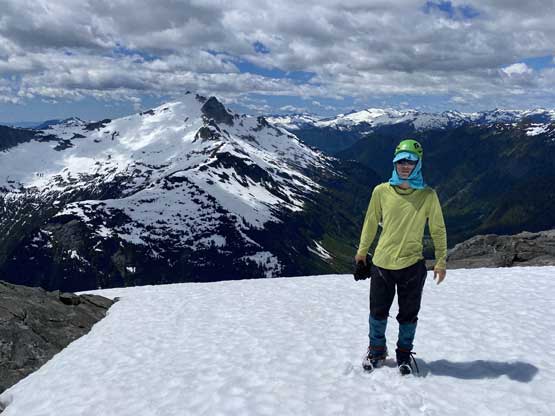
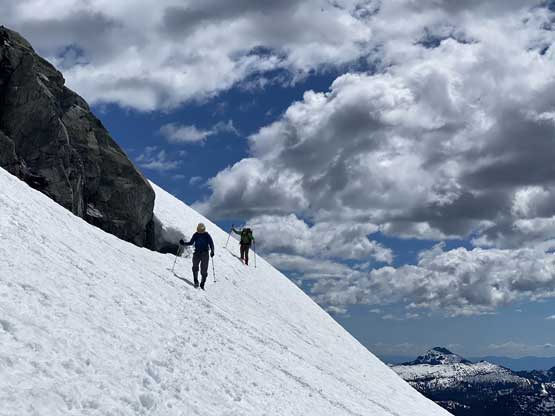
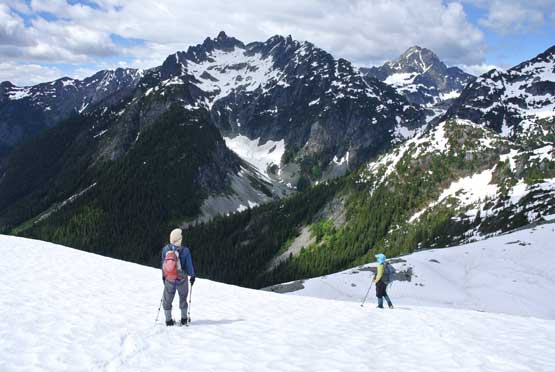
We ascended up and over two more subsidiary bumps and found the snowy ledge/ramp that we had researched for. The first half of this ledge was a cruise sail but after crossing a corner we were facing at least 150 m of elevation loss. I consulted with the GPS several times and indeed, we had to lose that much height. The elevation regain was exhausting, that by the time we reached the base of the couloir we had to take a long energy break.
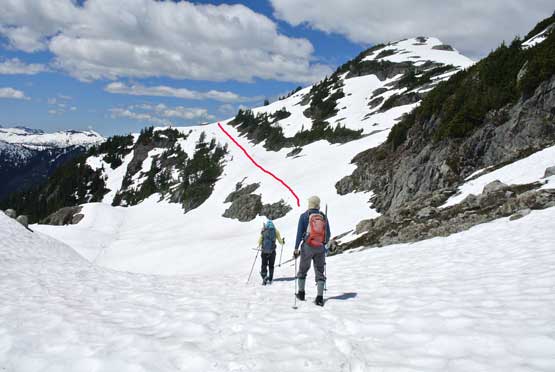
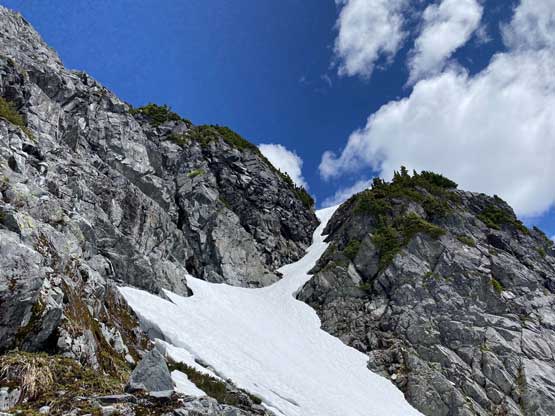
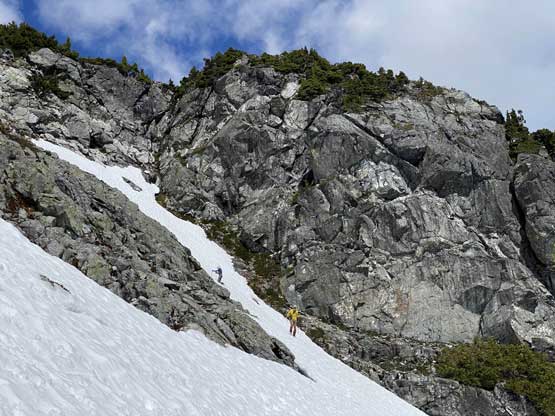
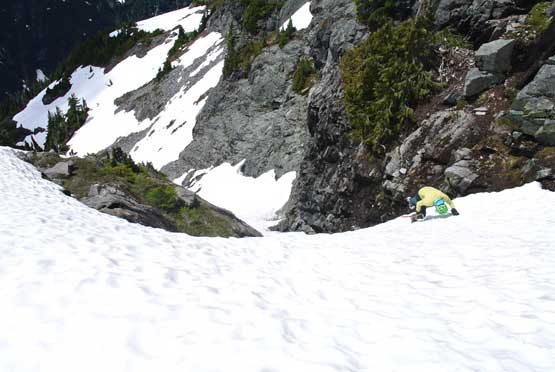
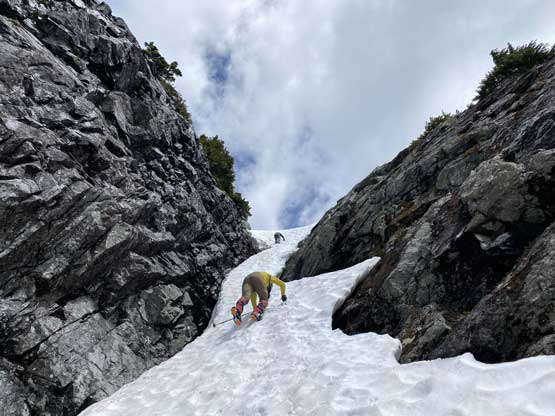
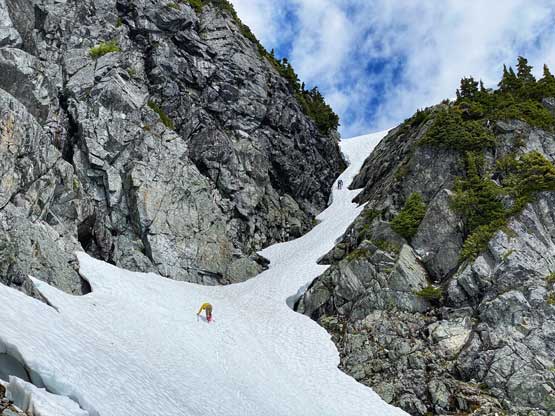
The couloir looked much worse than I had anticipated for. Apparently the satellite images I found was taken earlier in the year with more snow, but despite the ugly look the snow was still continuous in the couloir. This route would likely be a no-go once the snow melts out, so if anyone wants to follow my GPS track tagging this summit this is something to be aware of. We ditched the backpacks and swapped gears for ice axe and crampons. The snow climbing was about 45 degrees and felt moderately exposed but the couloir was overall a short and easy one that in no time we topped out. The upper south face appeared complicated as well but with some zig-zagging we managed to stay mostly on snow so there was no more transition needed. We wore crampons all the way to the summit.

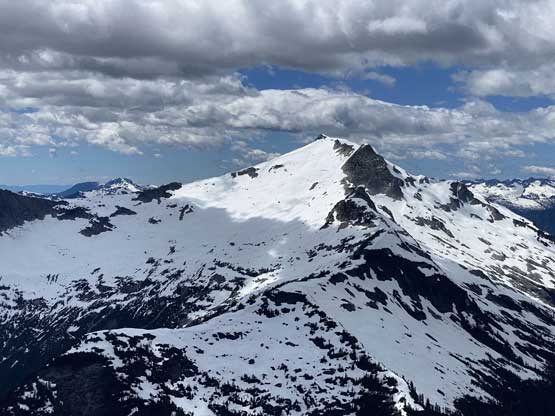
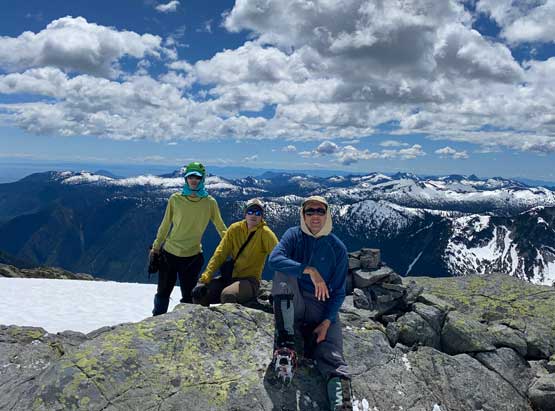
At this point we were not doing good on time, so after taking the victory shots we immediately started the descent. I figured we had to race towards Mt. Sedgwick in order to finish this project so we down-climbed the couloir for as fast as we could. There was a bit of team work to speed things up at the transition – crampons off and loading up water bottles. The descent from the south face of Mt. Conybeare to Conybeare/Sedgwick col wasn’t easy but again, I had put in enough effort to research that stretch. Combing the research and the on-field route-finding we managed to nail this descent with zero detouring in just over half an hour, losing over 500 m elevation.


We felt a bit more positive about our time at this point so we slowed down the pace a little bit. There was over 700 m elevation gain to reach the summit of Mt. Sedgwick and we decided to keep a slow but steady pace.
