Mount Rexford
August 21, 2016
2329m
Chilliwack / Chilliwack Lake Road, BC
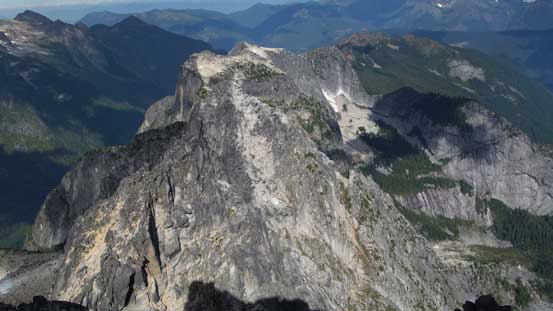
Mt. Rexford is the tallest peak in the Illusion-Nesakwatch-Rexford Group near Chilliwack Lake, and although not as impressive as the nearby Slesse Mountain, this peak is still a sexy objective in its own. There is no walk-up route to the summit. Most published routes are alpine climbs and the easiest is by west ridge, and goes at “BC Class 4”. The good thing is that the rock is mostly granodiorite which is similar in texture to granite, hence excellent for climbing.
My initial inspiration came from reading Simon’s trip report on ClubTread and this peak had been quite high on my list since I moved to the Lower Mainland of BC last year, but didn’t manage to attempt it. Now came this year and after a rough 3-month absence from hiking and peak-bagging I was back in the game. The first “major project” that crossed my mind was Mt. Rexford and I knew all I needed was a non-working day lining up with some solid weather. Luckily I didn’t have to wait for long as 4 days after my Cheam/Lady combo the weather was still decent. The decision was easily made on a solo attempt, and as a peak-bagger I would also aim to grab the nearby North Nesakwatch Spire. I would haul ropes and some basic rock climbing gears just in case I needed some sort of aiding and/or rappelling as from past experience I knew a 4th class route in west coast cannot be treated as lightly as a Rockies’ class 4 route.
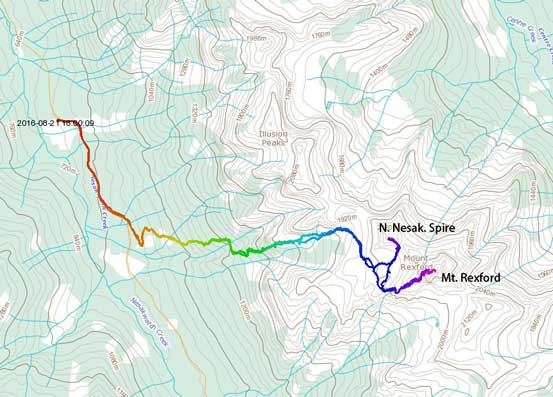
Mt. Rexford and North Nesakwatch Spire scramble route. GPX DL
After waking up at around 4 am I was on the road in 1 hour, cruising eastwards along Highway 1 in my Jeep Grand Cherokee. From the recent trip up Cheam Peak I knew this Jeep could handle most of the logging roads required for the general “peak-bagging” purposes. The turn-off to Nesakwatch FSR was correctly located (with the aid from my GPS unit). The road was fairly rough at places with lots of rocks poking from underneath, but not too steep and certainly didn’t involve as many waterbars as the Chipmunk FSR. I drove to within 1.5 km from the actual trail-head and parked at Slesse Memorial trail-head together with two other trucks.
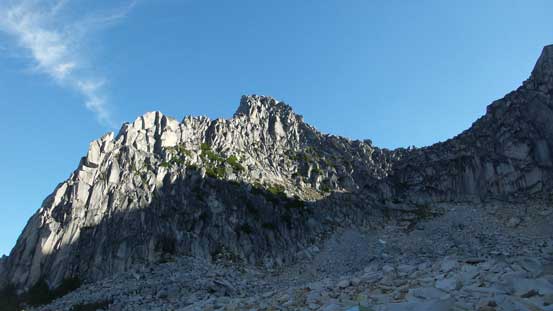
After hiking up the remainder of that main branch I took the left side spur road at a critical junction. The spur road was overgrown, but the footpath was easy to follow and mostly free of bush. After one sharp switchback I kept my eyes closely on the climber’s right side so not to miss the actual Mt. Rexford Trail. This trail was fairly well maintained but quite steep overall. There were switchbacks in some micro-terrain but not by much so the trail mostly went straight up the hill. About 10 minutes up the trail crossed a minor (dry) gully, and half an hour later it led me crossing the main creek which turned out to be the only source of flowing water. I took a short break, drinking as much as I could before refilling up my water bottle. A total of 3 L and that’s it for the day… The trail then entered a section of mature forest and then the next thing to notice was a huge slab wall on climber’s left side.

Morning view of Slesse’s NE Buttress – one of the North America’s 50 classics.
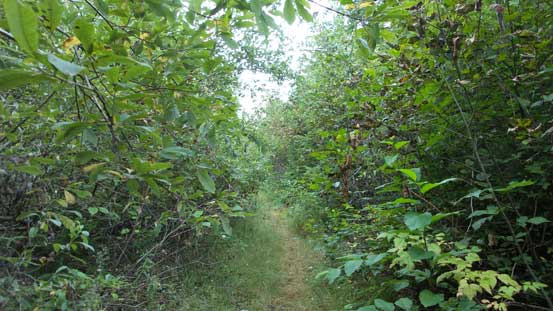
This is that overgrown spur road

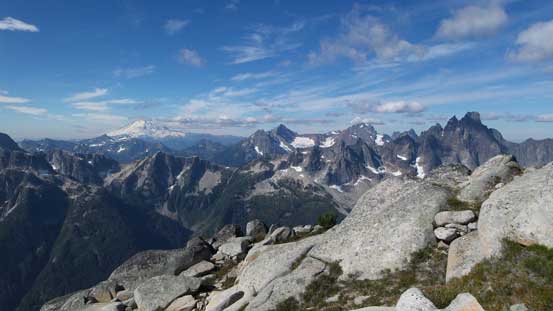
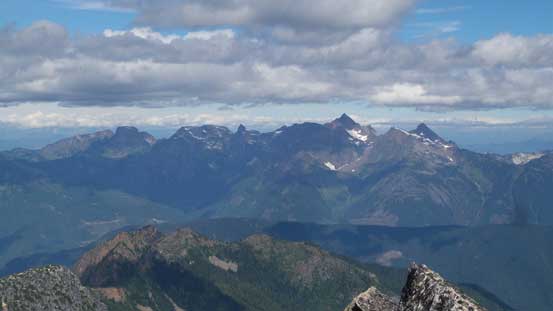
These are two unnamed summits south of Slesse Mountain. They look surely impressive
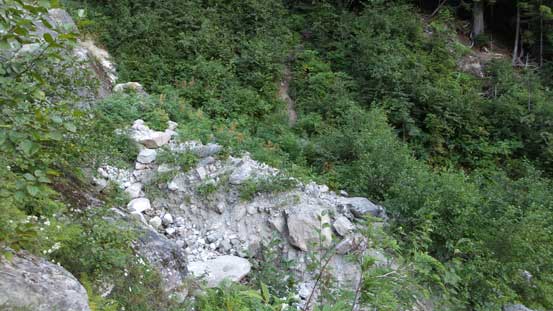
The trail crosses the creek here – the only water source
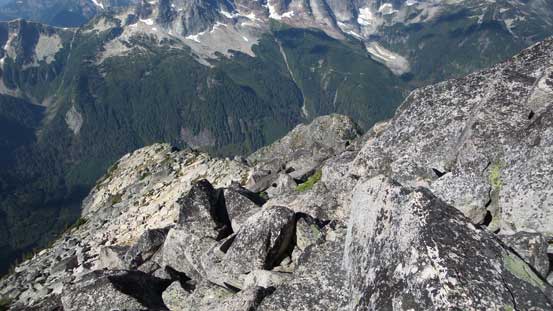
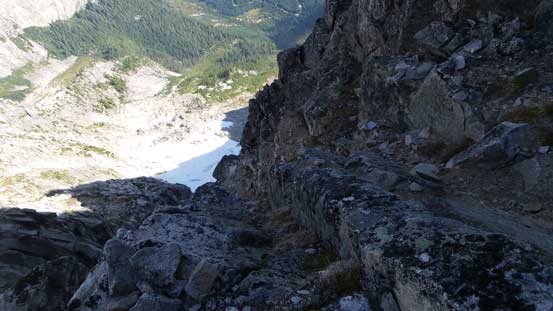
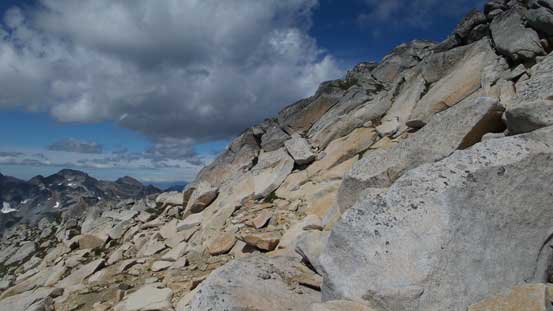
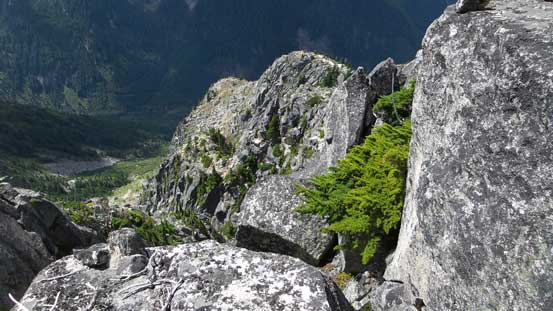
The trail then paralleled this slab wall for pretty much the rest of the way into the alpine. This section took a long time and felt very foreshortened, but with good spirit I managed to hit treeline in just over 2 hours from the parking lot. The next while was spent negotiating some boulder field, trending climber’s right towards a high shoulder called “bivy rock” under North Nesakwatch Spire. The boulder field felt tedious, but at least the path was somehow marked by cairns so not much route-finding involved. From the “bivy rock” I aimed directly towards the start of Mt. Rexford’s west ridge and to get there I had to deal with more boulder hoping..

Here the trail parallels that slab wall for a long while
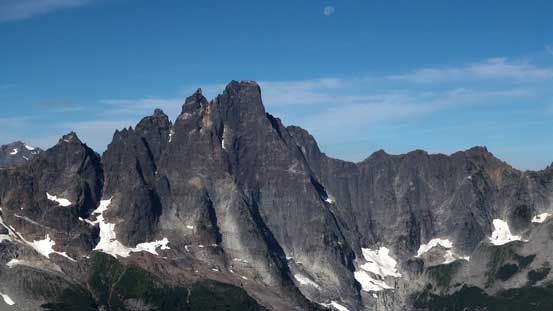
Impressive NE Buttress of Slesse Mountain

Hitting the alpine now

Traversing towards the “bivy rock”
A look at North Nesakwatch Spire
The W. Ridge of Mt. Rexford on the skyline. Getting psyched!
Looking back at Illusion Peaks. As far as I know they aren’t often climbed…

An idea of the boulder field….
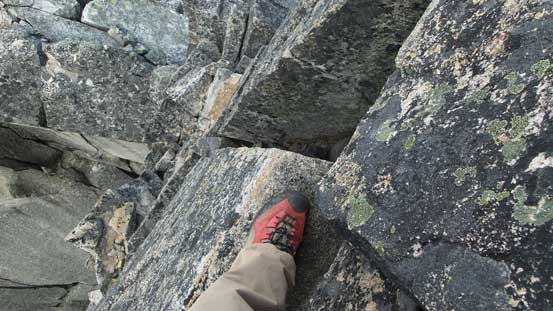
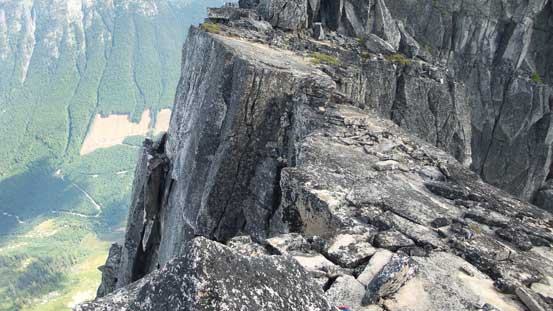
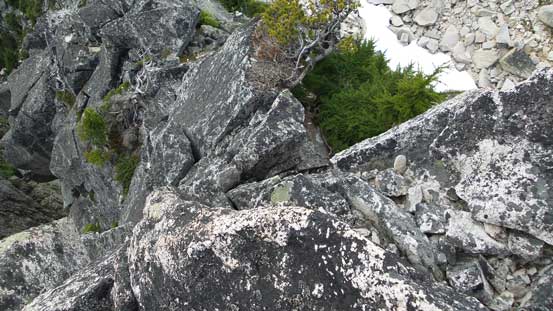
Now at the base of Mt. Rexford’s lower west ridge I picked a natural line to gain the crest (some hands-on scrambling required), and another minute or so up the ridge the fun began. A 3-meter high awkward crack marked the start of the real scrambling and right away I knew it’s not going to be an easy day ahead. After giving it a half-hearted try I decided to ditch hiking poles and don helmet. I gave it another try and this time managed to pull myself up the step. Upwards and onwards there were another few strenuous steps to overcome and a few sections were quite exposed towards right (south) side. At one point the terrain forced me to bail to climber’s right and then I had to bash my way up through a krummholz field with some minor route-finding. And then at the first level spot on the route, I turned right and scrambled another section of steep stuff (with one rap anchor) to gain the main west ridge.
The view of Slesse Mountain and its group constantly attracted me looking back

The start of Mt. Rexford’s W. Ridge
This crack marks the start of the game…
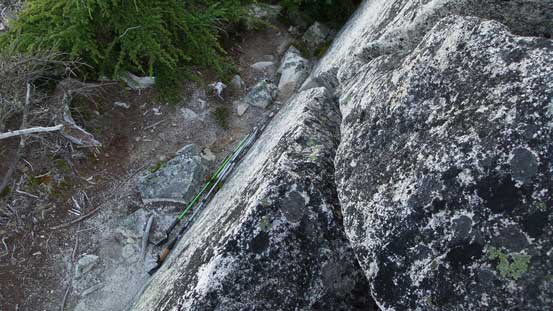
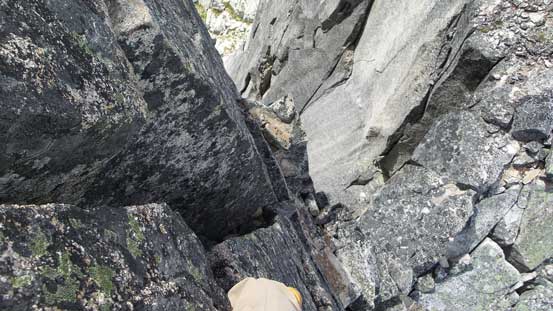
There were tats around indicating people rappelling these stuffs.
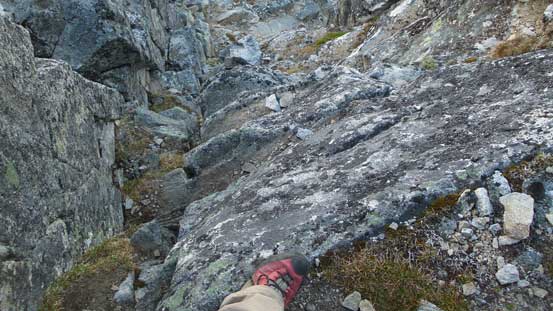
An idea of the typical terrain on the lower West Ridge
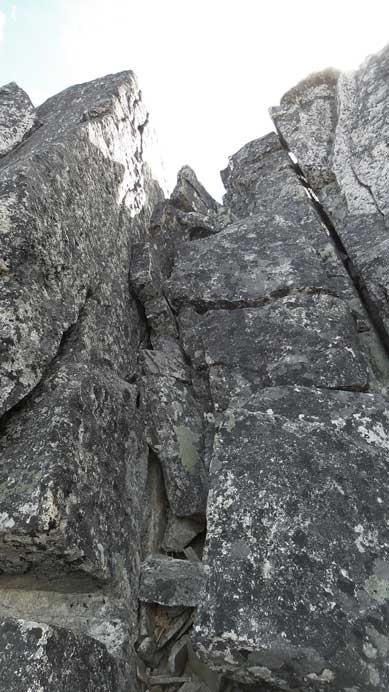
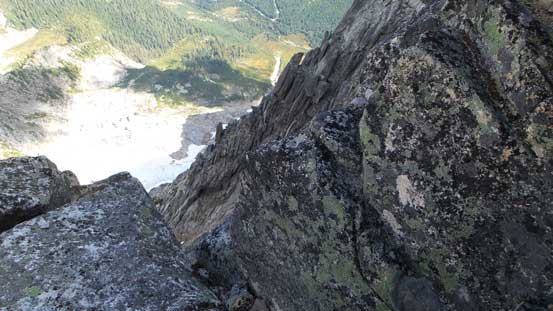
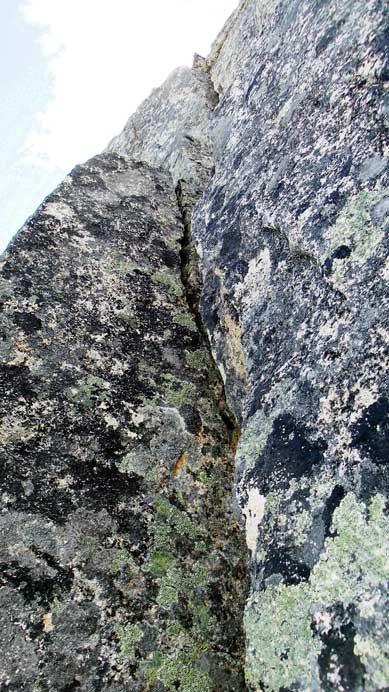
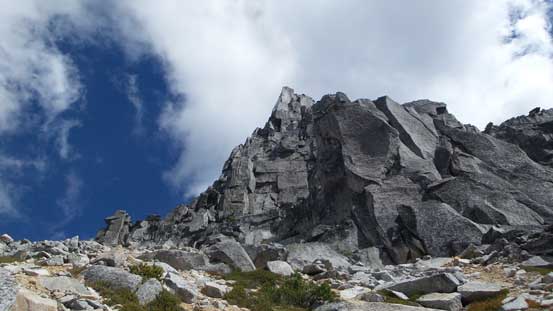
I had to say that the lower west ridge wasn’t easy. If in Rockies even just this section will definitely grant at least a “Kane’s difficult” rating. Thankfully once gaining the main west ridge the terrain levelled out and I could see that it’d be mostly an easy stroll to the base of false summit. I passed one group on their way down (short-roping and moving very slow), and then resumed my ascent. I made good time up through this section of easy terrain, around the corner of the false summit and the real deal were just about to begin. For some reasons I gained height too early and not far up I realized that I had to cut over one gully to the climber’s left. To do so I had to step across a vertical gap with sloping foot steps and no good hand hold. After trying it a few times I figured it’s not quite worth it so backtracked, and found another (much easier) way to cut over about 10 meters below. And then I got to climb that 4th class gully.
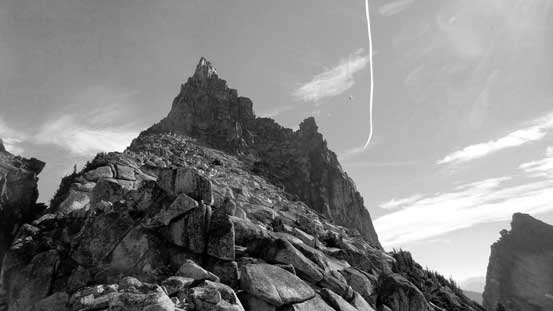
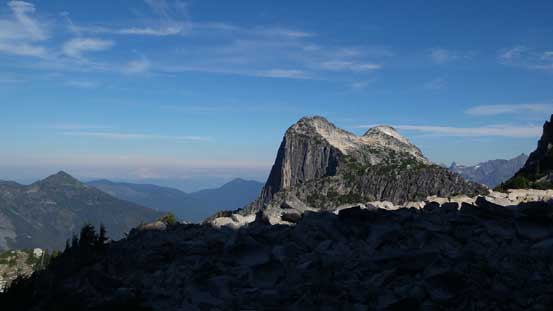
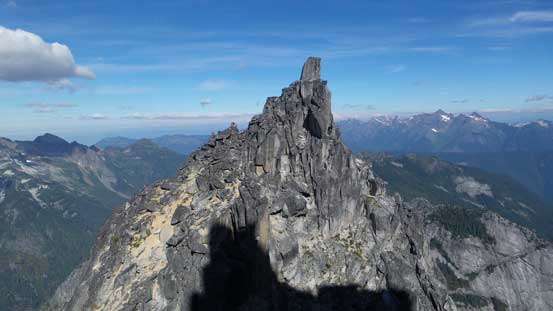
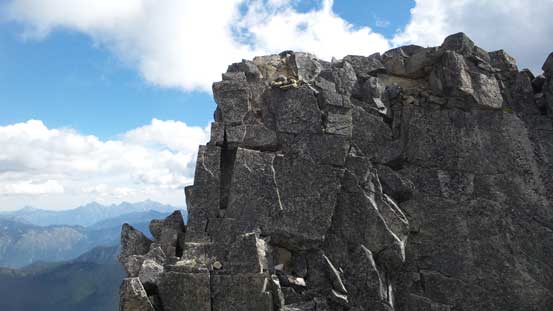
The false summit looms impressively above

The N. Nesakwatch Spire with Illusion Peaks behind
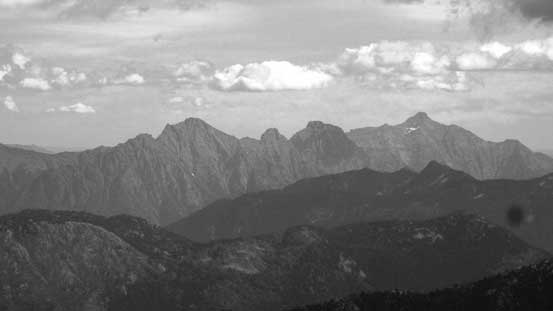
Slesse, the Border Peaks, Larabee with Mt. Baker on the left skyline
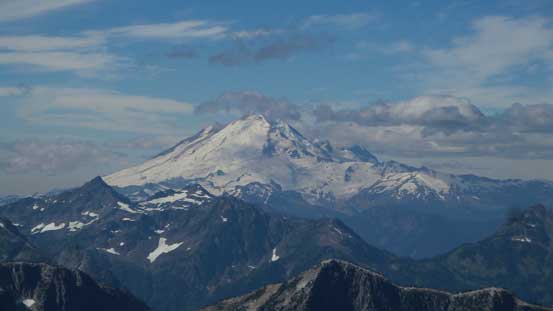
A zoomed-in view of Mt. Baker. It’d soon get engulfed in clouds
This is the easier section of the ridge
The infamous summit block of S. Nesakwatch Spire goes at 5.7 off-width. Climbed in September 2022

Going around the base of the false summit
I started just to the climber’s right side of the fall line and it wasn’t too hard. The terrain was steep and some steps were big, but solid positive holds were abundant. Not all rocks were solid though as a few blocks could easily wobble upon touching so I still had to be very careful. About halfway up I moved back into the fall line, climbed another fairly blank step with small holds before the terrain forced me to move to the right again. A few more awkward moves were overcame on some blocky terrain and then I found a good ledge to traverse back into the fall line. This time for the last 10 meters or so I moved to the far climber’s left side and climbed up the corner. The exposure was huge but with those solid holds I managed to cruise up without too much of a pause.

Starting the gully game.
An idea of the terminal exposure
Step by step..
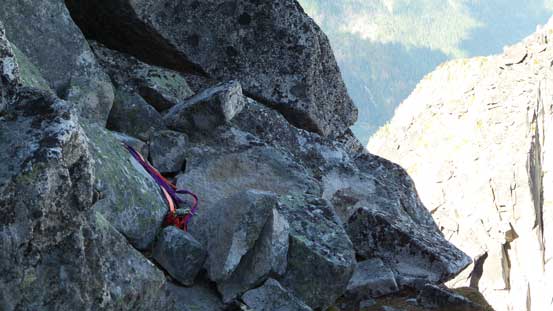
Again, there were tats around.

About halfway up. I attacked the next step by the shallower crack at center
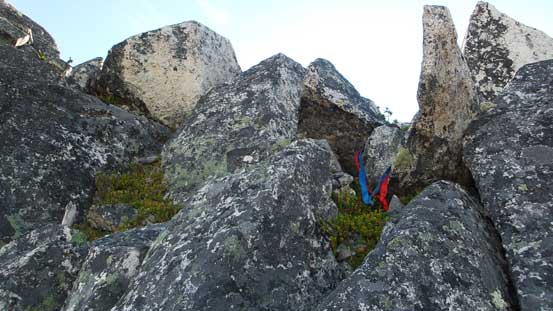
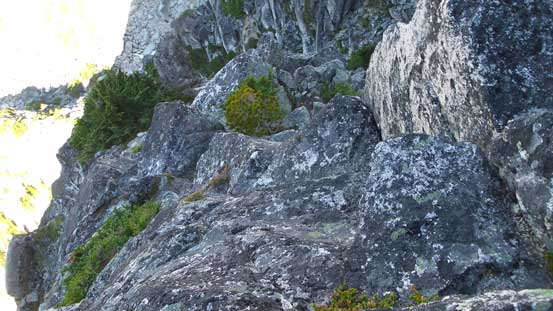
Typical, typical..
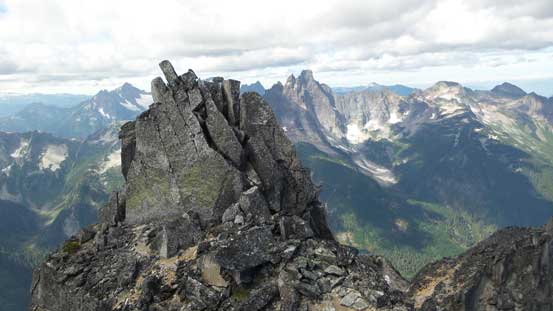
Already higher than the Nesakwatch Spires
This is the last few meters

Looking down…
I immediately turned my attention to the “summit” just to my left. I wasn’t aware that there was actually a middle summit between the false and true ones but from my faint memories I did know that the appearance of this “summit” wasn’t quite like the true summit. I went up it nonetheless and not without difficulty neither. I traversed to the left first before using a narrow ledge to get myself back to the right. A few technical hand-traverse moves were involved in order to do so but after that I was on the middle summit. Looking at the true summit I knew I climbed the wrong peak, but not a huge deal as it looked like I could just easily down-climb into the middle/true col.
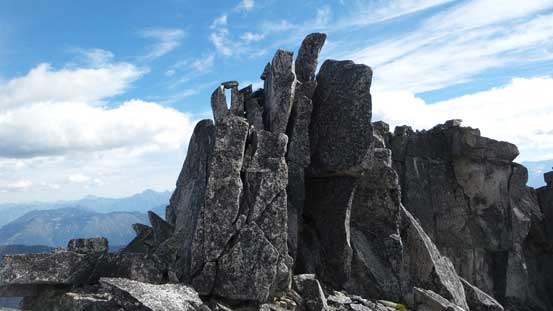
The middle summit from middle/false col

The true summit from middle summit. That infamous V-shaped chimney is visible on left
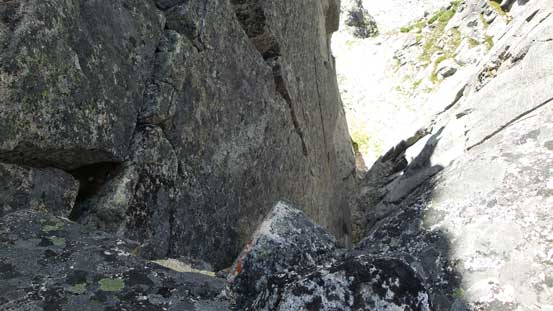
And then there came the final challenge – the crux wall on the true summit. The pictures from other trip reports didn’t quite show the exposure but upon close inspection, “oh wow” that’s all I could say. It’s a few hundred meters’ straight drop on the right side and some equally exposed terrain to the left. Aiming myself at that V-shaped chimney I had to overcome an initial step first. Attacking it directly was too exposed so I sneaked in through a ledge on the climber’s left side (still super exposed) before climbing a few more moves back right to overcome this step. Now immediately below the chimney I opted to not stem up that thing (rumored to involve moves up to 5.7/8), and instead I went further left to look for some easier, but very exposed ground. There came a shallower crack (also mentioned in some trip reports) and although fairly blank, it appeared at least “doable”. The two rocks in the crack provided hand holds at the start, but soon I found myself having no more hand/foot hold to use. I tried a few ways and lie-back on the left wall seemed like the only solution, and then my hand reached the ledge above and subsequently I managed to pull myself up that step. By no doubt this part was the crux of the route but I was only halfway up the summit block…

At the base of summit block
The exposure to the right…
The exposure to the left…
Now standing on this narrow ledge I carefully shuffled my way to the climber’s right, facing into the wall and then around the corner. At this point I was directly above that V-shaped chimney and the exposure was severe. Thankfully the hand holds here were dead-solid as I gingerly stepped across the top of that chimney, overcame a few more interesting moves up the obvious break, and then a few more 3rd class moves, and the next thing I was on the summit. The views weren’t that inspiring but I have to say that this was a very satisfying summit to have in the bag. The summit celebration was short as I wanted to be off this mountain when my memories were still fresh about the route details, and also because I still had another peak to do before going home…

Climbing above the V-shaped chimney now, looking down
Looking back at the middle summit

The summit cross – “Doug Rexford”

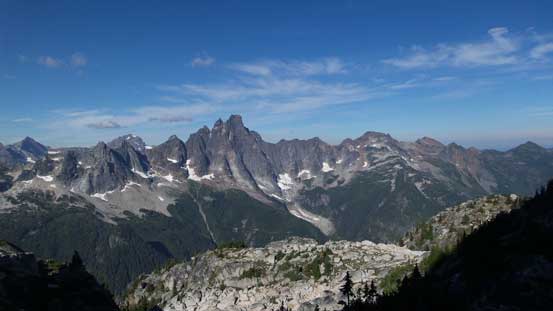
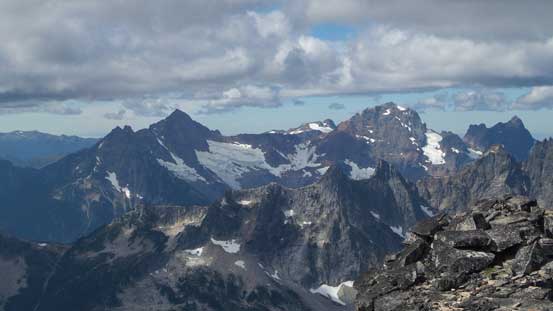
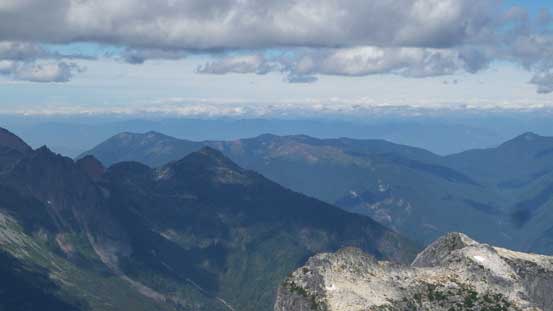
Summit Panorama from Mt. Rexford. Click to view large size.
Mt. Larabee and American Border Peak

Slesse Mountain
The Elk – Thurson – Mercer Ridge by Chilliwack
The Cheam Range in the show

Williams Peak, Mt. Northgraves with Isolillock/Silver behind
The Payne – Rideout – Silvertip Group

Mt. Lindeman with Mt. Redoubt behind

A zoomed-in view of Mt. Shuksan
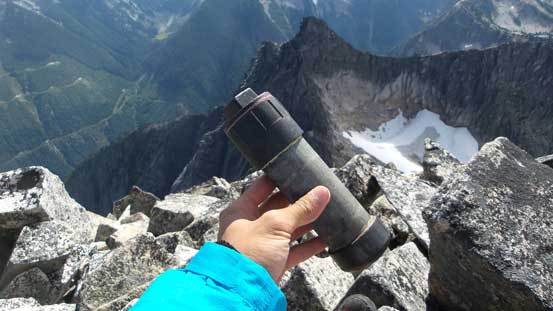
The summit register was soaked wet and had no pen in it…
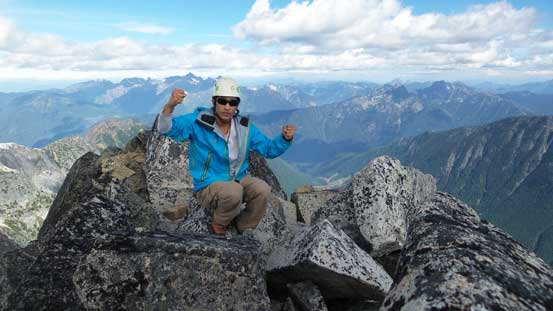
Me on the summit of Mt. Rexford
On the descent I thought about pulling out the rope but decided against it. It would take too long and I was fairly confident to be able to down-climb what I just climbed up. I also didn’t bother to use rock shoes even though I hauled them up. I carefully reversed the top part of the summit block (with a few loose blocks to be careful with) and then stepped back across the top of that V-shaped chimney. Down-climbing that crux crack felt actually easier than going up since now the gravity was on my side and all I had to do was lowering myself using arm strength. Having long legs helped too. The lower step was then carefully descended and now I was off the summit block. Following a faint path I found a way to bypass the middle summit so didn’t have to do that hand-traverse part. After briefly checking out the false summit for views I could now focus on the long 4th class chimney.
Ready to step across the top of that V-shaped chimney

The exposure…
Just stepped across, looking down…
This is that crux crack – lieback and pulling up.
A review shot of the summit block
The steep entrance into the 4th class gully.
Getting into the chimney was very exposed but again, by breaking the challenge into steps by steps it didn’t feel too hard. I still had fresh memories about where exactly I went and that helped too. I basically reversed the exact line that I took on the ascent and the section that I felt the hardest was that “blank step” about 1/2 of the way down. The lower gully had a few loose blocks that I had to be extra cautious about but soon enough I was down, then found a way to cut back to the path around the base of false summit and then into the sunshine. The tame ground was then easily descended (although tiring on my knees as I had ditched poles earlier in the trip). I took a long break regathering both mental and physical strength before committing to the lower W. Ridge.

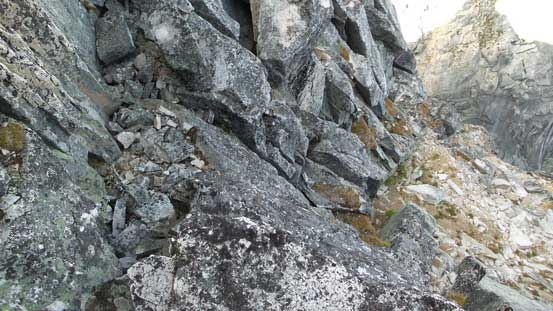
An idea of the terrain within that 4th class gully
Around the base of the false summit
Finally some easier terrain
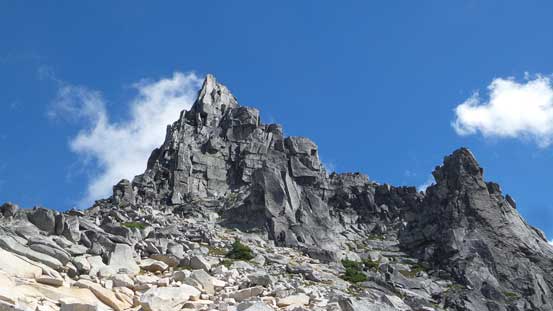
Looking back at the false summit. It appears more impressive in the afternoon

This is an unnamed peak south of Mt. Rexford

Another look at the false summit tower
Descending into the saddle wasn’t as steep, but had a few moves on down-sloping slabs which felt awkward and less trustworthy. That krummholz field was stupid to bash through. I thought I found an easier line to avoid one long reach but by doing so I had to traverse sideways across some very dense bush which was miserable. The few challenging steps on the very lower end of W. Ridge wasn’t easy to down-climb, but manageable with patience. Once down the last awkward crack I grabbed my ditched poles and descended easily into the bowl.

Down-climbing the initial steep stuffs to get into a “saddle”. Note the tats

The views were great though. This is N. Nesakwatch Spire, my next objective

The ugly krummholz section
Continuing down the lower W. Ridge
Typical, typical…

Don’t think this part is easy. It’s not and a few spots are very exposed.

Now done the hard stuffs, looking back

Into the bowl now, looking at S. Nesakwatch Spire
By now I felt quite mentally exhausted from all those scrambling and free-climbing I just did, but the North Nesakwatch Spire was right there, so why not… I took a long break before going for the second peak of this day. Speaking Mt. Rexford itself, this was a very enjoyable classic route with lots of good quality stuffs. On the other hand, although rated at a mere “4th class”, I would recommend this route to only those comfortable with exposure as well as scrambling short steps up to mid 5th class, otherwise I’d say treating it as an alpine climb.
